Learn how to draw a jack o lantern with an easy illustrated guide and video to watch. In no time at all, you will be an expert. Move on with more things to draw. You will find simple guides from everything to draw animals to flowers.
After you have drawn a few scary Halloween pumpkins you can start carving with free pumpkin carving template and the jack o lantern faces templates.
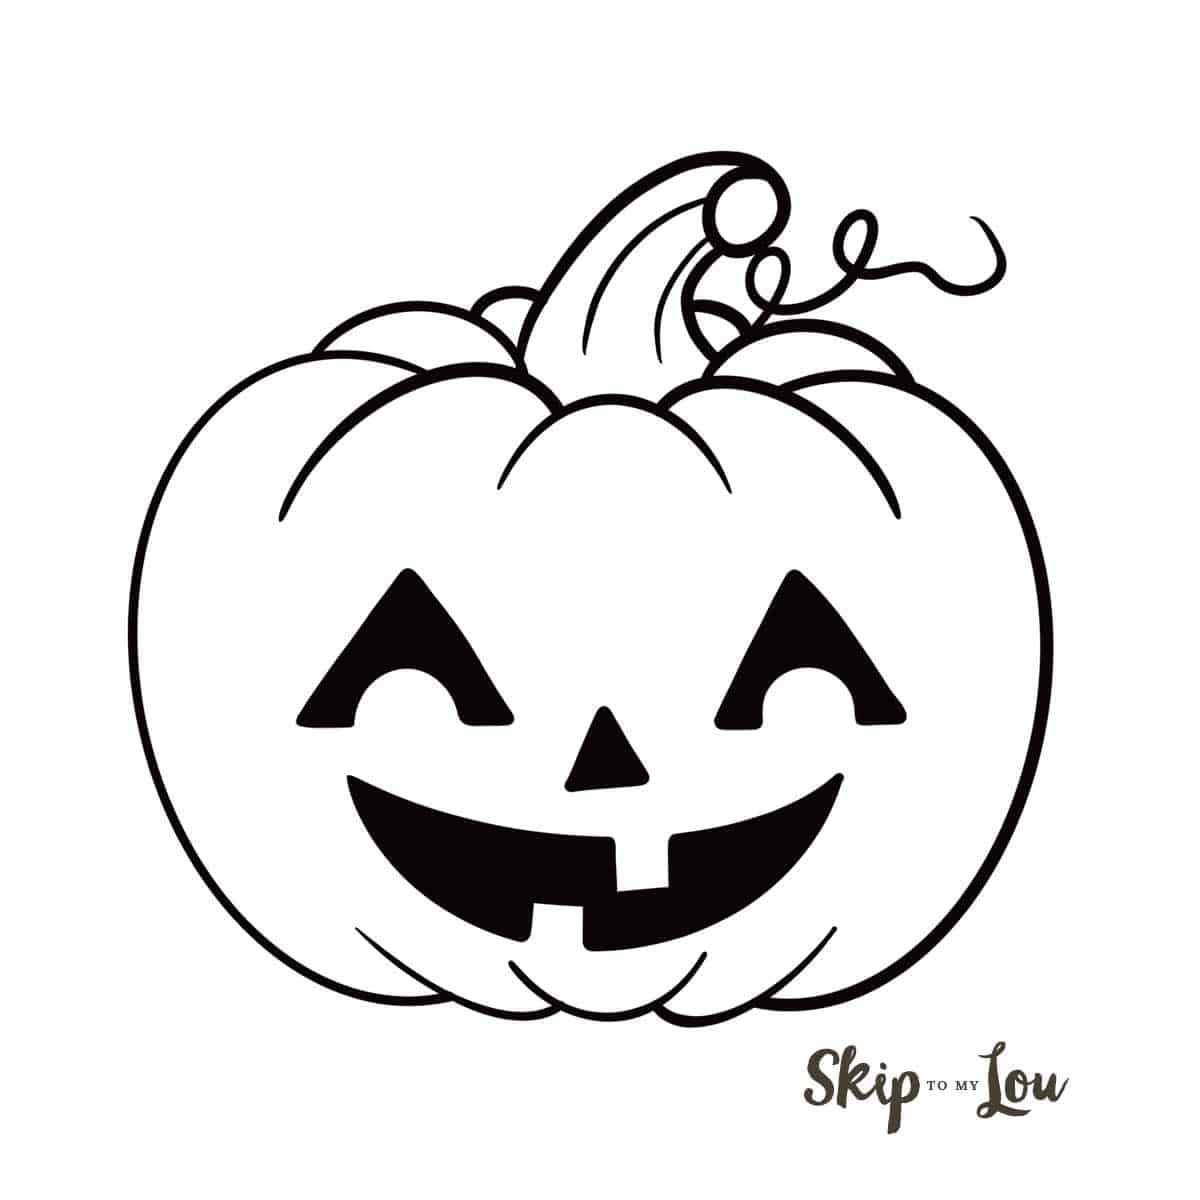
Easy STEP BY STEP JACK O LANTERN DRAWING
Here is a simple step by step drawing lesson to draw a jack o lantern pumpkin. This Halloween drawing is easy to make your own by making different pumpkin faces.
Download the printable drawing tutorial guide —> Easy Jack O Lantern Tutorial
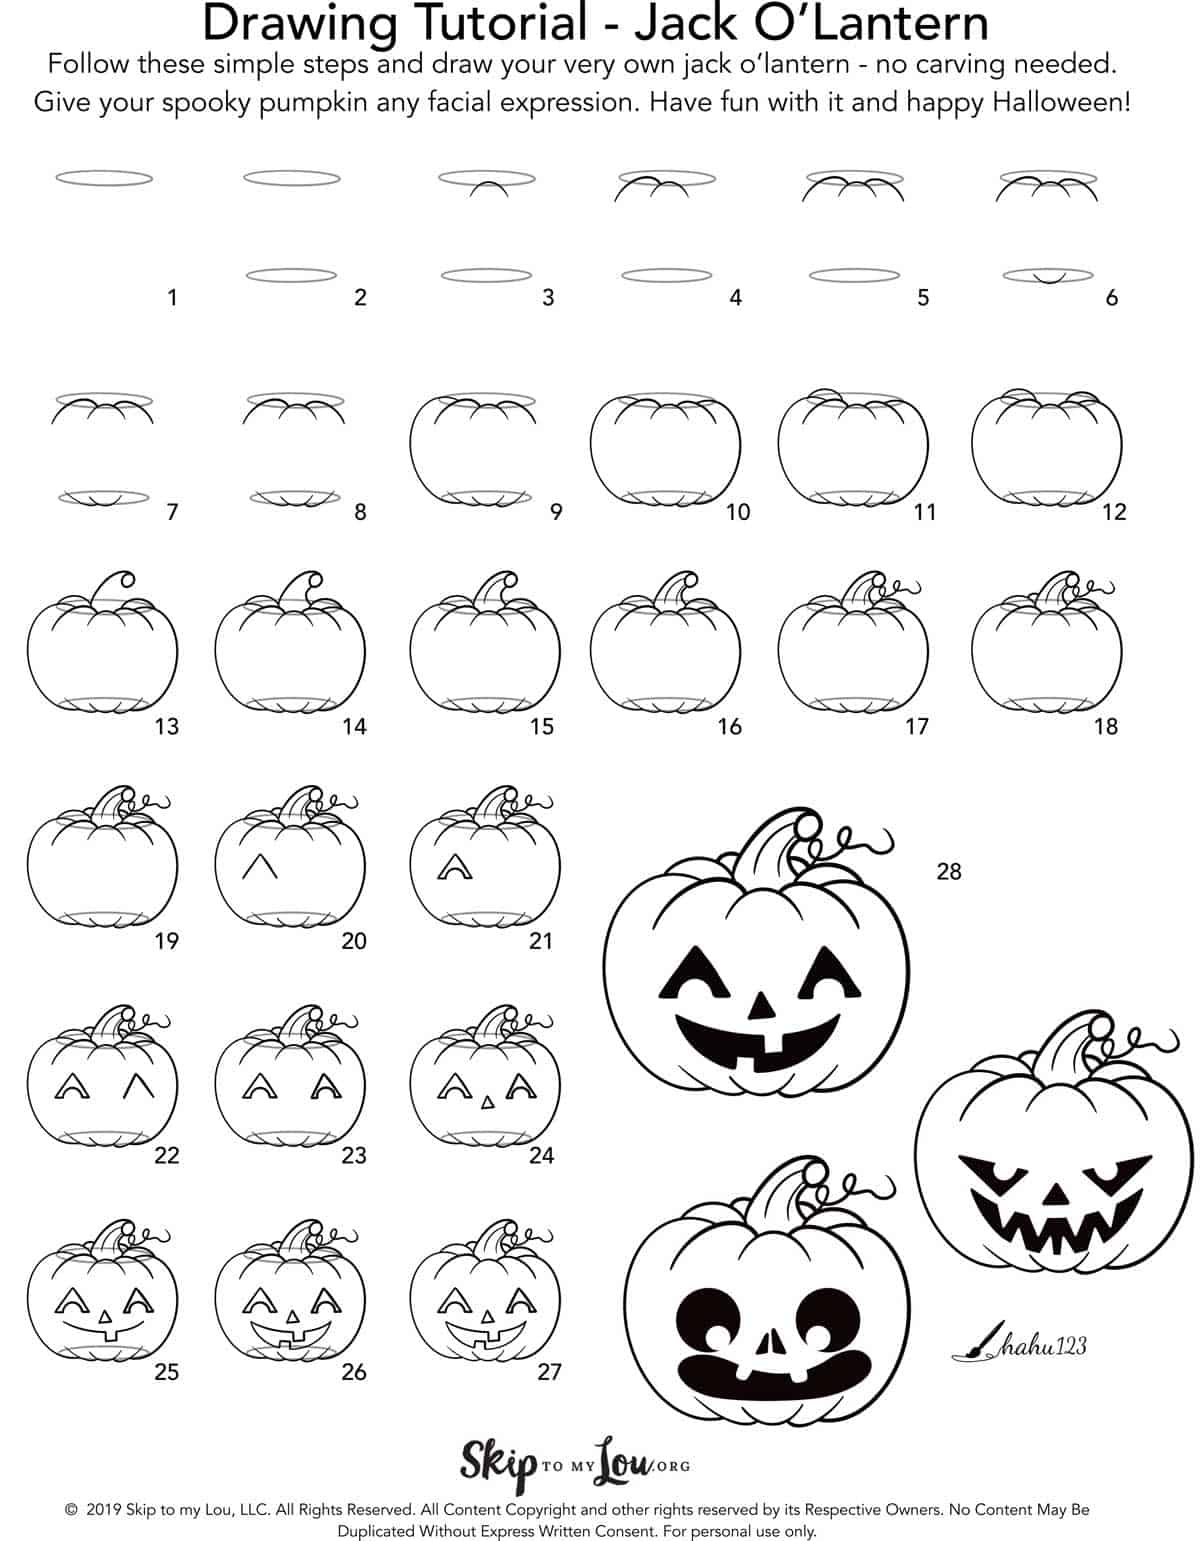
(Step 1-2) Draw these lines lightly with a pencil.
Step 1: draw a flat ellipse.
Step 2: draw a second slightly smaller ellipse below the first. The ellipses are used the draw the pumpkin’s ribs around and help with the overall shape. We are only indicating the ribs and do not draw them from top to bottom. Let’s start drawing You can make this drawing your own by changing the position of the stem, the distance between the guides, or the facial features. (You could now change to a pen or colored pencil)
Step 3: starting in the middle of the first ellipse, draw an arch to indicate the first two/middle ribs.
Step 4:: on the left, starting where the first arch and the ellipse meet, add a second arch with a longer left side.
Step 5: : on the right of the first arch, draw the same line mirroring the one in step 4.
Step 6: opposite from the first arch at the bottom of the second ellipse, draw an inverted arch.
Step 7: similar to step 4, add a second inverted arch with a longer left side.
Step 8: similar to step 5, add a third inverted arch with a longer right side.
Step 9: to the left, starting slightly off the top of the arched line in step 4 and ending where the second inverted arch meets the bottom ellipse (step 7), draw a long c-shaped line to connect the top and bottom part of your pumpkin.
Step 10: at the opposite side of the pumpkin, draw a backward c-shaped line mirroring the one in step 9.
Step 11: starting slightly right to the top of the arched line in step 4, draw another arch ending at the end of the first ellipse.
Step 12: add another arch at the right side of the pumpkin mirroring the one in step 11.
Step 13: we are now ready to draw the stem – starting where the arches from step 4 and 11 meet, draw a tilted long arch with a circle/ellipse at its end (an upside-down inverted 6-shaped line).
Step 14: draw a curved line from the bottom of the circle from step 13 to the left end of the arch from step 12.
Step 15-16: add curved lines from the circle/ellipse (from step 13) along the stem.
Step 17: add a curled line next to the stem for the pumpkin’s vine.
Step 18: add a small arch between the stem and the arch from step 11.
Step 19: mirroring the one in step 18, draw another small arch between the stem and the arch from step 12. Your pumpkin is now complete. You can stop here and erase the guidelines or continue and carve the pumpkin into a jack o’ lantern.
Step 20: carve the pumpkin – to the left add an open-ended triangle in the position where you like the left eye to be.
Step 21: at the bottom of the triangle, connect the ends with a short straight line, an arch (for the pupil), and another short straight line.
Step 22-23: Repeat steps 20 and 21 for the other eye.
Step 24: add a small triangle between the eyes for the nose.
Step 25: carve the mouth – draw a flat curved line underneath the nose. A little tip: a little off the middle, add an open square (or triangle) shaped line to indicate a top tooth.
Step 26: add another curved line (not as flat as the previous one) connecting the ends of the curve in step 25. Add another open square (or triangle) shaped line to indicate the bottom tooth.
Step 27: If you haven’t done so already, erase the guidelines.
Step 28 (optional): fill in the facial features with a darker color. Leave it as is, I’d you want to color and/or shade it.
You are now all done with your first drawing of a jack o’ lantern – or a simple pumpkin.
Now, it’s time to color it! This tutorial merely serves as a basic example.

The more you practice, the more you will be able to individualize the drawing. You can change the expressions of your jack o’ lantern to scary or silly or make them much simpler or more intricate. Omit or add any details you like.

Let me know if this step by step tutorial for drawing a Halloween jack o lantern was helpful! I would love to know. What else would you like to learn to draw?
my favorite drawing supplies
- Sketching Pencils
- Kneaded Rubber Eraser
- Sketch Pad
- Erasable Colored Pencils
- Fine markers
- Sketch and Drawing Art Pencil Set
- Artist drawing set (This is great for new and experienced artists. It’s also something I give as a gift.)
More Drawing Ideas
- How to draw a rose
- How to draw a dog
- How to draw a unicorn
- How to draw a flower
- How to draw a turkey
- How to draw Rudolph
- How to draw Santa
- How to draw a Christmas Tree
- How to draw an Anime
- How to draw a cat
Have fun drawing and happy Halloween!


they are very helpful…I mean the drawings on pininterest .
Thank you this was so fun to do!
Thank you for the step by step tutorial. It definitely makes it so much easier!
This totally upp’d my pumpkin game. I’ve never been able to do more than triangle eyes. I love this tutorial, thank you!
My daughter loves to follow step by step drawing patterns! This is so great! Showing this to her ASAP!
How cute! Can’t wait to show this to the girls. They love drawing!