Fire is one of the most beautiful and fascinating elements of nature. Its mesmerizing dance of colors and warmth has inspired many to try and recreate its beauty. Drawing fire can be a challenging task for any artist, especially for those just starting out. However, with a few drawing lessons and the right materials, anyone can create a realistic fire drawing that looks truly impressive. In this tutorial, I will take you through simple steps on how to draw a fire.
You will learn the basics of drawing fire, adding bright colors and little spark to the fire, the different materials and tools you need, and the techniques you can use to make your drawing look as realistic as possible. So, grab your pencils and paper and get ready to learn how to draw a fire!
If you are interested in learning to draw other things, here is How to draw a dog and how to draw a butterfly
This article contains affiliate links.
SUPPLIES NEEDED TO DRAW A FIRE
- Sketching Pencils
- Kneaded Rubber Eraser
- Sketch Pad
- Erasable Colored Pencils
- Fine markers
- Sketch and Drawing Art Pencil Set
- Artist drawing set (This is great for new and experienced artists. It’s also something I give as a gift.)
How to Draw Fire
Drawing realistic fire flames can be a daunting task for even the most experienced artists. Creating outlines of the flames requires an understanding of color theory, a familiarity with various shading techniques, and the ability to mix and blend colors correctly. Fortunately, with a few easy steps, anyone can learn how to draw a realistic fire. Below are drawing tutorials on on how to draw a fire.
Step 1
The first step is to create the inner flames of the fire. Start by sketching out the basic shape of the flame using curved lines. It’s important to note that the top of the flame should be narrower and come to a point, giving the flame a more natural look and feel. This can be achieved by using smaller, tighter curves at the top of the flame and larger, more rounded curves at the bottom. This will give the flame a tapered, upward-reaching shape that is commonly associated with fire. You can take the help of construction lines to draw fire sketches.

Step 2
The second step is to add other curved lines of the fire. This layer will be more shaped and larger than the previous layer like a teardrop shape. With the help of the reference picture, you can see that there are a few harsh edges or sharp points that complement the softer wavy line which you can make using softer pencils. It will therefore look to flicker like a real fire does!

Step 3
Now that you have the base of the flame drawn in, it is time to add more detail and texture to the flames. Now you would need to add small flames around the center of the flame. At the bottom of your fire, add equal flames on both sides to make your fire look bigger and better.

Step 4
At this point, you have a small fire with flames but to make your drawing perfect, we need to add more depth. We will do this by adding two small fiery flames to the side of the fire. This will give an enhanced look to the bottom of the fire. To get this right the first time, you can practice it on piece of paper.
Beginning with the outside base of your fire, carefully draw two side portions with a sharp point at the top. While it’s possible to depict them precisely as they are, don’t be scared to alter their shapes somewhat because fire never looks the same twice! It will look beautiful no matter what you do.

Step 5
Now is the time to color your flame drawing with great colors. One of the easiest ways to color your picture is by coloring smaller shapes. I would recommend picking yellow, orange, and dark orange. If you don’t have dark orange then mix orange with red color. As shown in the picture below, the inside of the flame should be yellow and all other flames should be orange. To add more texture to the picture, color out flames with dark orange.

Whether you adhere to the traditional colors of yellow, red, and orange for your fire drawing or add some of your other favorite hues, there are countless ways to color it in!
Tips for Making an Awesome Fire Drawing
Use a slightly softer pencil to create the wavy, flickering lines that will give the fire a sense of movement and depth. Pay attention to the reference picture and try to replicate the pattern of the fire as closely as possible.
Make sure you pay attention to the direction of the simple flames, and how the shapes you are creating are moving, this way you can give the fire a more dynamic view.
Key takeaways
Fire is one of the most mesmerizing and beautiful elements of nature. Drawing a fire can seem like an intimidating task, but it can be an enjoyable and rewarding experience once you get the hang of it. This step-by-step tutorial will teach you how to draw a fire, using simple shapes and techniques. You will learn how to use color and light to create the flickering flames and glowing embers of a realistic fire. With practice and patience, you will be able to create a beautiful and captivating work of art.
Other How to Draw Tutorials
We have many How to Draw tutorials on Skip to My Lou, so be sure to check these out.
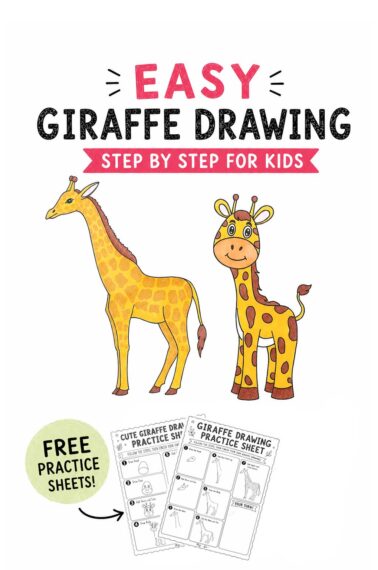
- How to Draw a Giraffe – Step by Step Tutorial
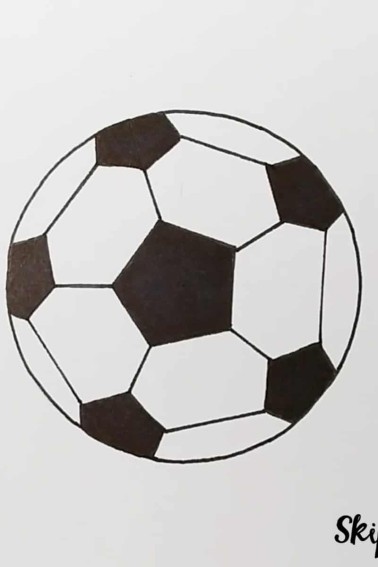
- How to Draw a Soccer Ball: 9-Step Effortless Guide
- How to Draw a Tree in 5 Easy Steps
- How to Draw Eyes
- How to Draw a Cat Easy Drawing Tutorial
- How to Draw a Mouth Easy Tutorial
I would love to keep you fully stocked with creative ideas, yummy recipes, fun crafts, and loads of free printables. Subscribe to Skip to my Lou to get new ideas delivered to your inbox. Follow me on Facebook, Pinterest, Twitter, and Instagram for all my latest updates.


Amazing
Thanks that was really helpful with my Confirmation work!!!!