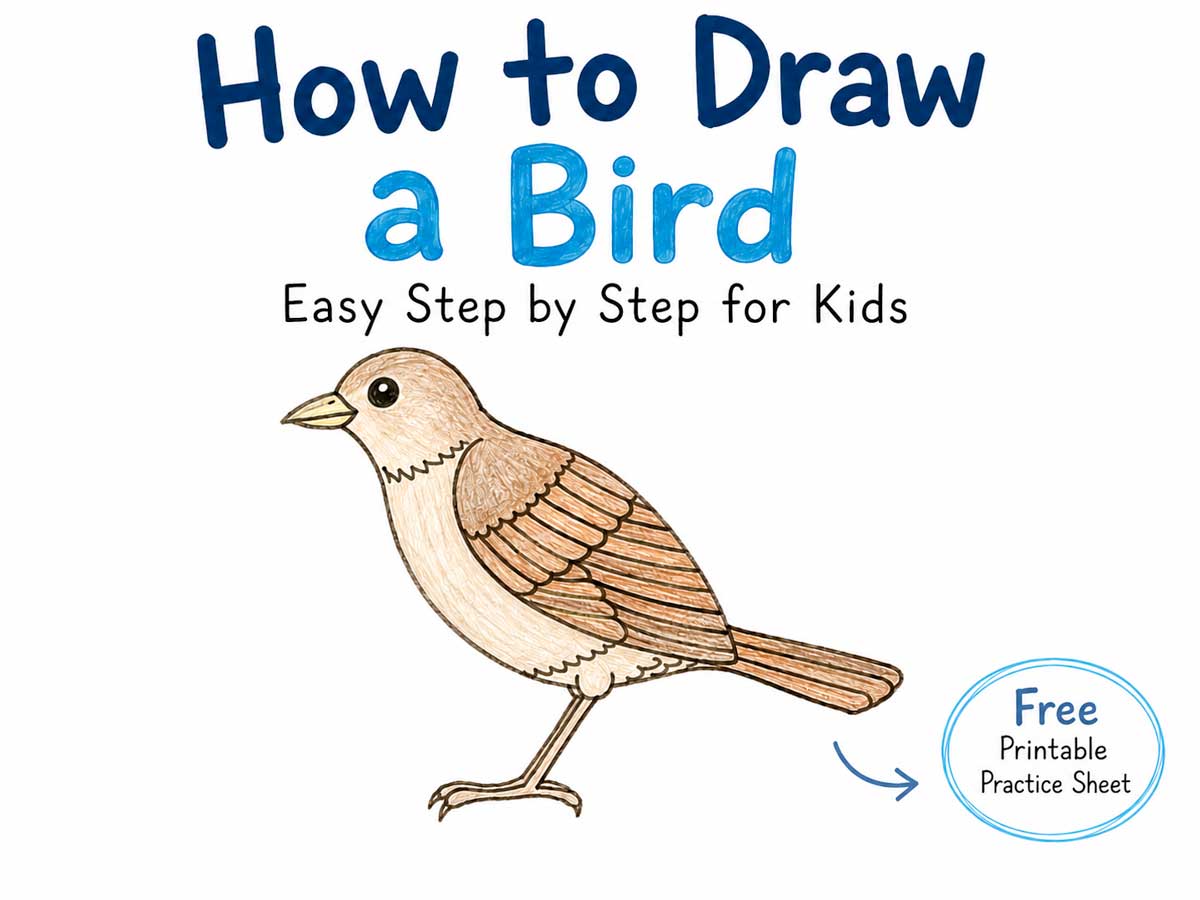
Learn how to draw a bird with this easy step-by-step tutorial for kids. This simple bird drawing starts with a curved line for the head, then adds the beak, body, wing, tail, legs, feet, and feather details.
Use the pictures below to follow each step, then color your bird to look like a robin, blue jay, or any bird you like. You can also print the free bird drawing practice sheet to make it even easier.
Related: Try more easy drawing tutorials like how to draw an owl, how to draw a butterfly, and how to draw a tree. You can also print these free bird coloring pages or bald eagle coloring pages for more bird-themed fun.
How to Draw a Bird Video
Watch the quick video below to see how to draw a bird step by step. It shows each simple line as it is added, from the bird’s head and beak to the wing, tail, feet, and feather details. Kids can follow along with the video, then use the printable bird drawing practice sheet to try it on their own.
Supplies for Drawing a Bird
You only need a few basic supplies for this bird drawing.
- Sketching pencils
- Eraser
- Drawing paper or sketch pad
- Fine black marker
- Colored pencils or crayons
How to Draw a Bird Step by Step
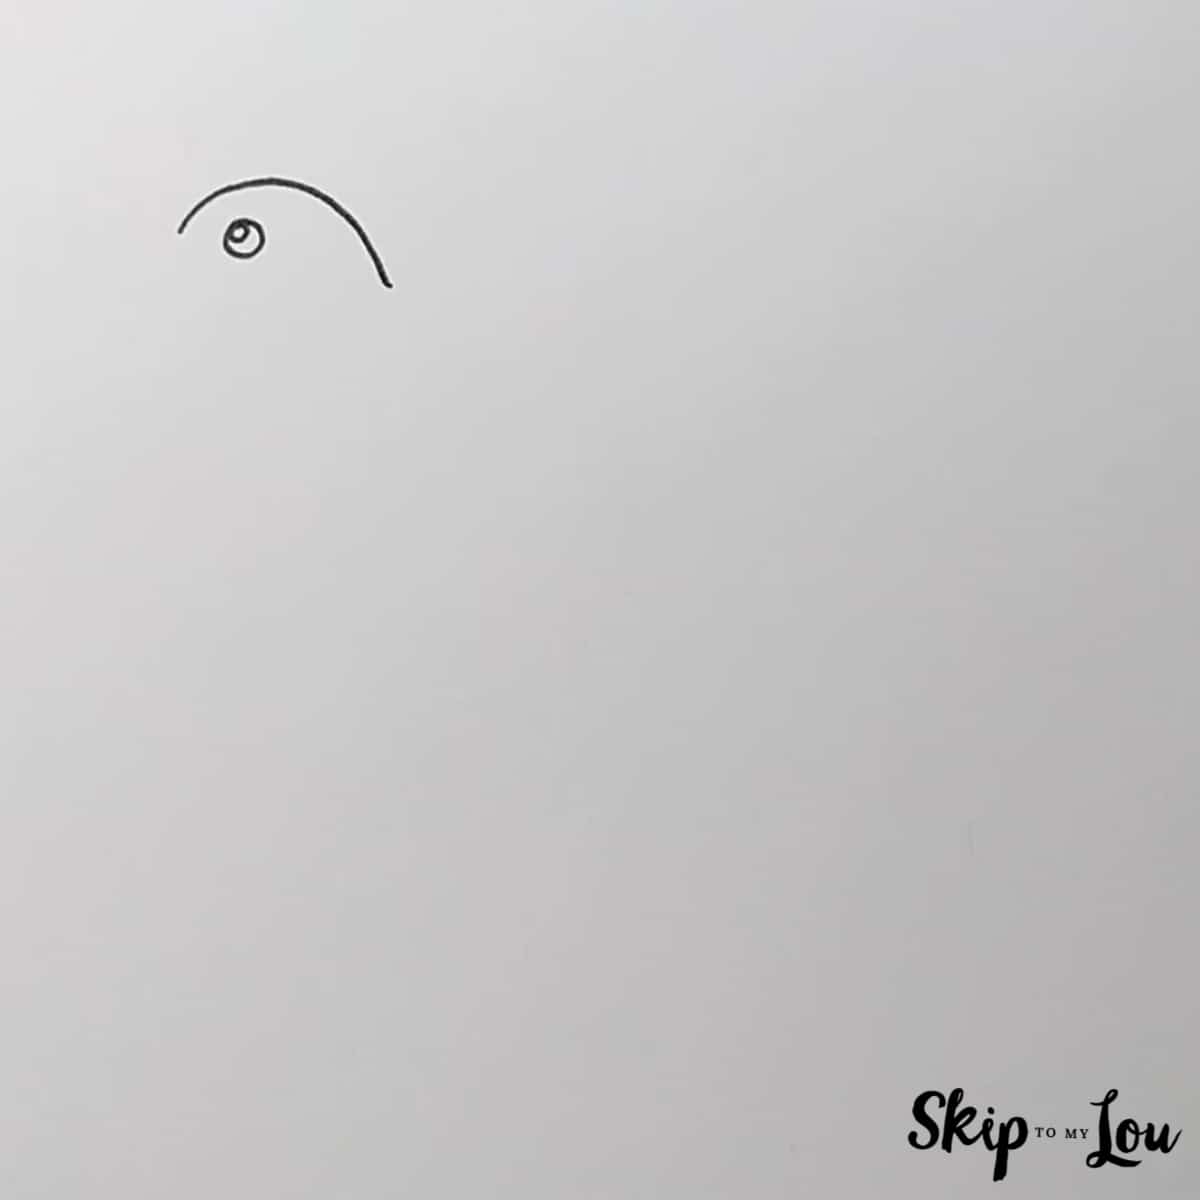
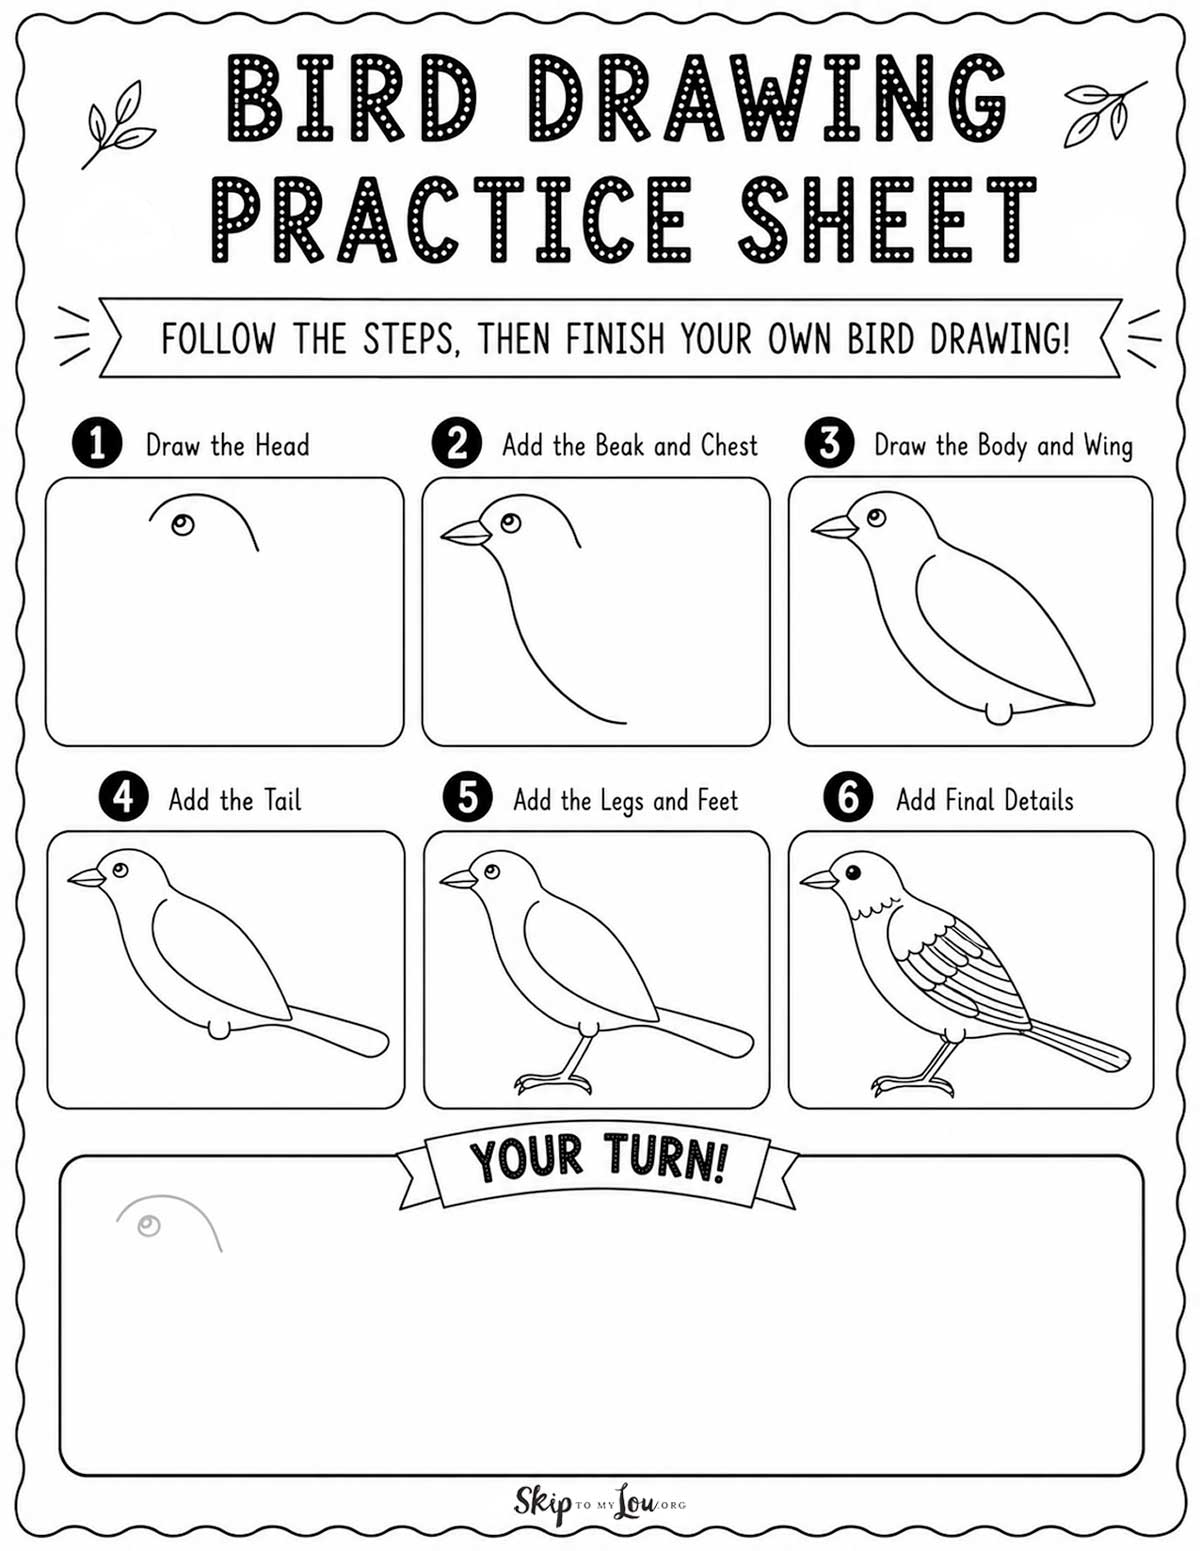
- Draw the head.
Start near the top left side of your paper. Draw a curved line for the top of the bird’s head. Add a circle for the eye, then draw a smaller circle inside it.
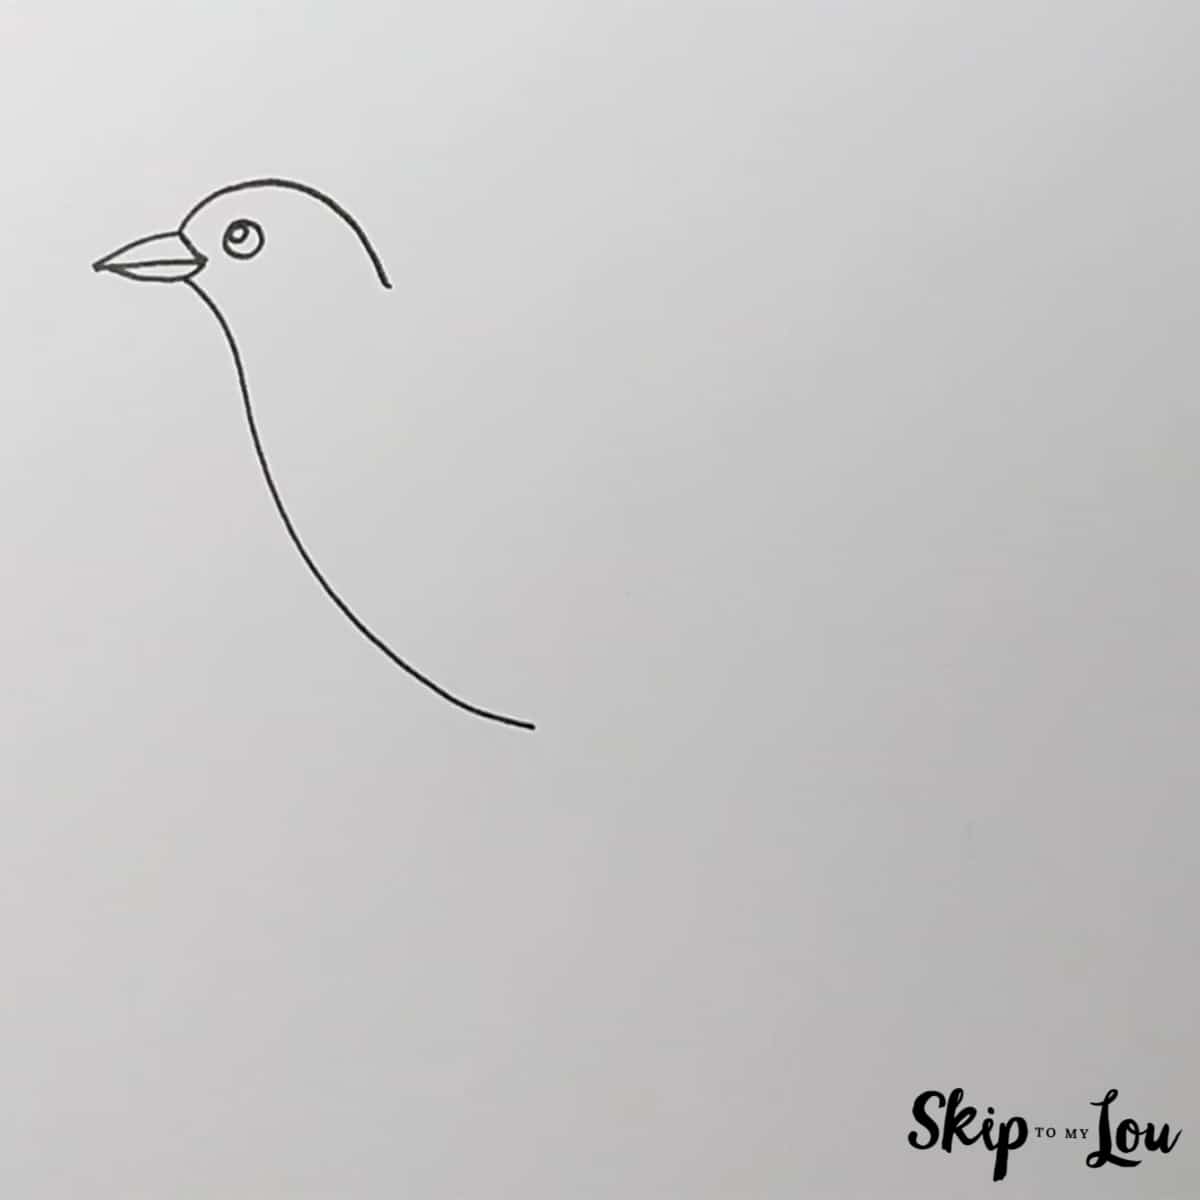
- Add the beak and chest.
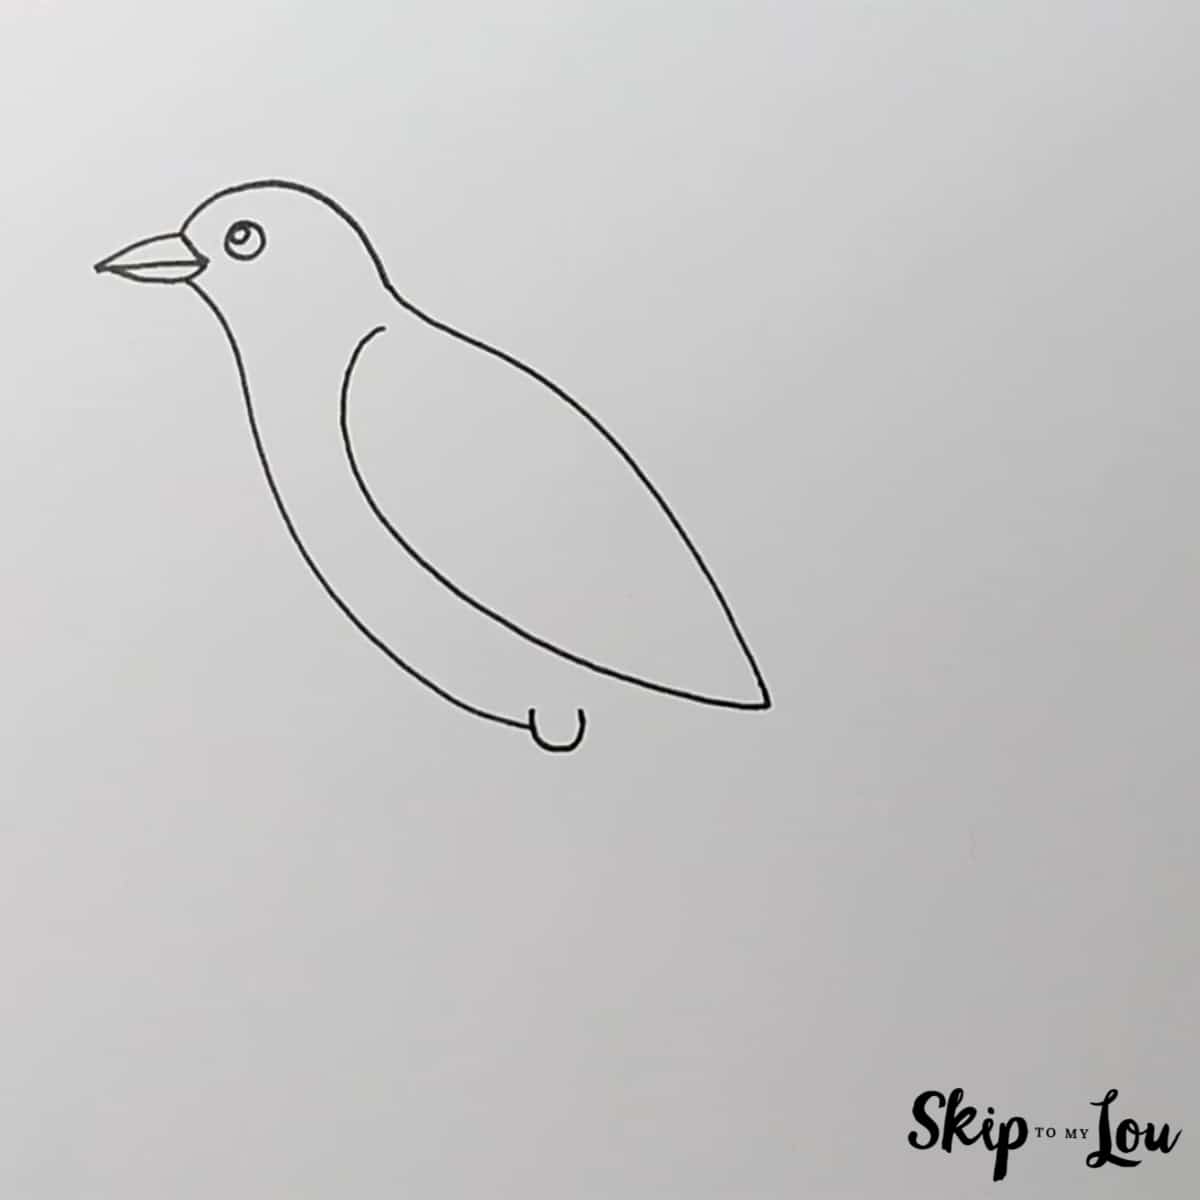
Draw a pointed beak on the left side of the head. Add a line through the middle of the beak. Then draw a long curved line down from the head to make the bird’s chest. - Draw the body and wing.
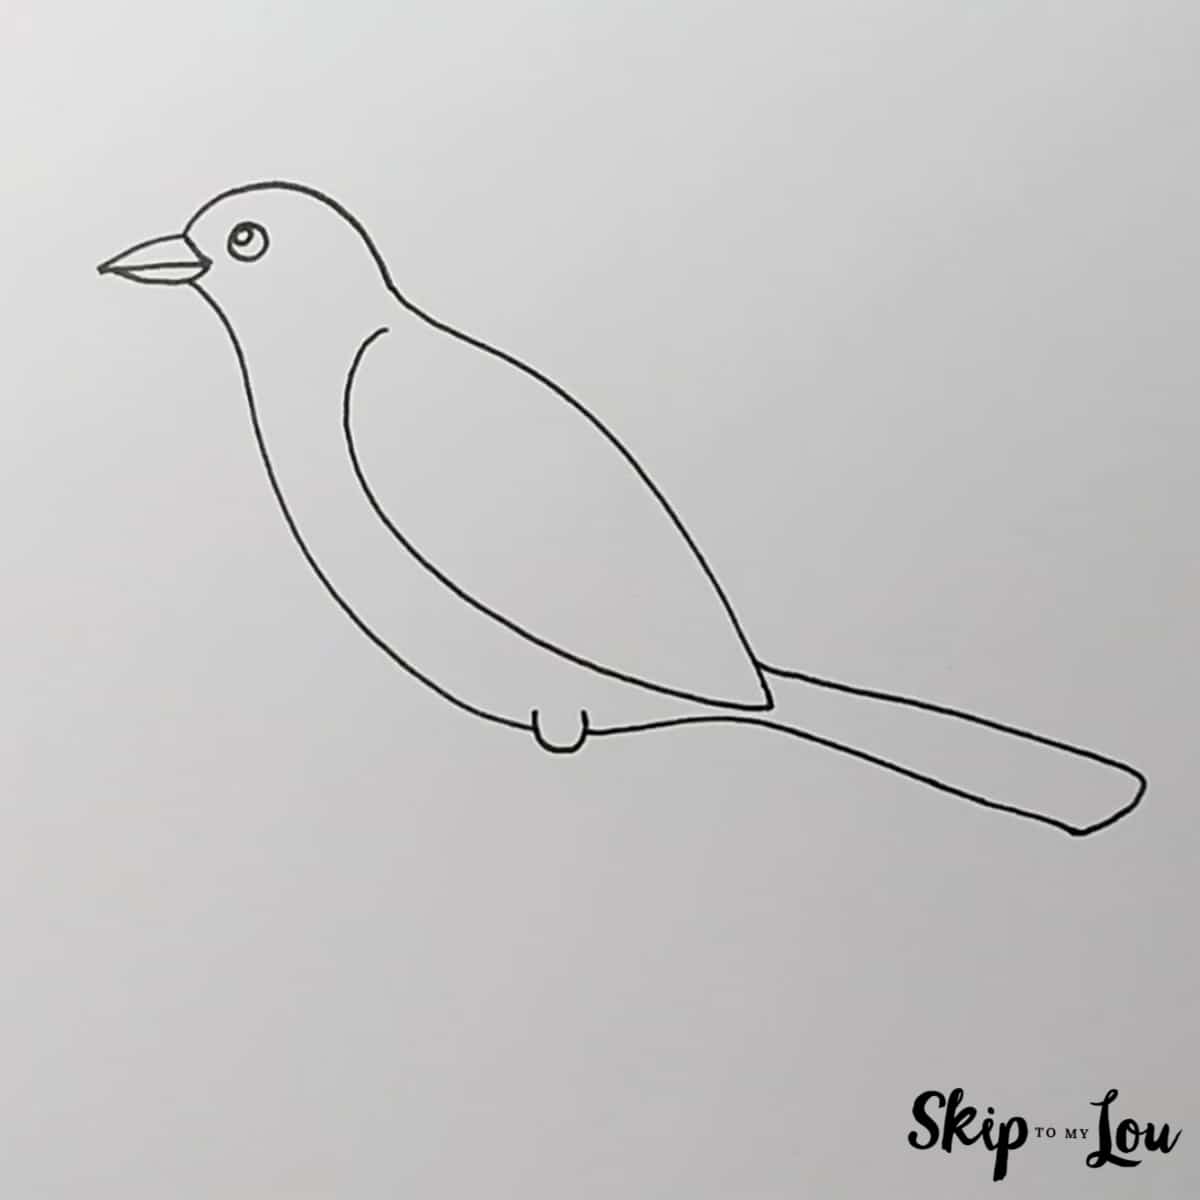
Continue the back of the head into a curved body shape. Add a large oval-like wing on the side of the bird. Draw a small “u” shape at the bottom for the top of the leg. - Add the tail.
Draw a long tail coming out from the back of the bird. Keep the tail simple and slightly pointed at the end. - Add the legs and feet.
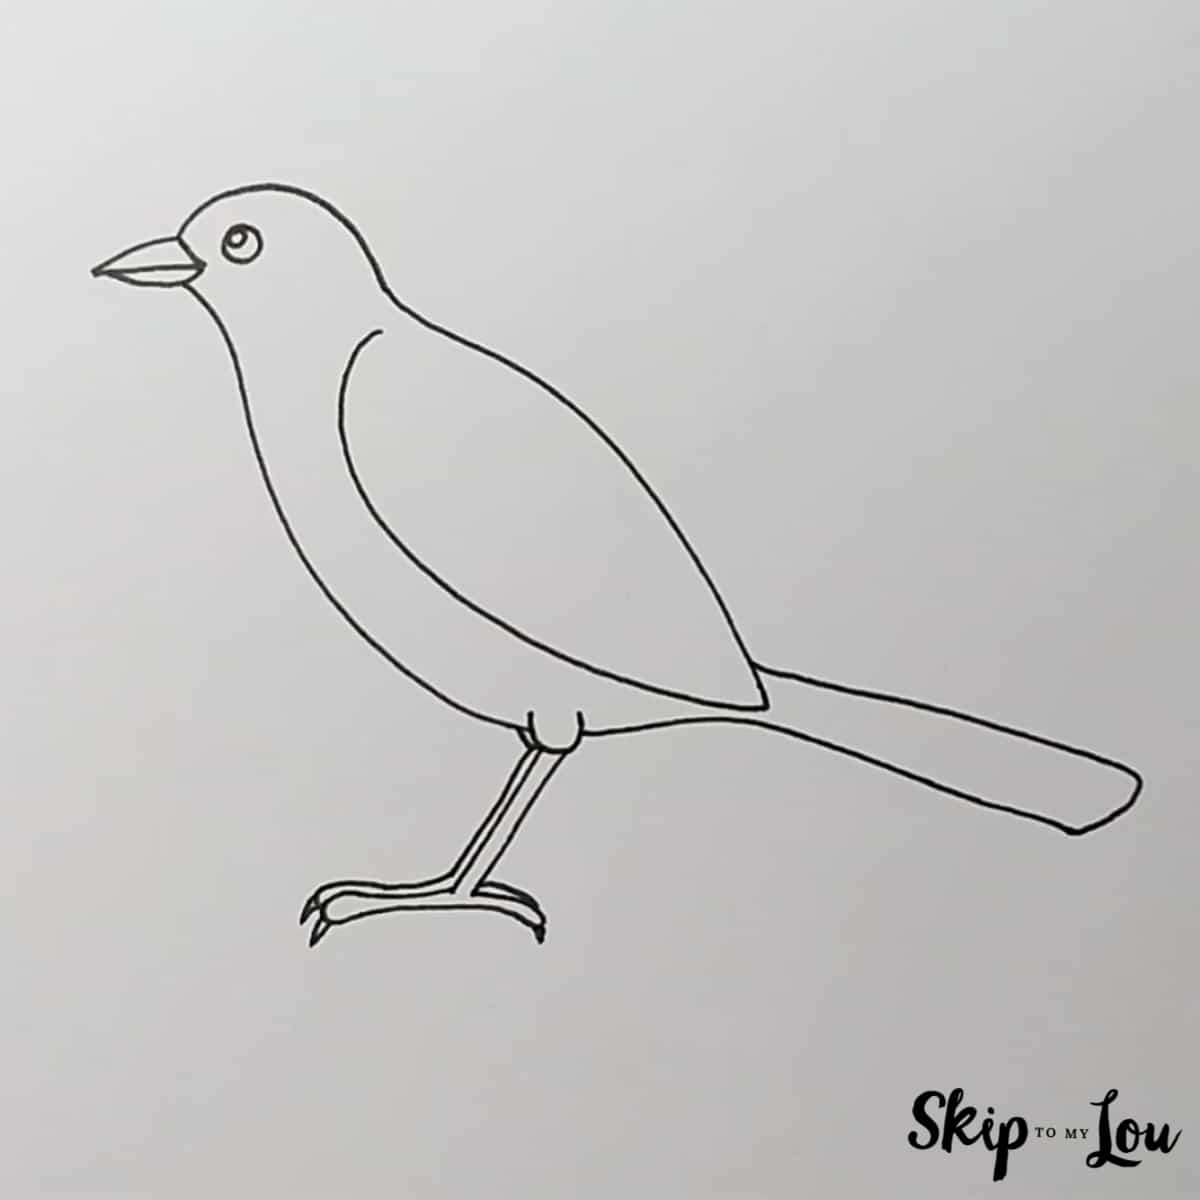
Draw the bird’s leg with two straight lines. Add curved toes at the bottom, then draw small pointed claws on the tips. - Add final details.
Color in the eye, leaving a tiny white spot. Add jagged feather lines on the neck, belly, wing, and tail. Draw several long lines on the wing and tail to finish the feathers.

Free Printable Bird Drawing Practice Sheet
Use the free printable bird drawing practice sheet to follow each step and draw your own bird. The practice page includes all six steps and a large “Your Turn” space so kids can finish the drawing on their own.
Before You Fly Away
I hope this easy bird drawing tutorial helped you make a cute bird step by step. Once you finish, color your bird with crayons, markers, or colored pencils. Try making it look like a robin, blue jay, cardinal, or your favorite backyard bird.
More Easy Drawing Ideas for Kids
Keep drawing with these simple step-by-step tutorials:
- Easy Things to Draw
- How to Draw an Owl
- How to Draw a Butterfly
- How to Draw a Bee
- How to Draw a Tree
- How to Draw a Dog
- How to Draw a Cat
- How to Draw a Fish
I would love to keep you fully stocked with creative ideas, yummy recipes, fun crafts, and loads of free printables. Subscribe to Skip to my Lou to get new ideas delivered to your inbox. Follow me on Facebook, Pinterest, Twitter, and Instagram for all my latest updates.


Wow you’re creative
So happy you liked the bird Roza.
hi, i love this bird! blessings to you
oh hi I love this bird