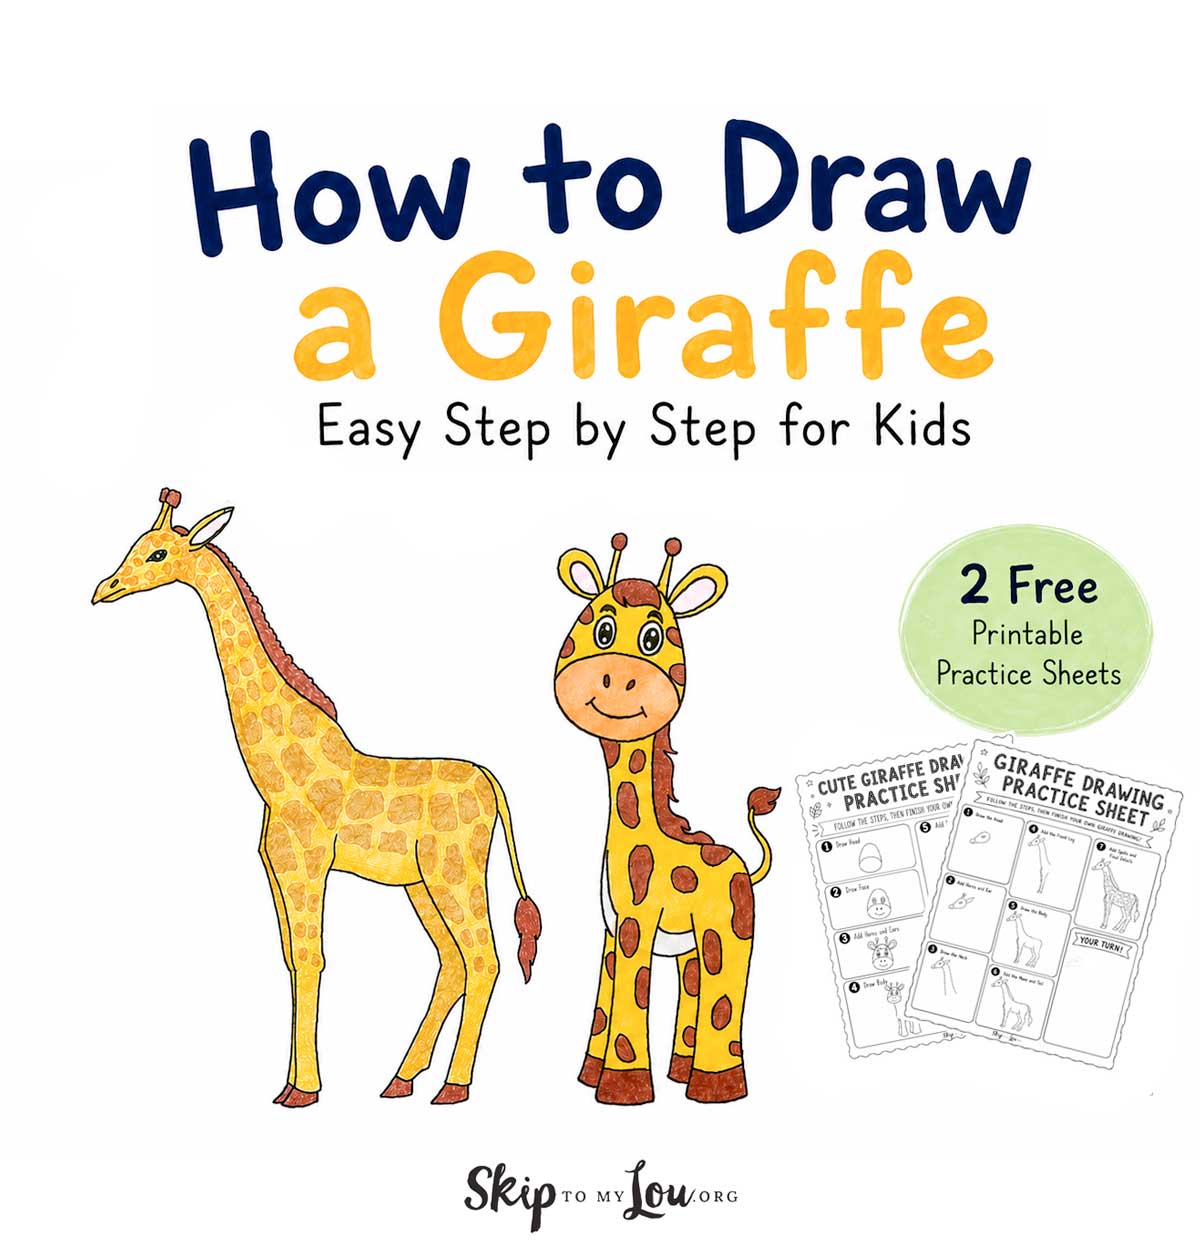
Learning how to draw a giraffe is easier when you break it into simple steps. Begin with the cute giraffe drawing for kids and beginners, then try the more detailed giraffe tutorial further down the page.
I have also created two free printable giraffe drawing practice sheets so you can follow each lesson at your own pace. With my background in art education, I love turning animals into simple lines and shapes that make drawing feel manageable.
Looking for more drawing inspiration? Browse these easy things to draw, or try our easy elephant drawing and tiger drawing tutorials.
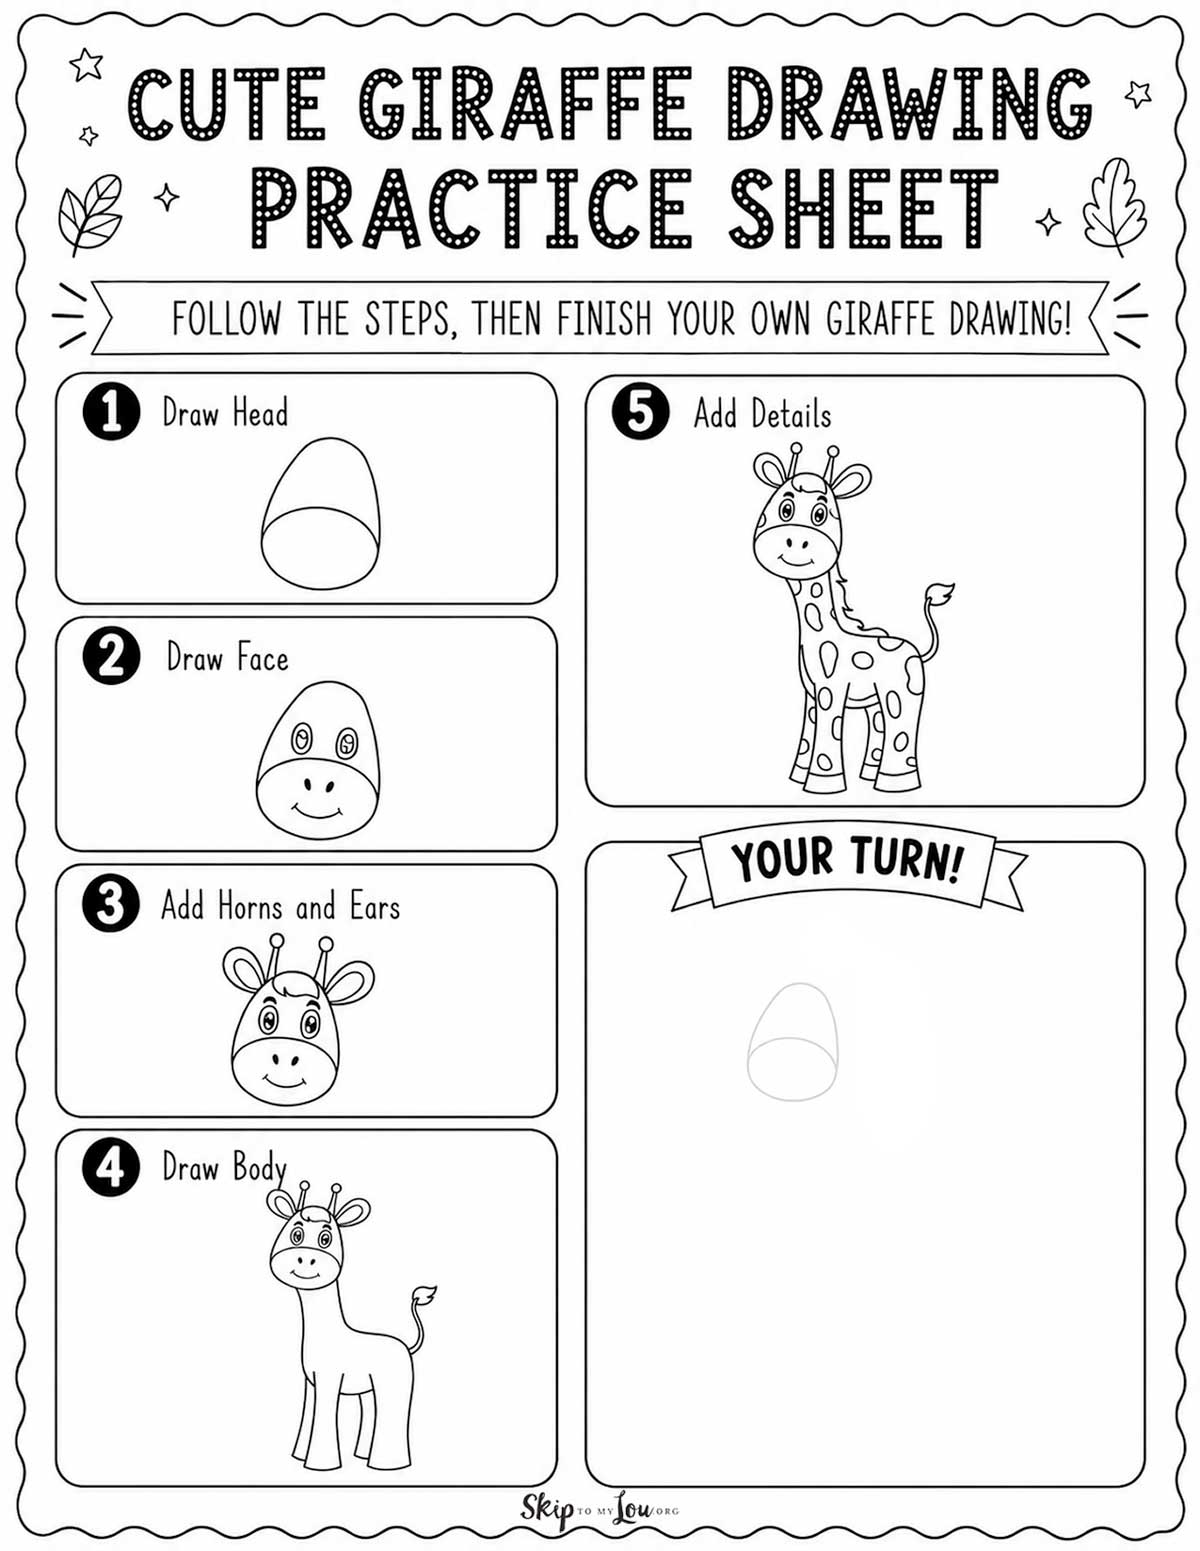
Cute Giraffe Drawing Practice Sheet
Start with this cute giraffe drawing practice sheet. The five simple steps show kids how to draw the giraffe’s head, face, horns, ears, body, spots, and final details.
Print the guide and keep it beside you as you work. The large Your Turn box provides plenty of room to practice your own giraffe drawing.
Easy Giraffe Drawing Supplies
You only need a few basic art supplies:
- Drawing Pencil
- Eraser
- Drawing paper
- Black marker
- Colored pencils or crayons
Begin with light pencil lines so they are easy to erase. Once you are happy with your giraffe, trace the final lines with a marker and add color.
How to Draw a Cute Giraffe Step by Step
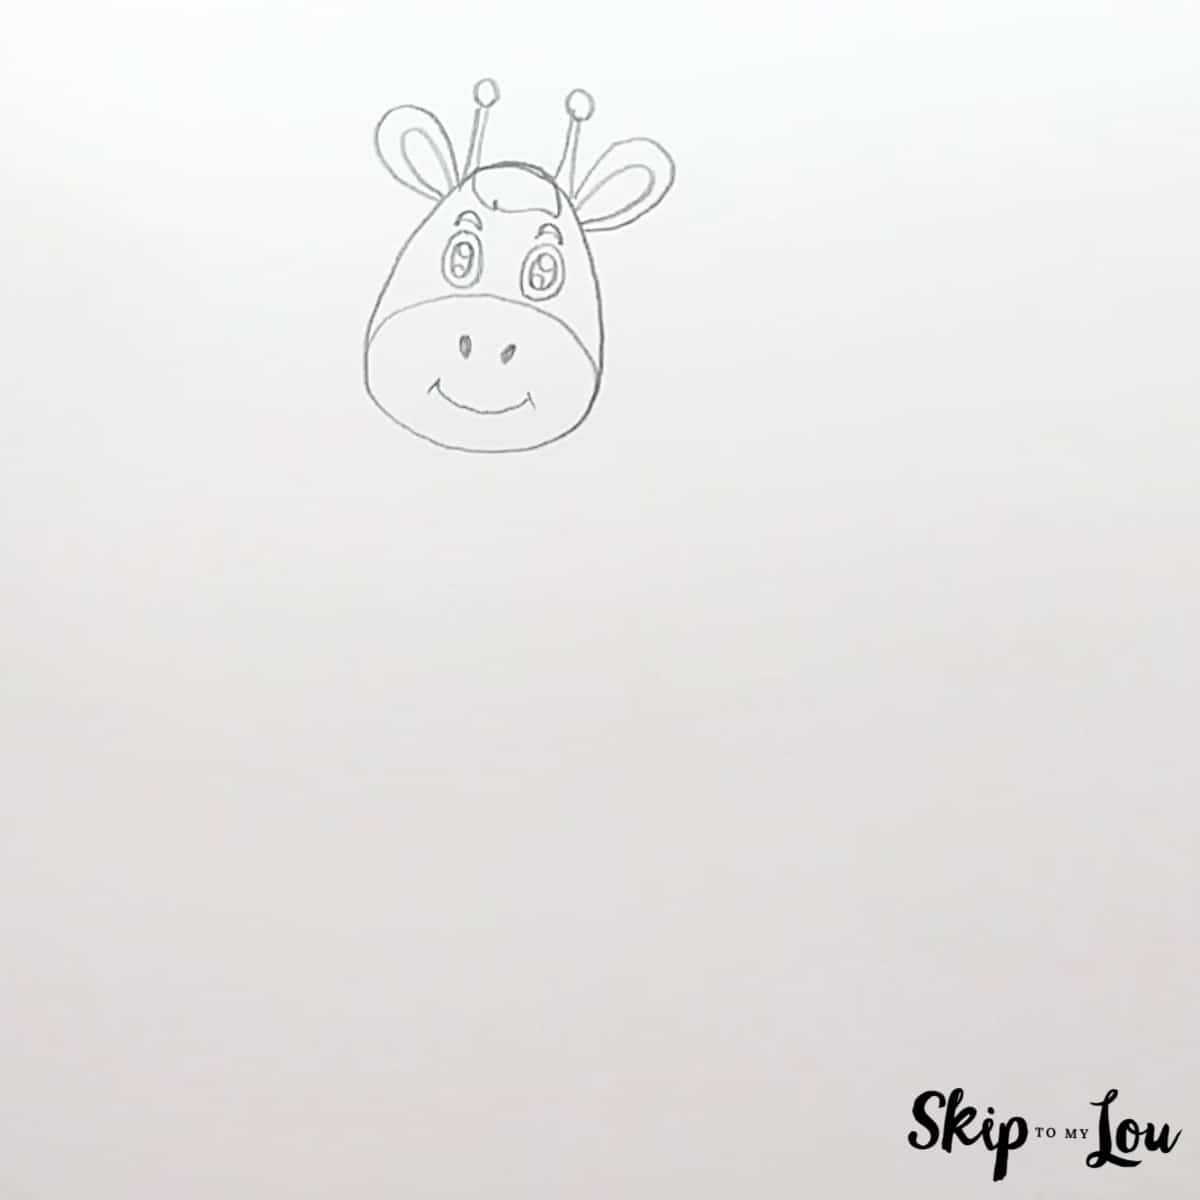
Step 1: Draw the Head
Draw a tall, rounded shape for the giraffe’s head. Add a curved line across the lower part to form the muzzle.

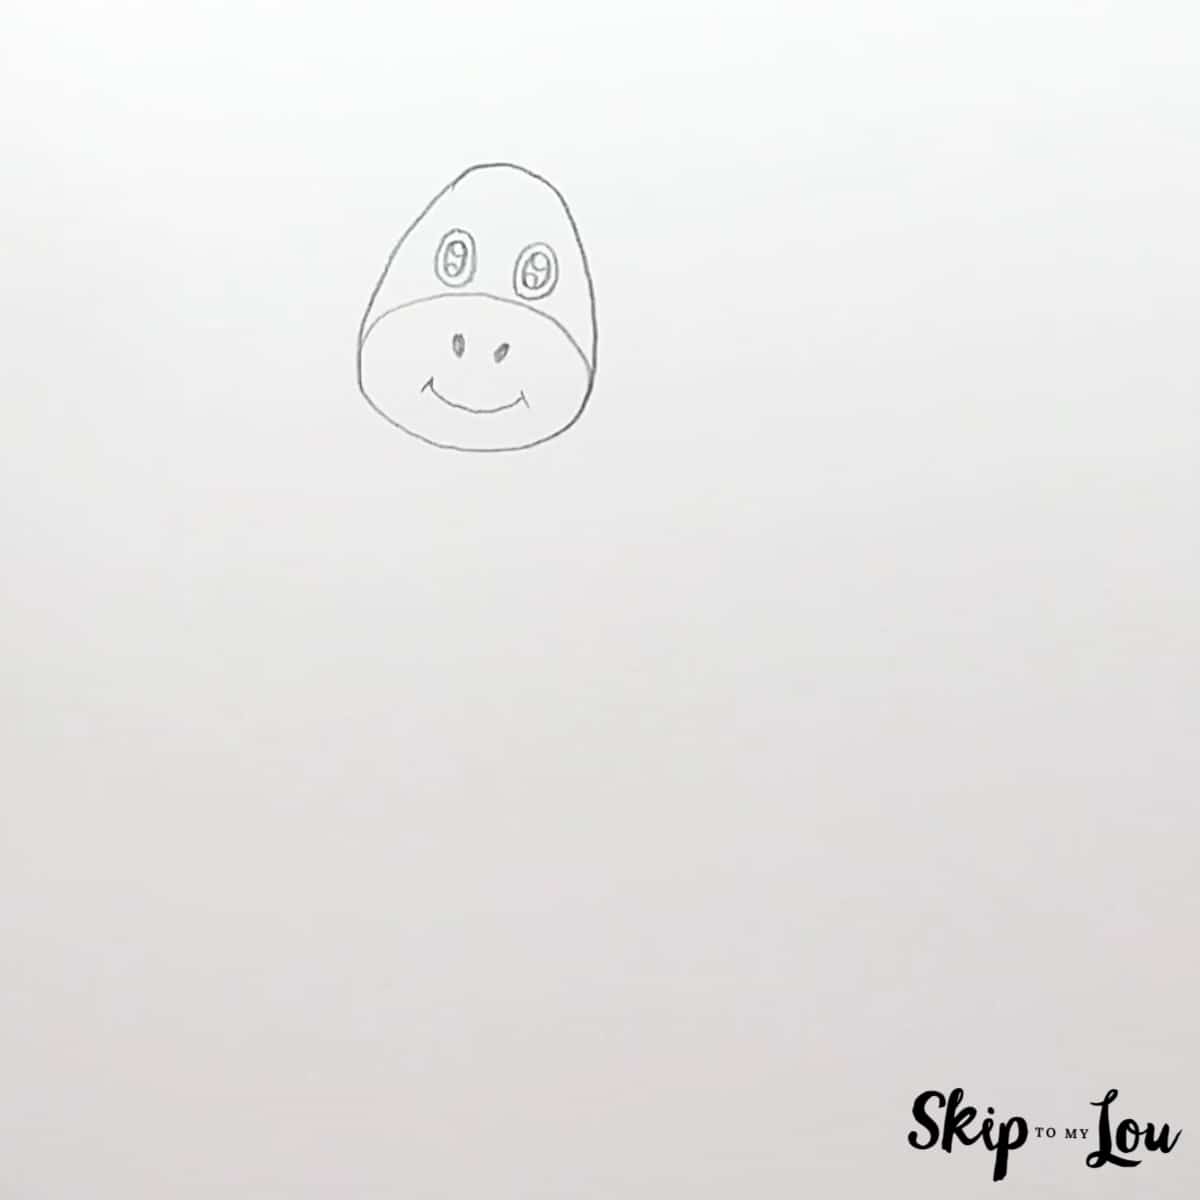
Step 2: Draw the Face
Draw two eyes in the upper part of the face. Add two small nostrils and a curved smile inside the muzzle.
Step 3: Add the Horns and Ears
Draw one ear on each side of the head. Add a smaller curved line inside each ear.
Next, draw the giraffe’s two small horns on top of its head.
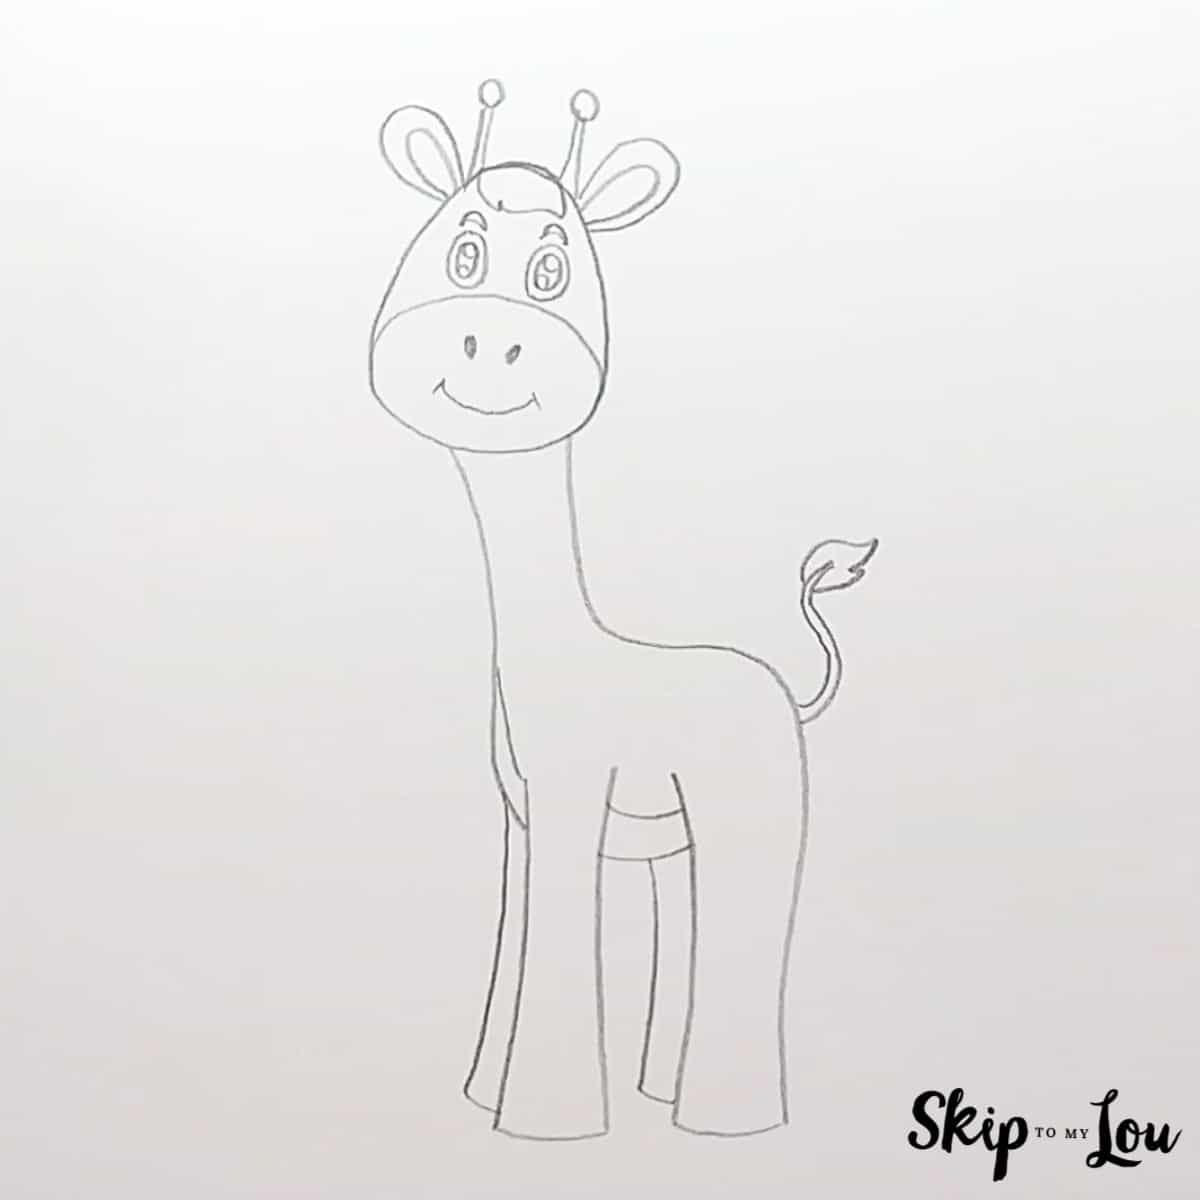
Step 4: Draw the Body
Draw two long lines beneath the head to form the giraffe’s neck. Continue the lines into the back, belly, and legs.
Add the remaining legs and finish with a curved tail.
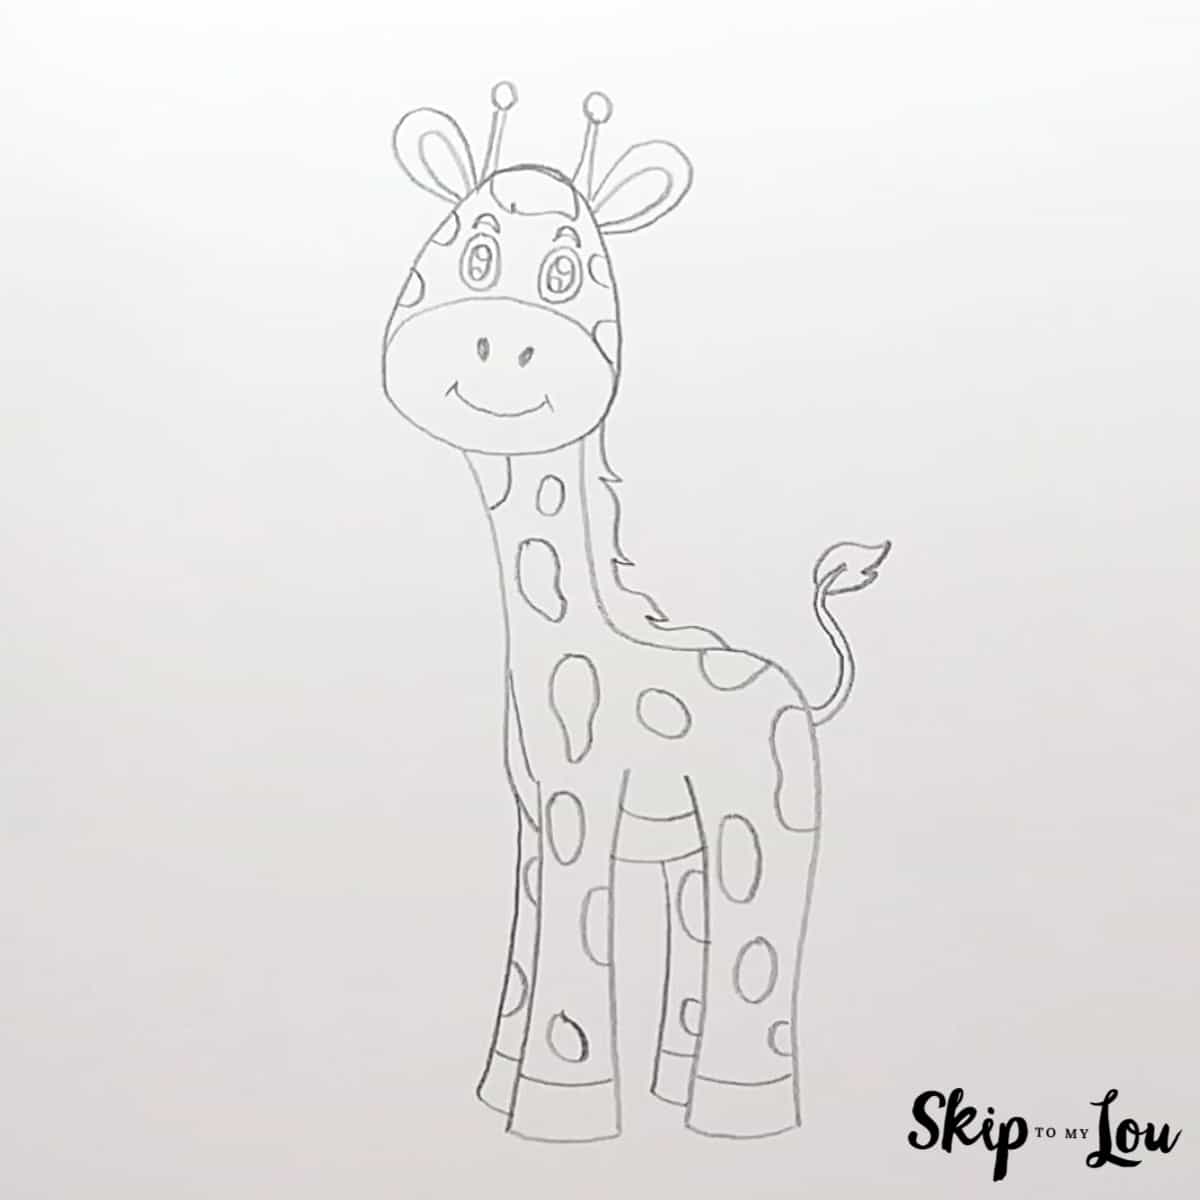
Step 5: Add Spots and Details
Draw irregular rounded spots over the giraffe’s head, neck, body, and legs. Add a mane along the back of the neck and short lines near the feet for the hooves.
Erase any extra pencil marks, then trace the final drawing with a black marker if you would like darker, cleaner lines.
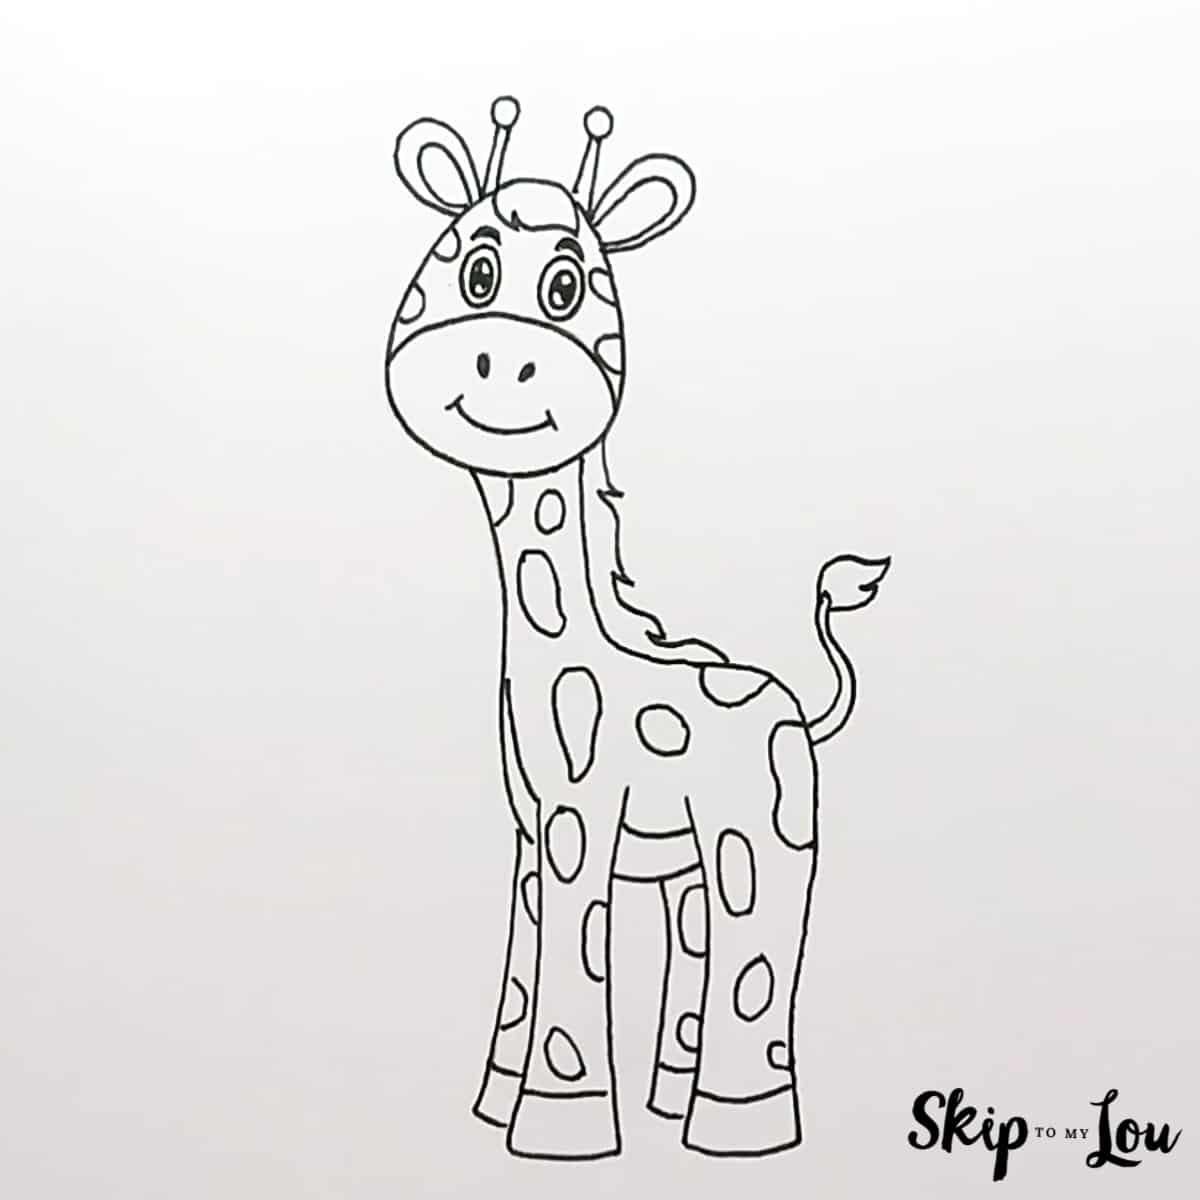
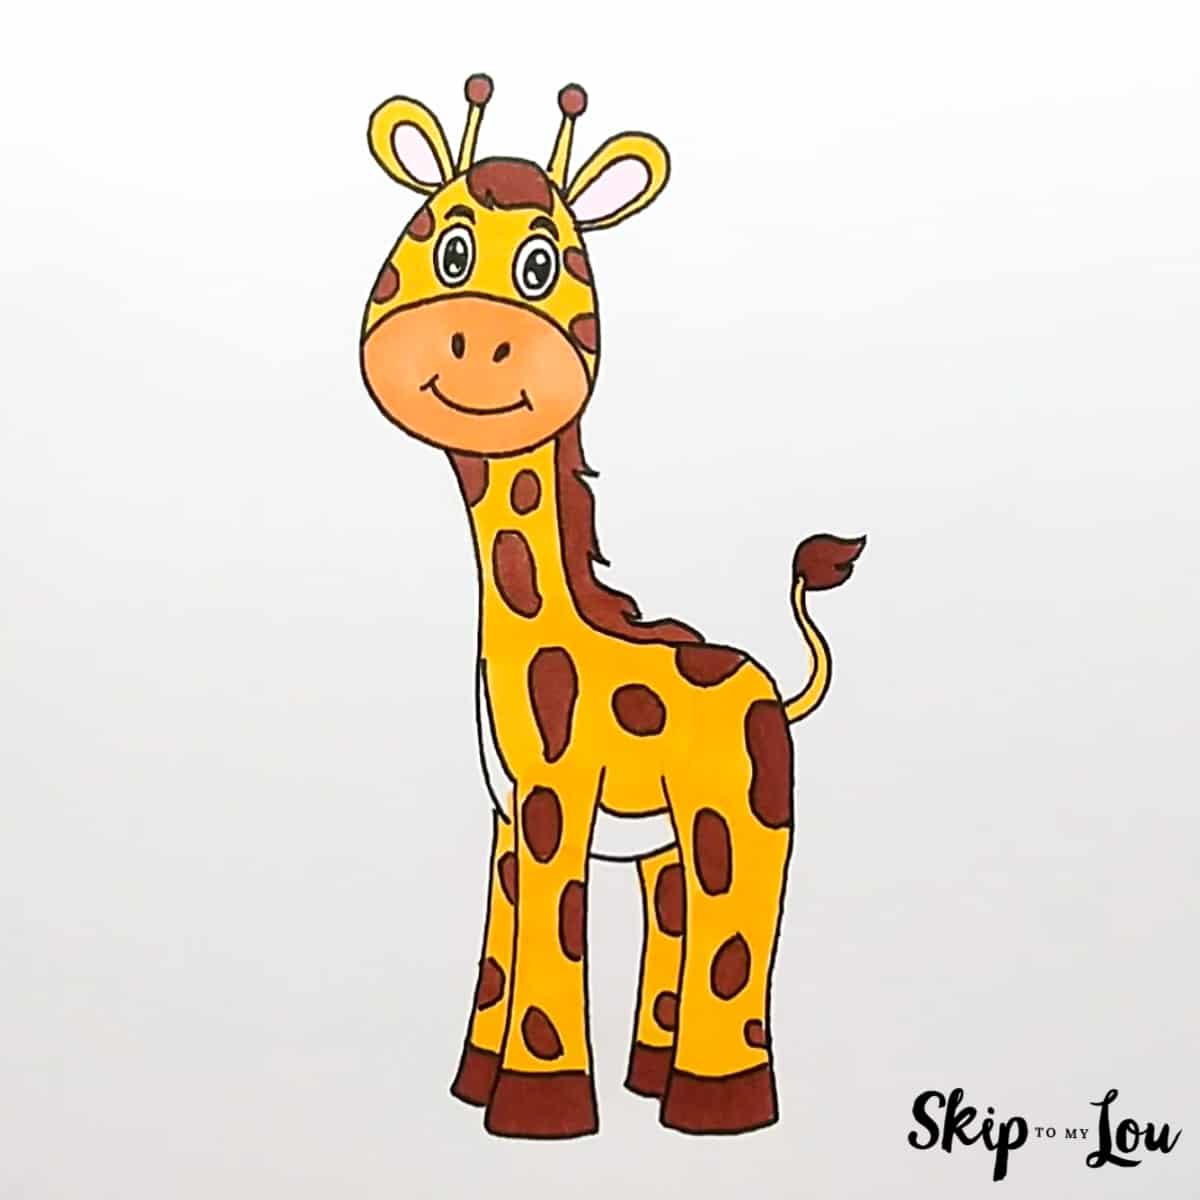
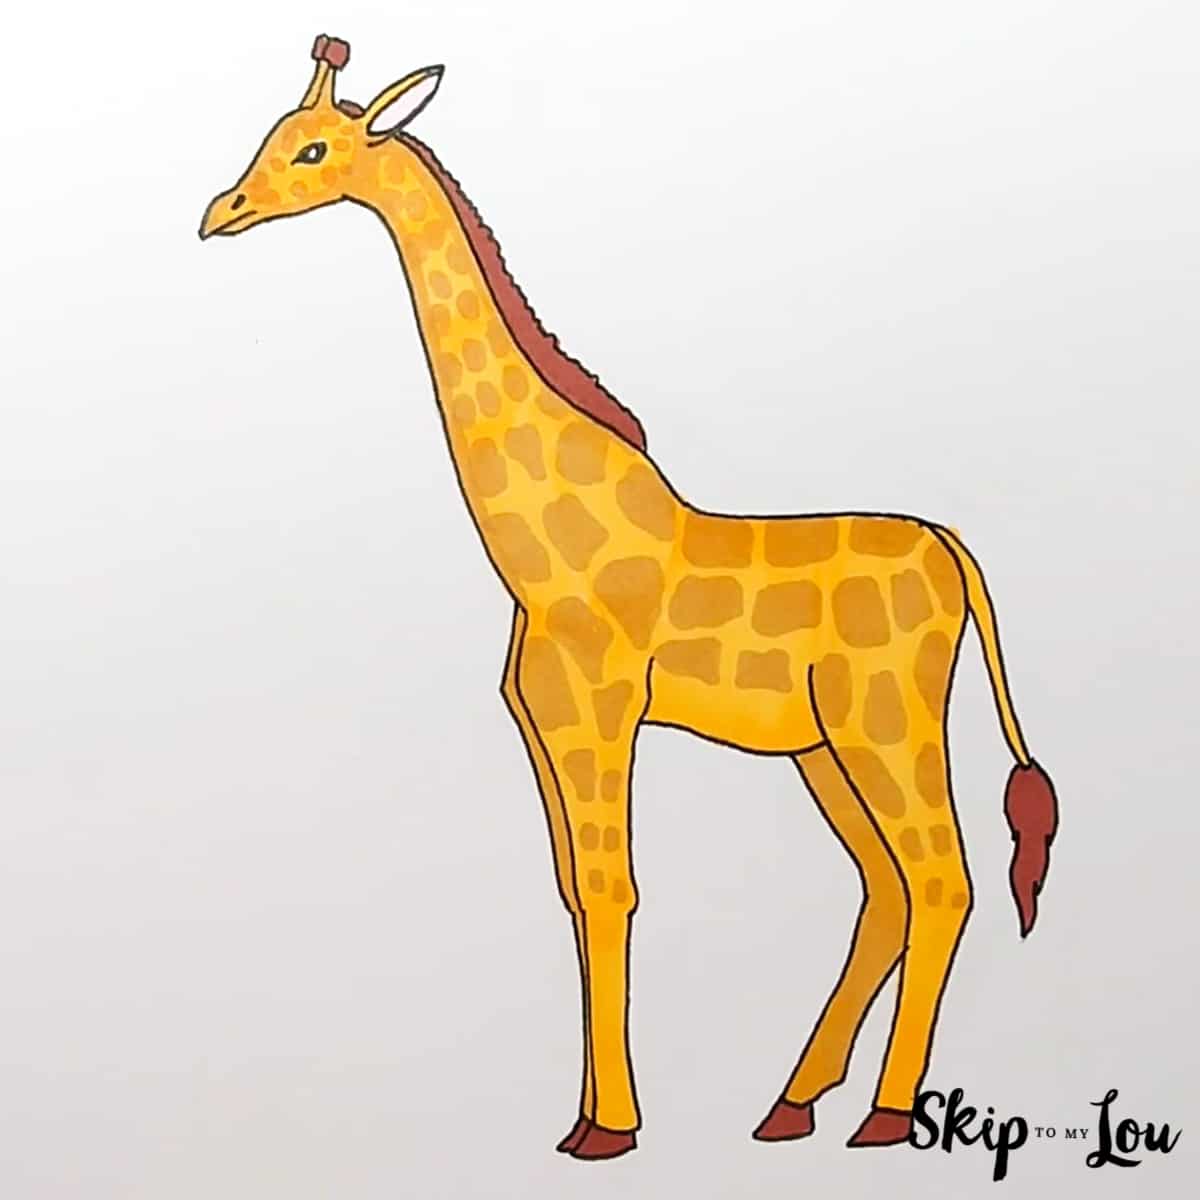
Color Your Cute Giraffe Drawing
Color the giraffe’s body yellow or golden orange. Use brown for the spots, mane, hooves, horns, and end of the tail.
You can follow the finished example or create your own giraffe colors and pattern.
How to Draw a More Realistic Giraffe
Ready for another challenge? This giraffe drawing has a longer, more natural-looking head, neck, body, and legs.
The steps are still approachable for beginners, but the finished giraffe includes more realistic proportions and details.
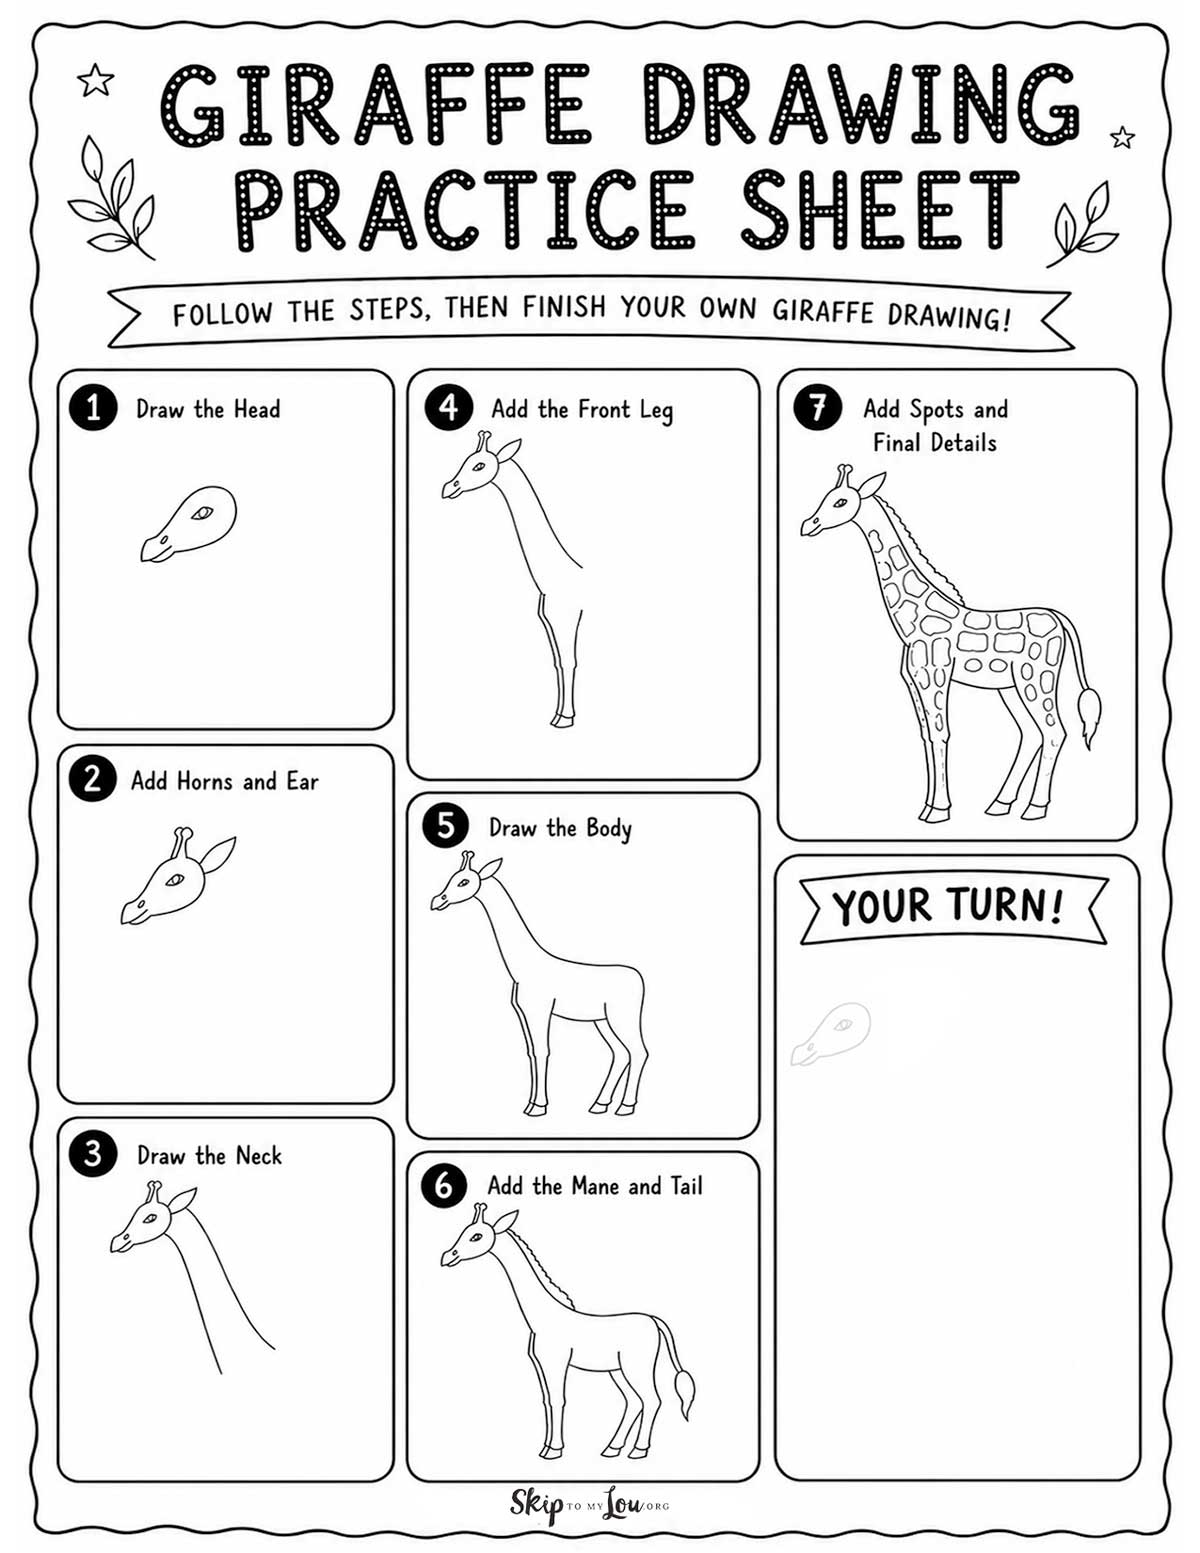
Giraffe Drawing Practice Sheet
Print this second giraffe drawing practice sheet before beginning the more detailed tutorial. It includes seven drawing steps and a large practice area where you can finish your own giraffe.
Realistic Giraffe Drawing Steps
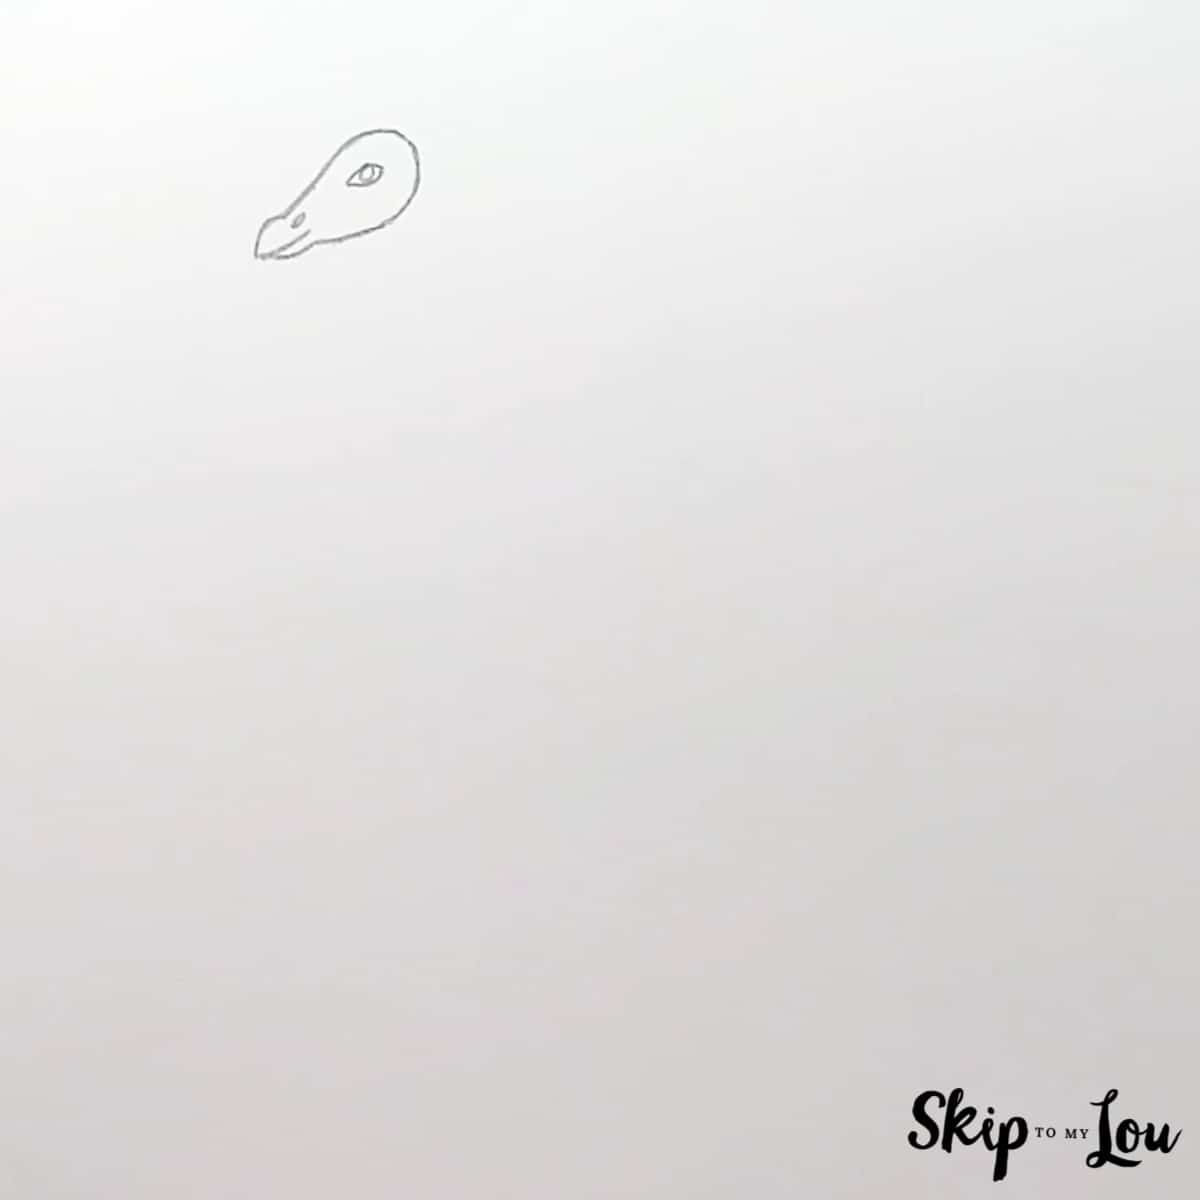
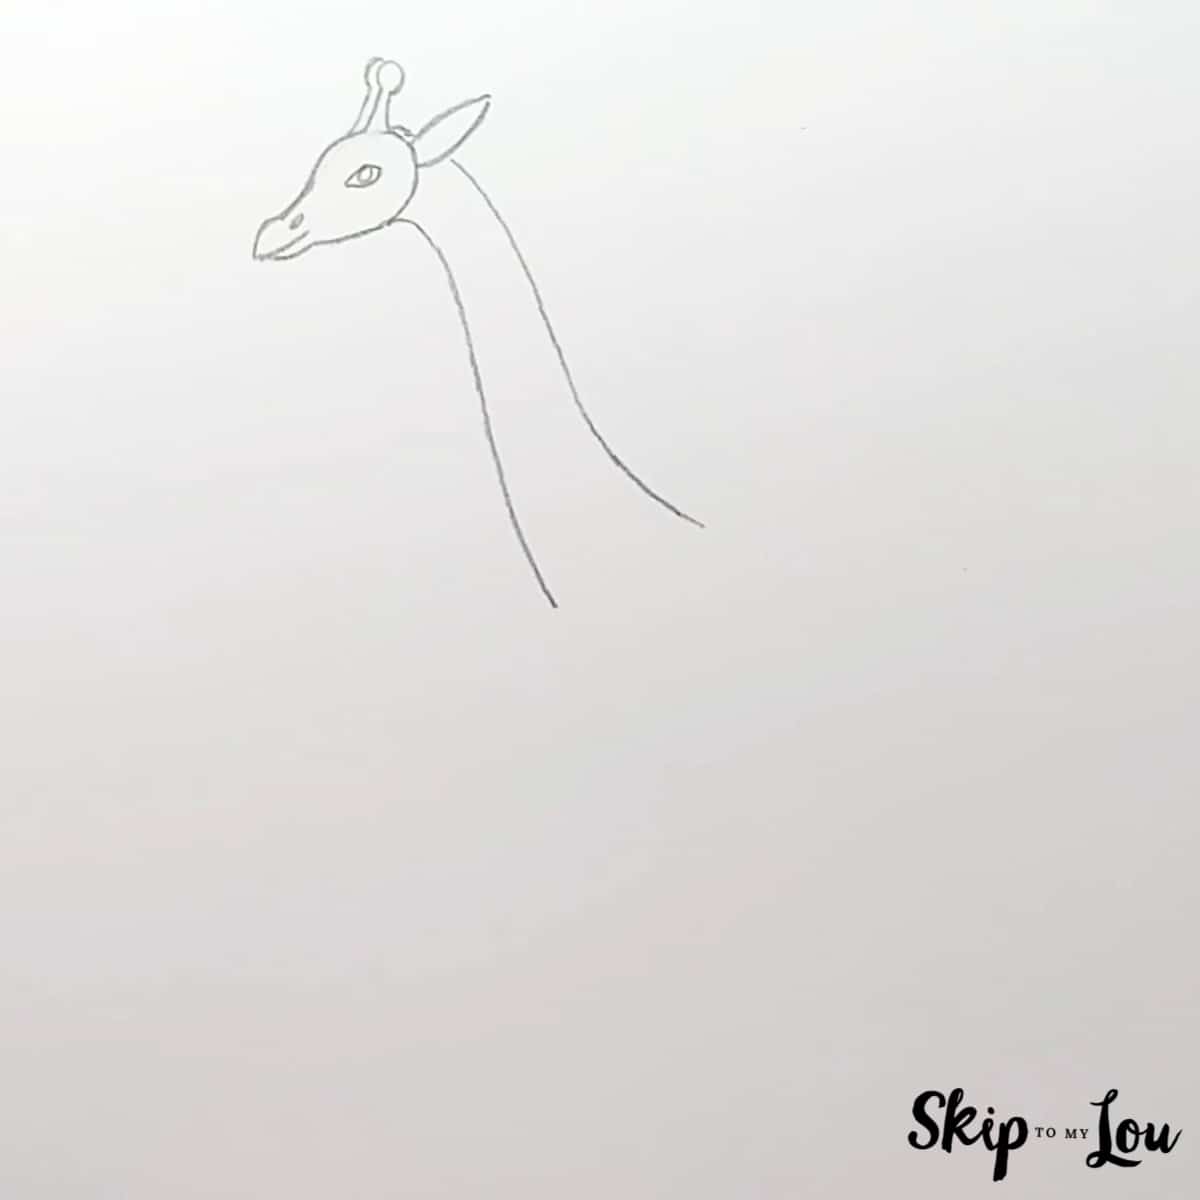
Step 1: Draw the Head
Begin with the giraffe’s head. Draw a long, gently curved shape with a narrow muzzle.
Add the eye, nostril, and mouth.
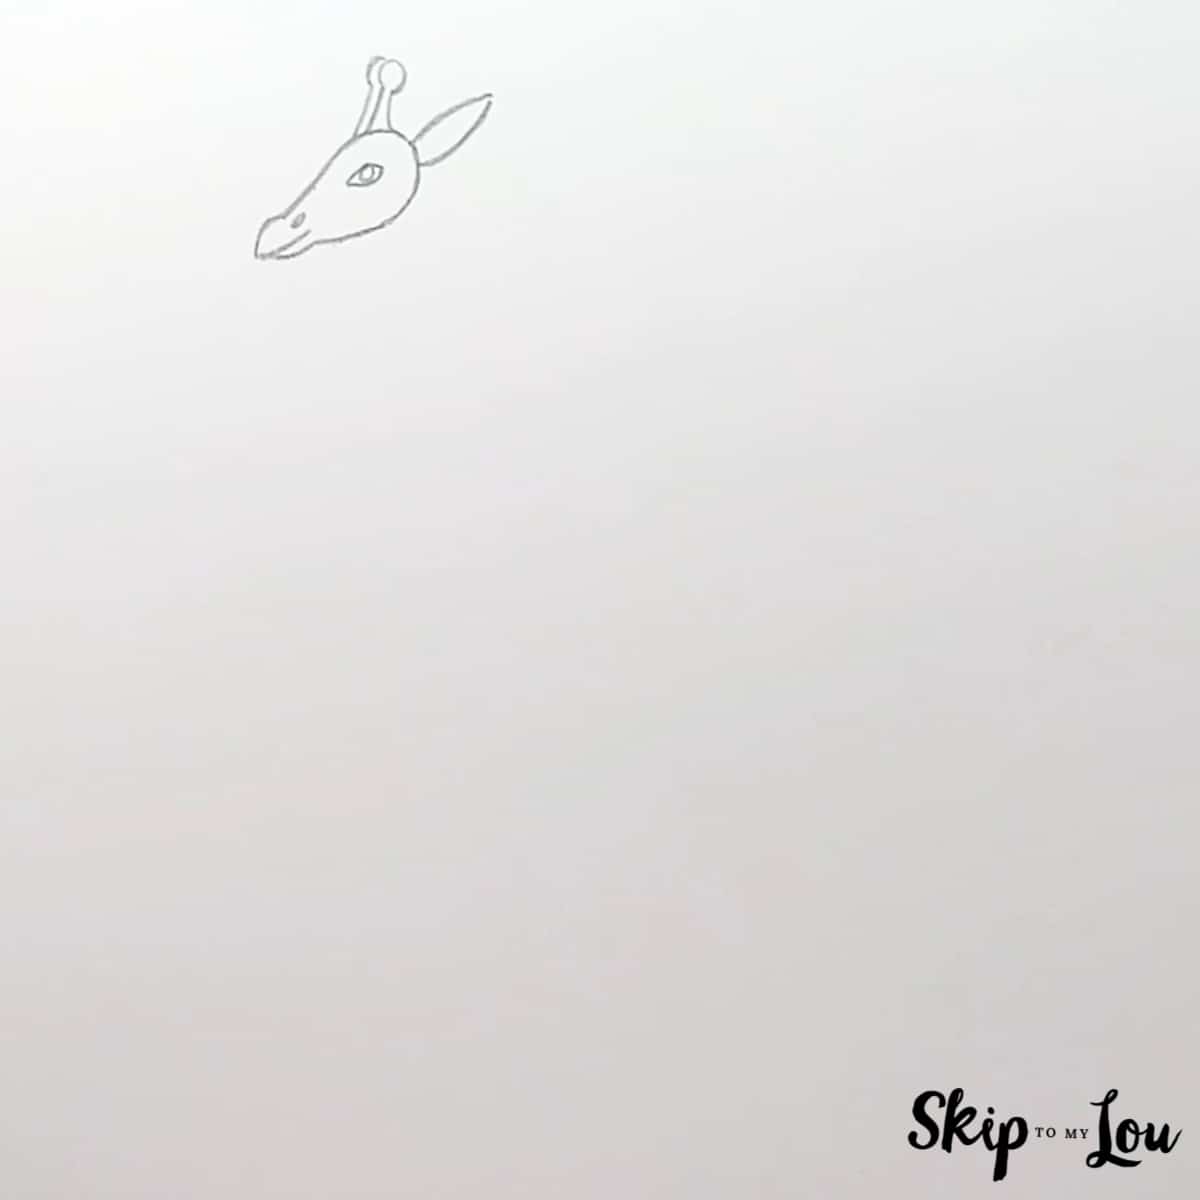
Step 2: Add the Horns and Ear
Draw the two small horns on top of the head. Add a long, pointed ear behind them.
Step 3: Draw the Neck
Draw two long, curved lines extending down from the head. Keep the neck narrow near the head and allow it to widen gradually toward the body.
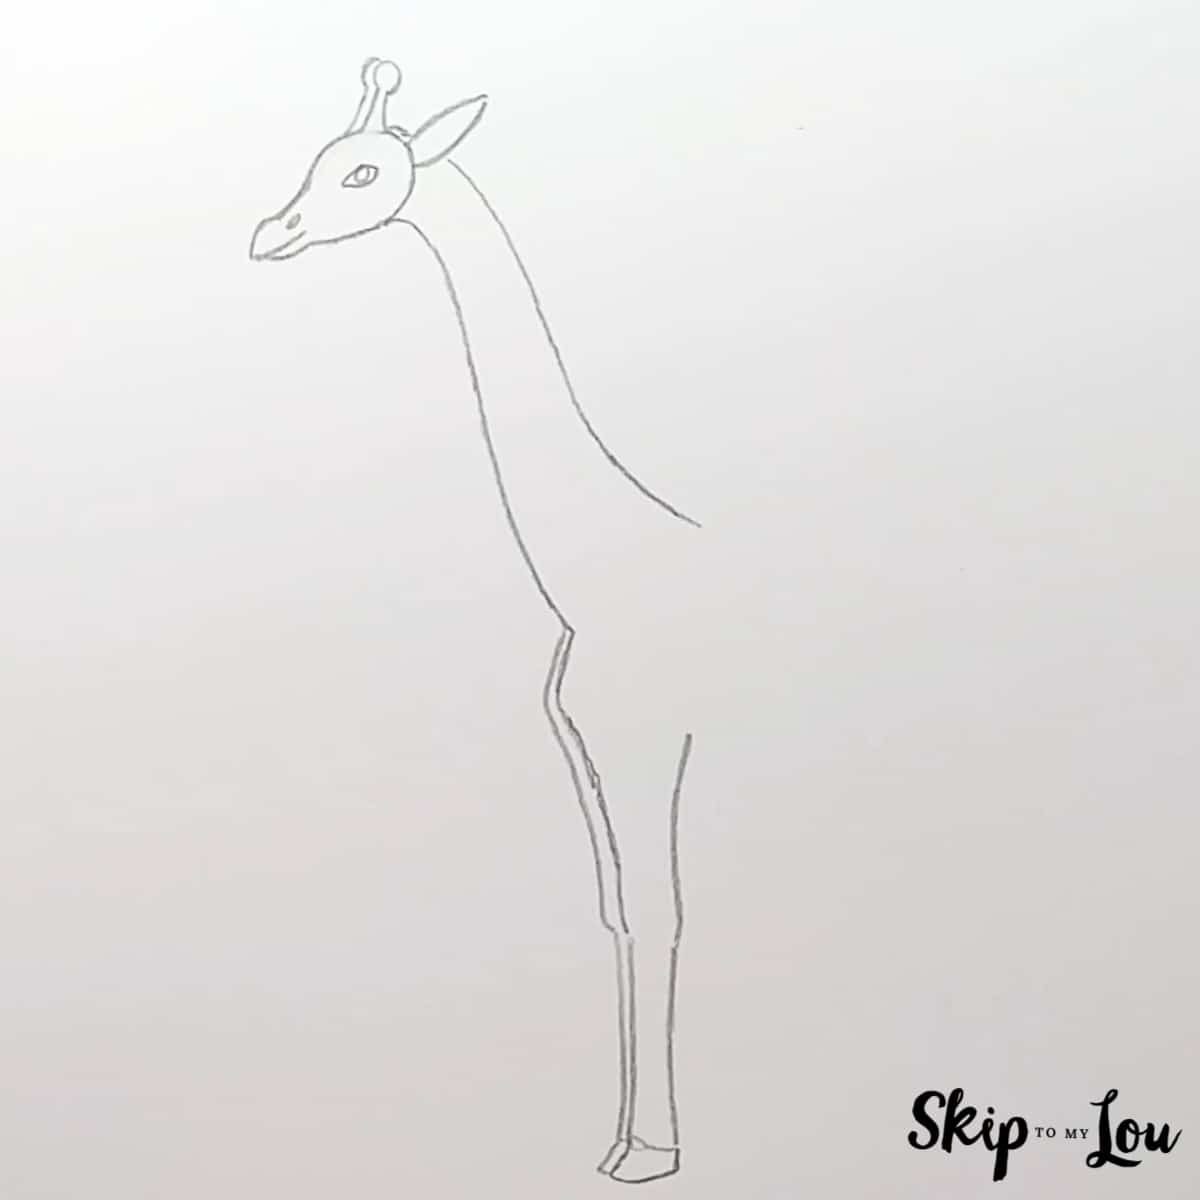
Step 4: Add the Front Leg
Continue the front line of the neck downward to begin the chest and front leg. Add bends for the leg joints and finish with a small hoof.
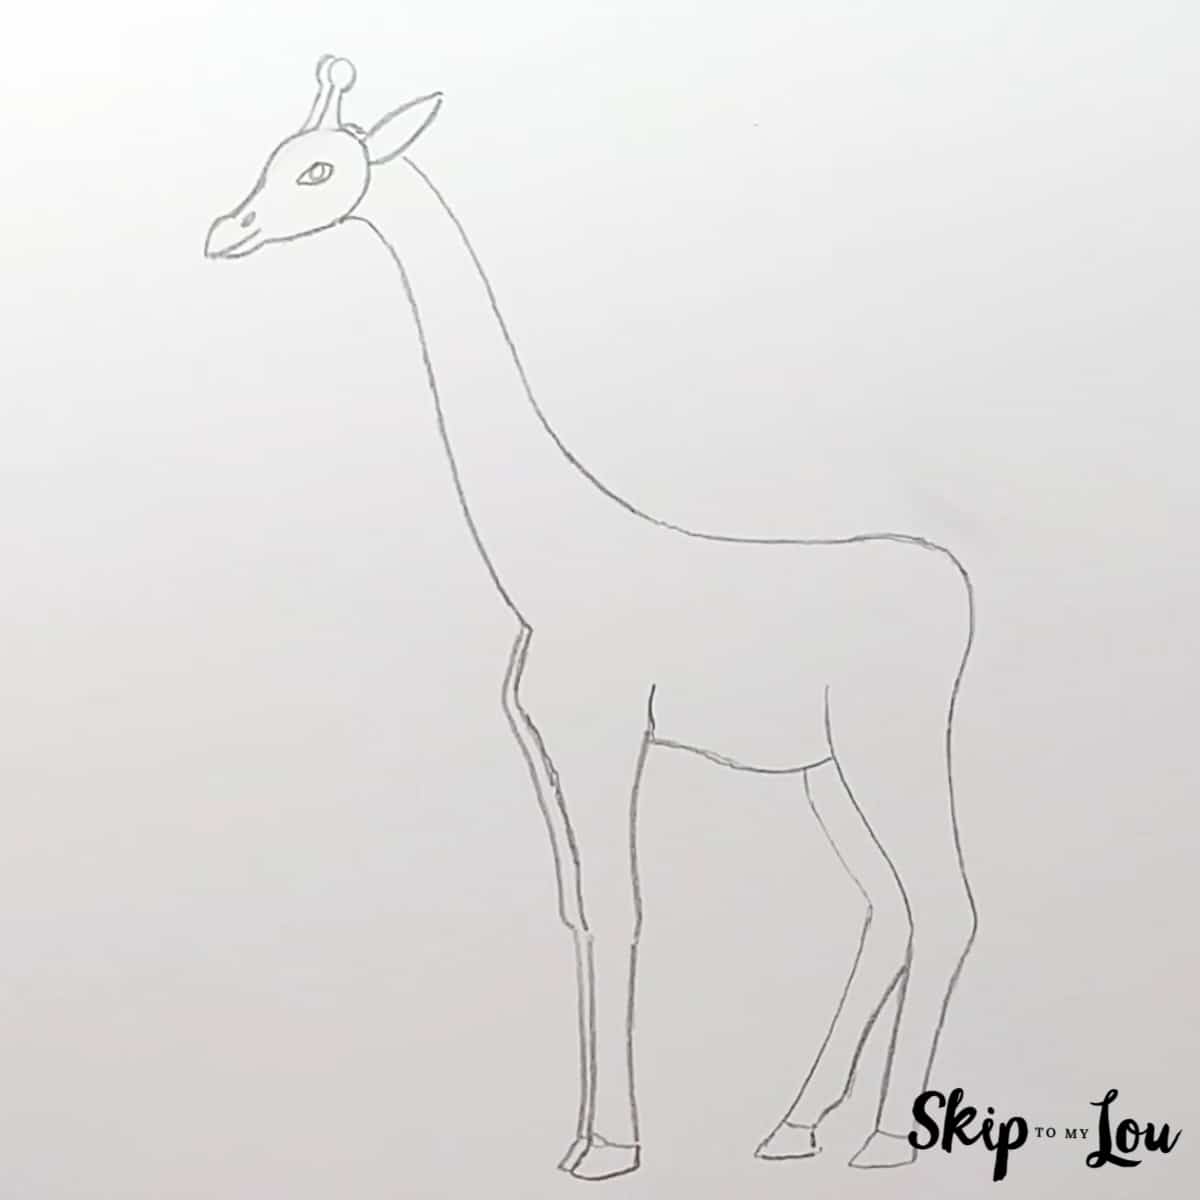
Step 5: Draw the Body
Extend the upper neck line to form the giraffe’s back. Draw the body, belly, back legs, and remaining front leg.
Add a small hoof to the bottom of each leg.
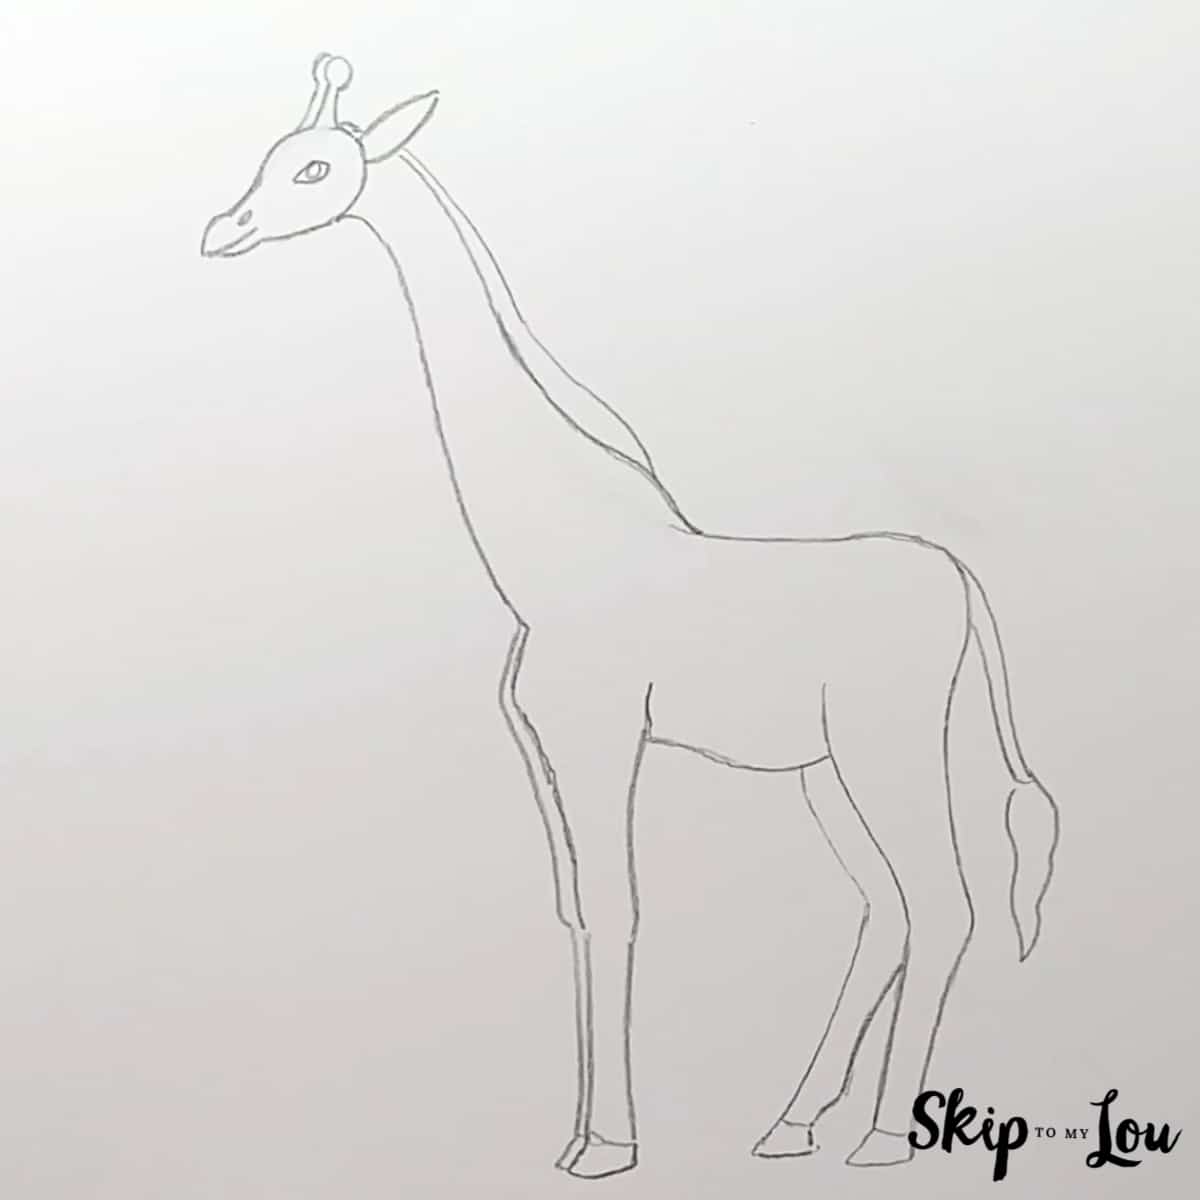
Step 6: Add the Mane and Tail
Draw the mane along the back of the giraffe’s neck. Add a long tail with a fuller tuft at the end.
Step 7: Add Spots and Final Details
Fill the giraffe with irregular spots. Make some spots larger across the body and smaller around the face and lower legs.
Check the proportions, erase any extra pencil lines, and trace the final outline if desired.
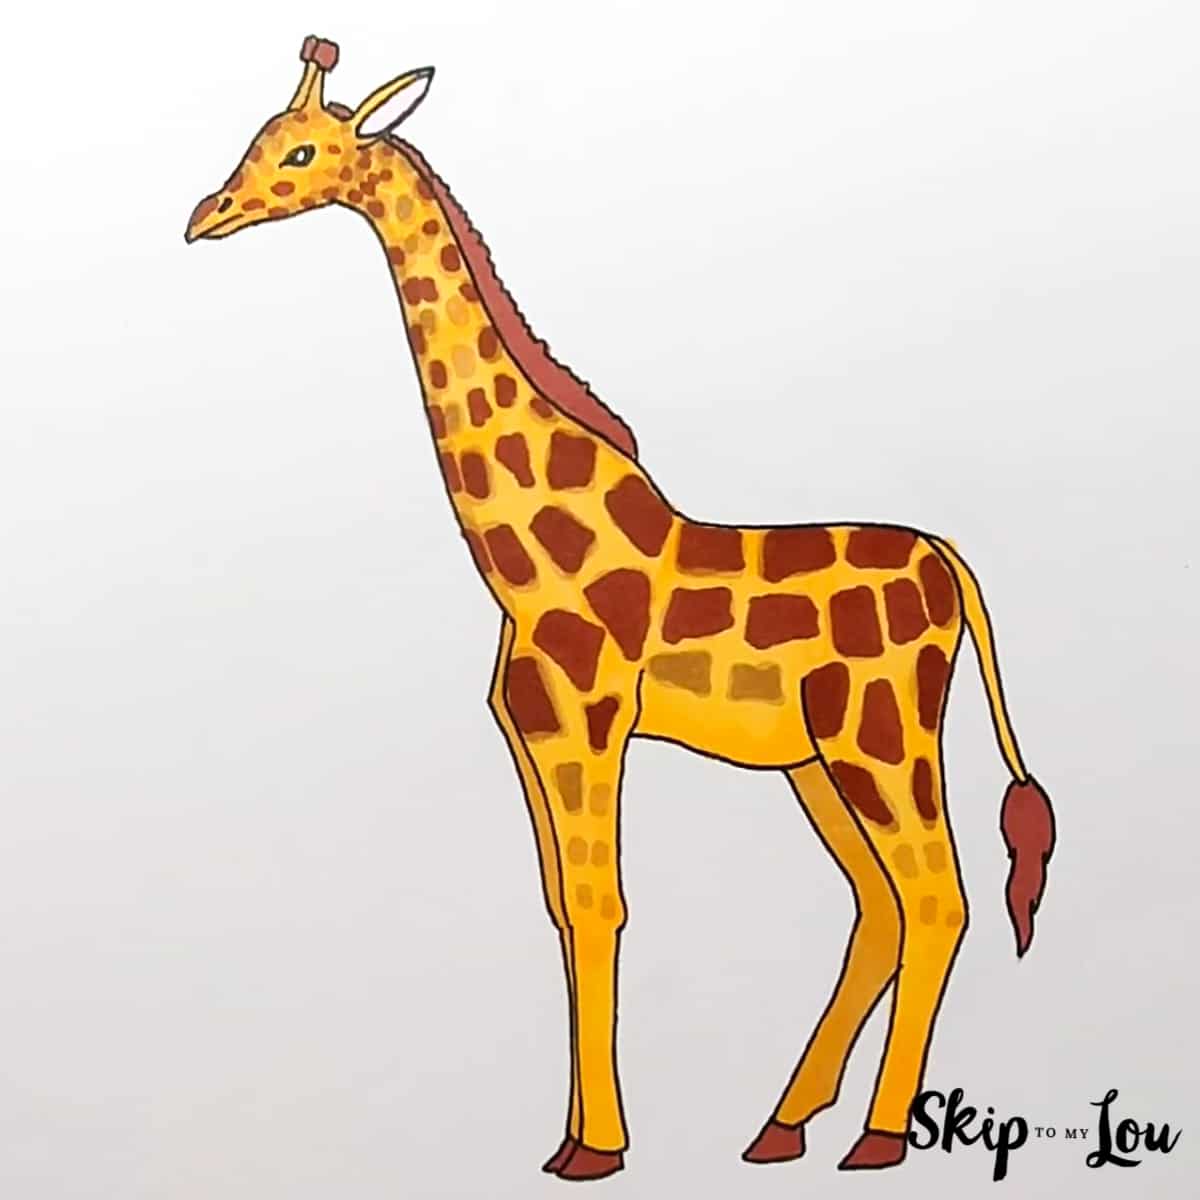
Finished Giraffe Drawing
Color the body with yellows and golden oranges. Use warm brown for the spots, mane, hooves, horns, and tail.
Leave small areas around the spots lighter to help the giraffe’s pattern stand out.
Which Giraffe Will You Draw?
The cute giraffe is a great place for young artists and beginners to start. The more realistic giraffe is a fun next step when you are ready to practice longer lines, animal proportions, and extra details.
Try both versions and see how the same animal can be drawn in two different ways. After drawing your giraffe, practice another long-legged animal with this kangaroo drawing tutorial.
More Easy Animal Drawings
Keep practicing with these easy step-by-step animal tutorials:
- Learn how to draw an elephant with simple shapes and a free practice sheet.
- Try this easy tiger drawing tutorial.
- Draw another amazing animal with this sea turtle drawing guide.
- Practice a simple frog drawing.
- Learn how to make an easy cat drawing.
- Giraffe coloring pages can provide inspiration for more drawings.
Each lesson breaks the drawing into manageable steps so kids and beginners can follow along.
I would love to keep you fully stocked with creative ideas, yummy recipes, fun crafts, and loads of free printables. Subscribe to Skip to my Lou to get new ideas delivered to your inbox. Follow me on Facebook, Pinterest, Twitter, and Instagram for all my latest updates.