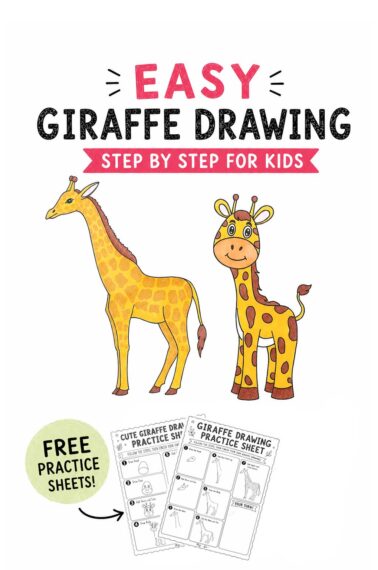
Tiger Drawing is your newest adorable easy drawing tutorial! Add this tiger step-by-step tutorial to your collection and you can be drawing cool cats in no time!
Lions and Tigers and Bears? Oh My! Skip to My Lou has so many things to draw! If you don’t see what you are looking for, please let me know what you would like to draw!
This article contains affiliate links.

Cartoon Tiger Drawing Supplies
Gather these supplies, get comfy and let’s get going on this tiger cub.
- Paper
- Pencil
- Colored pens and pencils
- Ruler (optional)
How To Draw a Tiger Easy!
The instructions and illustrated images will show you how to draw a tiger for kids from start to finish. All you need to do for this tiger drawing is to follow these steps.
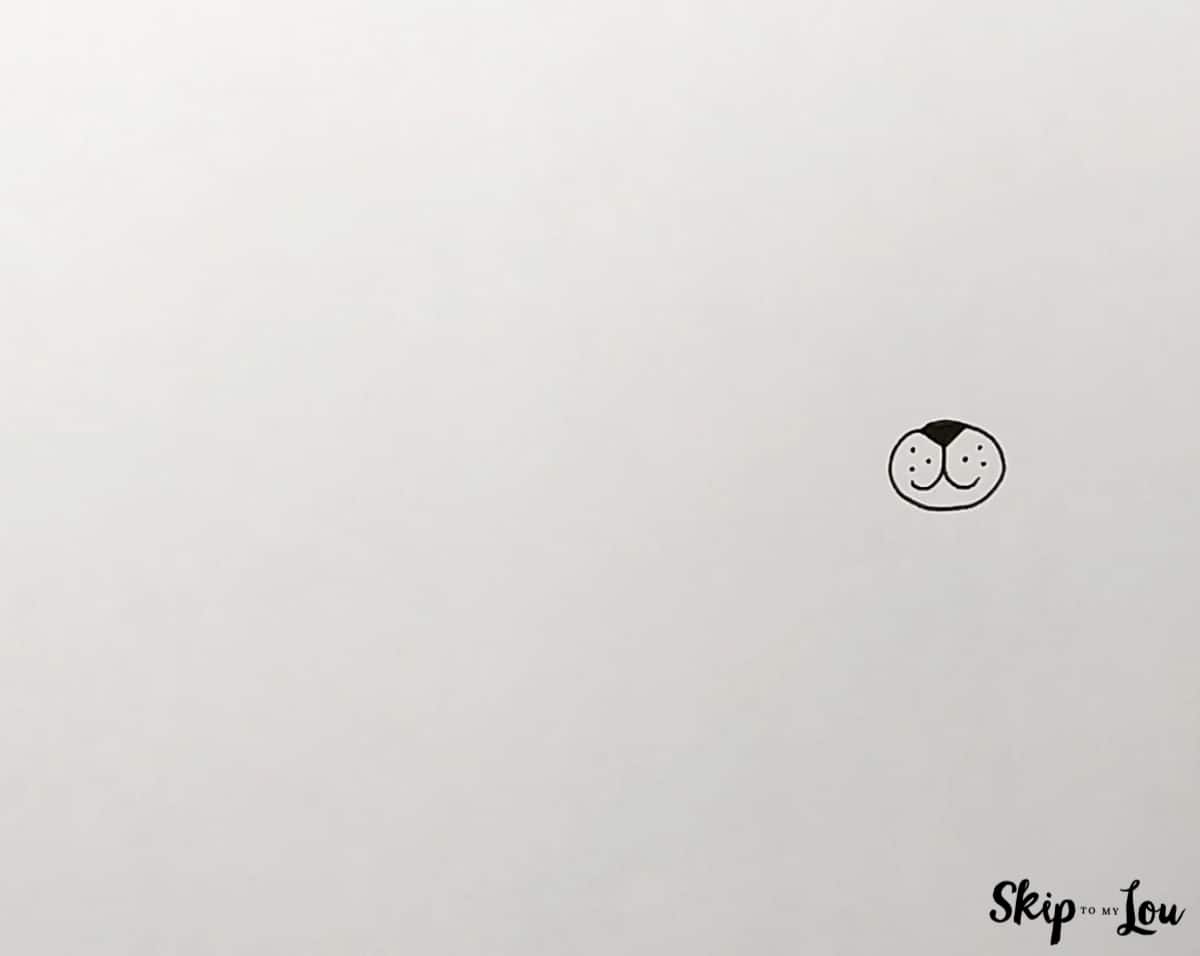
- On the lower right side of the paper, draw an oval. At the top of the oval, draw an upside-down small triangle nose and hang two opposite-facing curved lines down from the nose to form the cheeks. Add 3 dots inside the cheek area to suggest whiskers.

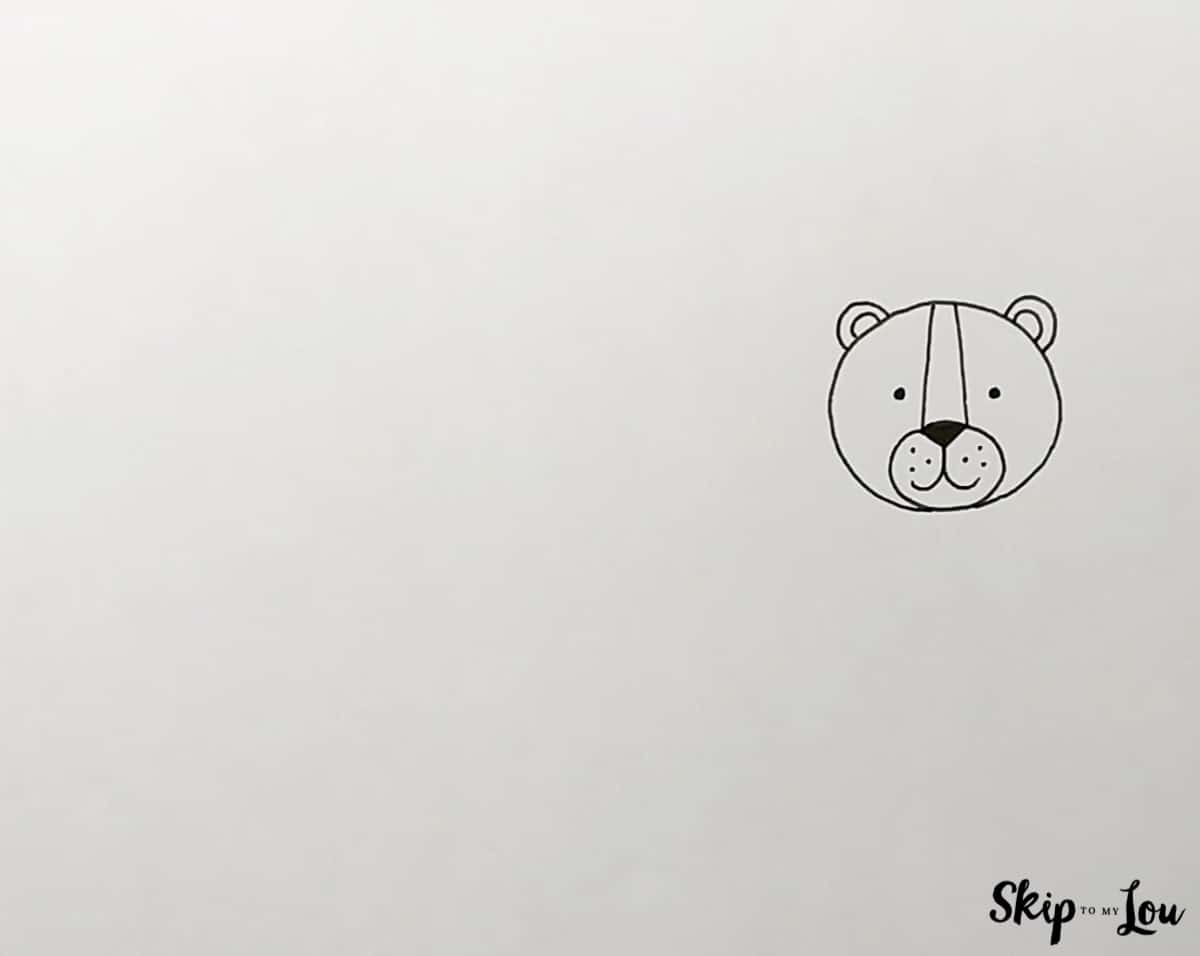
- In step 2 draw the rest of the tiger’s head like this: Draw a larger circle to outline the tiger’s face with the nose and mouth you drew in the previous step at the bottom of the circle. From the corners of the nose, draw straight lines to the top of the head. Notice how the lines slant. Add 2 dot eyes on either side of the lines you just drew. Add 2 ears above the eyes on the side of the head.
- In step 3 draw the outline of the tiger’s body like this: Draw a curved line from the ear across the paper and slant it down to represent the hind leg. Drop a curved line down from the mouth to represent the chest and then shoot down to represent the front leg. Now go back and add the paws and belly lines.
- In step 4 draw the tail and other legs like this: Draw the tiger’s tail with a curved line starting at the top of the hind leg. The tail drops down, has a rounded tip, and connects back to the hind leg region. Draw the hind leg by slanting a line down from the belly, making a turn, drawing a paw, and slanting back up. This makes it look like the tiger is walking. Draw the front paw up off the ground using curved lines like the tail.
- In step 5 finish drawing and fill in the tiger’s stripes like this: Draw and fill in 4 rectangles on the tiger’s tail. Draw the smallest rectangle toward the end of the tail making each rectangle a little bit larger. Suggest the stripes on the hind legs by drawing and filling in 5 triangles on each leg, 3 on the left side and 2 on the right side. Notice how the triangles are offset. They are not directly across from each other. Draw and fill in 3 stripes on each front leg. Notice how the stripes are on the left side of one and the right side of the other. Draw 10 triangles around the tiger’s face, 5 on one side and 5 on the other side. These triangles should mirror each other: the 2 above the eyes and the 3 on the side of the face should match the other side of the head. Draw and fill in 4 taller triangles coming up from the belly line. Draw and fill in 7 of the tallest triangles coming down from the back. These should be offset from the triangles coming up from the belly.
- In step 6 color the tiger’s orange fur and black stripes as shown and the draw a tiger step by step will be complete!


My Favorite Drawing Supplies
- Sketching Pencils
- Kneaded Rubber Eraser
- Sketch Pad
- Erasable Colored Pencils
- Fine markers
- Sketch and Drawing Art Pencil Set
- Artist drawing set (This is great for new and experienced artists. It’s also something I give as a gift.)
Easy Tiger Drawing Video
More Drawing and Coloring Activities
Now that you have learned to draw this adorable tiger, keep it going with these. They are easy to make and fun to do.
I would love to keep you fully stocked with creative ideas, yummy recipes, fun crafts, and loads of free printables. Subscribe to Skip to my Lou to get new ideas delivered to your inbox. Follow me on Facebook, Pinterest, Twitter, and Instagram for all my latest updates.