delivering creative ideas daily!


Trending Posts


Meet Cindy
I’m so happy you are here!
The Skip to My Lou is your place for all things creative! From celebrating holidays, making homemade scratch art paper, sewing gifts and throwing parties to cooking delicious food, you will find it all here! The site is full of free patterns, downloads and I hope plenty of inspiration. Please hang out with me awhile and check it out!
What’s New!
What’s New
Featured
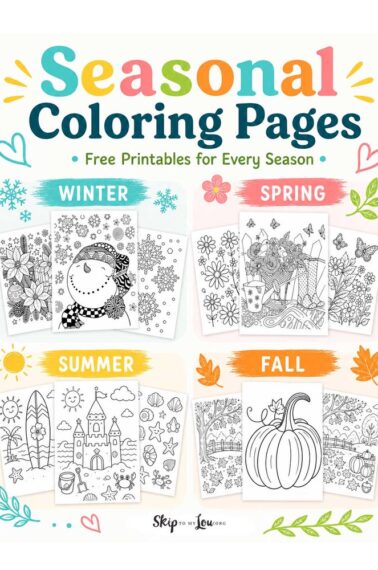
Seasonal Coloring Pages
Seasonal Coloring Pages: Celebrate the Year with Creative Fun Seasonal coloring pages are a fun way to celebrate every time of year. This collection includes free printable coloring pages for spring, summer, fall, winter, and favorite holidays throughout the year. Choose a season or holiday below, print your favorite coloring pages, and enjoy an easy…
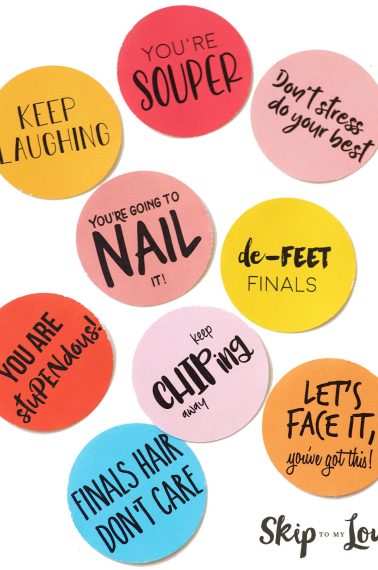
Let’s Get Crafty
Craft Projects

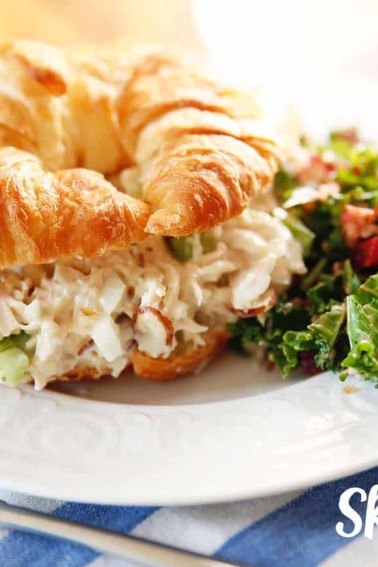
Family Meals
Recipes
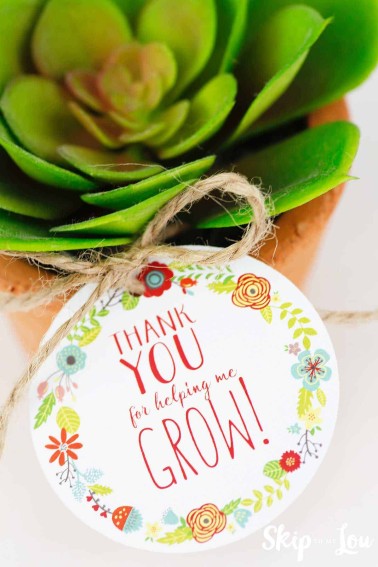
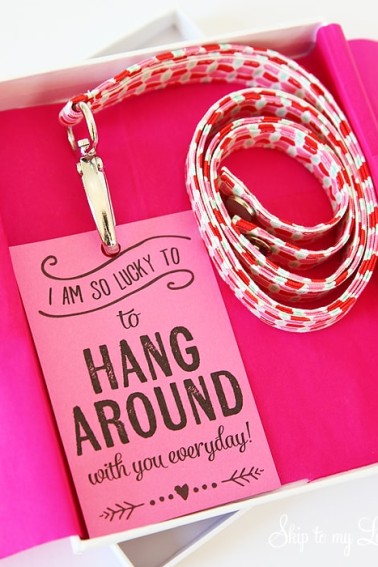
Give Creatively
Gift Ideas
Live and Laugh