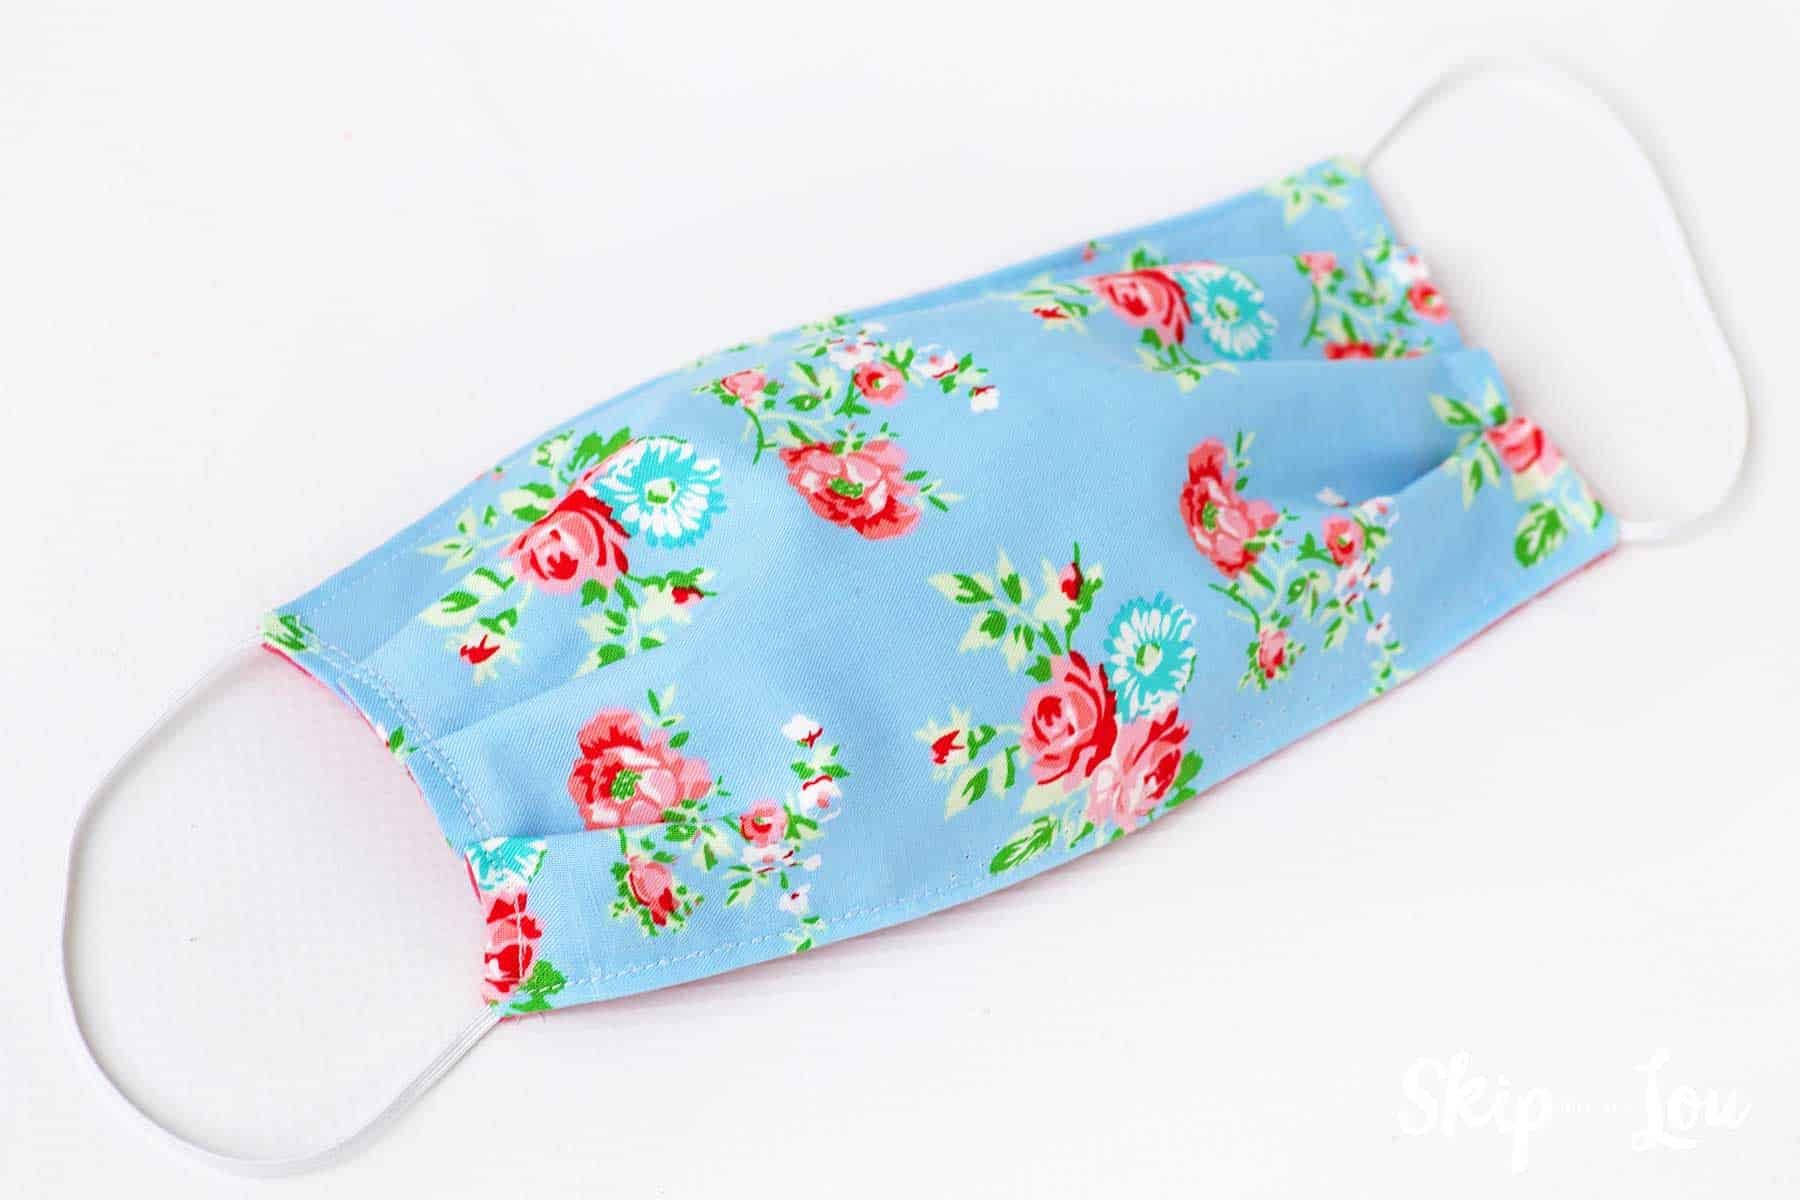
Make this face mask pattern with a tiny bit of fabric and elastic. The surgical mask style pattern is simple enough even for beginner sewers!
If you are making masks for others here are some super cute printable face mask gift tags.
This information is from The Deaconess Health System. According to the CDC, fabric masks are a crisis response option when other supplies have been exhausted. While it isn’t ideal it does offer some support to our communities.
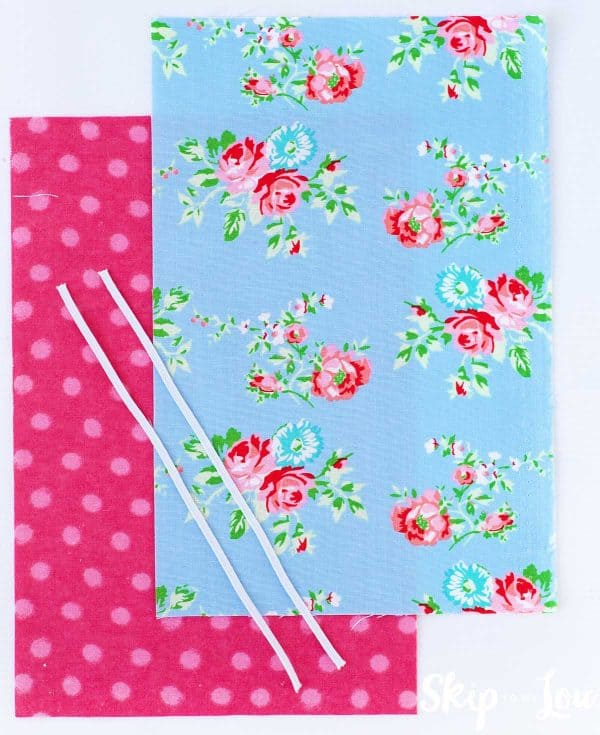
DIY Face Mask Supplies
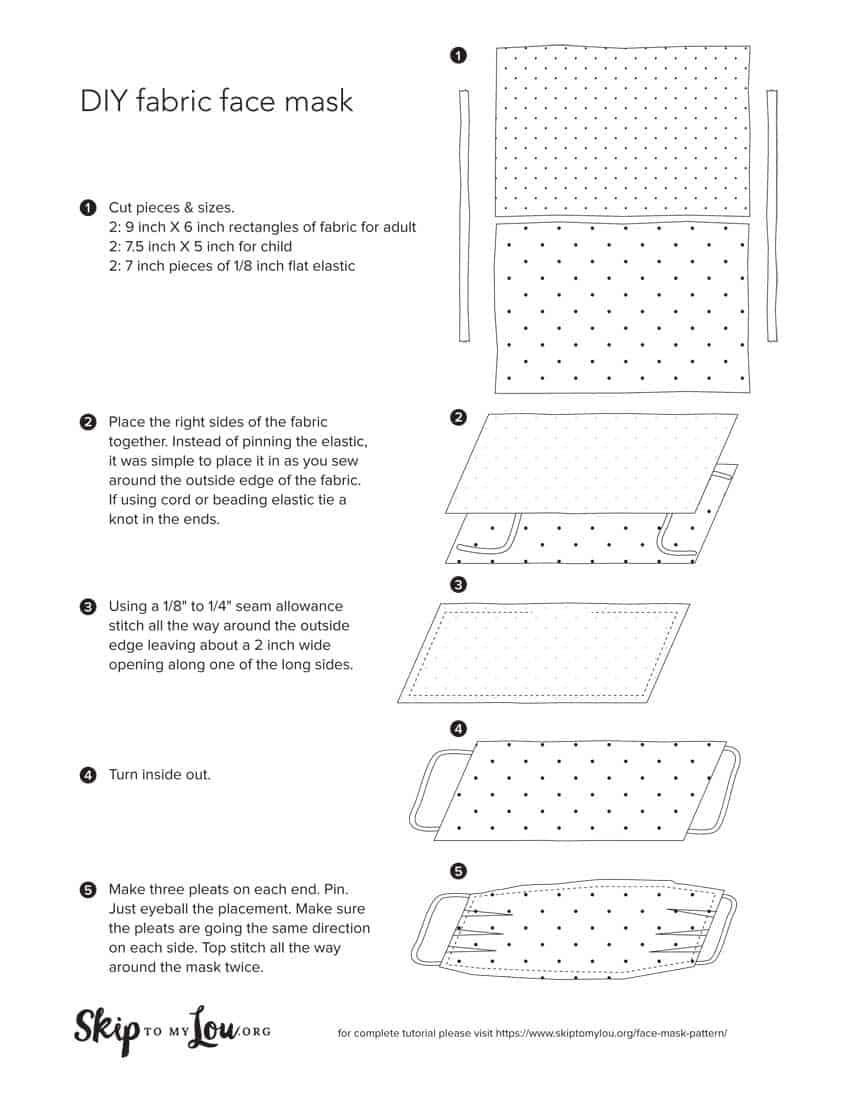
- 2 – 9 inch X 6 inch rectangles of fabric for adult (7.5 inch X 5 inch for child)
- 2 – 7 inch pieces of 1/8 inch flat elastic (cord elastic or beading elastic may also be used) Women and teens might get a better fit with 2 – 6 1/2 inch pieces of elastic. Use 2 – 5 1/2 inches for a child.
- scissors or rotary cutter and mat
- sewing machine
- thread
- iron
How to Make a Face Mask
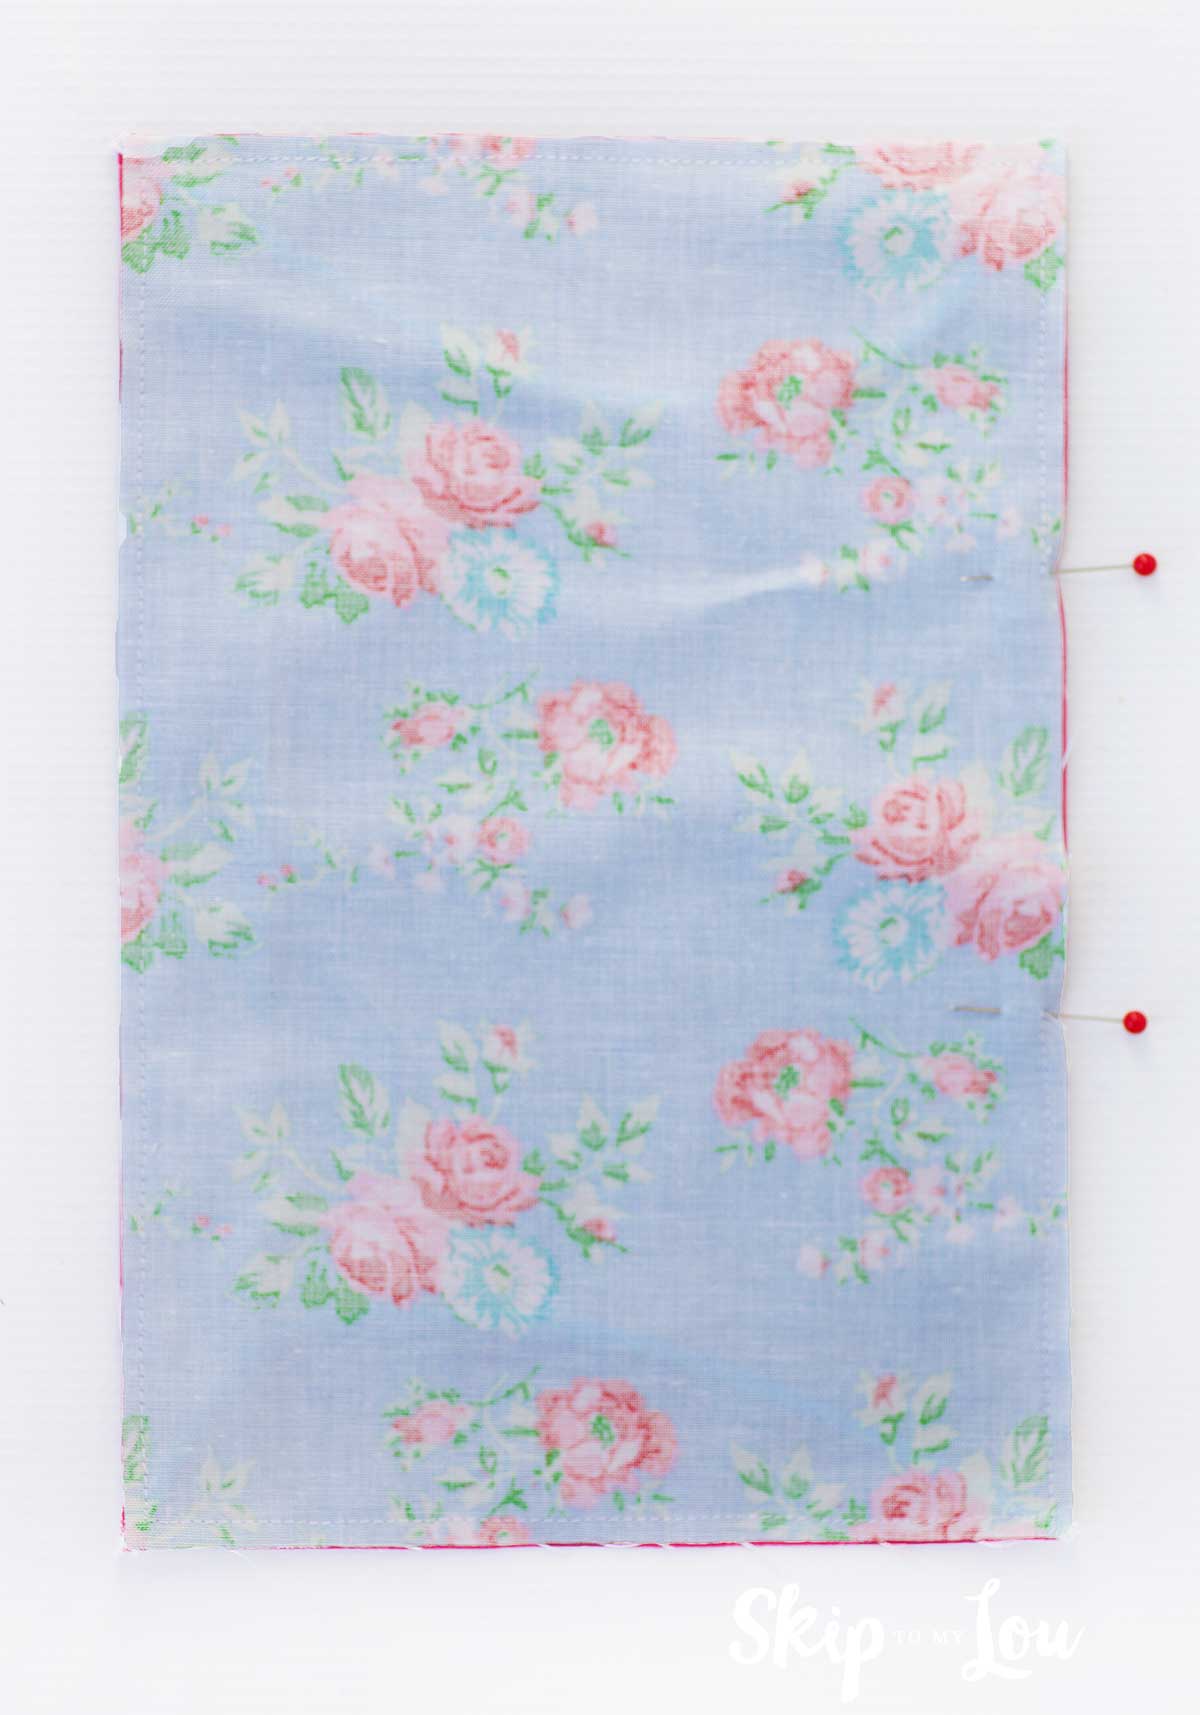
Place the right sides of the fabric together. This photo shows where the elastic is placed on each end.

Instead of pinning the elastic, it was simple to place it in as you sew around the outside edge of the fabric. If using cord or beading elastic tie a knot in the ends. In this case, the knot will hang outside of the edge of the corner when you sew around.
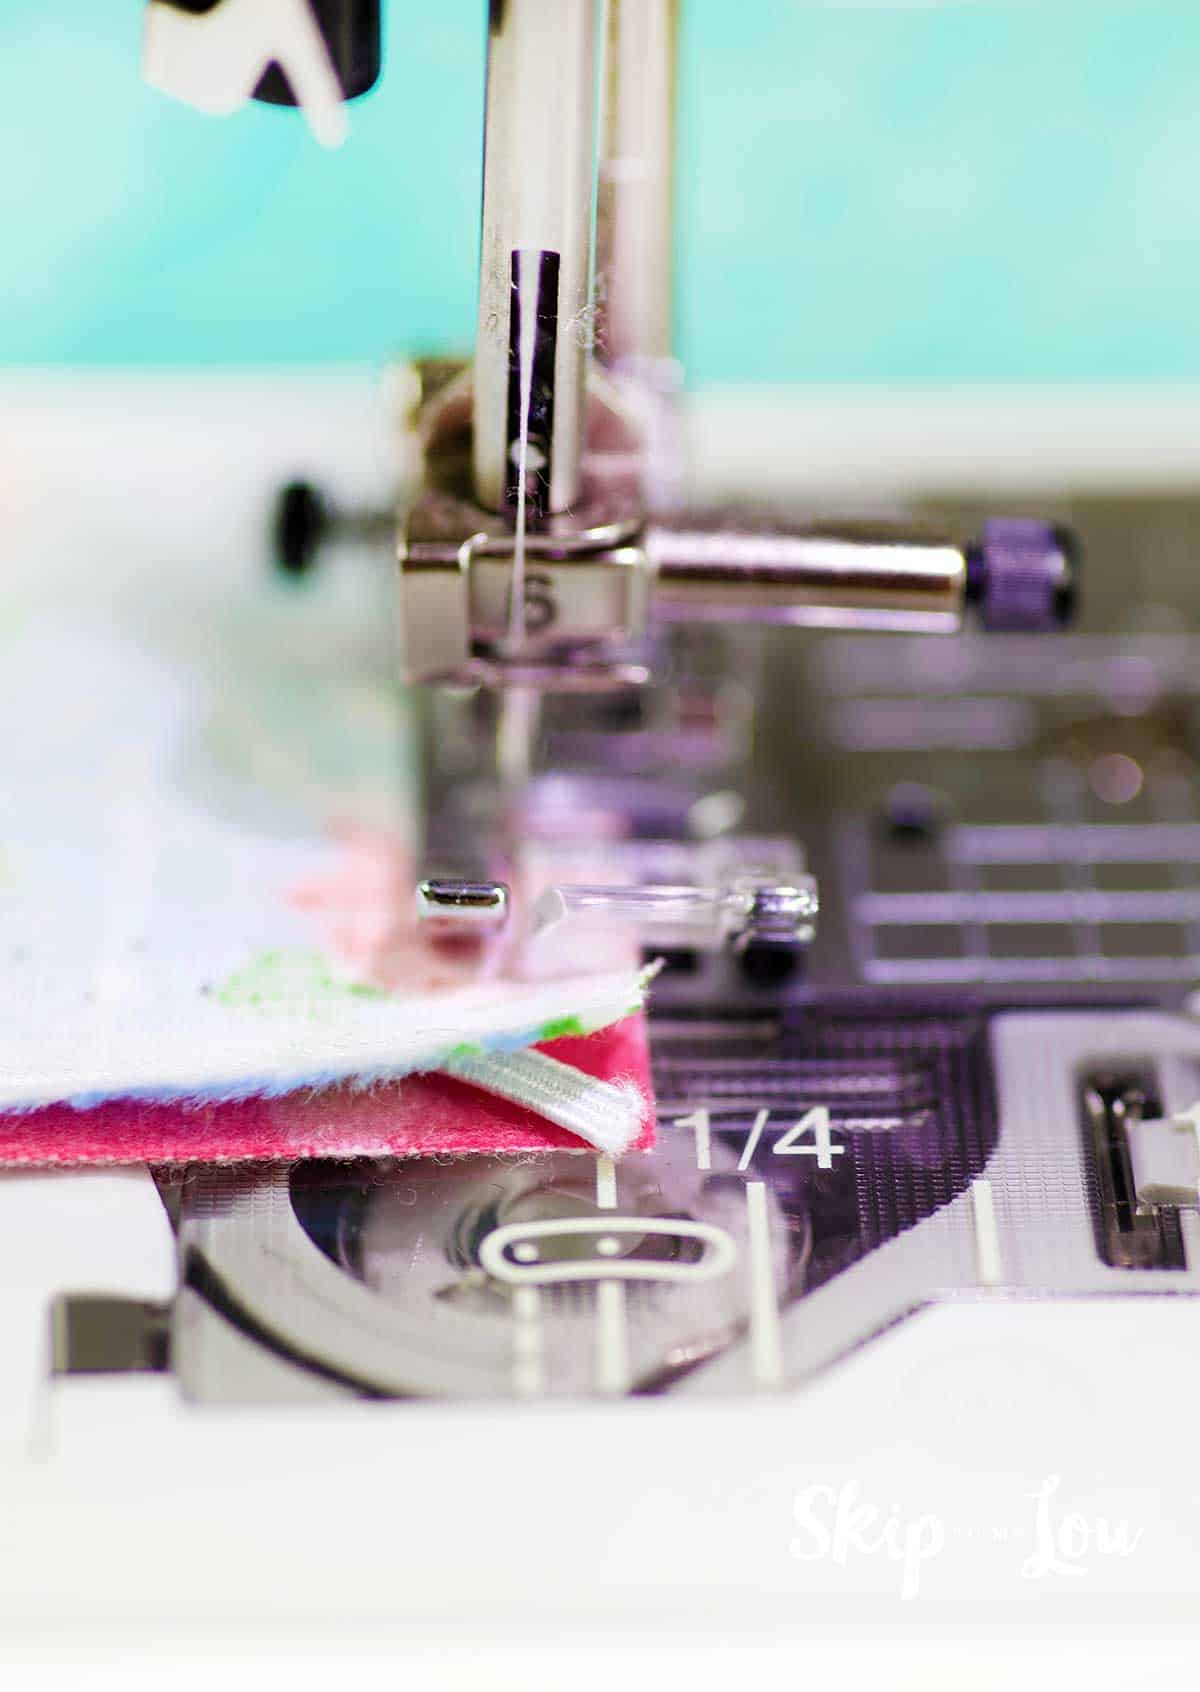
Stitch all the way around leaving an about a two-inch in the opening along one of the long sides. The pins mark my opening in the photo. We used a 1/8 – 1/4 inch seam allowance.
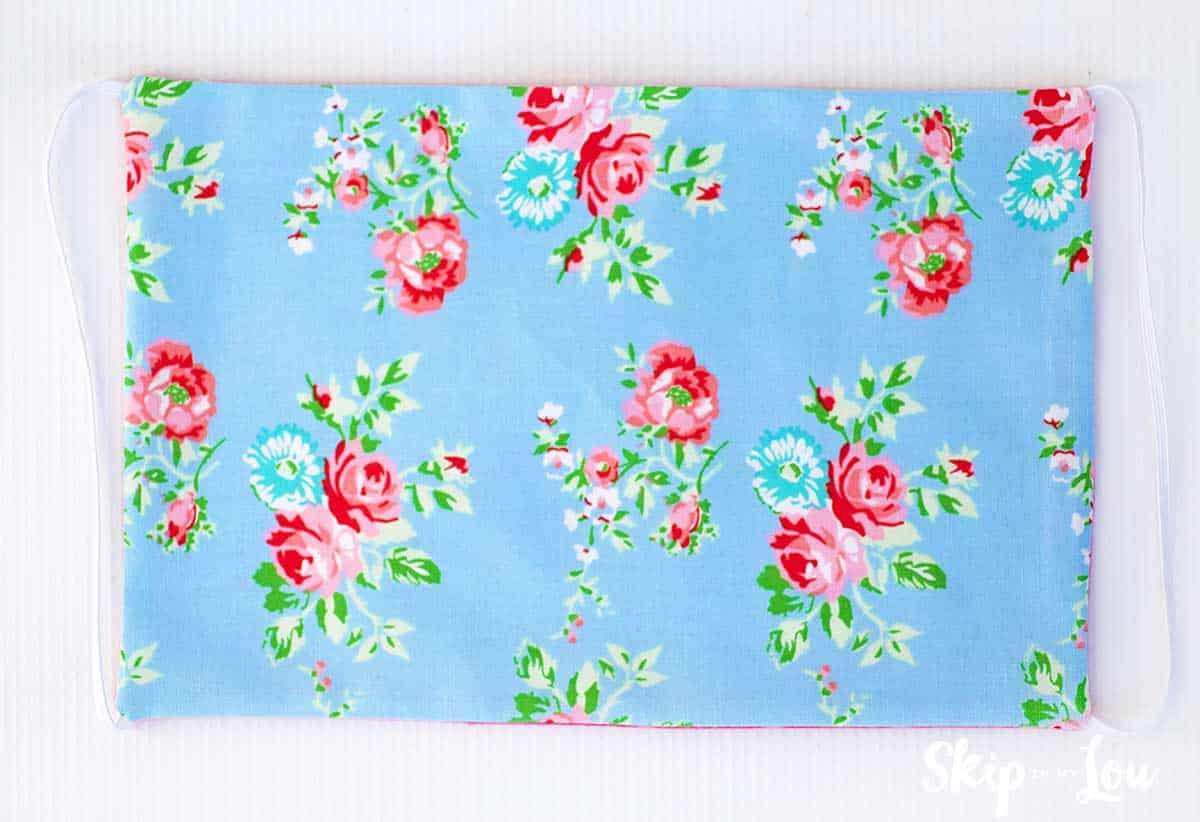
Turn right side out and press.
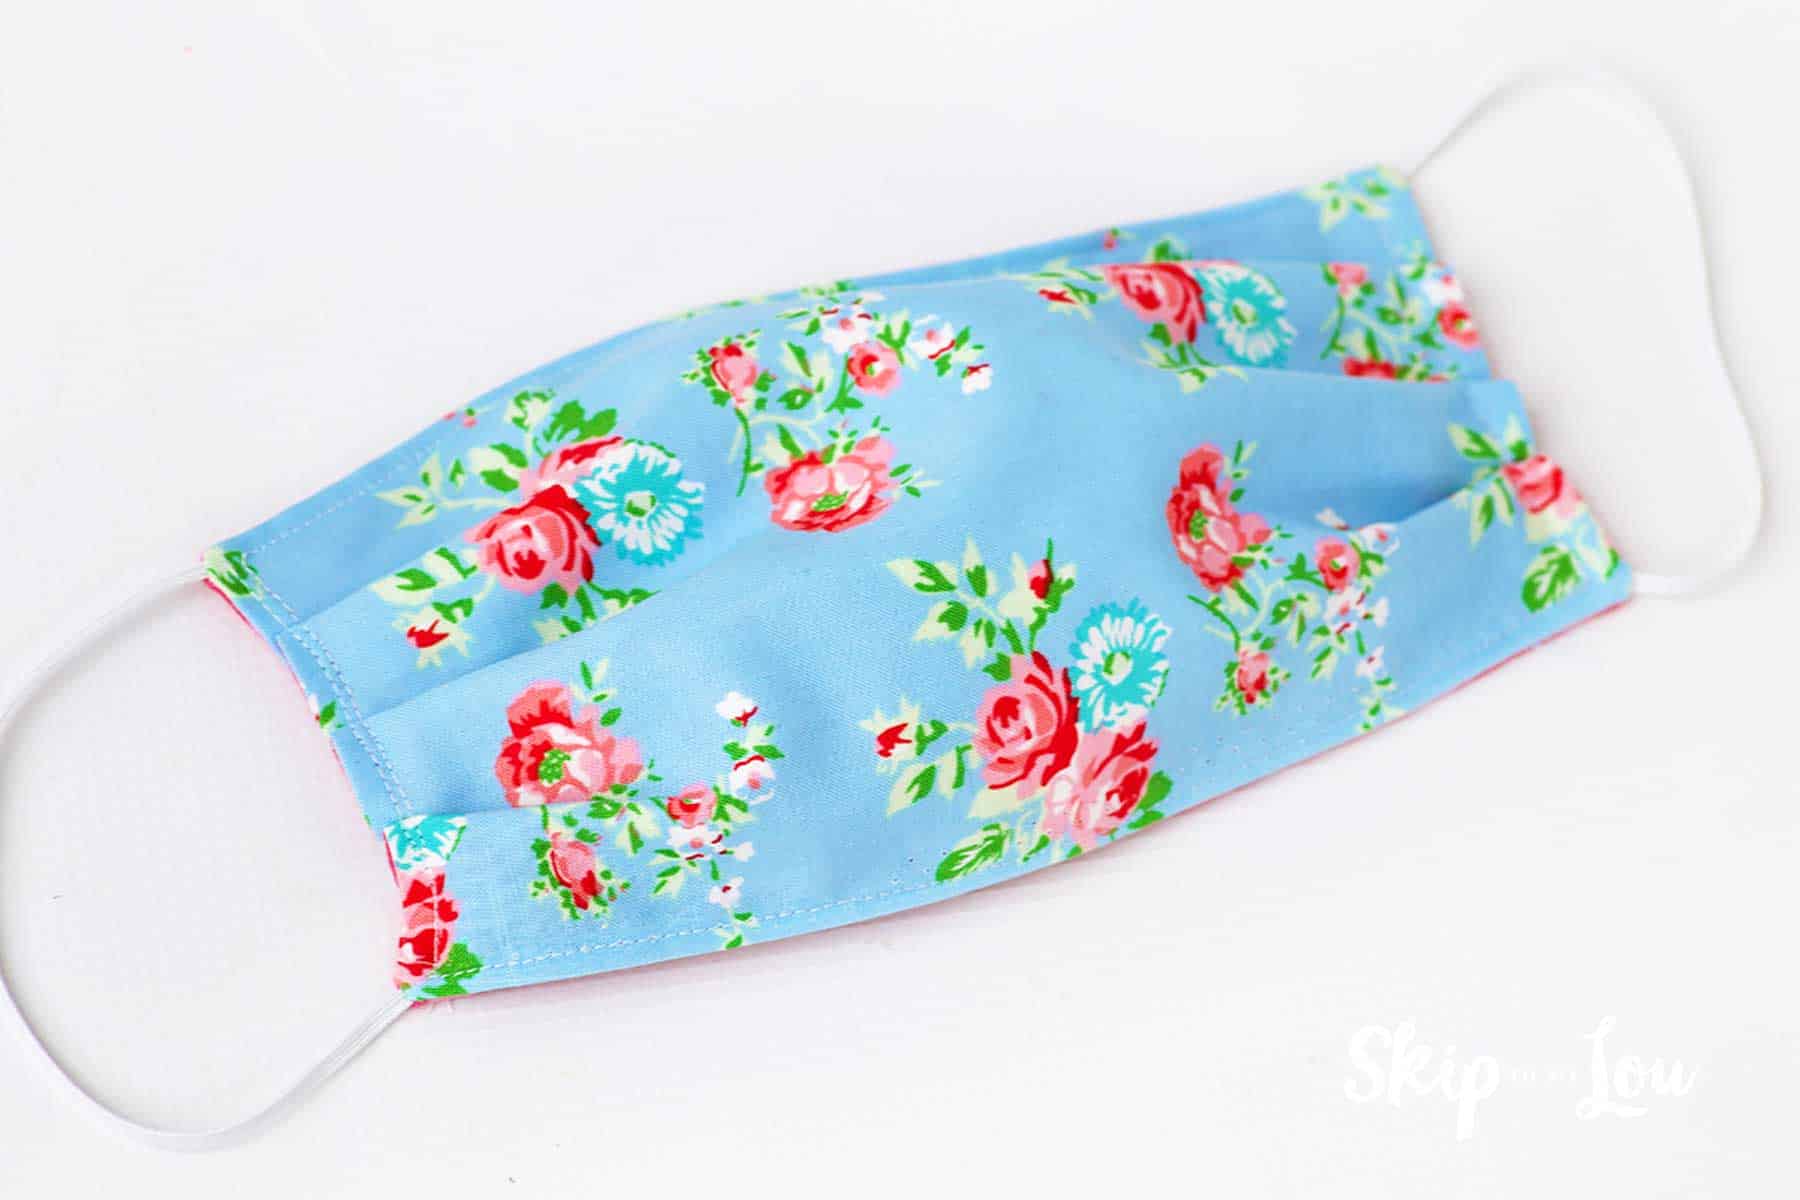
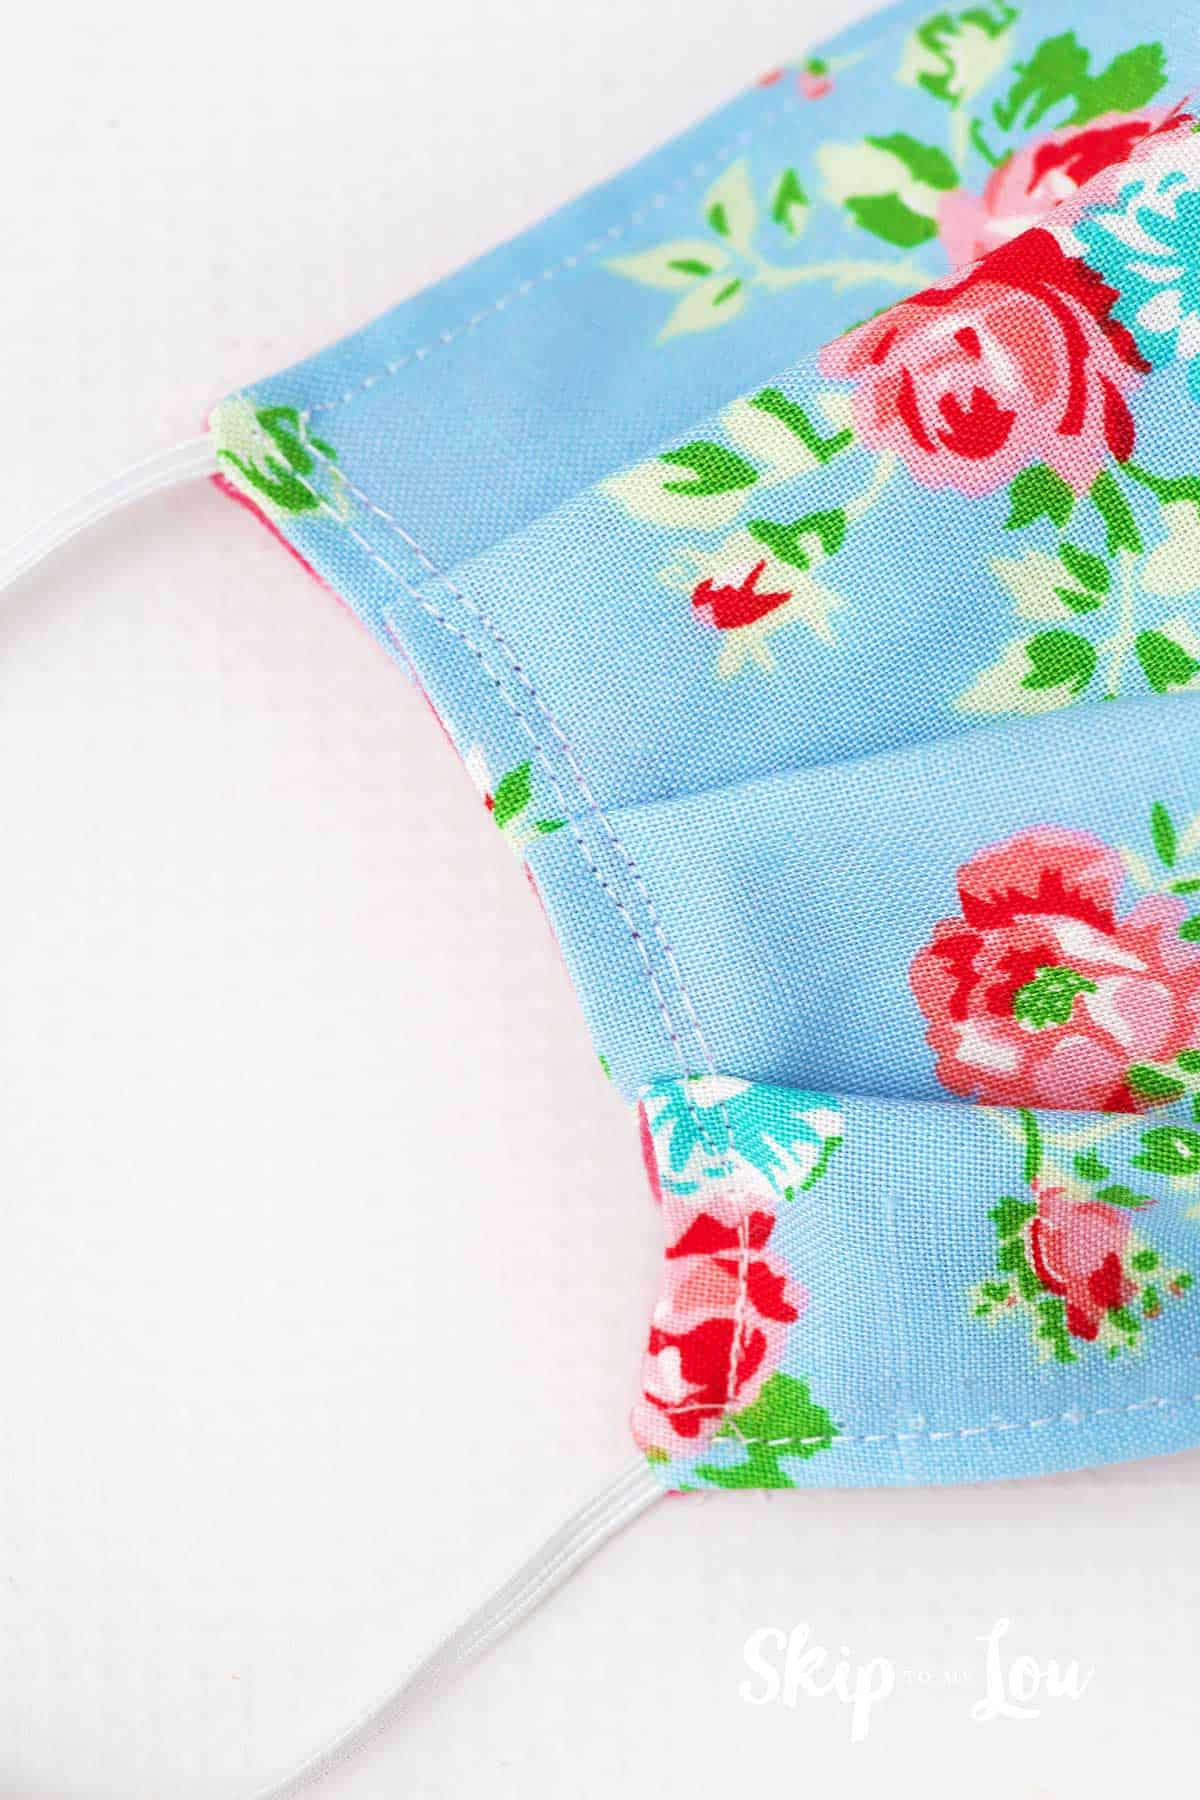
Make three pleats on each end. Pin. Just eyeball the placement. Make sure the pleats are going the same direction on each side.
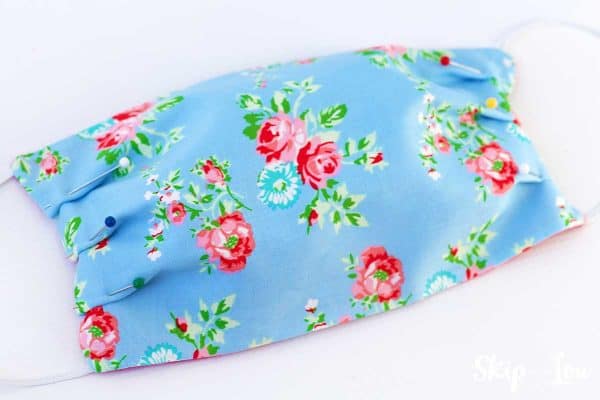
Stitch all the way around the masks twice.
That is it! Super easy!
The Deaconesses have these details about making/delivering fabric masks.
- The pattern is courtesy of The Turban Project
- Use tightly-woven cotton fabric on both sides. (we used a tightly woven cotton on one side and cotton flannel on the other)
- Please remember that both women and men in a variety of roles may wear these masks.
If providing masks to a specific organization please make sure you follow their directions. My hope is that the DIY Masks be used by the general public if that makes them feel more comfortable and we save the real masks for our health care workers.

Free Printable Face Mask Sewing Pattern
If it helps to have something by your sewing machine you can download and print this PDF pattern as a handy reference guide. I think you will really like this pleated mask pattern.

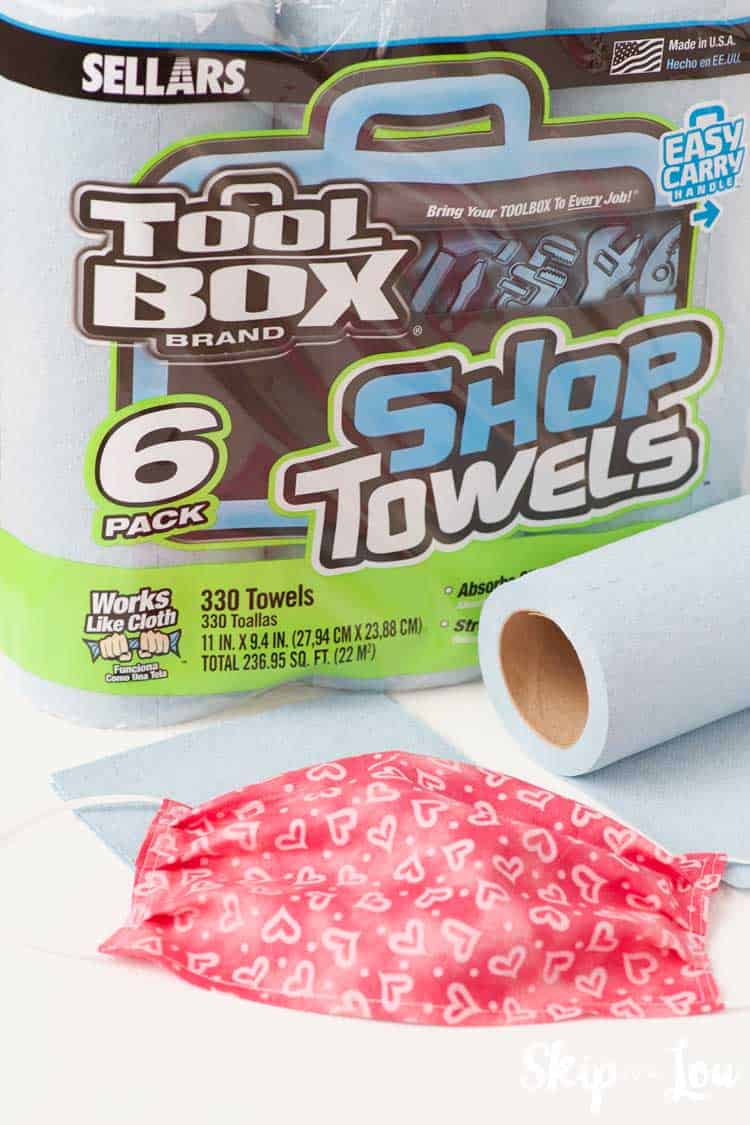
Filter Mask Pattern
There are so many mask designs. If you are looking to add a filter to your mask try this face mask with a filter pocket. So quick and easy! I used blue shop towels but you can use whatever you like. This is also a nice face mask pattern because it works without the filter too so it gives the user options.
How to Make a Mask with Filter Pocket
More Patterns for Face Masks
If you prefer an easy fitted face mask whip up this soft and cozy mask in minutes! I have a free printable pattern in three sizes, even a kids’ face mask pattern sized just for them
Now that you are sewing If you want to provide comfort to someone these rice heating pads are another easy sewing project that provides comfort and shows care.
There are so many ways we can provide support to each other and help our communities. These uplifting message hearts are the perfect way to brighten someone’s days and show a bit of love.
Easy Sewing Projects
Now you have all my easy mask making ideas. If you find yourself at home looking for ways to enrich your life sewing is a great activity. It is so satisfying to make something yourself.
Here are some easy sewing projects:
- Zippered pouch – Let me walk you through step by step how to put in a zipper. I bet you will be surprised at how easy it is.
- Reversible Tote – This makes a useful project to give or keep.
- First Aid Pouch – So cute!
- Tissue Cover
- Hot Pad Tutorial
- Fabric Coffee Sleeve
- Pet Bandanas
- Yoga Mat Sling
- Key Chain Wallet
I would love to keep you fully stocked with creative ideas, yummy recipes, fun crafts, and loads of free printables. Subscribe to Skip to my Lou to get new ideas delivered to your inbox. Follow me on Facebook, Pinterest, Twitter, and Instagram for all my latest updates.


Brenda thanks so much! I am glad it worked for you!
This was the best pattern I came across. Quick and easy! Thank you so much!!
Not us. We are donating to our local Womans shelter. Kids masks too.
Cindy, some I only sewed the top once. The important part is to make sure the sides are sewed twice.
Lisa, I just placed the elastic between the right sides of the fabric in the corners. Let me know if this doesn’t help.
Deborah-Ann, sew the elastic in the corners of the short side.
Lucy, gather both the top and bottom together. When sewing go slowly. I ever so slightly tug on the elastic to help it move through the machine if needed.
Shirley, I just don’t know. I would assume they would launder before using. You might ask where you are giving them.
Should the masks be e laundered before sending to say Nursing Homes or would they
launder them before giving them out?
Hello! Thank you for this awesome tutorial. When making the pleats, do you just gather the top piece of fabric, or are both the top and bottom pieces of fabric supposed to be gathered? Thank you!
which side did you sew the elastic to? the Long side or the short side?
Thanks for the pattern. I’m curious if you sewed on top of the elastic or if you made a little edge so it could freely move. If that’s the case did you just sew the ends of elastic together?
Hi there! If you right click on an empty spot on the screen there should be options listed. towards the bottom. Left click on Print and that should work. Kathy Smith
Instructions say to top stitch twice around mask. Picture of completed mask looks like only double stitched on sides. If entire mask should be twice do you stitch close to first stitching or directly on top of first stitching?
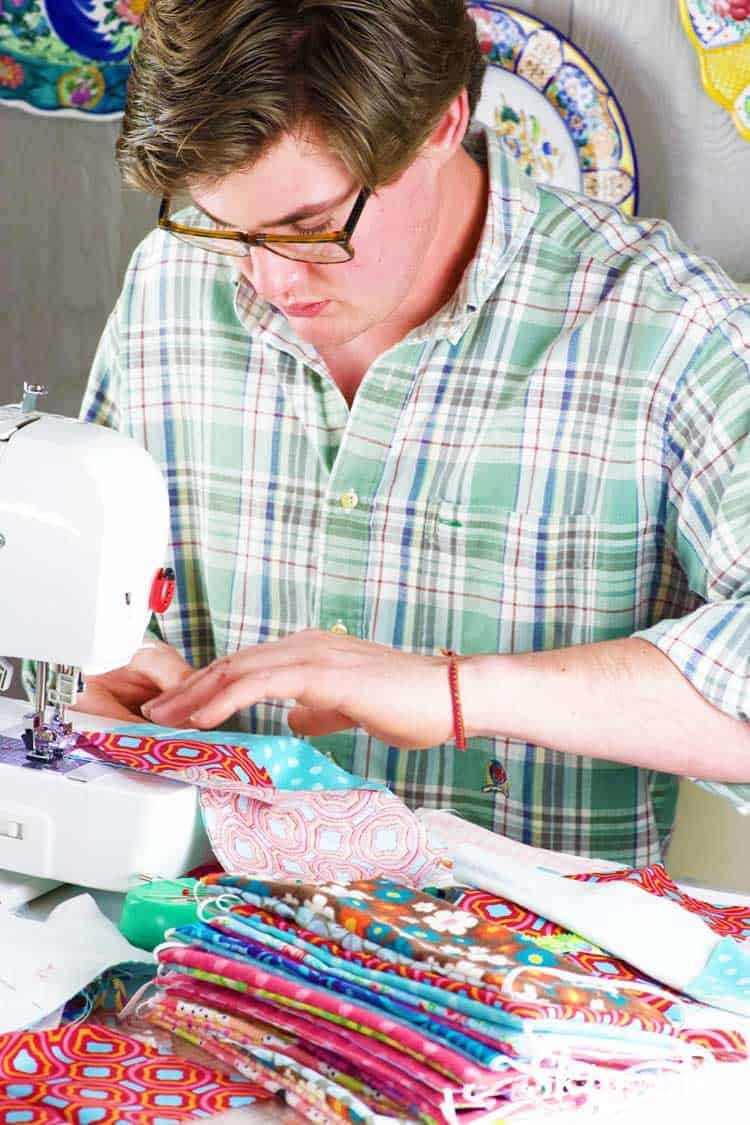
Mary, I could ask my son. Would you be interested?