Hello there! Are you interested in learning how to draw a deer? Look no further! In this post, we will guide you through a step-by-step tutorial on how to draw a realistic deer using simple shapes.
By following our easy-to-understand instructions, novice artists can create a beautiful depiction of one of nature’s most majestic wild animals. Not only is drawing a great time for anyone looking to relax and unwind, but mastering the skill of drawing a deer with their slender bodies can also be an impressive addition to any artist’s portfolio.
Join Skip to My Lou for a world of enjoyable and engaging family activities! Our step-by-step tutorials for drawing, coloring, and crafting are perfect for creating memorable experiences while spending time together as a family.
Related: Check out How to Draw a Dog and How to Draw a Butterfly for more drawing inspiration.
This article contains affiliate links.
Easy Deer Drawing
All you need is a pencil and paper, and you can get started on your deer drawing today! Whether you’re looking to improve your art skills or simply want to spend some time exploring your creativity, this tutorial can be done from the comfort of your own home and only requires basic shapes. So let’s get started on this exciting journey of creating your very own deer drawing!
Essential Drawing Supplies for Drawing a Deer
Gather these art supplies before you begin your deer drawing:
- Sketching Pencils
- Kneaded Rubber Eraser
- Sketch Pad
- Erasable Colored Pencils
- Fine markers
- Sketch and Drawing Art Pencil Set
- Artist drawing set (This is great for new and experienced artists. It’s also something I give as a gift.)
How to Draw a Deer Step-by-Step
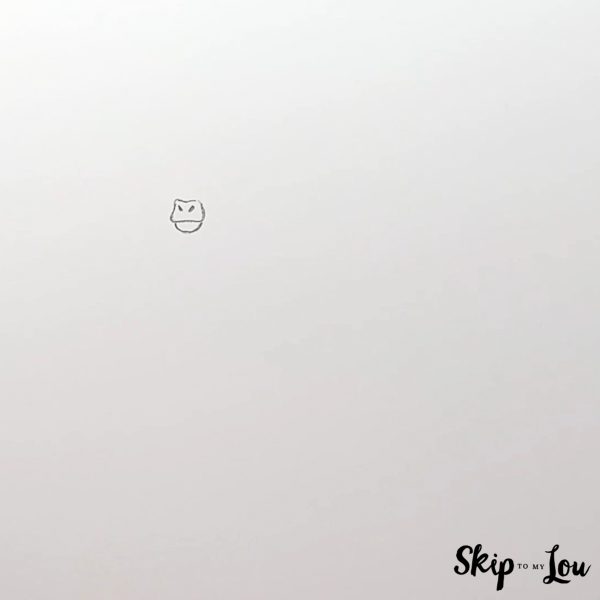
Step 1
To get started, let’s draw the deer’s nose and mouth to form the first part of the deer’s face.
Firstly, draw a curved rectangular shape to form the nose and top part of the mouth.
Secondly, draw an upside-down semicircle underneath for the bottom part of the mouth.
Lastly, add two short lines for nostrils.
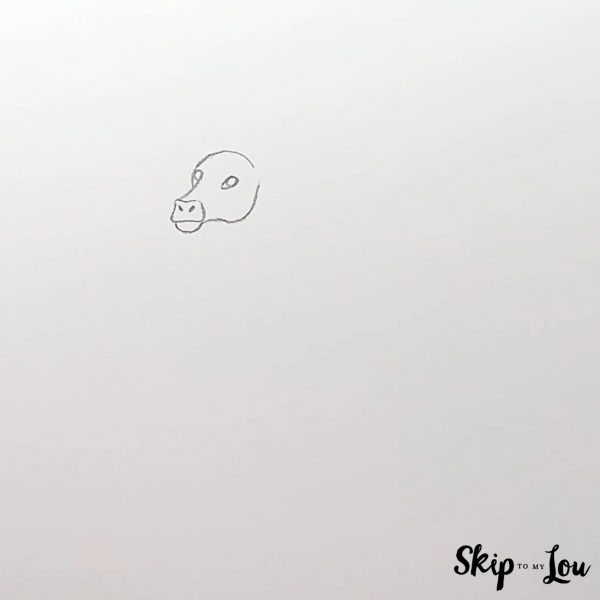
Step 2
Now we should draw the deer’s head and some more facial features.
To begin with, extend the deer head back from the nose, just like in the picture below.
After that, draw a small circle for an eye on both sides of the face.
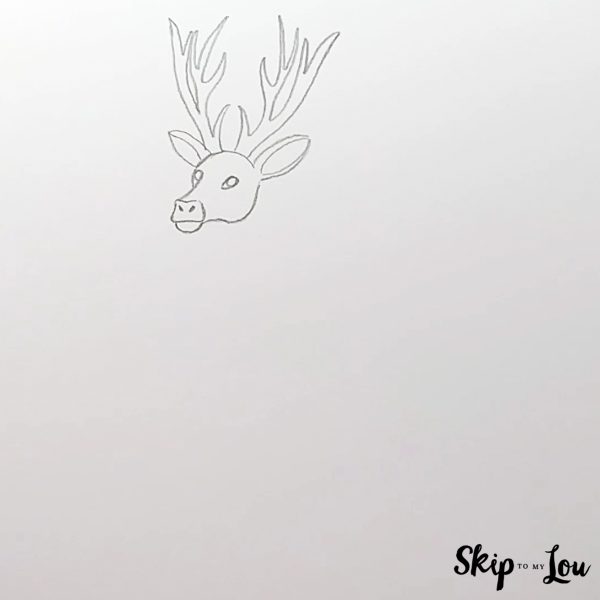
Step 3
Let’s add the antlers and the ears to our deer drawing.
To begin with, on both sides of the top of the head, draw a large oval shape for each of the deer’s ears. On the right side, draw a smaller oval inside to show the inside of the ear. On the left side, just use a curved line.
After that, draw two antlers. The base of the antlers are between the ears on the head of the deer. Use curved lines, with lots of small branches that end in sharp points, as can be seen in the reference drawing below.
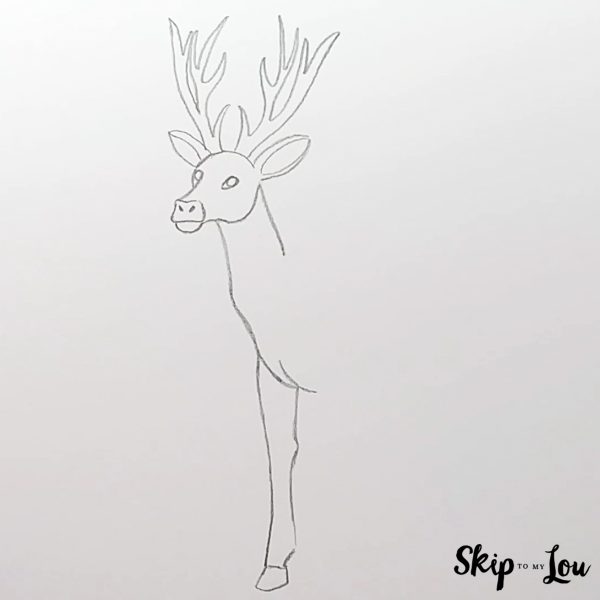
Step 4
Now we draw the front part of the deer’s body.
Firstly, draw a line that goes down from the left side of the deer’s head, and curves slightly underneath to form the deer’s neck.
Secondly, draw the front leg by using the guide drawing below and paying special attention to the shape of the leg. Use long lines, with a little curve to show the joints. Finally, add a hoof at the bottom.
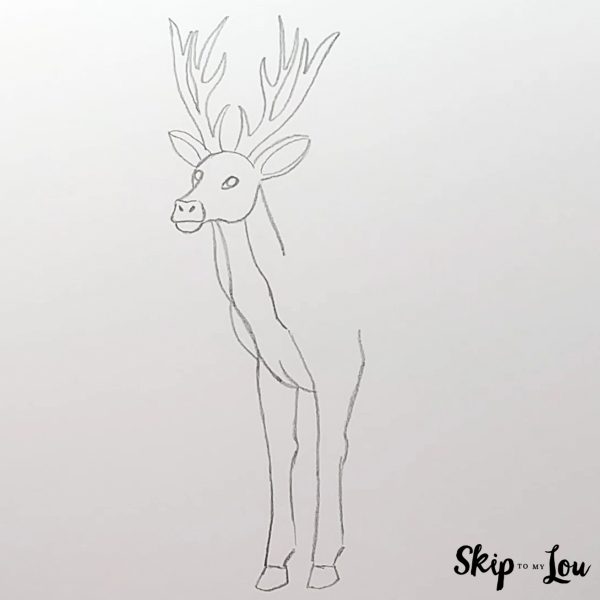
Step 5
Let’s complete the neck and the front long legs on the body of the deer.
Firstly, draw a line to the left side of the neck so it looks thicker with more muscles. Draw a similar line slightly to the right, so the deer’s neck is well-defined.
Secondly, add a second front leg slightly to the right of the first. Try to copy the first of the deer’s legs, and extend the leg further up into the body so it looks like it’s on the correct side of the deer.
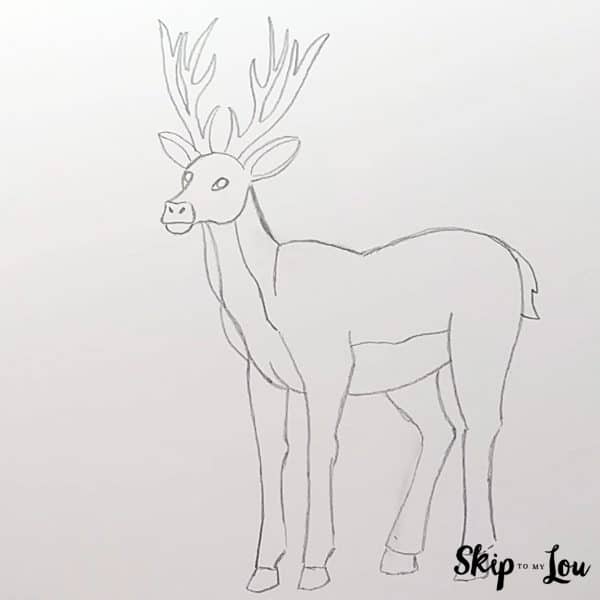
Step 6
Now we should complete the rest of the body.
To begin with, draw the deer’s back on the top of the deer, with a curved horizontal line from the base of the neck towards the right, with a little dip in the middle.
Afterward, continue the back line with a downward curve that connects to the back of the hind legs. Keep drawing the back legs, as can be seen in the image below. Remember to show the joints.
Finally, add a line to show the deer’s belly, and a small tail at the back.
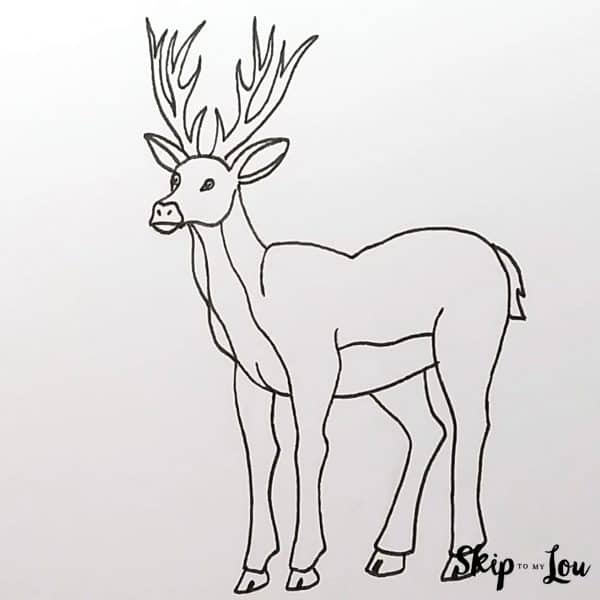
Step 7
You should now have completed the whole body of the deer.
It’s now a good idea to trace your pencil drawing with a marker so it stands out more.
As a finishing touch, add a little line to each of the hooves of the deer so they have a little notch.
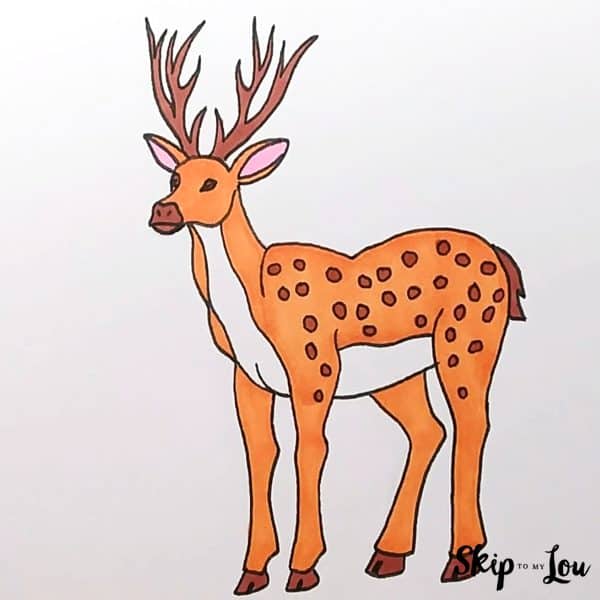
Your Finished Deer Drawing
If you like, try adding some color to your deer. There are many different directions you can take. One idea is to use colors that are natural to the deer’s environment, such as earthy browns and greens. This can help your deer blend in with its surroundings and give it a more realistic appearance.
Another option is to use brighter, more vibrant colors to create a unique and eye-catching look for your deer. You can try using bold blues, pinks, or purples to create a deer that really stands out.
When it comes to patterns, you can try adding spots or stripes to your deer’s coat. Alternatively, you can experiment with more abstract patterns, such as swirls or geometric shapes, to create a more stylized or artistic look.
Afterwards, why don’t you try drawing a different deer species? You could draw a buck deer, white-tailed deer, mule deer, or even a baby horse.
More Fun Drawing Tutorials
Give these drawing guides a try if you’re seeking more fun activities:
- This guide on How to Draw a Volleyball is a fun and creative activity.
- This easy-to-follow Basketball Drawing Guide is perfect for beginners.
- Try this tutorial on How to Draw a Dinosaur, helping you create a prehistoric masterpiece.
- How about this Simple Bird Drawing Tutorial to create a realistic and beautiful bird drawing.
- Why not try this Guide on How to Draw a Book to sharpen your artistic skills.
I would love to keep you fully stocked with creative ideas, yummy recipes, fun crafts, and loads of free printables. Subscribe to Skip to my Lou to get new ideas delivered to your inbox. Follow me on Facebook, Pinterest, Twitter, and Instagram for all my latest updates.


