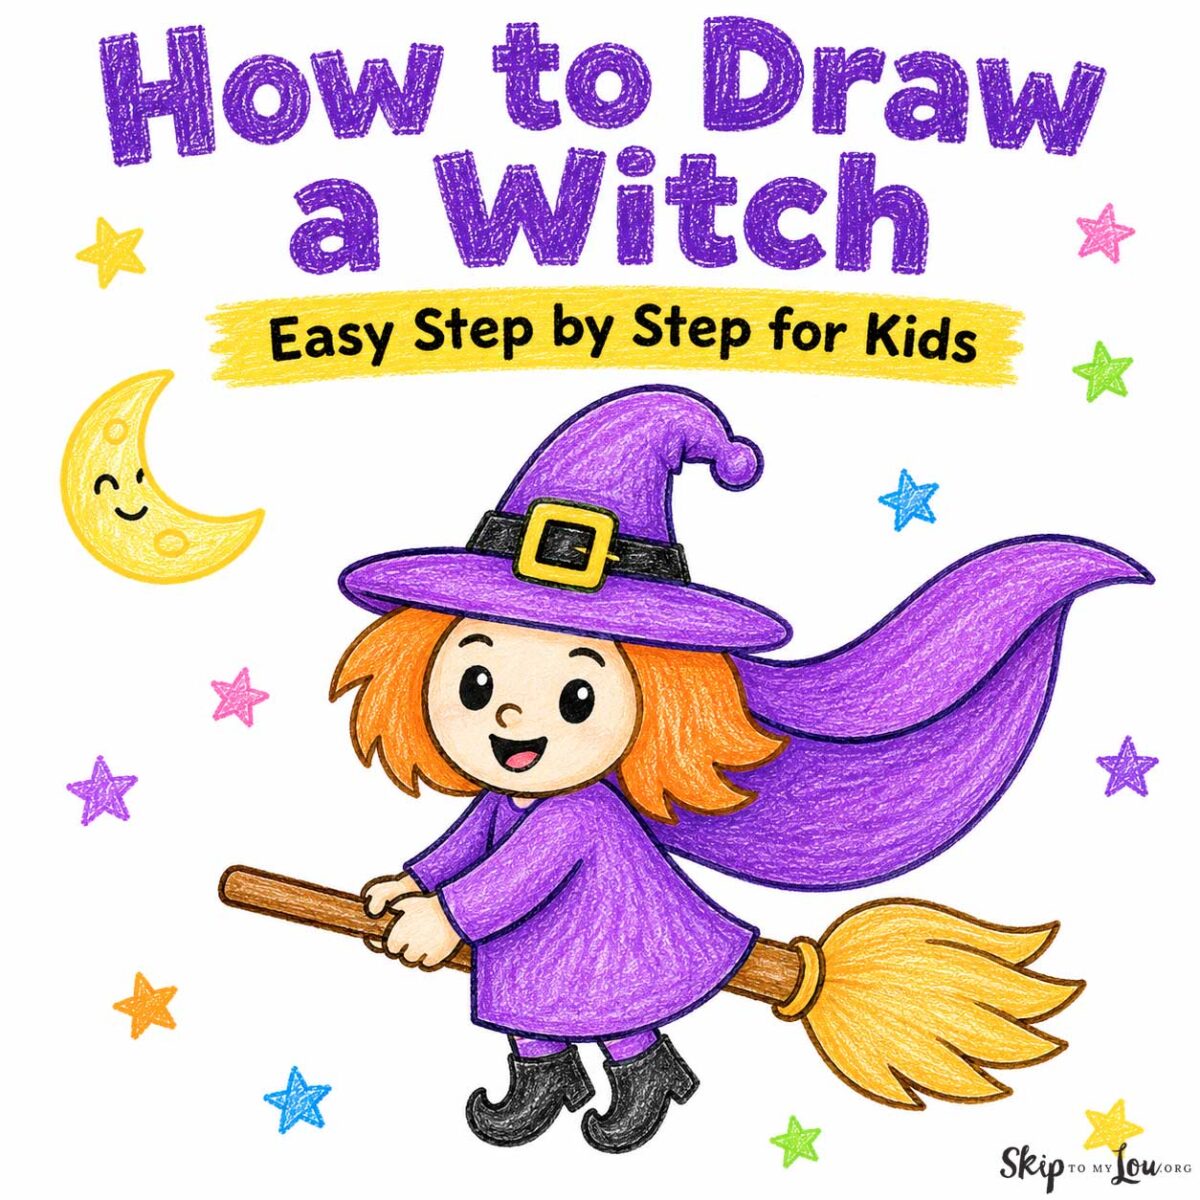
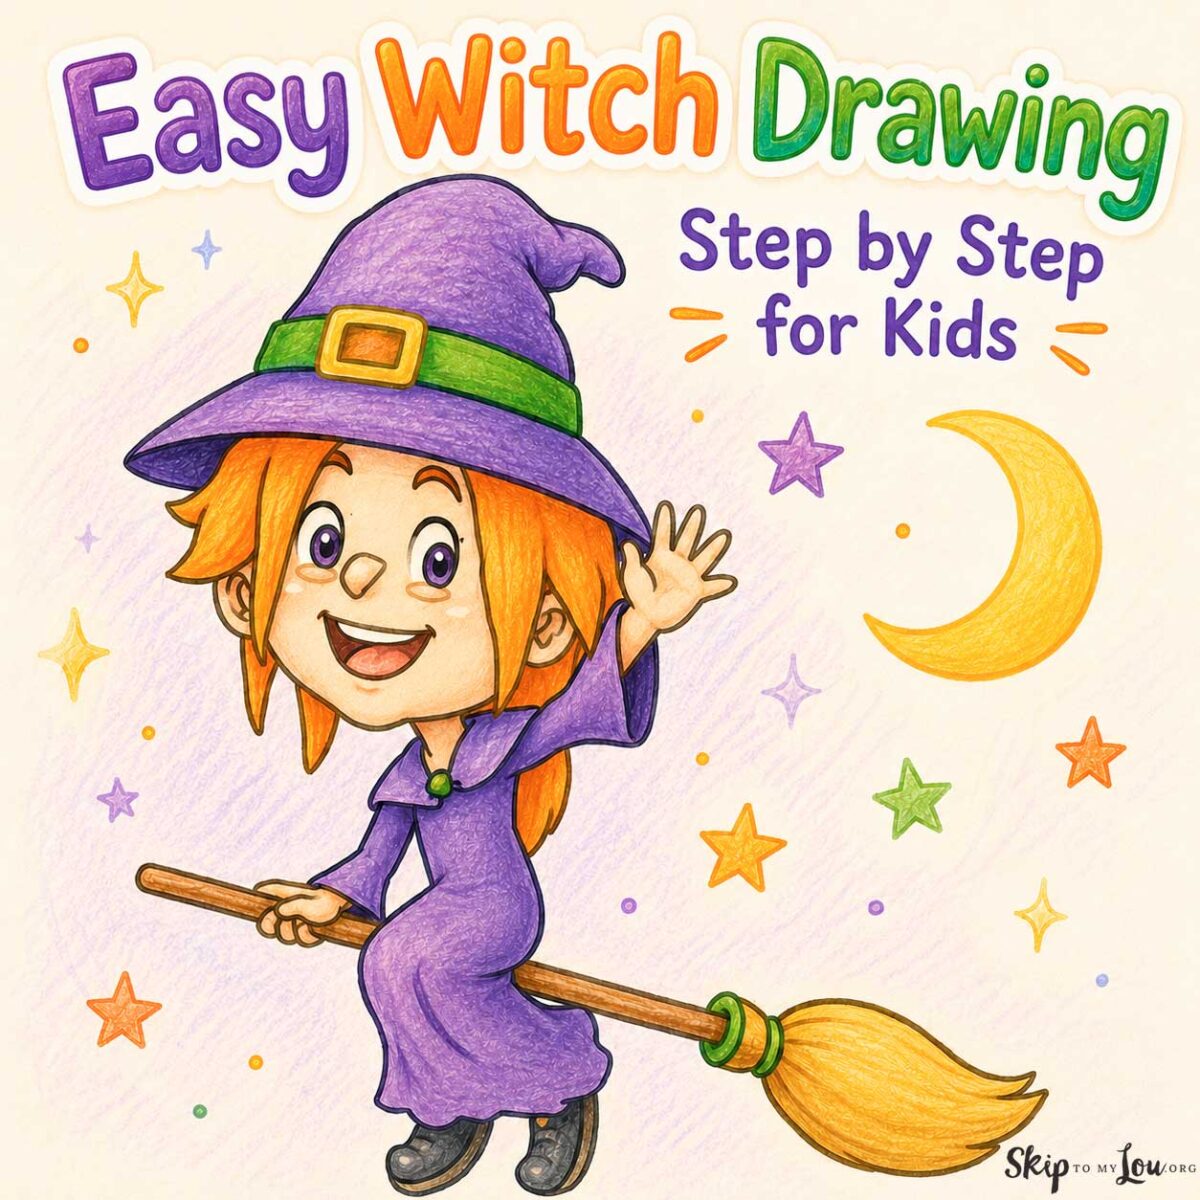
This easy witch drawing is a fun Halloween art project for kids. Follow the simple step by step tutorial to draw a friendly witch flying on a broom.
This post includes two witch drawing options: the original witch on a broom tutorial and a new cute witch drawing practice sheet for younger kids.
You only need paper, a pencil, an eraser, and a black marker if you want to outline your drawing at the end.

How do you draw a witch?
To draw a witch, start with the head and a pointed witch hat. Add hair, a face, and a dress. Next, draw the arms, hands, broomstick, shoes, and broom bristles. Finish your witch drawing with a cape and fun Halloween details, such as stars, a moon, bats, pumpkins, or a spooky background.
Supplies for Witch Drawing Lessons
These witch drawing tutorials only need a few simple supplies:
- paper
- pencil
- eraser
- black marker to outline your drawing
- crayons, markers, or colored pencils for coloring
Free Witch Drawing Practice Sheet
Use the printable witch drawing guide below to follow each step. Kids can copy the shapes one at a time and then color their finished witch with crayons, markers, or colored pencils.
This free witch drawing practice sheet is perfect for Halloween art centers, classroom drawing activities, homeschool lessons, or a quick creative project at home.
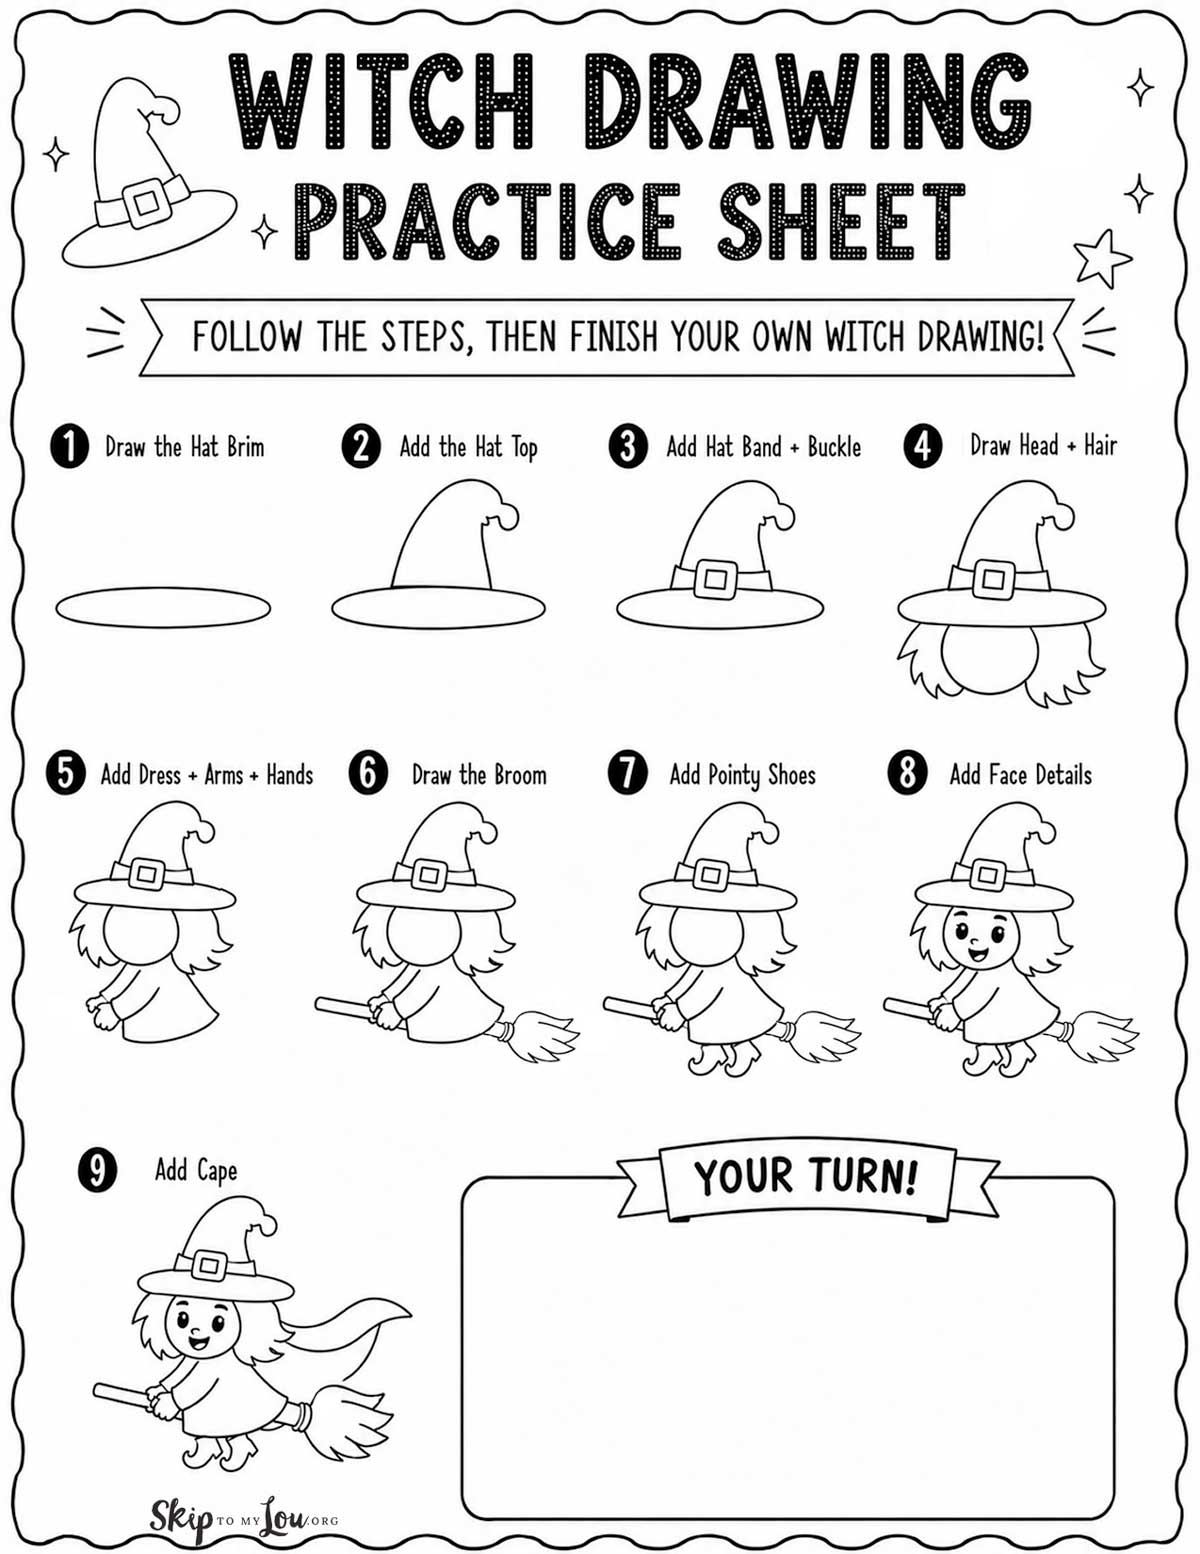
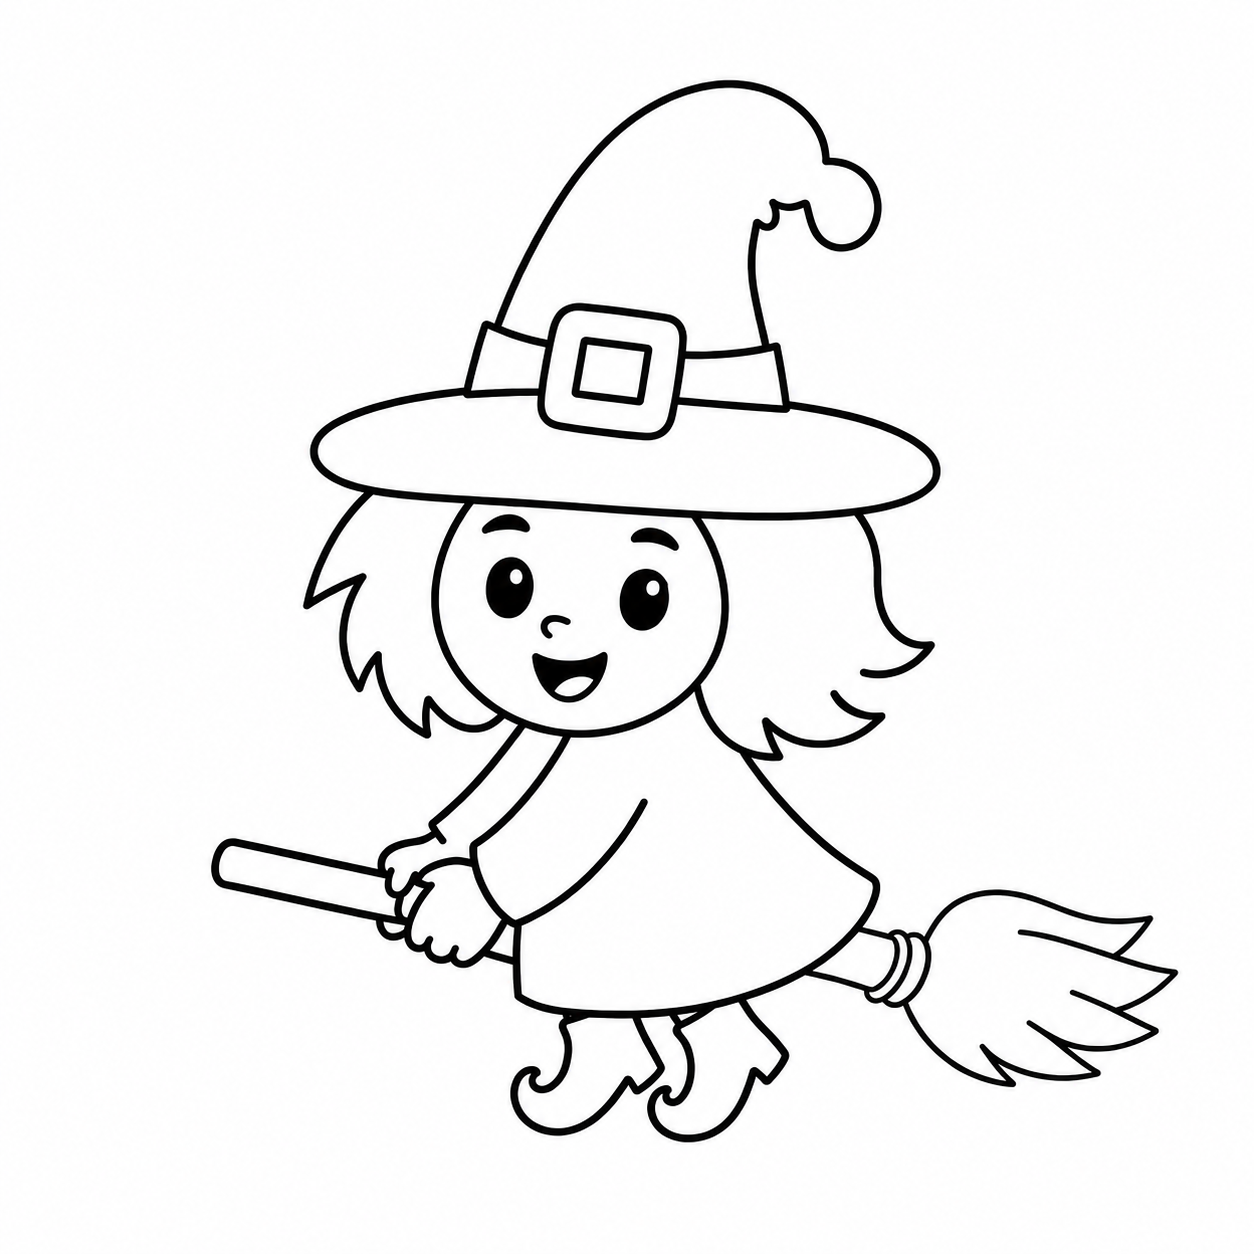
This cute witch drawing practice sheet is a simple way for kids to learn how to draw a witch. It breaks the drawing into easy shapes and gives kids a blank “Your Turn” box to finish their own witch.
Start with the hat brim, then build the witch step by step. Add the hat top, band, buckle, head, hair, dress, arms, hands, broom, shoes, face details, and cape.
How to Draw the Cute Witch Step by Step
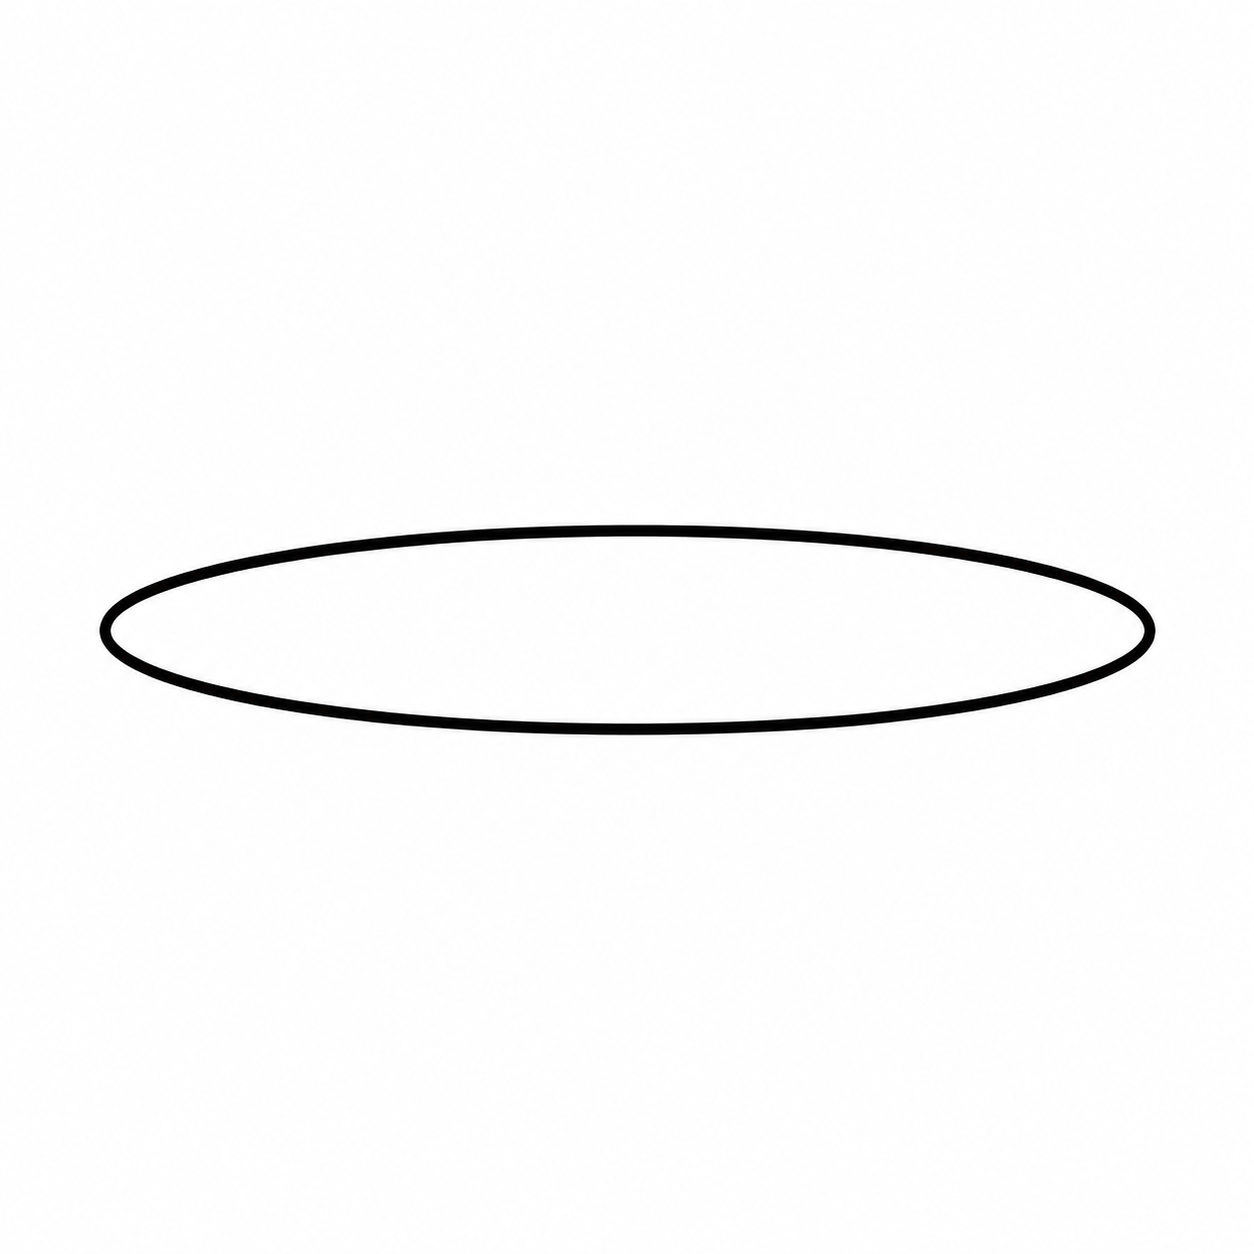
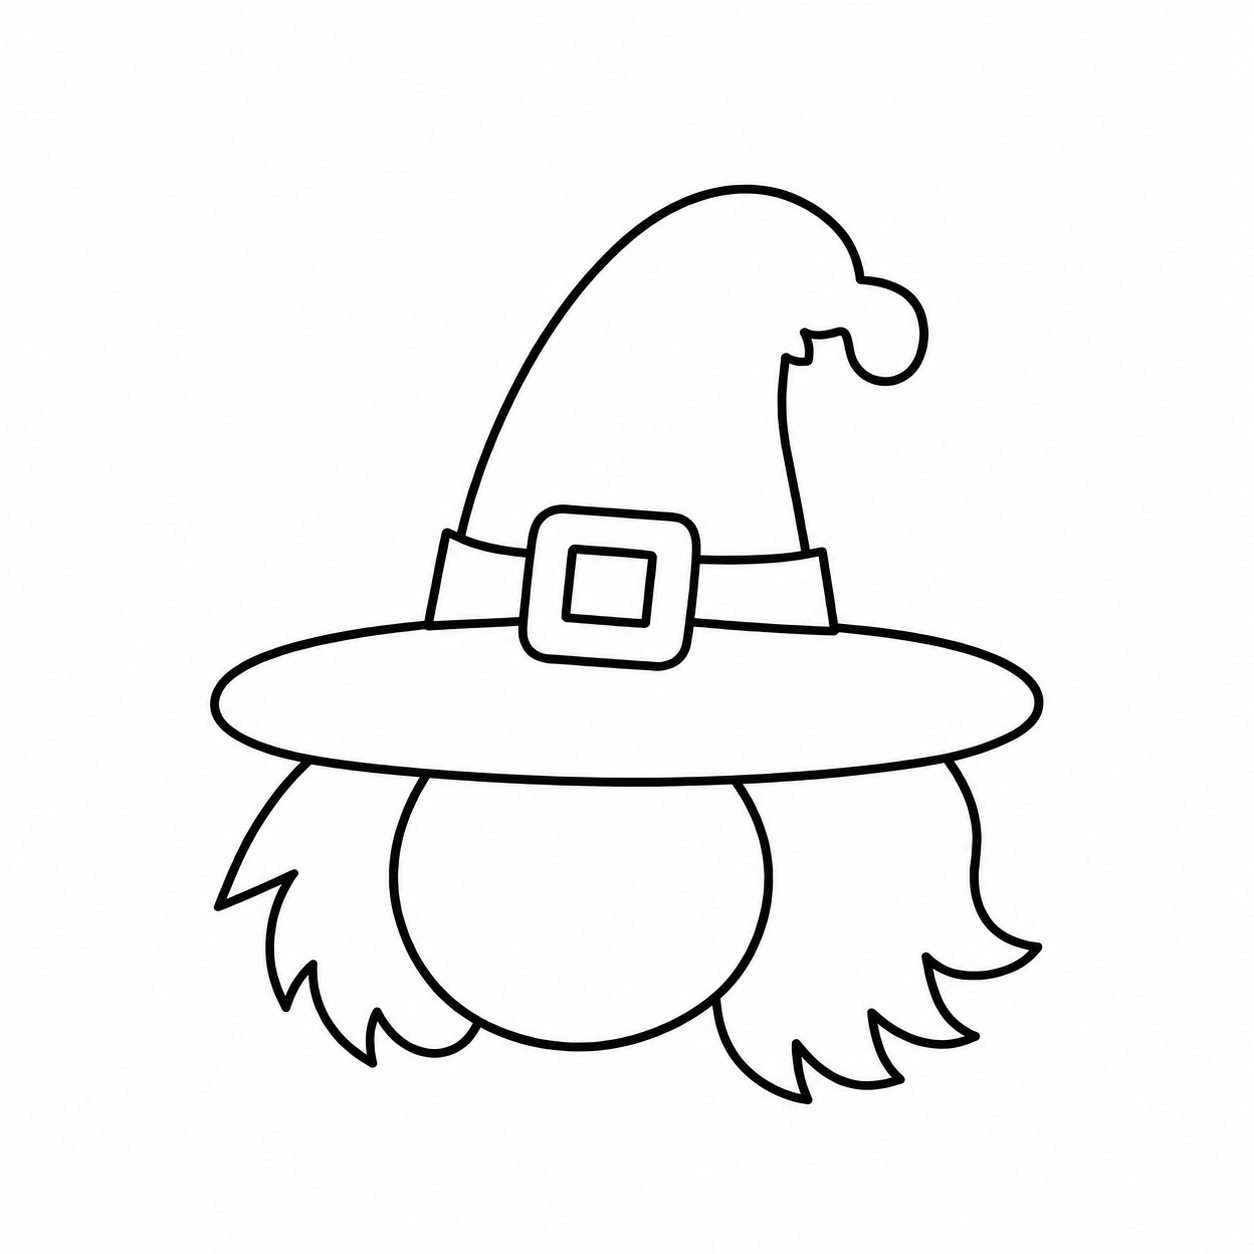
- Draw the hat brim
Start with a long, flat oval. This will become the brim of the witch’s hat.
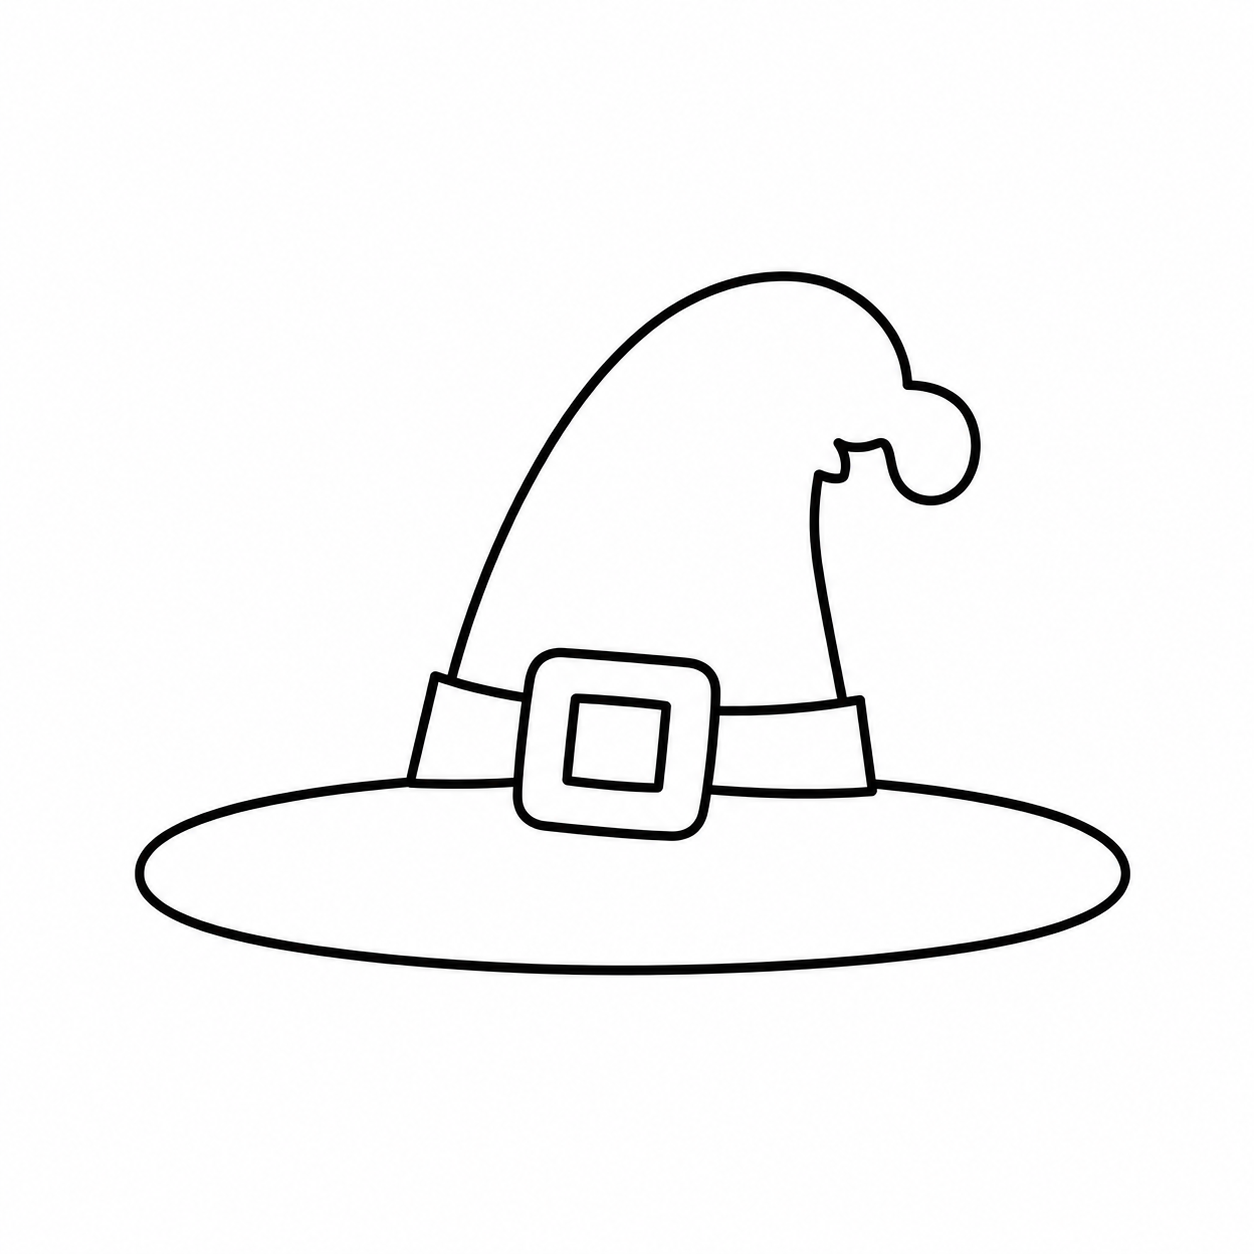
- Add the hat top
Draw a tall, curved triangle shape on top of the brim. Curve the tip over to make it look like a floppy witch hat. - Add the hat band and buckle
Draw a band across the hat. Add a small square buckle in the center. - Draw the head and hair
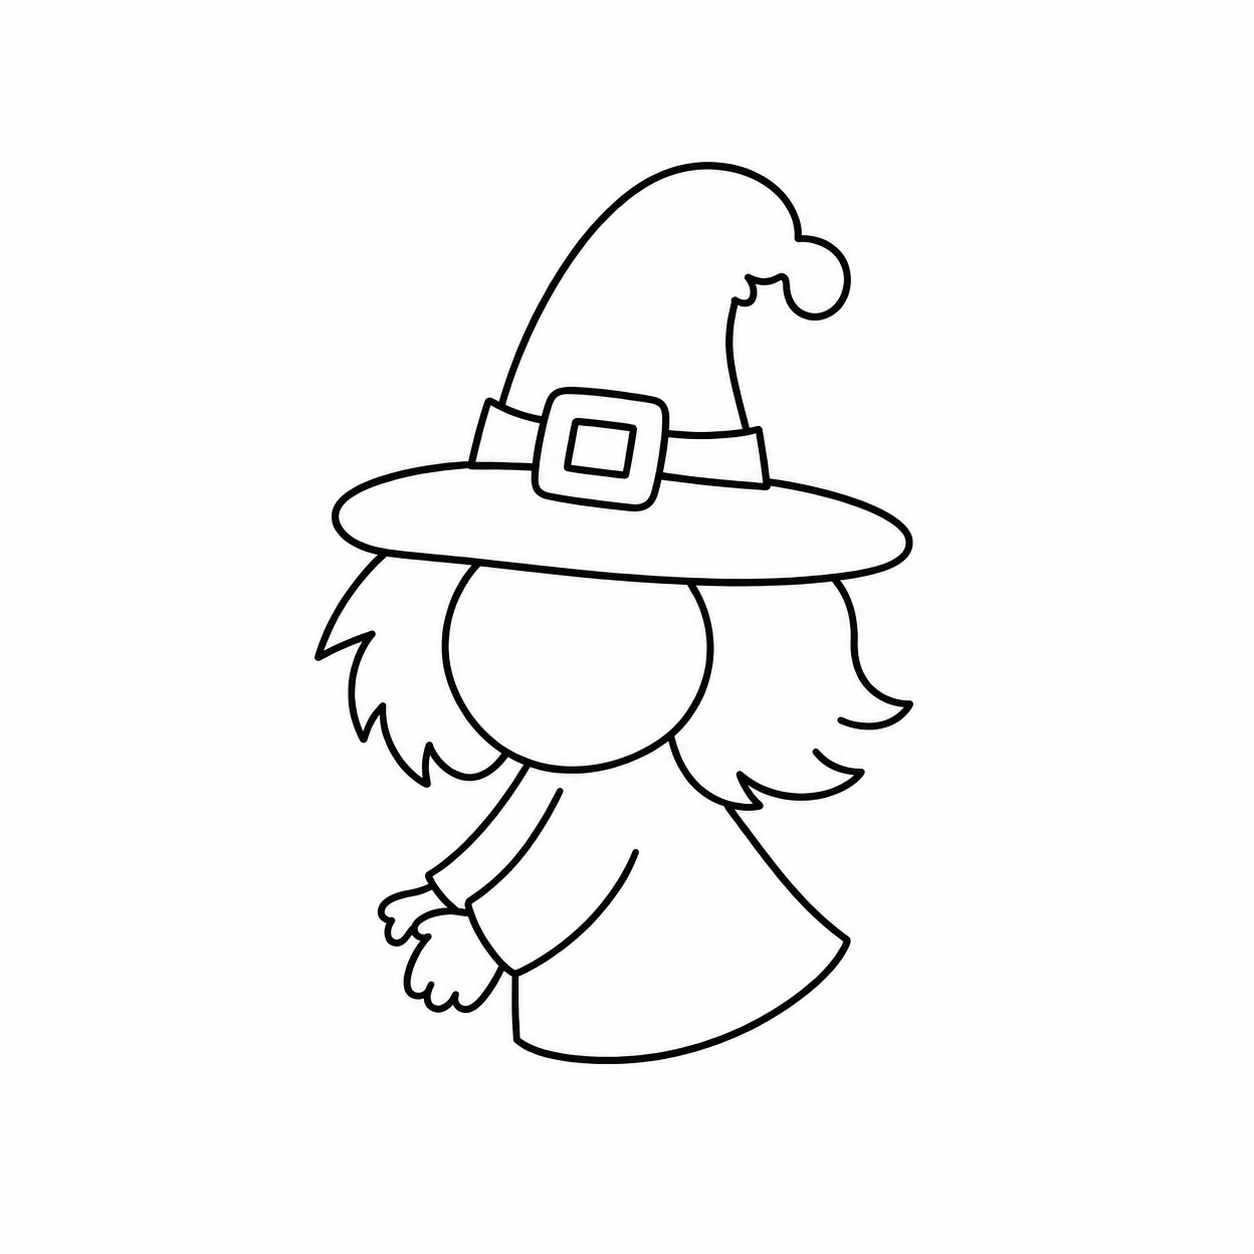
Under the hat brim, draw a round head shape. Add simple hair on both sides with curved, pointy sections. - Add the dress, arms, and hands
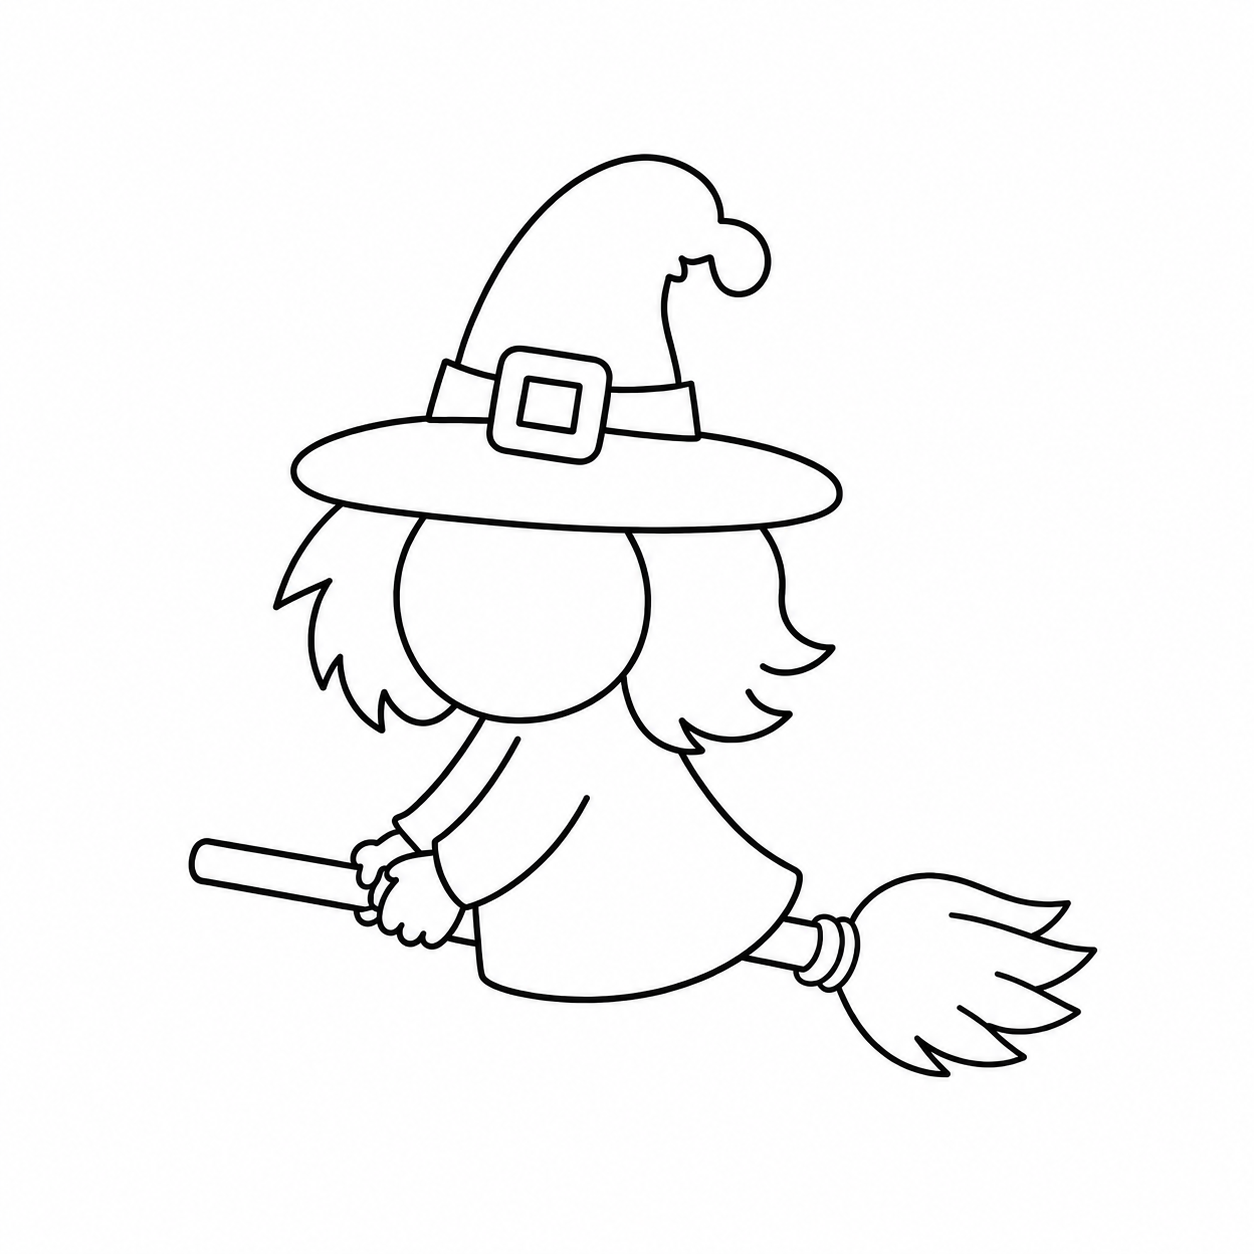
Draw a simple dress shape under the head. Add arms in front of the body and small hands where the broom will go. - Draw the broom
Draw a broomstick through the witch’s hands. Add the broom bristles behind the dress. - Add pointy shoes
Draw two little shoes under the dress. They can curl up slightly to look extra witchy. - Add face details
Draw two eyes, a small nose, and a happy smile. Keep the face friendly and cute. - Add the cape
Finish the witch by drawing a cape flowing behind her. Now your witch is ready to fly!

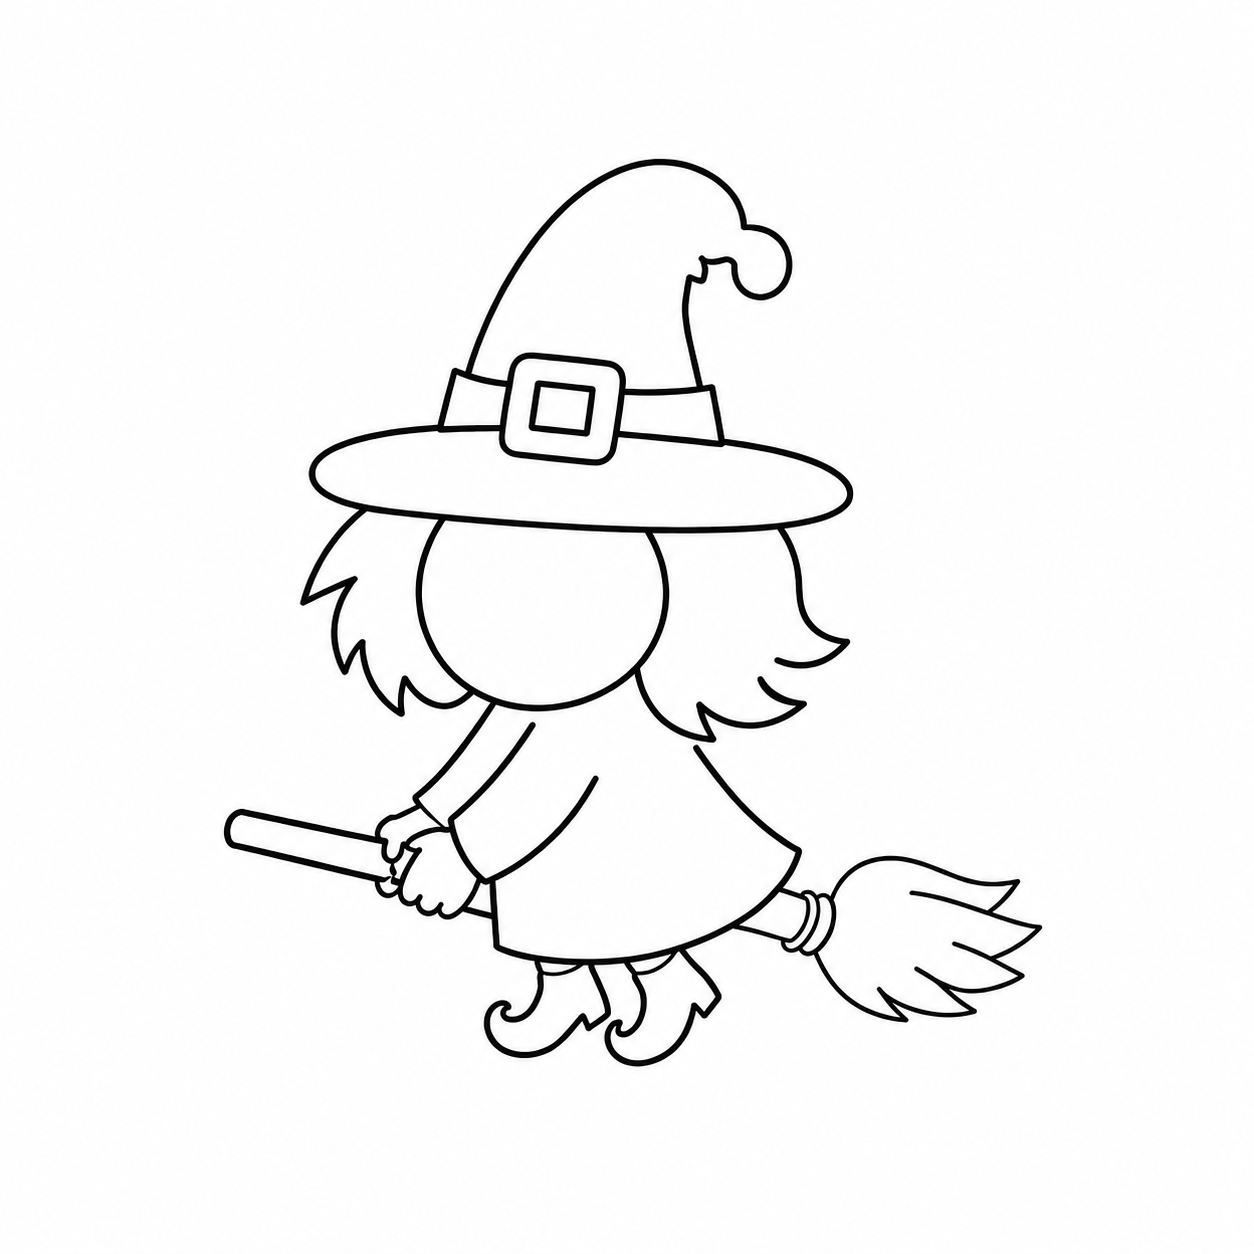
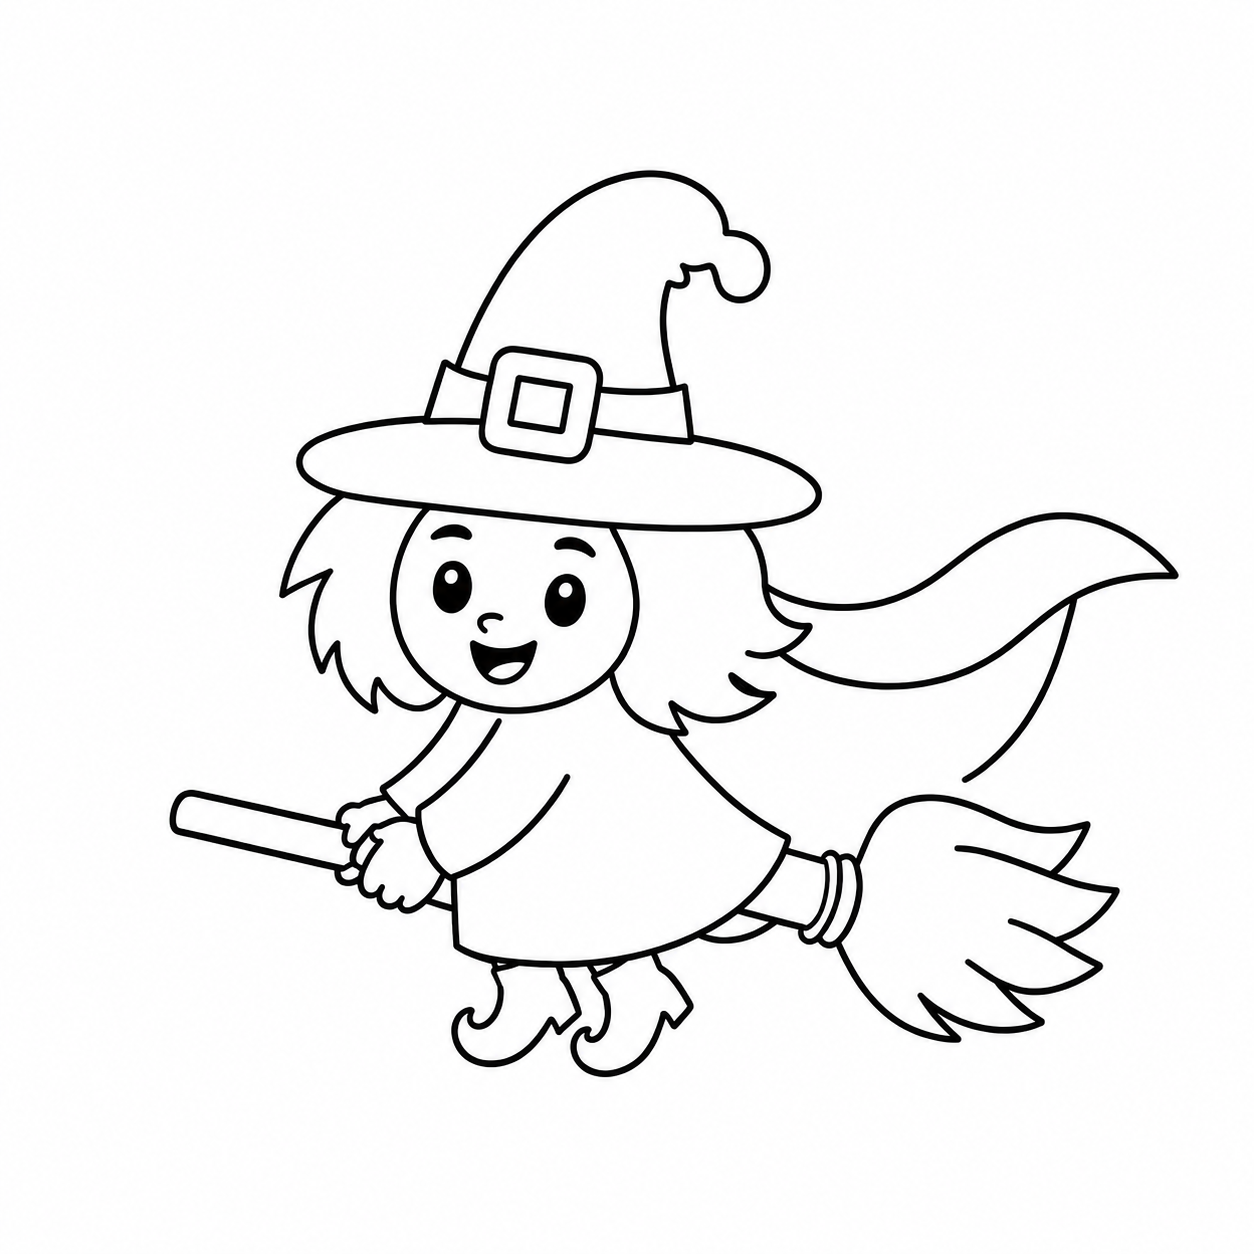
Color your witch with purple, orange, black, and yellow, or choose your own magical Halloween colors.
How to Draw a Witch on a Broom Step by Step
This witch on a broom is a fun Halloween drawing for kids who are ready for a little more detail. Follow the steps one at a time and do not worry about making your drawing perfect. Every witch can look a little different!
Start by drawing the witch’s face, short hair, and pointed hat. Sketch a tilted triangle for the beginning of the hat, then add the hatband and the curved tip. Under the hat, draw an oval face with short spiky hair.
Next, add the face details. Draw two oval eyes, eyebrows, ears, a nose, cheeks, and a smiling mouth.
Now draw the witch’s body as if she is sitting on a broom. Add a short neck, a curved robe, bent legs, and one arm angled up. Draw a small cape tied in the front and hanging down her back.
Add the witch’s hands, the other arm, and the broomstick. Use two long parallel lines for the broom handle.
Draw the broom at the end of the broomstick. Add the tied straw shape and a few lines for the broom bristles.
Finish your witch drawing with shoes and extra details. You can add a wart, stars, a moon, bats, or a Halloween background.

More Halloween Drawing Ideas
Once your witch is finished, turn it into a full Halloween picture. Add a moon in the sky, stars around the witch, a pumpkin below her broom, a bat flying nearby, or a spooky spider web in the background.
Looking for more easy things to draw? Try these next:
- Add a pumpkin beside your witch with this easy pumpkin drawing tutorial.
- A little bat makes the perfect spooky friend for this how to draw a bat lesson.
- Kids can also draw a jack o lantern to complete their Halloween scene.
- For another easy Halloween drawing, try this cute ghost drawing step by step.
- Add a spooky background with this easy spider web drawing.
You can also browse my Halloween drawings for more simple Halloween art ideas kids can make at home, in the classroom, or at a Halloween party.
After drawing, print these Halloween coloring pages for more festive fun. Younger kids will love these cute Halloween coloring pages with friendly, not too spooky designs.
I would love to keep you fully stocked with creative ideas, yummy recipes, fun crafts, and loads of free printables. Subscribe to Skip to my Lou to get new ideas delivered to your inbox. Follow me on Facebook, Pinterest, Twitter, and Instagram for all my latest updates.


