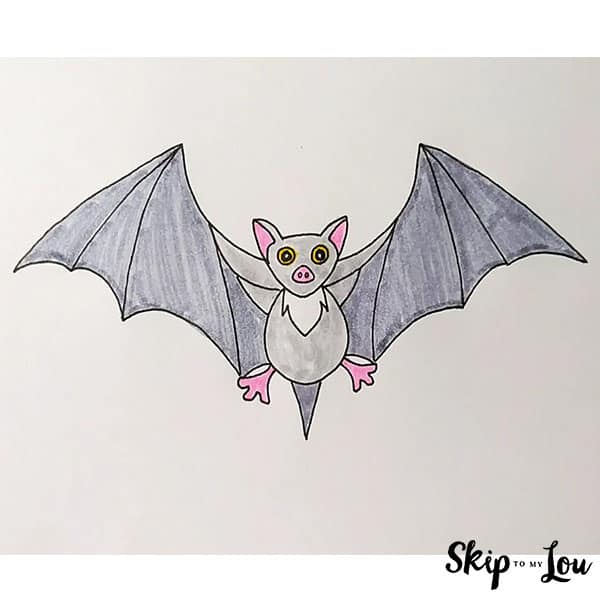
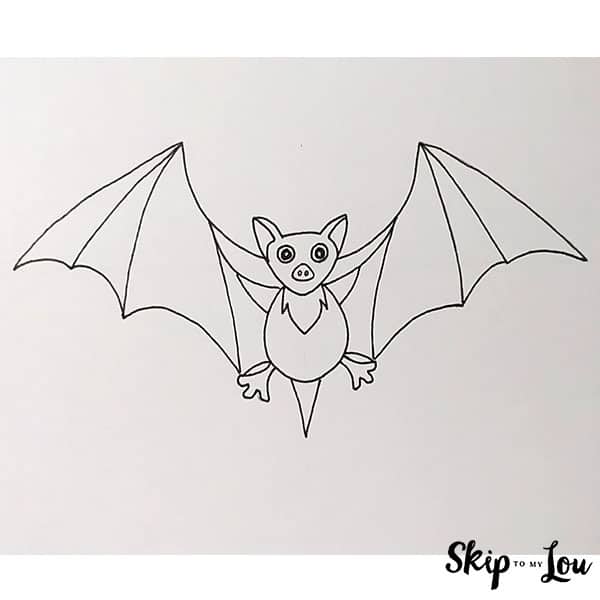
Learn how to draw a bat with a few simple lines and shapes! In this step-by-step drawing lesson, you will make this cute bat.
Don’t miss all the fun things to draw on Skip to my Lou! You will find loads of easy drawing tutorials. I especially like the cute animal drawings.
Bat Drawing Supplies
Just a few supplies you probably already have and you’re good to get started on this simple bat drawing.
- Sketching Pencils
- Kneaded Rubber Eraser
- Sketch Pad
- Erasable Colored Pencils
- Fine markers
- Sketch and Drawing Art Pencil Set
- Artist drawing set (This is great for new and experienced artists. It’s also something I give as a gift.)
How to Draw a Bat Easy!
The drawing instructions and illustrated images will show you how to draw a bat from start to finish. All you need to do is follow the easy step-by-step bat drawing tutorial! This is perfect for beginners.
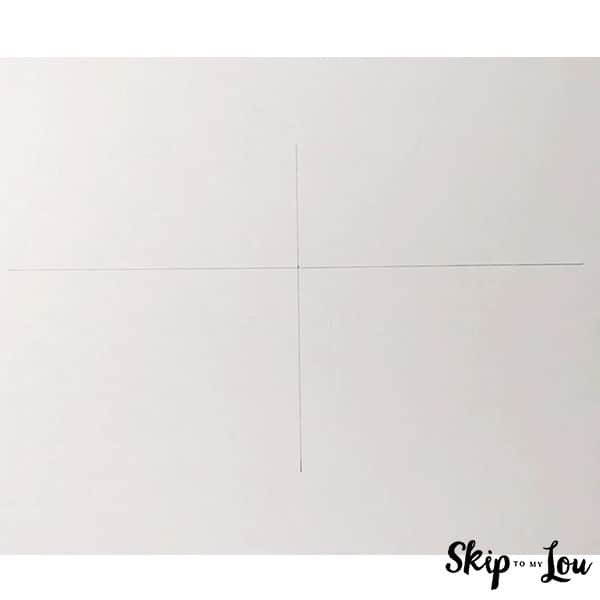
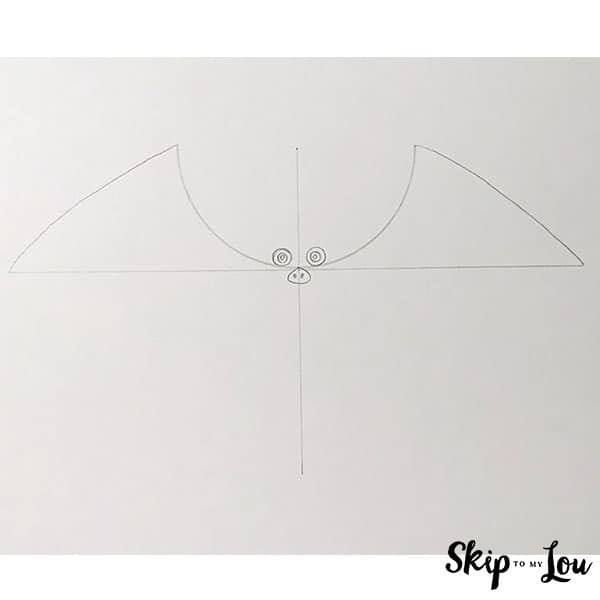
- Draw one horizontal line and one vertical line using your ruler. Your lines will look like this.

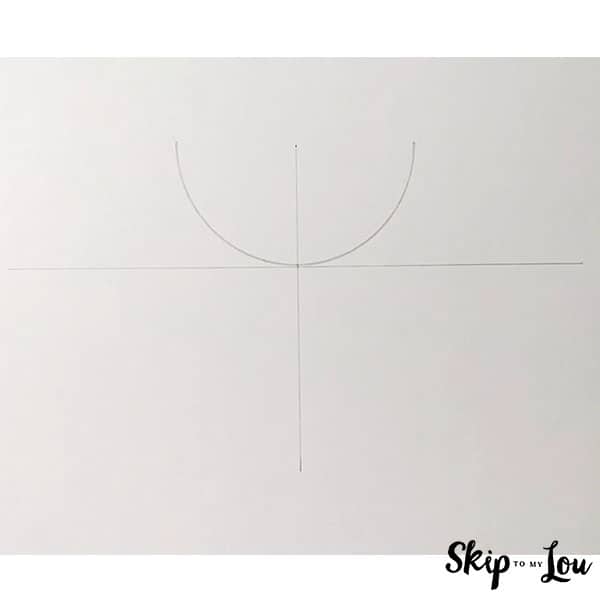
- Draw a half circle centered on top of the horizontal line. See, you did it!
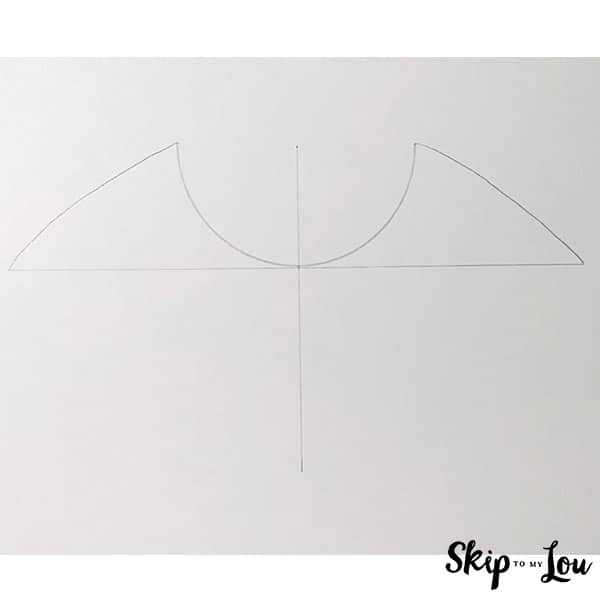
- Connect the left side of the half circle to the end of the left side curved line. Connect the right side of the half circle to the end of the right side curved line. Flap, flap! You drew wings!
- Eye see you! Let’s start making the bat’s face. Draw 2 dime-sized circles for eyes on either side of the vertical line close to the horizontal line. Add 2 smaller circles inside each dime-sized circle. Now draw a rounded triangle for the nose right under the horizontal line. Add two little dots for nostrils.
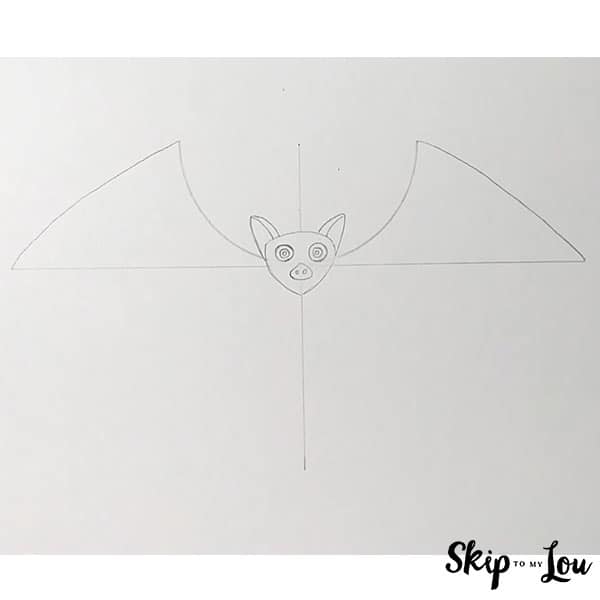
- Draw an upside down triangular shape for the head, kind of like a guitar pick! Your cute bat drawing is taking shape!
- Draw the bat’s ears by making a soft triangular shape starting at the side of the head by the wing, going up a couple of inches above the corner of the head and coming back down over the eye. Add one more curving line from the top of the ear to above the eye to show how those amazing bat ears capture sound!
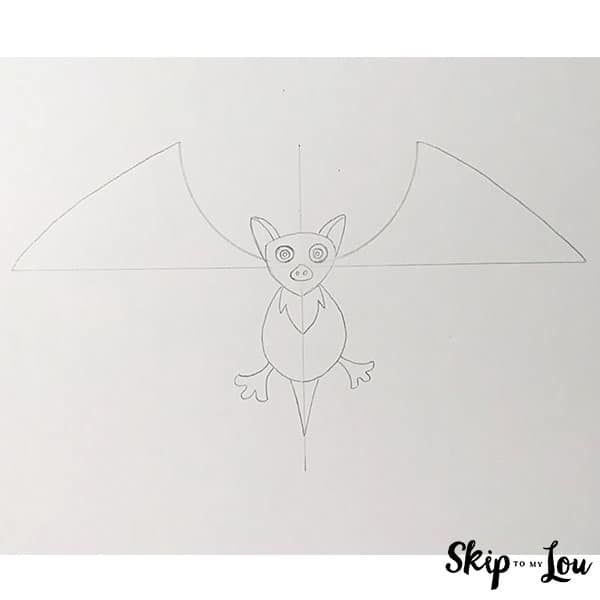
- Draw the furry neck with short lines going down from the chin to form an upside acorn. Add an oval shape for the body of the bat and two legs.
- Add an ice cream cone shape for the tail. Hang in there and keep going with your bat cartoon drawing!
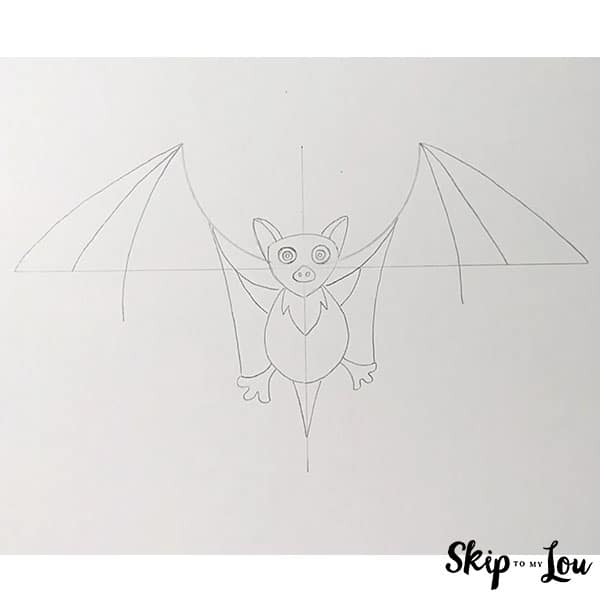
- Add an upside down moon shape behind the bat’s head. Connect the moon shape to the furry neck making a soft triangle.
- Draw a curving line from the top of the wing and extend it 1 inch below the horizontal line.
- Draw a line from the tip of the moon to the tip of the toe. Your bat is almost ready to take flight. Ready for the final steps?
- This drawing lesson is almost finished! Now draw more line to split the triangle on the wing and extend it below the horizontal line. Connect the the lines with upward curving lines (scallop shaped) to form the bottoms of the wings. Now you have made the bat wings drawing.


Congratulations on your finished drawing! You have learned how to draw a cartoon bat! Will you now draw a Halloween bat, little baby bats, or maybe draw an adorable bat while reading the delightful and informative book, Stellaluna.
Easy Bat Drawing Video
Watch the easy steps! Grab your pencils and pen and follow along.
Bat Crafts and Activities
Did you know that bats are the only mammal that can fly? They’re also one of the world’s oldest creatures, and play an important role in our ecosystem. Want more bats? Try one of these crafts. They are easy to make and fun to do.
I would love to keep you fully stocked with creative ideas, yummy recipes, fun crafts, and loads of free printables. Subscribe to Skip to my Lou to get new ideas delivered to your inbox. Follow me on Facebook, Pinterest, Twitter, and Instagram for all my latest updates.


haha i try and i gift to my son, so happy when he like