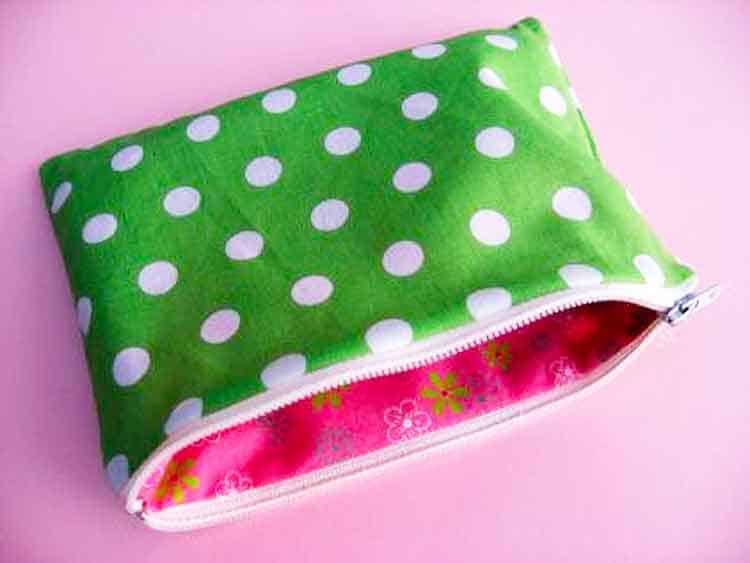
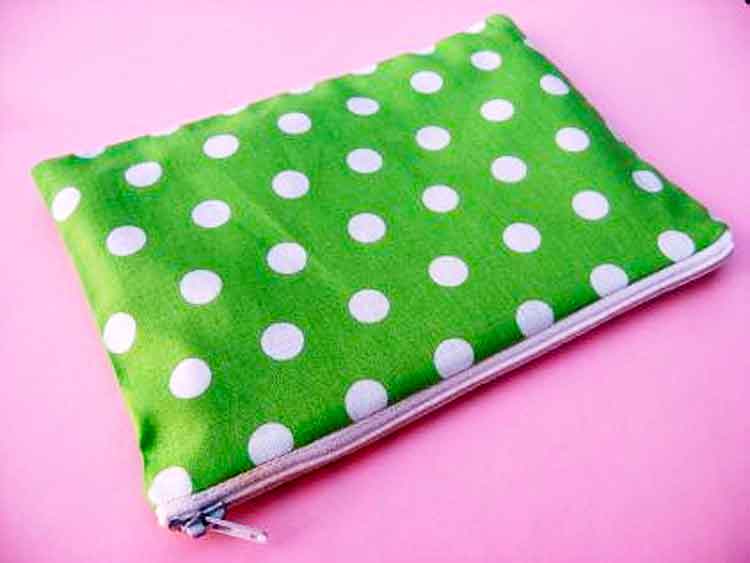
Here is a quick little how to make a lined zippered pouch tutorial. It isn’t that hard and I always feel like I have really accomplished something when I am finished. Fill a small zipper pouch with a favorite goodie or gift card to make a great gift!
RELATED: Make a matching tote bag with this free pattern.
Here is What You Need:
- fabric (this is a great way to use up fabric scraps. This is also a great fat quarter project)
- zipper
- thread
- scissors
- sewing machine
- zipper presser foot
- needle (if hand stitching opening closed)
- ruler or measuring tape
Fabric Cutting Guide
To make a pouch cut
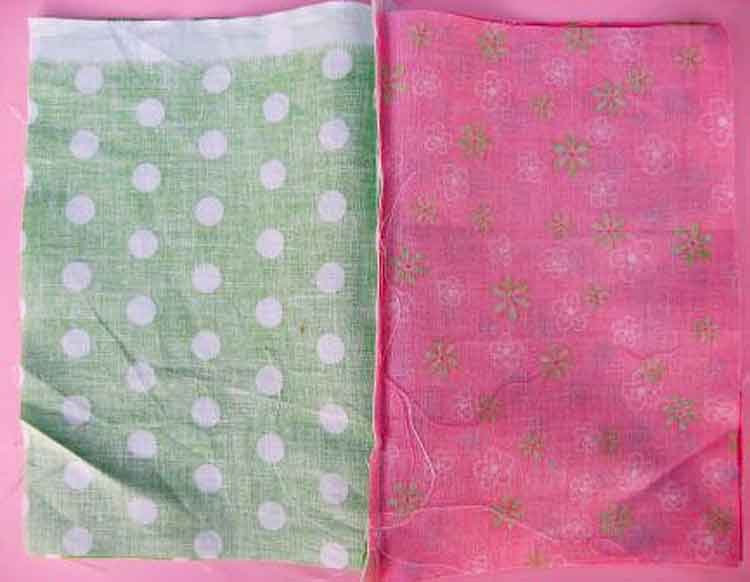
- Two outer pieces of fabric and two lining pieces of fabric all cut the same length as the full length of your zipper and any width you choose.
How to Make a Lined Zippered Pouch Tutorial
This zippered bag tutorial is so easy! Just follow the step-by-step instructions. This is a perfect project for beginners!
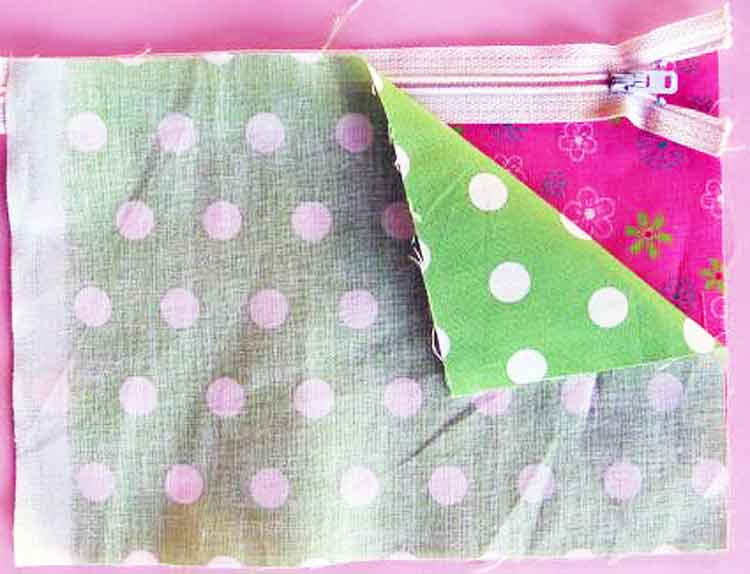
- Make a zipper sandwich. Place 1 piece of lining fabric face up, then the zipper, and then the outer fabric right side facing down. Line up the three edges.
- With a zipper foot sew across the top between the edge of your zipper sandwich and the zipper teeth (closer to the zipper feet).

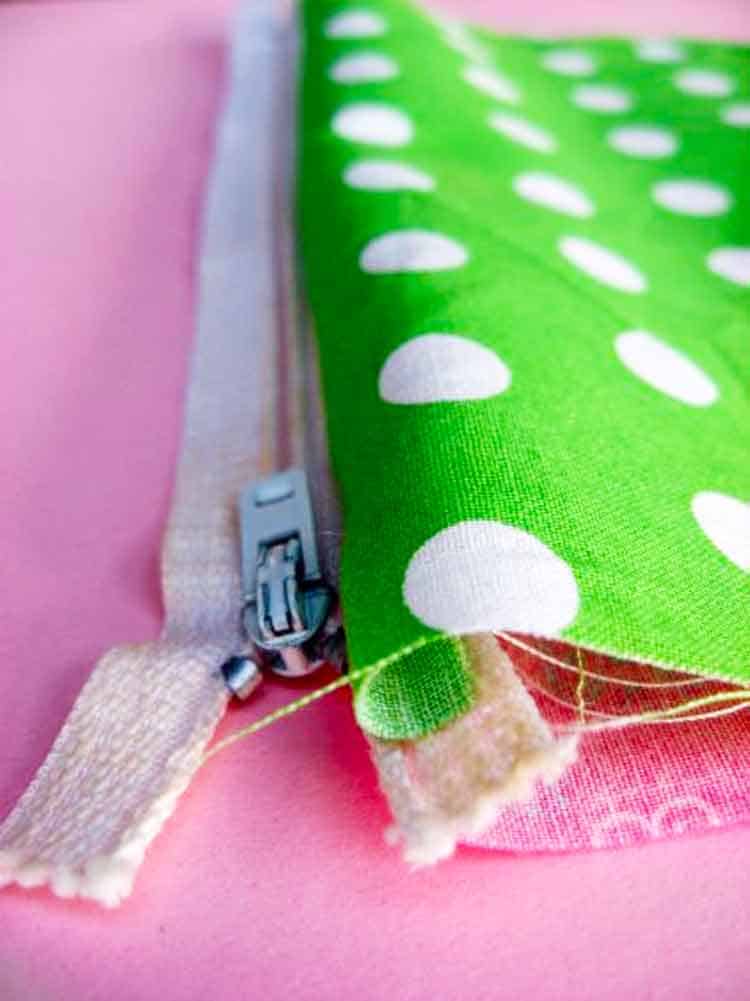
- When finished and you pull the fabric back it will look like this. Repeat this for the other (side) edge of the zipper. Oops, the fabric should go all the way to the end of the zipper.

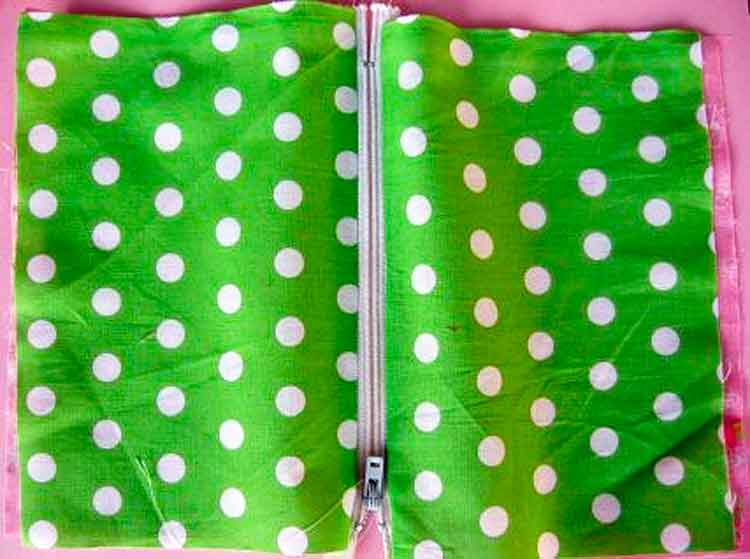
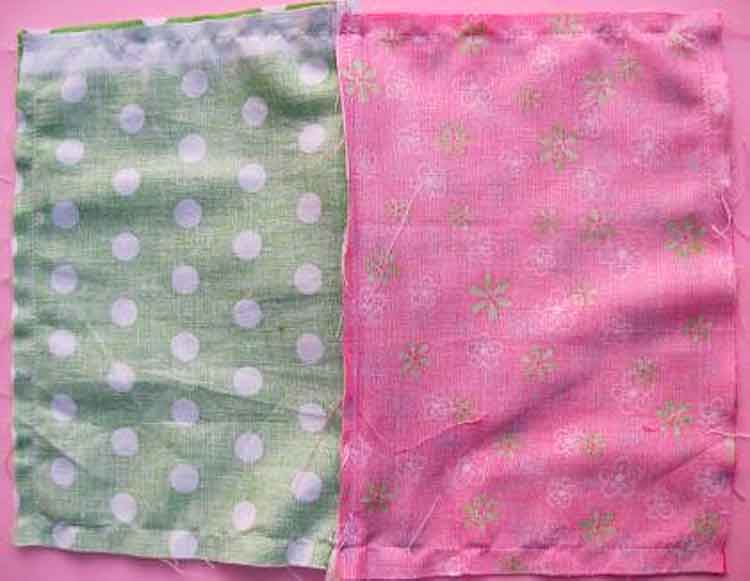
- When both sides are completed it will look like this. Hopefully, you will have pinned before sewing and all of your edges will match up beautifully (unlike mine). You can topstitch along the zipper now if you like.

- Bring both pieces of lining to one side and both pieces of your outer fabric to the other side. Un-zip the zipper at least halfway so you can turn it once it is stitched. If you forget to un-zip the zipper you won’t be able to turn your pouch right side out.

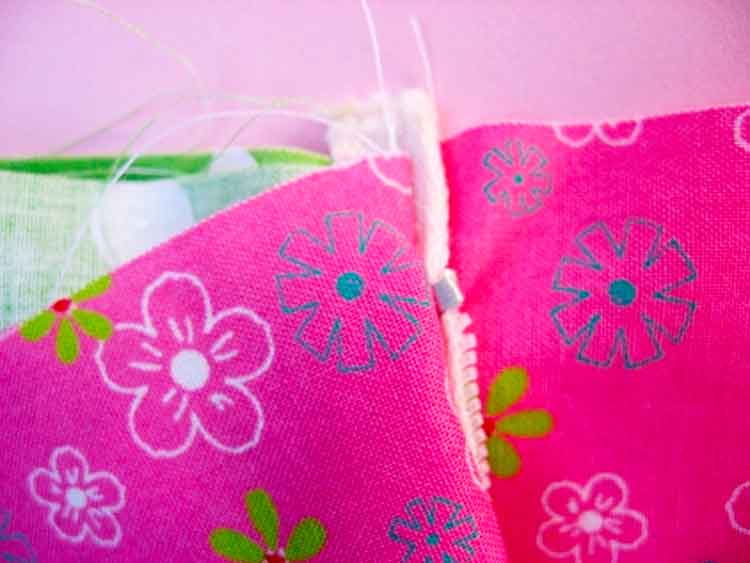
- The zipper teeth should be pinned toward the lining side. I lay the zipper ends on top of each other with teeth facing the lining side and pin.

- Sew all the way around 1/4 inch from the edge. Make sure you sew on the outside of the metal parts on each end of the zipper, this will be easy to do if you cut your fabric the total length of the zipper. Leave a two-inch opening at the bottom of the lining side. Clip corners.

- Turn right side out. Stitch opening closed by machine or slip stitch by hand.

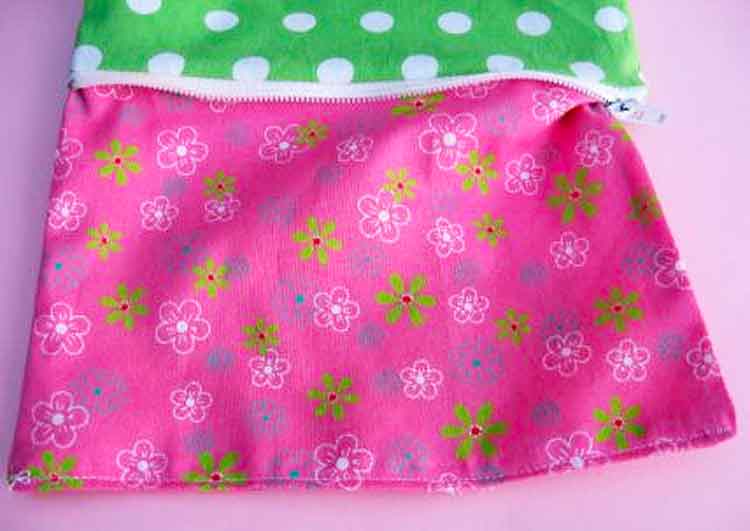
- Push lining inside and you are finished!
- Finished! You did it! Now you know how to sew the zipper. I hope it was easier than you thought. You can even add a cute zipper pull if you like.
How easy was that! Now try one of these bags with my free sewing patterns.
More Zippered Pouches to Make
- Pleated Pouch – another super easy zippered pouch tutorial
- Leather-Trimmed Zippered Pouch
- Car Shaped Pouch
- Two Color Pouch
- Crochet Granny Square Zippered Pouch
- Upcycled Cardboard Pouch
- Quilted First Aid Kit
- Theme Print Zippered Pouch
- Juice Pouch to Zippered Pouch – fun pencil zipper pouch
- Boxy Cosmetic Makeup Bag – the perfect make-up pouch
Make Your Pouch Extra Special
I was a mentor for one of the youths at our church. At Confirmation they are each given a different bible verse, special to them, to mark the occasion.

I wanted to give my Confirmand (the sweetest girl) a gift with her bible verse so I decided to make a little zippered pouch with the bible verse sewn inside. I printed the verse onto printable fabric (like this) and sewed it onto the lining before stitching the pouch together. I also covered the lining pieces and the piece with the scripture with iron-on vinyl before I sewed. I wanted her to be able to use it for make-up etc.

Another bonus was that it doubled as the “gift bag” for this beautiful handmade cross.

I would love to keep you fully stocked with creative ideas, yummy recipes, fun crafts, and loads of free printables. Subscribe to Skip to my Lou to get new ideas delivered to your inbox. Follow me on Facebook, Pinterest, Twitter, and Instagram for all my latest updates.


Great tutorial, Cindy! Thanks for sharing!
You said it would be fast and it really was! I was actually surprised HOW fast. I’ve newer sewed with a zipper before since I’m a beginner. And this was the first of many to come. Thank you so much for a great tutorial!
Thank you so much for this wonderful tutorial. Ive been staring at my zips n fabric for an hour trying to work out how to get it all together before finding this. You have made it so easy.
I made a little bag for my pens and stuff 🙂 This tutorial was very helpful with the pictures and all and my pouch turned out great! Thanks so much 😀
Thanks for this awesome tutorial. I just finished making my first one as a gift for a customer who bought one of my bags..I used the scrap pieces from the bag so I was able to keep the color scheme of the bag. The matching set is dynamic…thanks thanks thanks a bundle…karen
This is seriously the cutest thing ever! I just made one for a gift and I want to keep it for myself 🙂 I guess I will have to make another one or ten. Thanks for the great tutorial!!
Thank you so much! It is so easy to follow your directions, and my clutch purse is very nice.
thank you for sharing this in a very clear and concise manner.i especially like that you added some tips – like opening the zipper before sewing or avoiding its metal teeth. I’ve made a similar pouch before from a different tutorial but my zippers bunched up at the corners. Now i know why. Thanks =)
Zips were a daunting prospect before I came across your post. Thanks heaps!
Hi, there! I did it! In an afternoon and it was simply wonderful to have this tutorial to guide me. I felt as though I am delivering a baby as I pulled it inside out and watched my “baby” [of sorts!] come out! I am a doctor by the way and it has been a looooooooooooong time since I came back to this hobby of mine-sewing, and it was scary, exciting, nerve-wracking, absorbing, thrilling [when it was done!] and absolutely satisfying! Thanks so much for the tute. I began with a bag in mind, found this tute to make a matching pouch and ended up making this pouch first, I was so excited! Ohhh! It was fun! And I did experience some post-partum tremors! Hahahaha, just like I did after delivering babies as a doc…I’d love to post the picture of my cute pouch but not sure how to do that?
Great tutorial!! These look so difficult. But after making a couple I don’t even look at the tute anymore. I am making bunches of these from scraps. Don’t know what I’ll do will all of these. Maybe I can find a charity that can use them. Thanks for such an easy to follow tutorial.
I put this together with your reversible tote as a birthday gift for my sister. Once again I added fusible facing, but only put on the outside fabric. Super easy. Thanks for the instructions.
Thank you so much for the great tutorial! I have always wondered how this was done, and now I just finished my first zippy bag to match my purse! What a great idea that you had for your bible group too…I love that verse.
Your instructions and pictures are so clear and easy to follow. I love these little purses! Thank you
I thank you from the bottom of my heart. I have been sewing for myself and for others for 45 years and never had learned a good technique for this. Simple and awesome!