
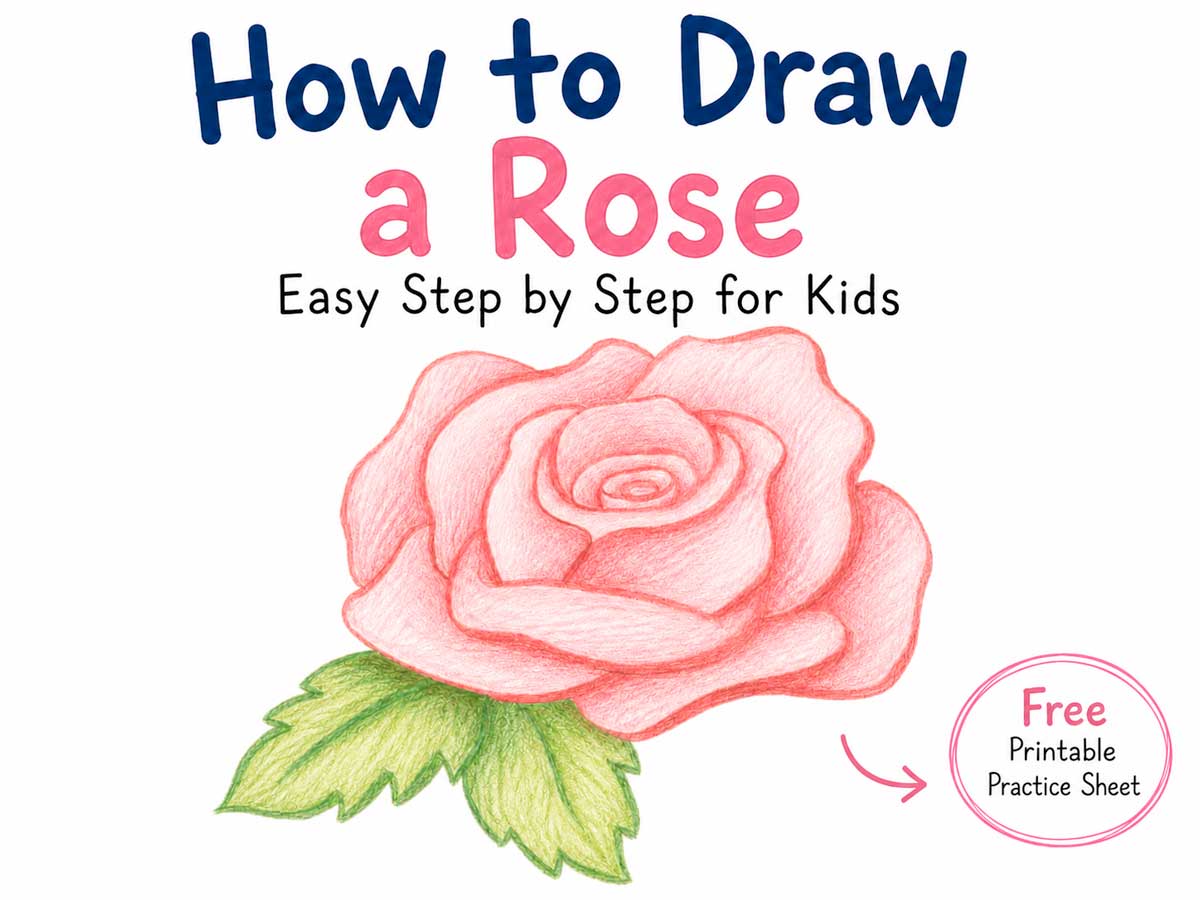
Learning how to draw a rose is easier than it looks. This rose drawing starts with simple oval shapes in the center, then builds outward with curved petals, leaves, and a stem. Each step is small, and the shapes repeat, so beginners and kids can draw a rose that looks beautiful.
Print the free rose drawing guide and follow along one step at a time. Keep your pencil lines light at first, then darken your favorite lines once the rose starts to take shape.
This article contains affiliate links.
Download the Free Rose Drawing Printables
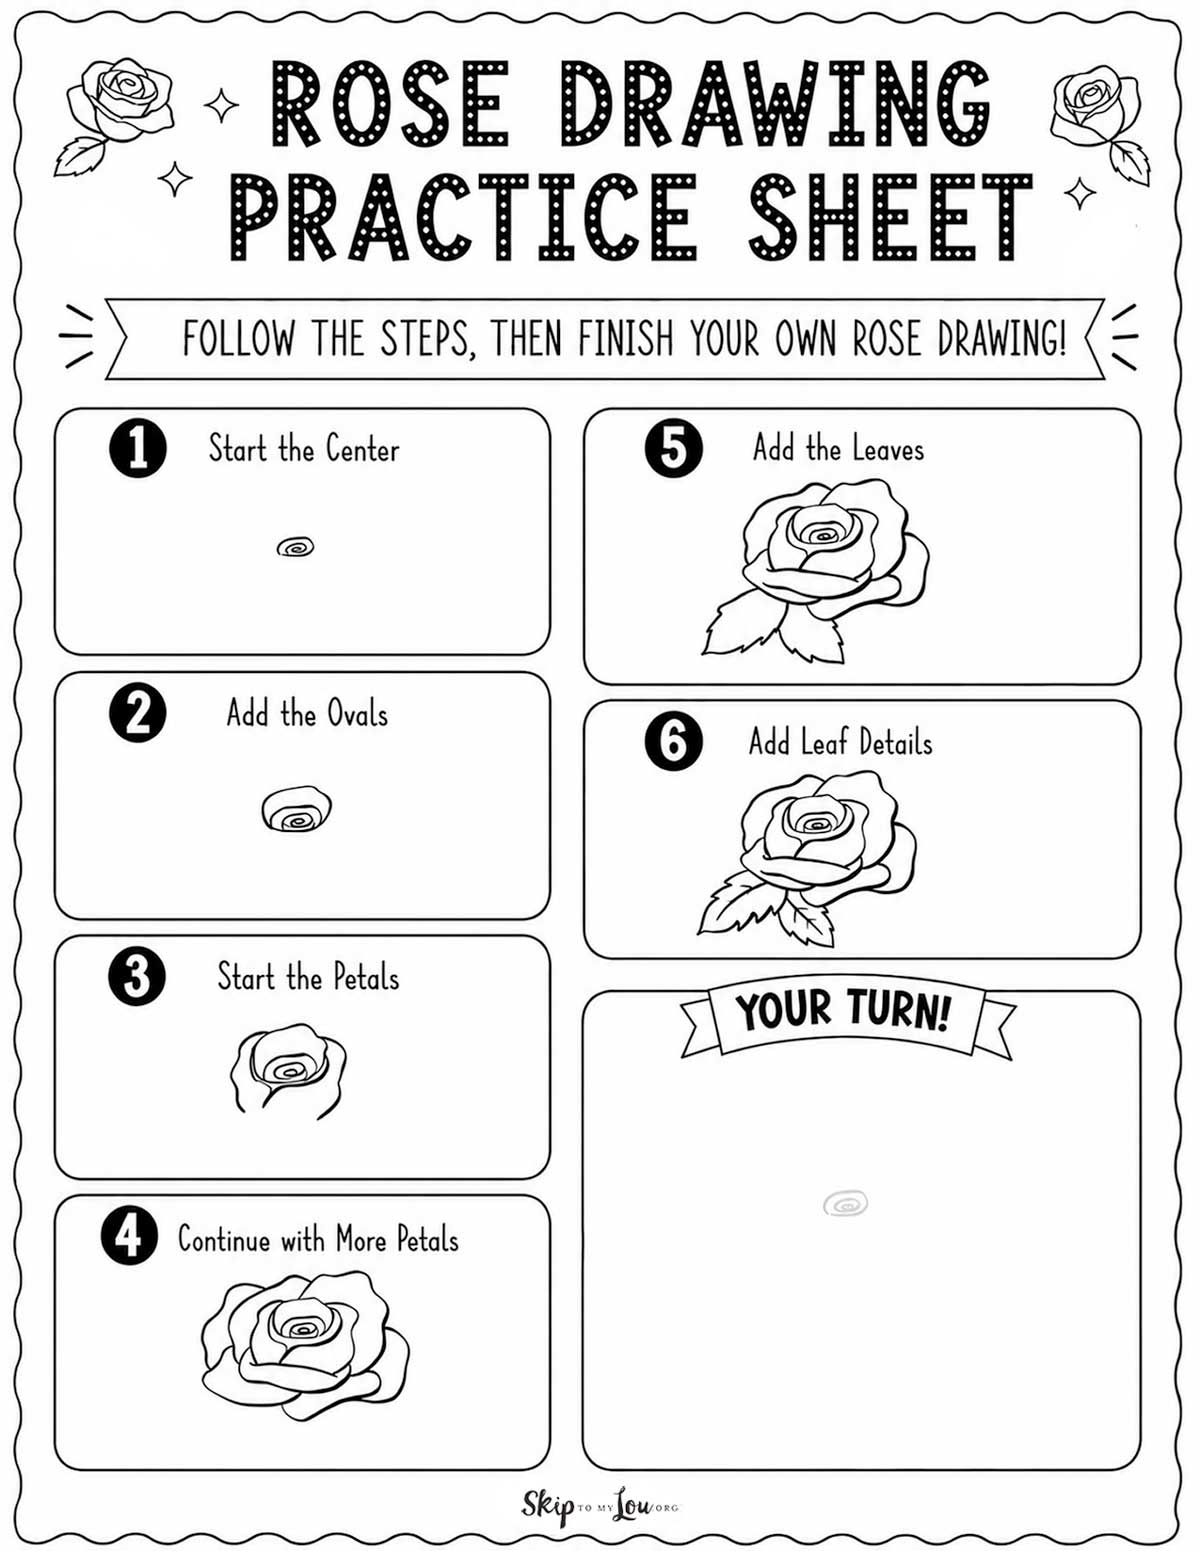
There are two free rose drawing printables to choose from. The new rose drawing practice sheet is the easiest place to start. It breaks the rose into six simple steps and includes a large “Your Turn” box so kids can finish the drawing on the same page.
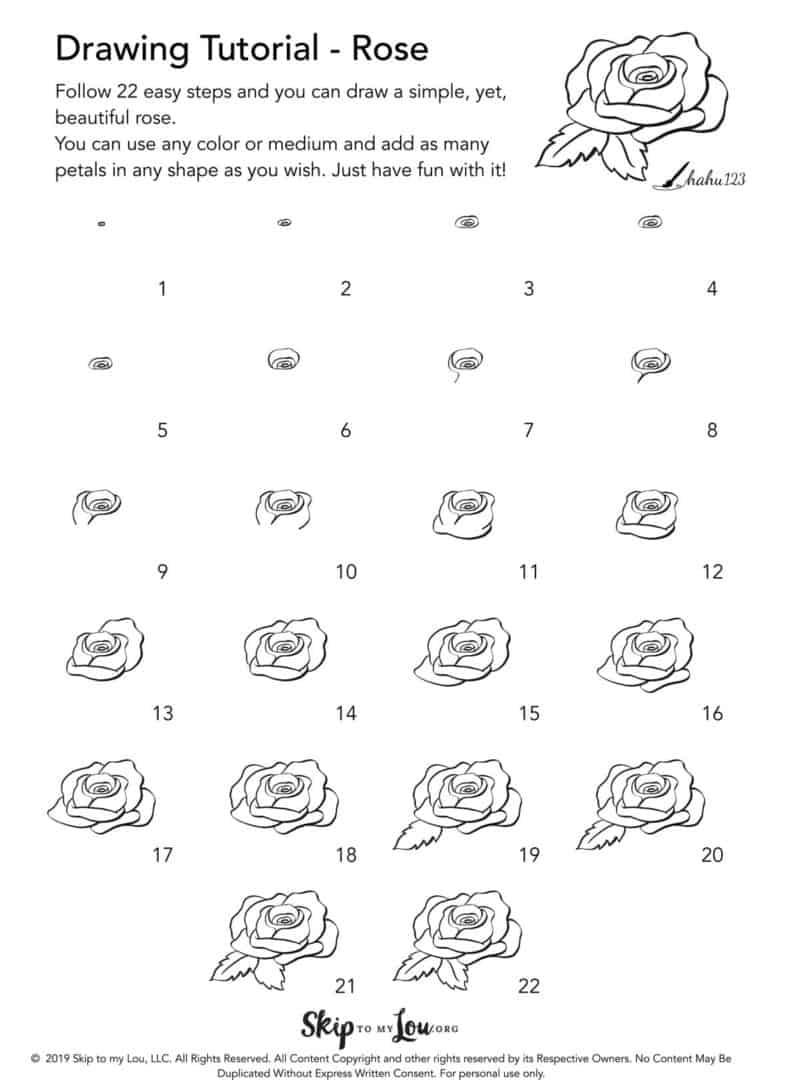
You can also print the original 22-step rose drawing guide if you want to see every little shape as the rose builds from the center outward. Start with the simple practice sheet, then use the full step-by-step guide for extra help with the petals, leaves, and final details.
Easy Rose Drawing Steps
This rose starts in the center and grows outward. Real roses have petals that curve, overlap, and bend in different directions, so do not worry about making every petal perfect.
- Start the center. Draw a small oval shape to begin the middle of the rose.
- Add the ovals. Draw more oval shapes around the center to make the inside of the rose.
- Start the petals. Add curved lines around the center to begin forming the first petals.
- Continue with more petals. Keep adding curved, overlapping petals so the rose looks fuller.
- Add the leaves. Draw leaves coming out from the lower part of the rose.
- Add leaf details. Draw a line down the center of each leaf, then erase any light sketch lines you no longer need.
Full 22-Step Rose Drawing Guide
If you want more help, follow the full 22-step rose drawing guide. It shows each tiny shape as the rose grows from the center into a full flower.
- Draw a small oval shape to start the center of the rose.
- Draw a second oval around the first, keeping the bottoms even with each other.
- Add a third oval around those two, the same way.
- Draw one more oval around the shape. You should start to see the center of the rose forming.
- Keep adding ovals until the center looks full.
- Draw a curved line down from the left side of the outer oval.
- Repeat that gentle curve on the right side.
- Continue drawing the outer petals, following the printable guide. Each petal curves and overlaps the one before it.
- Keep adding petals, building the rose outward.
- Continue layering petals around the outside of the rose.
- Keep going. The rose will start to look fuller with each petal you add.
- Add another petal layer, curving each one gently.
- Continue working around the rose with curved, overlapping petals.
- Keep adding petals until the rose looks full and round to you.
- Add one more petal layer if you want a bigger, fuller rose.
- Finish the last of the outer petals.
- Refine any petal shapes you want to adjust before moving on.
- Step back and look at the overall shape. Add any final petals to fill gaps.
- Add the first leaf, drawing it out from the lower part of the rose.
- Add a second leaf on the other side if you like.
- Draw a line down the center of each leaf to give it shape.
- Erase any light sketch lines you no longer need.
How to Draw a Rose Video
Watch the video to see how the rose comes together step by step. It is helpful to watch the petals build from the center outward before you try the printable guide.
Tips for Drawing a Better Rose
Start with a light pencil so you can erase and adjust as you go. Once your rose looks the way you want, trace the lines you love with a marker or darker pencil.
Every rose looks a little different. That is part of what makes them beautiful. Do not stress about making your shapes match the guide exactly. Just keep going, petal by petal.
Rose Drawing FAQ
Start with small oval shapes in the center, then add curved petals around the outside. Build the flower one petal at a time and it comes together faster than you expect.
Yes. This tutorial uses repeated oval shapes instead of complicated sketching techniques, which makes it manageable for beginners and kids, even if they are just starting out.
Start with a pencil so you can erase light lines as you work. Once the rose looks the way you want, trace it with a marker and color it with crayons, markers, or colored pencils.
Add layers of petals, a few leaves, and soft color. Shading the inside of the petals a little darker makes the rose look fuller and more realistic.
My favorite drawing supplies
- Sketching Pencils
- Kneaded Rubber Eraser
- Sketch Pad
- Erasable Colored Pencils
- Fine markers
- Sketch and Drawing Art Pencil Set
- Artist drawing set (This is great for new and experienced artists. It’s also something I give as a gift.)
Rose Color Meanings
When you’re finished sketching your rose, use colored pencils to color it in an expressive way. Did you know that different colored roses have different meanings? There is a wide range of opinions, with many traditional interpretations of flower colors, but here are a few ideas to help you decide how to color your rose:
- Red – love
- Burgundy – beauty
- White – marriage
- Dark Pink – appreciation
- Yellow – friendship
- Pink – grace & elegance
- Peach – gratitude
- Orange – enthusiasm
- Salmon – desire (while salmon isn’t usually one of my favorite colors, I think it is one of the prettiest colors for roses)
- Ivory – thoughtfulness
- Purple – enchantment
Roses are usually associated with romantic love, weddings, and Valentine’s Day, but they also make wonderful gifts for Mother’s Day or anytime you want to brighten someone’s day. Roses can symbolize affection, gratitude, and peaceful thoughts.
A drawing of a rose is sure to delight someone special. How about creating a handmade card with your own drawing of a rose on the front?
More Easy Drawing Tutorials
Give these a try next!
- Easy Sunflower Drawing
- How to Draw a Flower
- Things to Draw
- How to Draw a Butterfly
- How to Draw a Dog
- How to Draw a Cat
- How to Draw a Unicorn
- Dragon Drawing
- How to Draw a Horse
Roses look complicated, but once you break them down into simple shapes, they come together one petal at a time. Whether this is your first drawing or your fiftieth, there is always something satisfying about finishing a flower you made yourself.
Drawing together is one of those quiet activities that works for any age. Pull out some colored pencils and see what color rose everyone makes.
I would love to keep you fully stocked with creative ideas, yummy recipes, fun crafts, and loads of free printables. Subscribe to Skip to my Lou to get new ideas delivered to your inbox. Follow me on Facebook, Pinterest, Twitter, and Instagram for all my latest updates.










nice keep going
Excellent resources, congratulations.
See like i don’t know how to draw without tracing over the device so this don’t really help but now it is i like drawing from here but its sooo…… hard and how do i make the pic bigger am i just not seeing it
That is a great idea Jen!
So happy this tutorial is encouraging everyone to break out a sketchbook!
You make it look so effortless! I always love drawing flowers and loved adding this to my drawing knowledge.
Wow! You make the look so effortless and easy! I will need some practice, but I’m so happy I know how to do this for myself now!
Love! Thanks this was easy to follow!
I love how you added on the meanings of the different roses at the end!
We are doing a Beauty and the Beast movie night and this would be so fun to do with the kids.
Thank you. I love the way you have broken this down. You have encouraged me to get a sketch pad and try this out .
Hi Judi, I don’t think I had it in there right. Look above the step by step guide and you will see a link to download. Thanks for letting me know!
I was just wondering how to print out the guide of drawing roses. When I go to “Control P” it brings up a side box that blocks the directions. Is there another way that I am not seeing?
I do not know how to draw and your directions look so simple. I really want to give it a try. But not sitting at my computer is conducive to me.