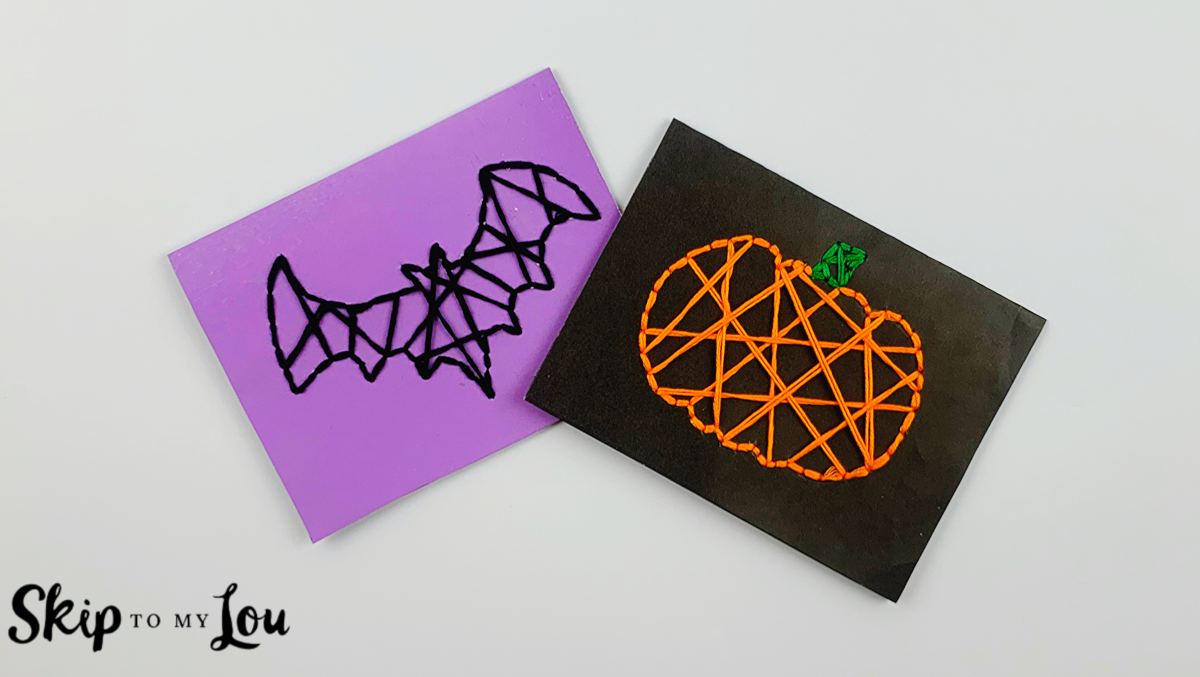
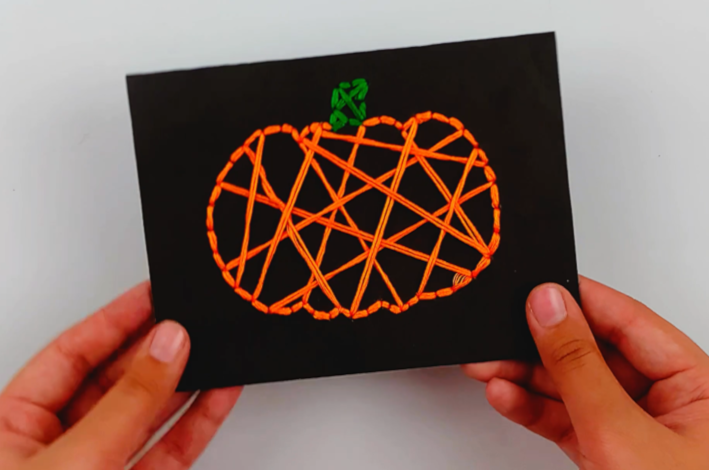
Halloween is all about getting creative with crafts and these spooky string art cards are so much fun to make. With some A4 card paper and a mix of string colors, you can come up with all kinds of designs. Today, we’ll show you how to make a pumpkin string art card that can be used as a decoration, or presented to your Halloween guests. The perfect blend of spooky and crafty, these Halloween string art cards are the perfect accompaniment to the spooky season. And remember to get the kids involved too!
Related: Halloween is such a fun time of year for crafters. Why not try these other projects including You’ve Been BOOzed Mini Bar in a Jar for Halloween, FREE Printable Booing Signs, Halloween Costume Awards, and COOL Pumpkin Carving Ideas.
Halloween String Art Card Supplies
- Black A4 poster card (really you can make these any size you have an envelop for)
- A4 White paper
- Pencil
- Thick needle
- Painter’s tape
- Green string
- Orange string
Video: Watch How to Make a Halloween String Art Card
Halloween String Art Card Step-by-Step
Here’s how to make a beautiful Halloween String Art card with a pumpkin motif.
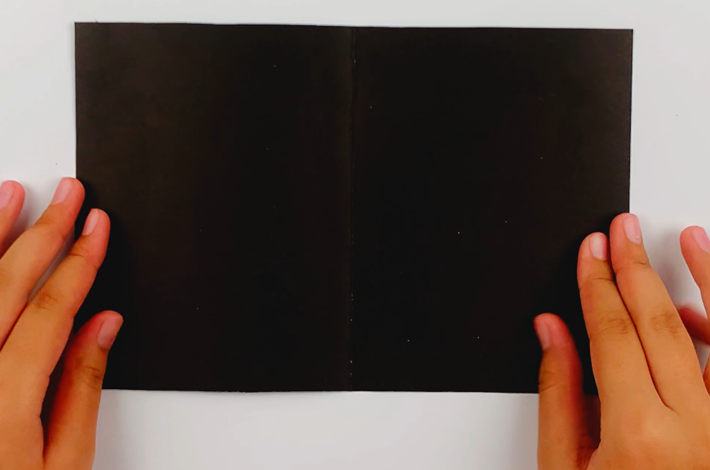
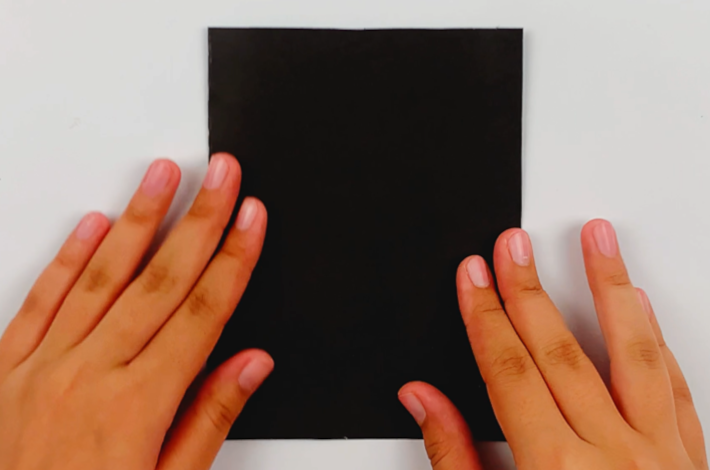
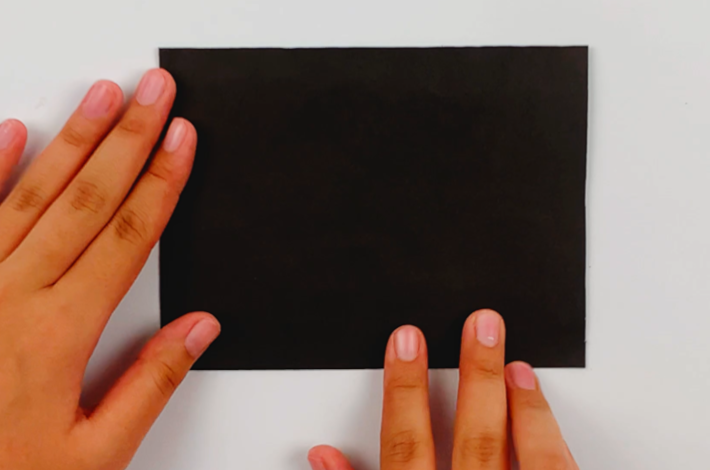
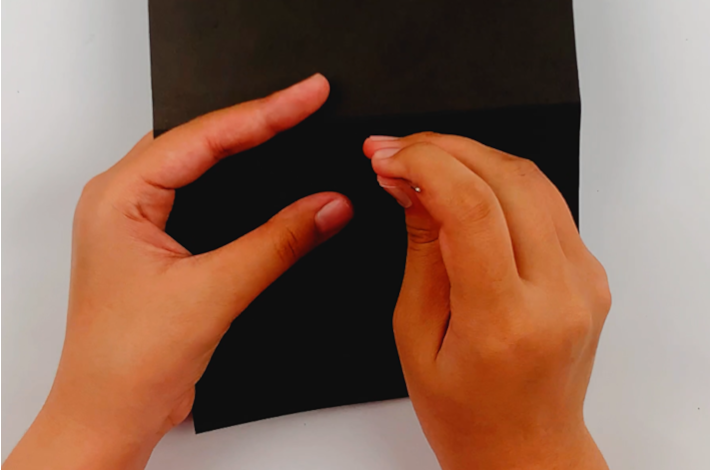
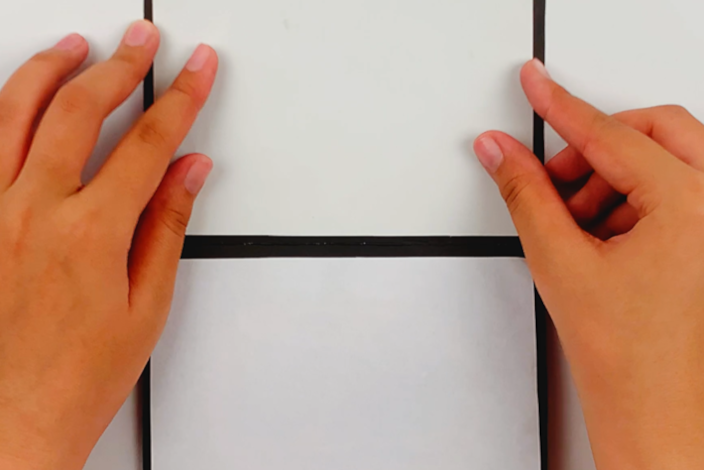
Step 1: Take your A4 poster card and fold it in half sideways from left to right, forming a crease in the middle. Now flip the card, so it opens up from bottom to top.
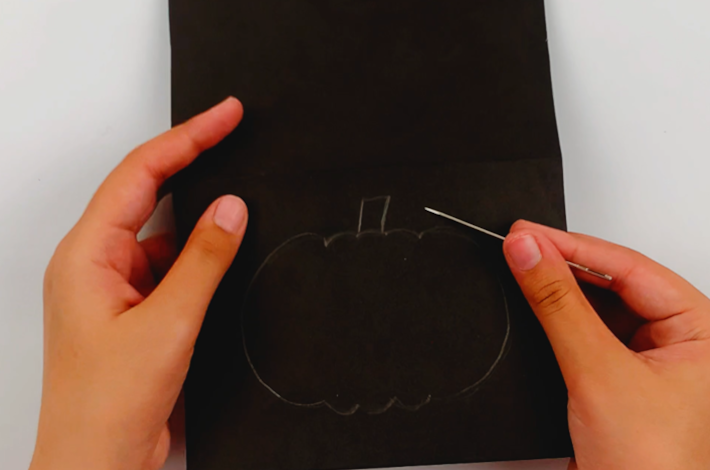
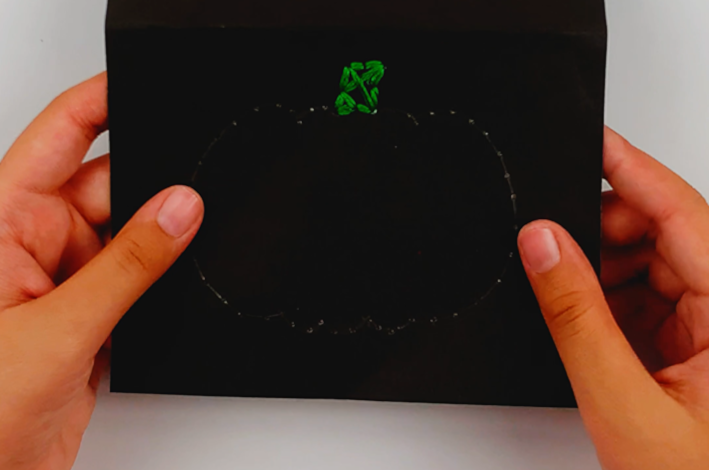
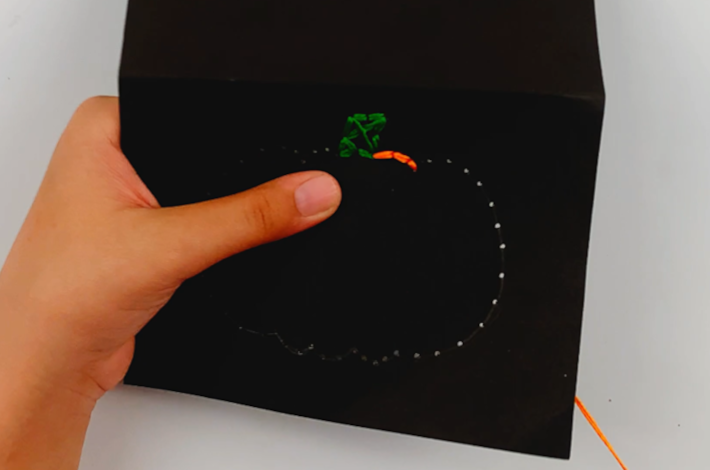
Step 2: Using a pencil, draw on the shape of a pumpkin.

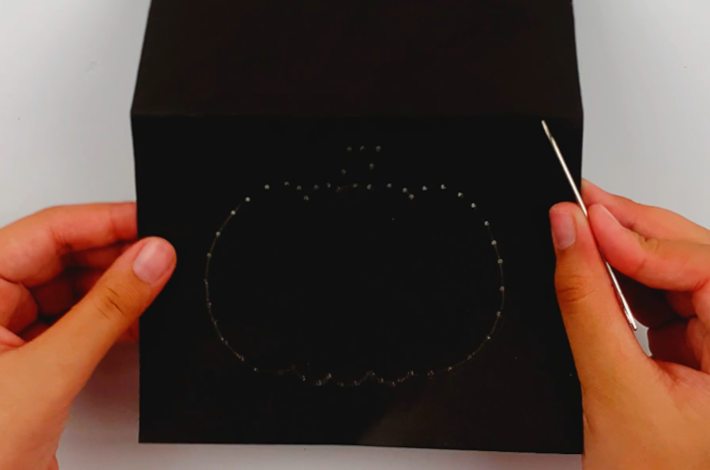
Step 3: Using a large needle, poke holes along the outline of the poster card, as shown in the images below.
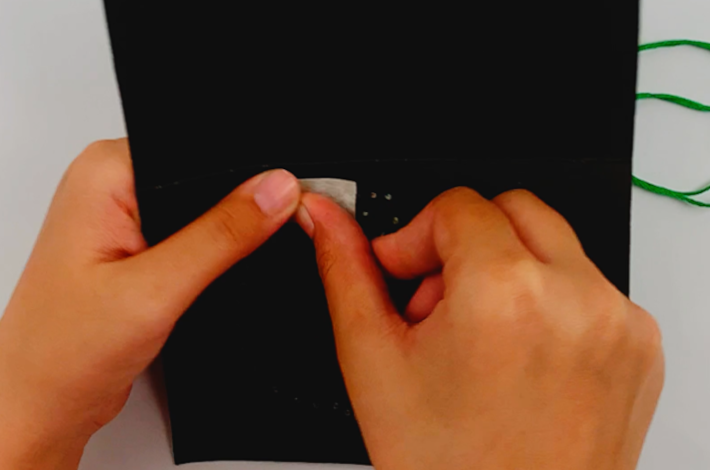
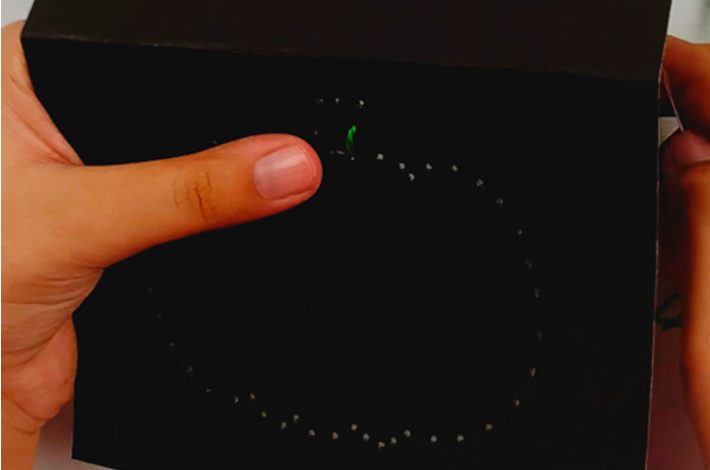
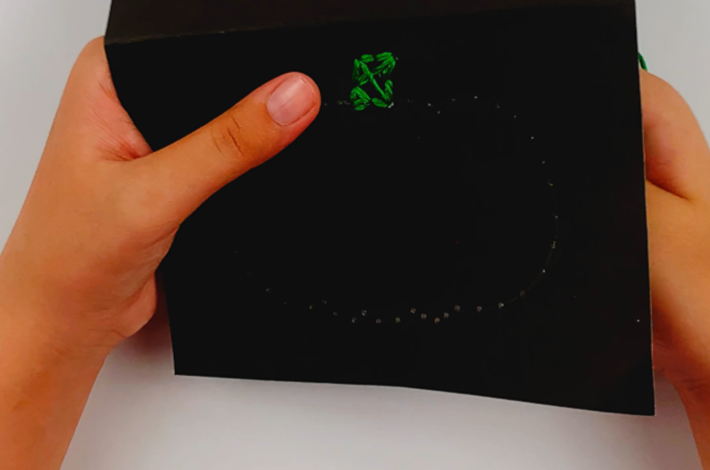
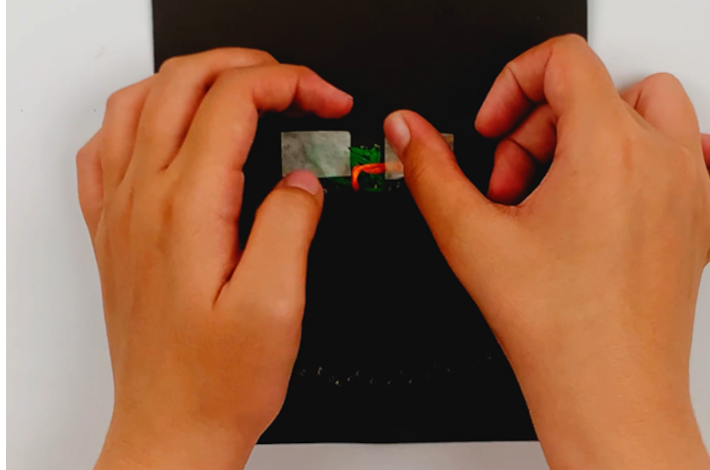
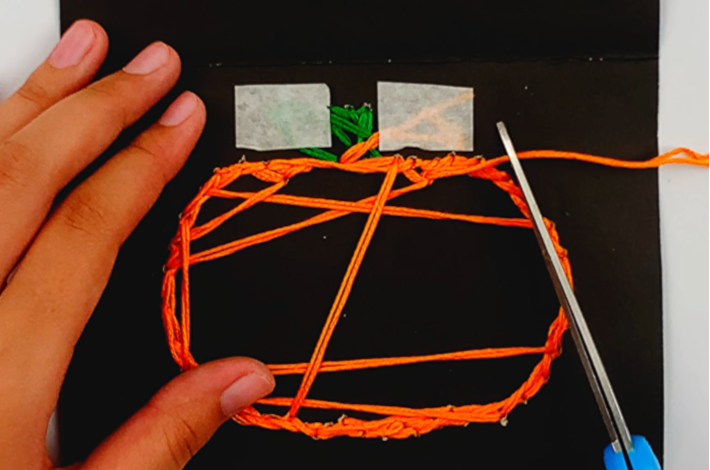
Step 4: It’s time to start the pumpkin stalk. Thread the green string through the needle. Push the needle through the bottom left hole of the stalk. Secure the end of the thread at the back of the card with painter’s tape.

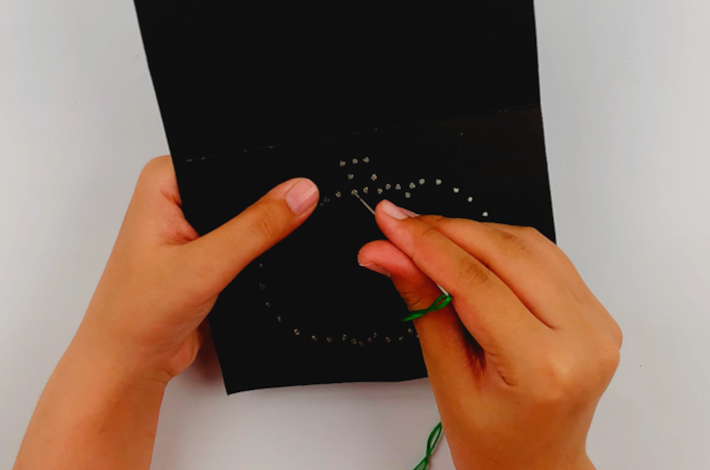
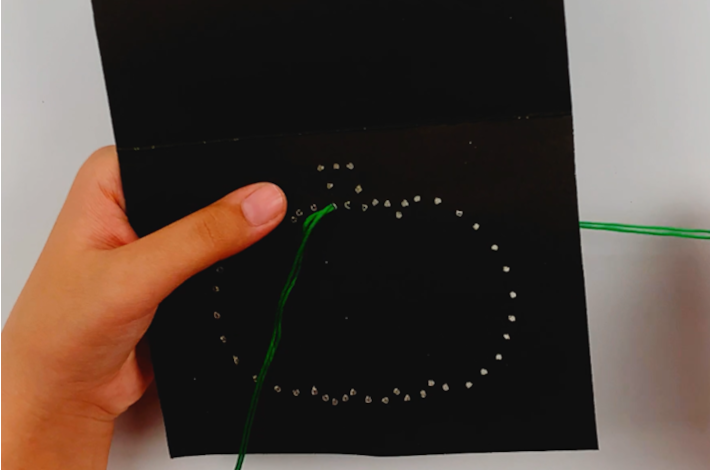
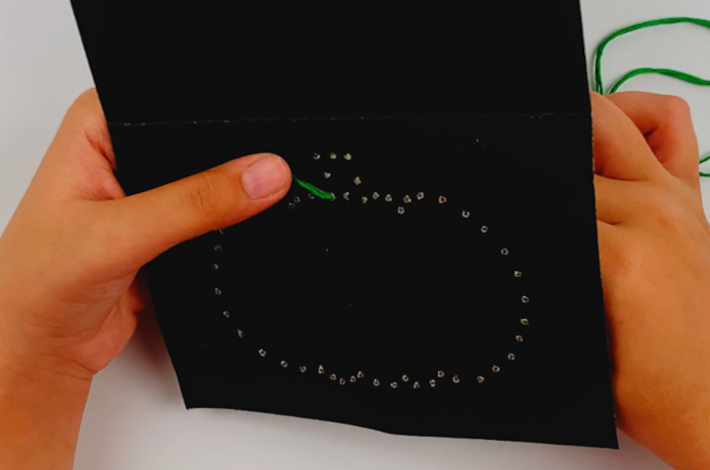
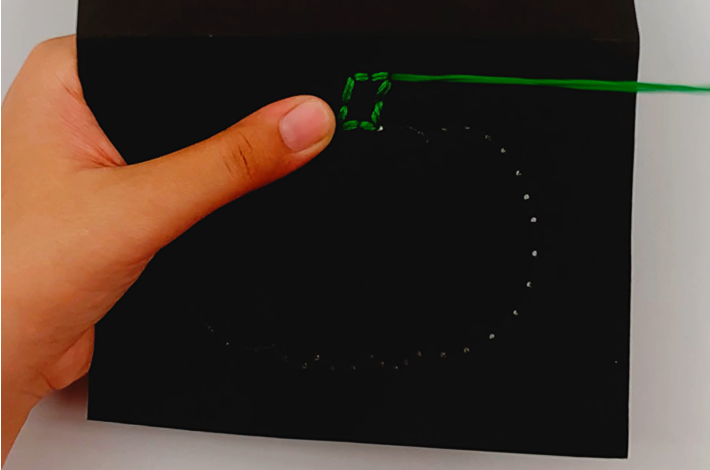
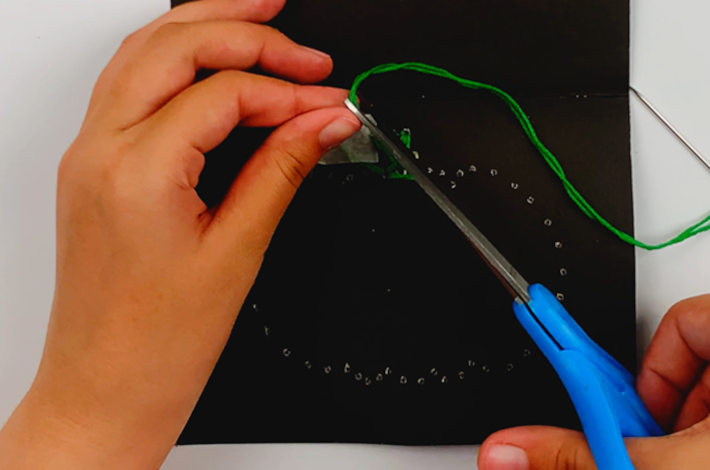
Step 5: Now thread the green string through the various holes of the pumpkin stalk. You have to go back on each thread to ensure the stalk is completed. If you are unsure, watch the video as it shows the process clearly.
Step 6: Cut the end off the string and secure it under the painter’s tape you stuck on earlier.
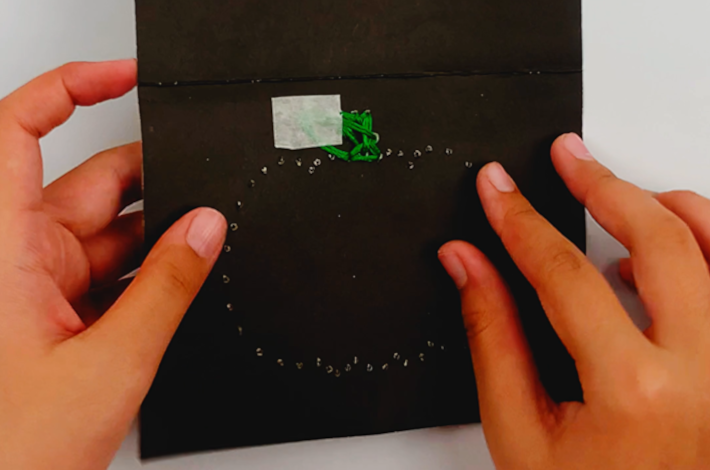
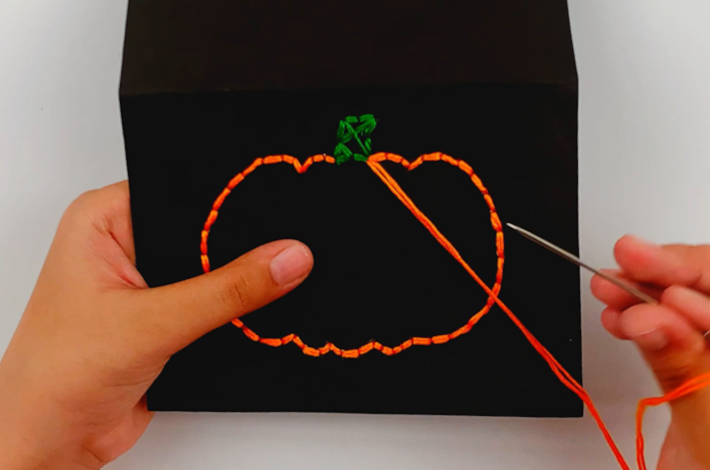
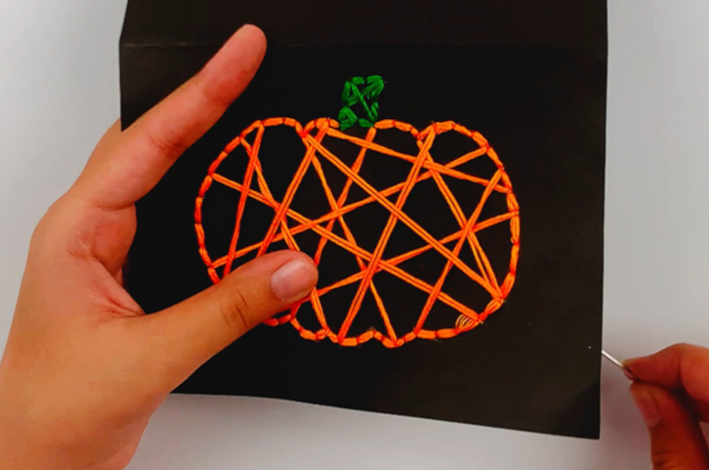
Step 7: Now start with the border of the pumpkin using the orange string. Remember to secure the thread at the back of the card with painter’s tape.

Step 8: Using the same threading process, secure the orange string along the outline of the pumpkin. Again, if you aren’t sure how to do this, the video shows it clearly.
Step 9: Now criss-cross the thread across the inner section of the pumpkin.
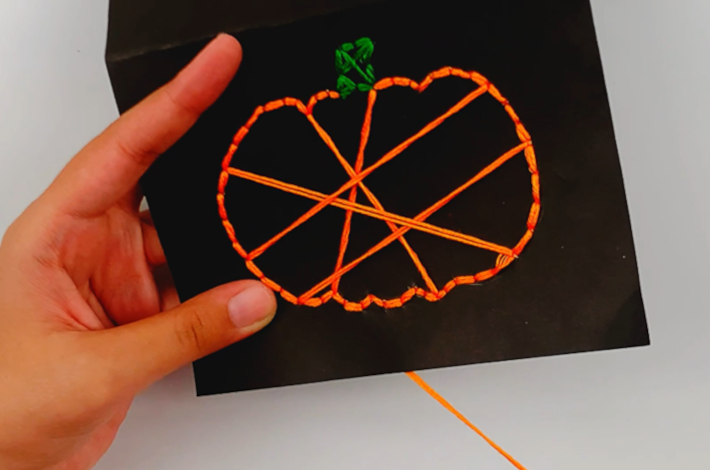
Step 10: Cut the orange thread at the back of the poster card and secure it under the painter’s tape.
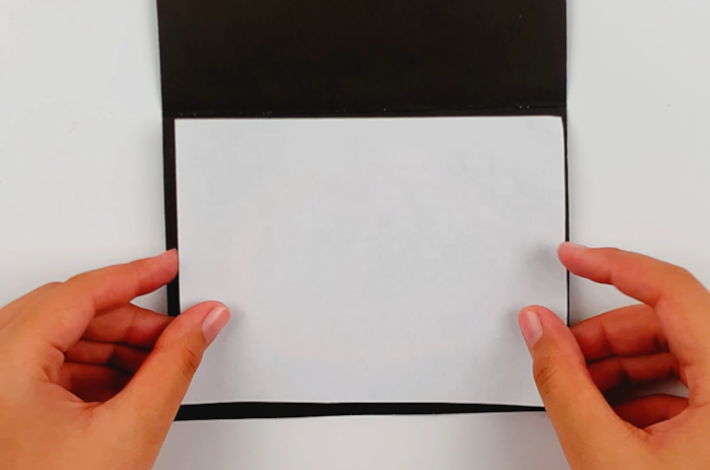
Step 11: Trim the borders of the white A4 page and then cut it in half. Glue the two halves inside the poster board. It’s here where you can write your Halloween greetings.
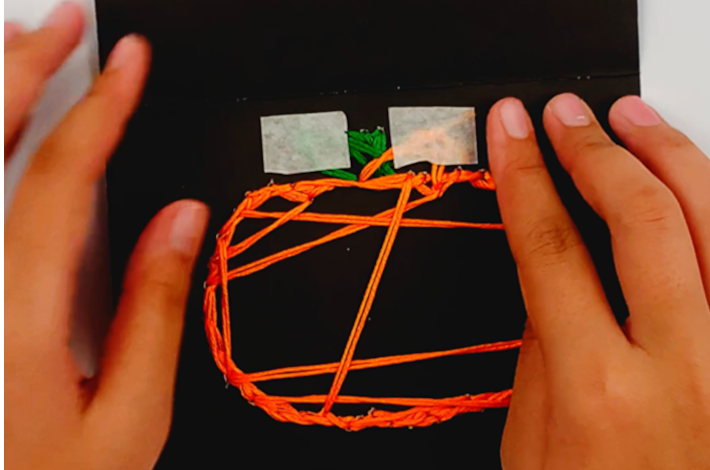
Your Halloween string art card is complete!
Try These Other Fun Halloween Ideas
We have so many craft ideas for Halloween, so be sure to check these out, too.
- Be sure to make this cute Pom Pom Spider.
- These Halloween Cup Lanterns are an easy-to-make decor option.
- Why not try these Paper Jack O Lantern Treat Containers?
- A Paper Pumpkin Craft is another decor option for your Halloween party.
- Get the kids to make this Origami Pumpkin with Witch Hat
- DIY Halloween Pillow Boxes are a must!
I would love to keep you fully stocked with creative ideas, yummy recipes, fun crafts, and loads of free printables. Subscribe to Skip to my Lou to get new ideas delivered to your inbox. Follow me on Facebook, Pinterest, Twitter, and Instagram for all my latest updates.