Looking for a fun, easy way to make Halloween treats extra special? Try these little paper pumpkin containers! Made from orange paper that’s folded and crimped (if you want) like an old-school sour cream container (remember those?), they’re perfect for holding small candies or goodies. They add a festive, handmade touch to Halloween that kids and adults alike will love.
Related: Looking for more cute ways to package up Halloween treats? Check out these fun ideas, like hanging bat party favors, mummy containers, festive candy bar wrappers and these cute boxes for Halloween treats!
Halloween Treat Container Supplies
To make this little paper pumpkin treat container, you will need the following supplies:
- Orange paper
- Glue stick
- Scissors or paper trimmer
- Pencil
- Paper Crimper (this tool gives them an authentic look. I use it for these custom Halloween chip bags)
Video: Watch How to Make a Jack O Lantern Treat Container
Treat Container Step-by-Step
So here’s how you make your treat container in a few easy steps. You can use different paper sizes to make smaller, or larger treat ones, too.
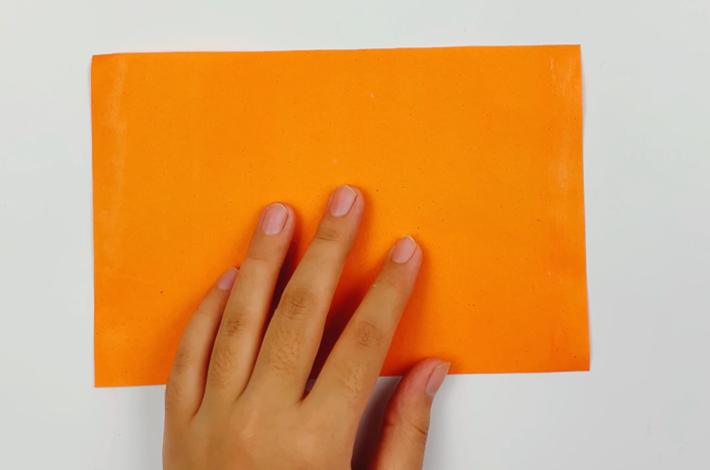
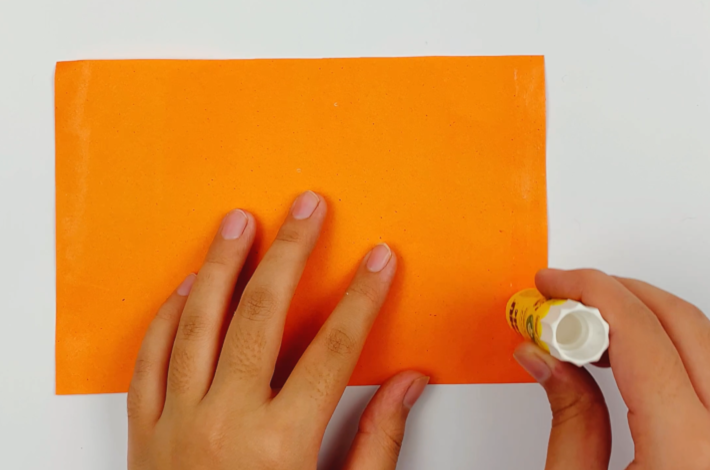
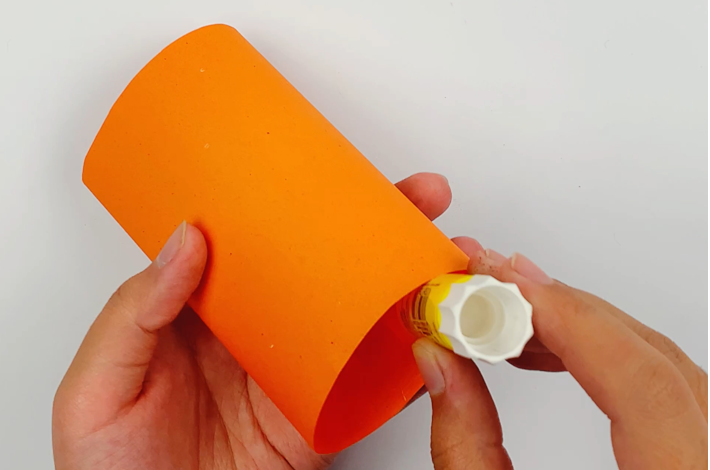
Step 1: Grab your piece of rectangular orange paper. Apply some glue to the right-hand side.
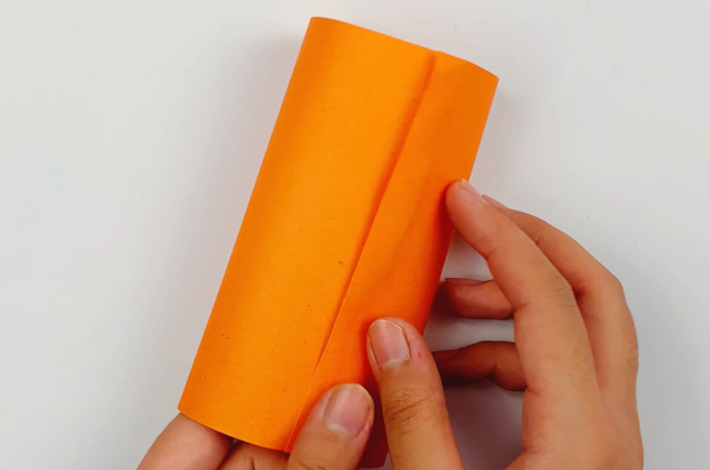
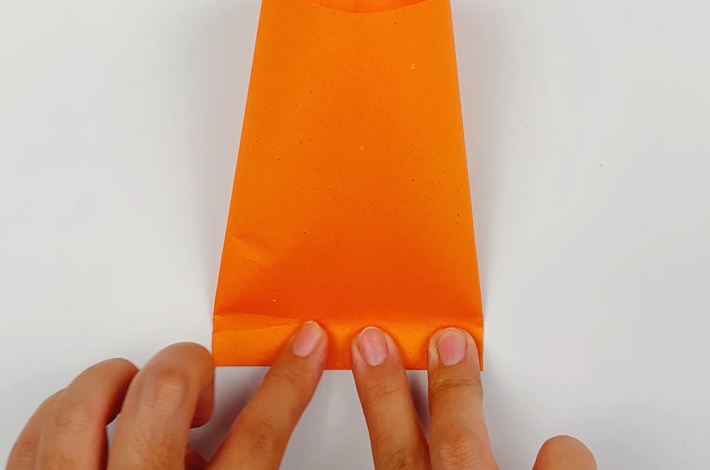
Step 2: Add some glue around the inside of the bottom of the cylinder. Flatten the top part of the cylinder down towards the bottom and secure.
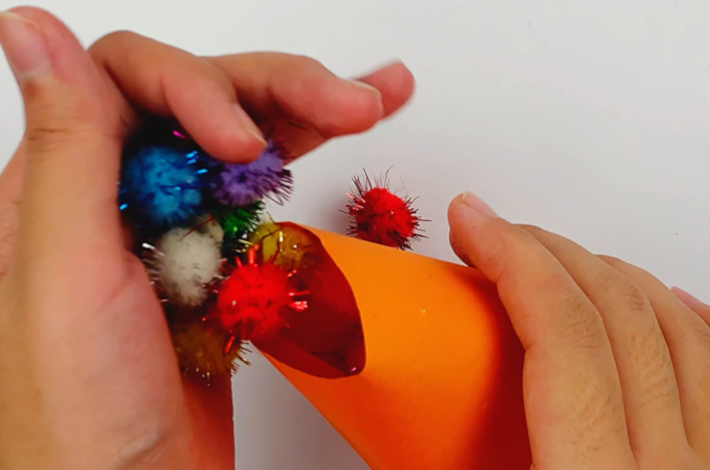
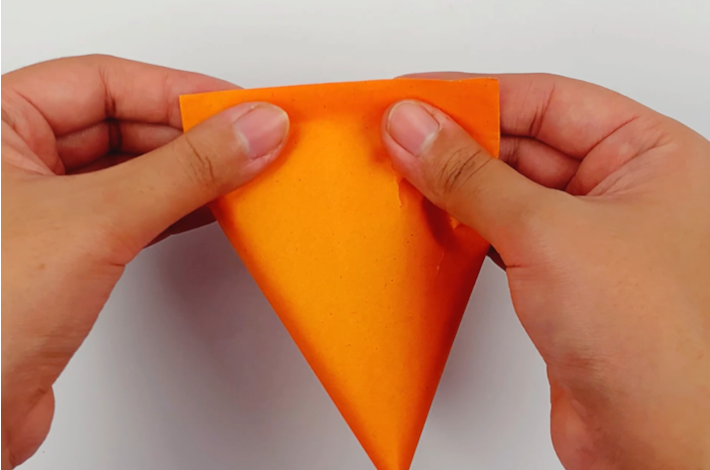
Step 3: Fill the pumpkin treat bag with goodies. You could use sweets, small chocolates, or even money. Apply some glue to the top end and seal.
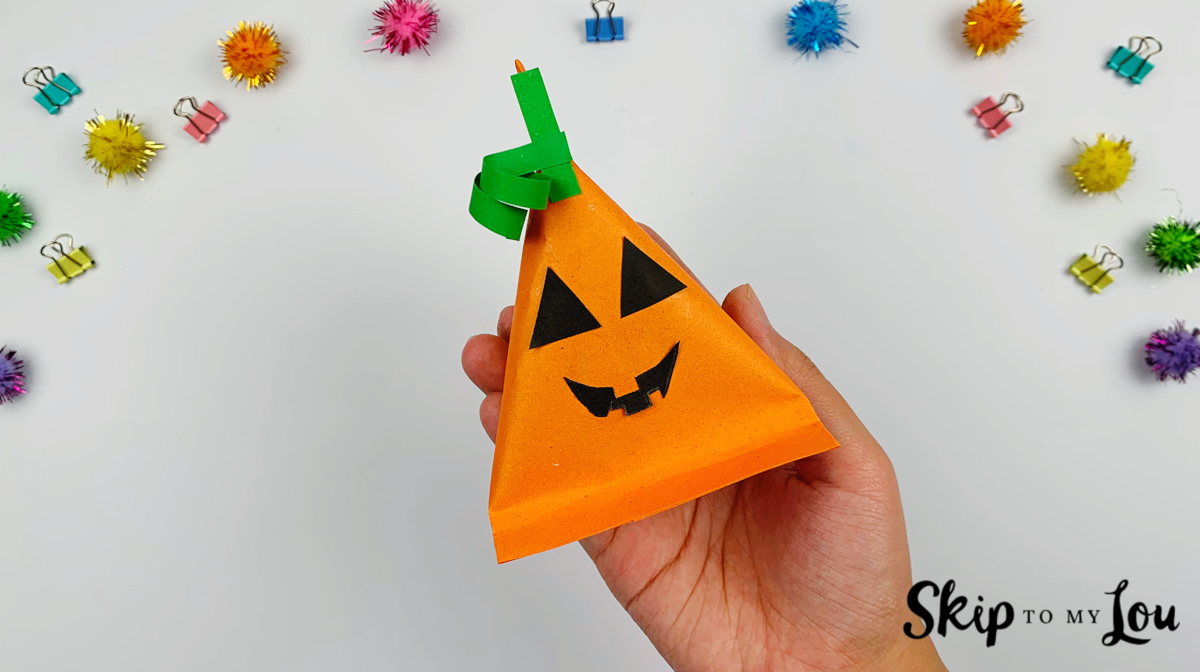
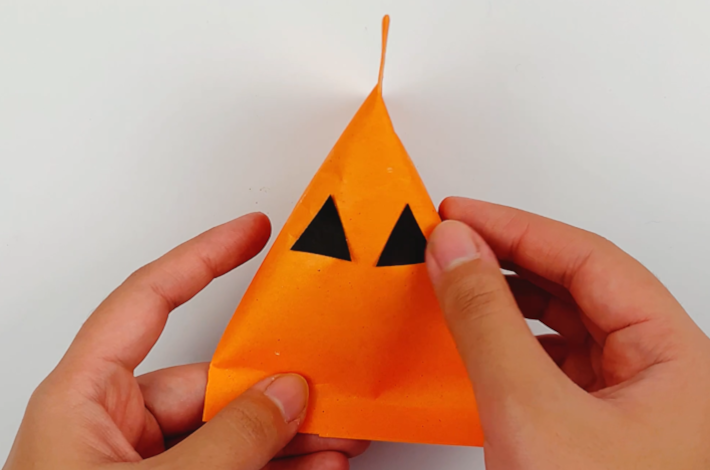
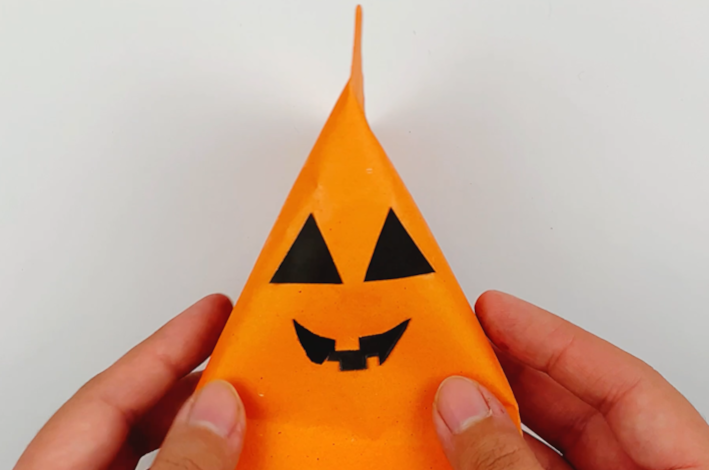
Step 4: Cut out triangular-shaped eyes from a piece of black paper and stick them on. Draw the mouth shape on another black piece of paper, cut it out, and stick it on. You can also easily use a Sharpie marker to draw on the face details.

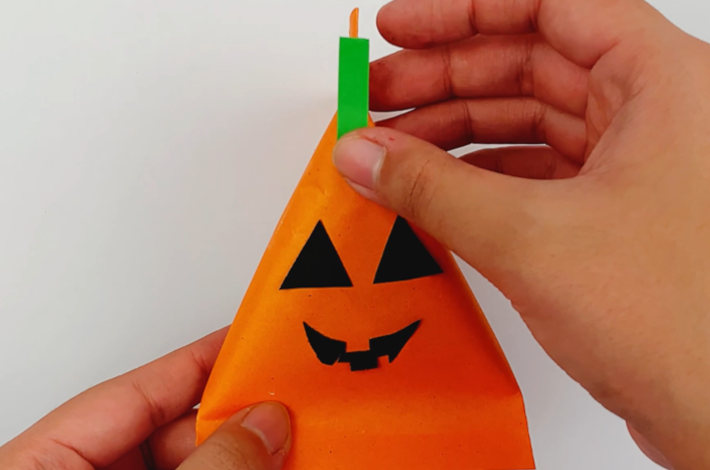
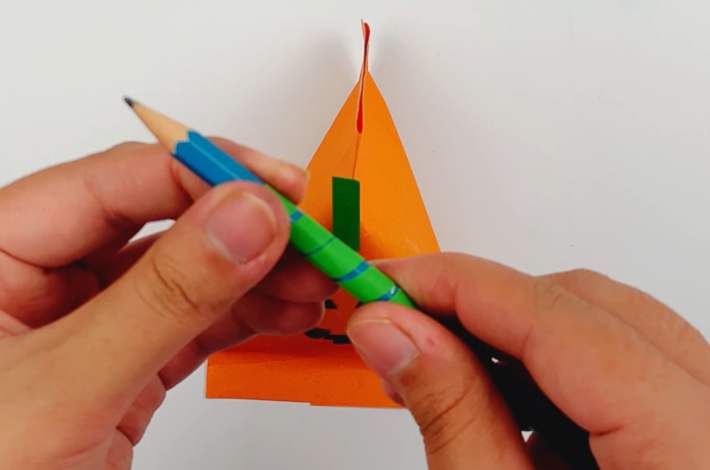
Step 5: Cut a thin strip of green paper for the stalk and glue it on the front of the pumpkin treat bag. Cut another longer piece of green paper and curl it around a pencil. Now glue that on, too.
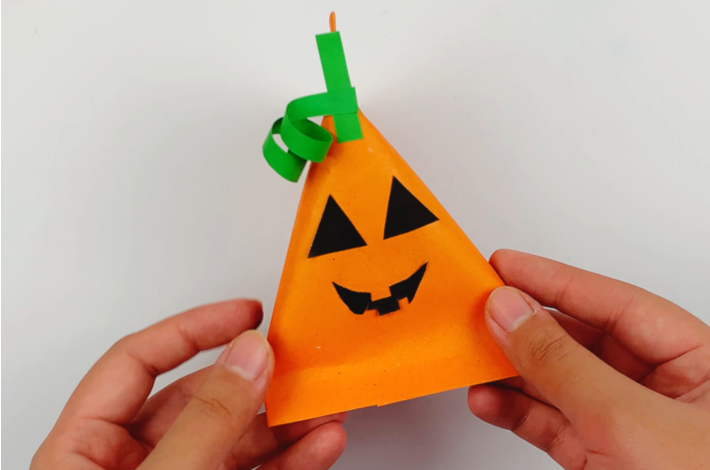
Your pumpkin treat bag is complete!
More Halloween Fun for the Whole Family!
Try out some of these fall projects and recipes.
- Here’s a fun Halloween craft – How to Make Origami Pumpkin with Witch Hat.
- Try this Paper Pumpkins Craft.
- Fun Fall Crafts – such a fun time of year!
- Here’s a bunch of Great Fall DIY, crafts and recipes for you to try.
- Your kids will love these Halloween Coloring Pages.
- Pumpkin Crafts
- These paper pumpkins are easy to make and make great holiday decor.
- Templates make crafts easy! Try these ghost templates, bat templates, and Halloween templates.
- DIY Halloween Pillow Boxes
I would love to keep you fully stocked with creative ideas, yummy recipes, fun crafts, and loads of free printables. Subscribe to Skip to my Lou to get new ideas delivered to your inbox. Follow me on social media on Facebook, Pinterest, Twitter, and Instagram for all my latest updates.


