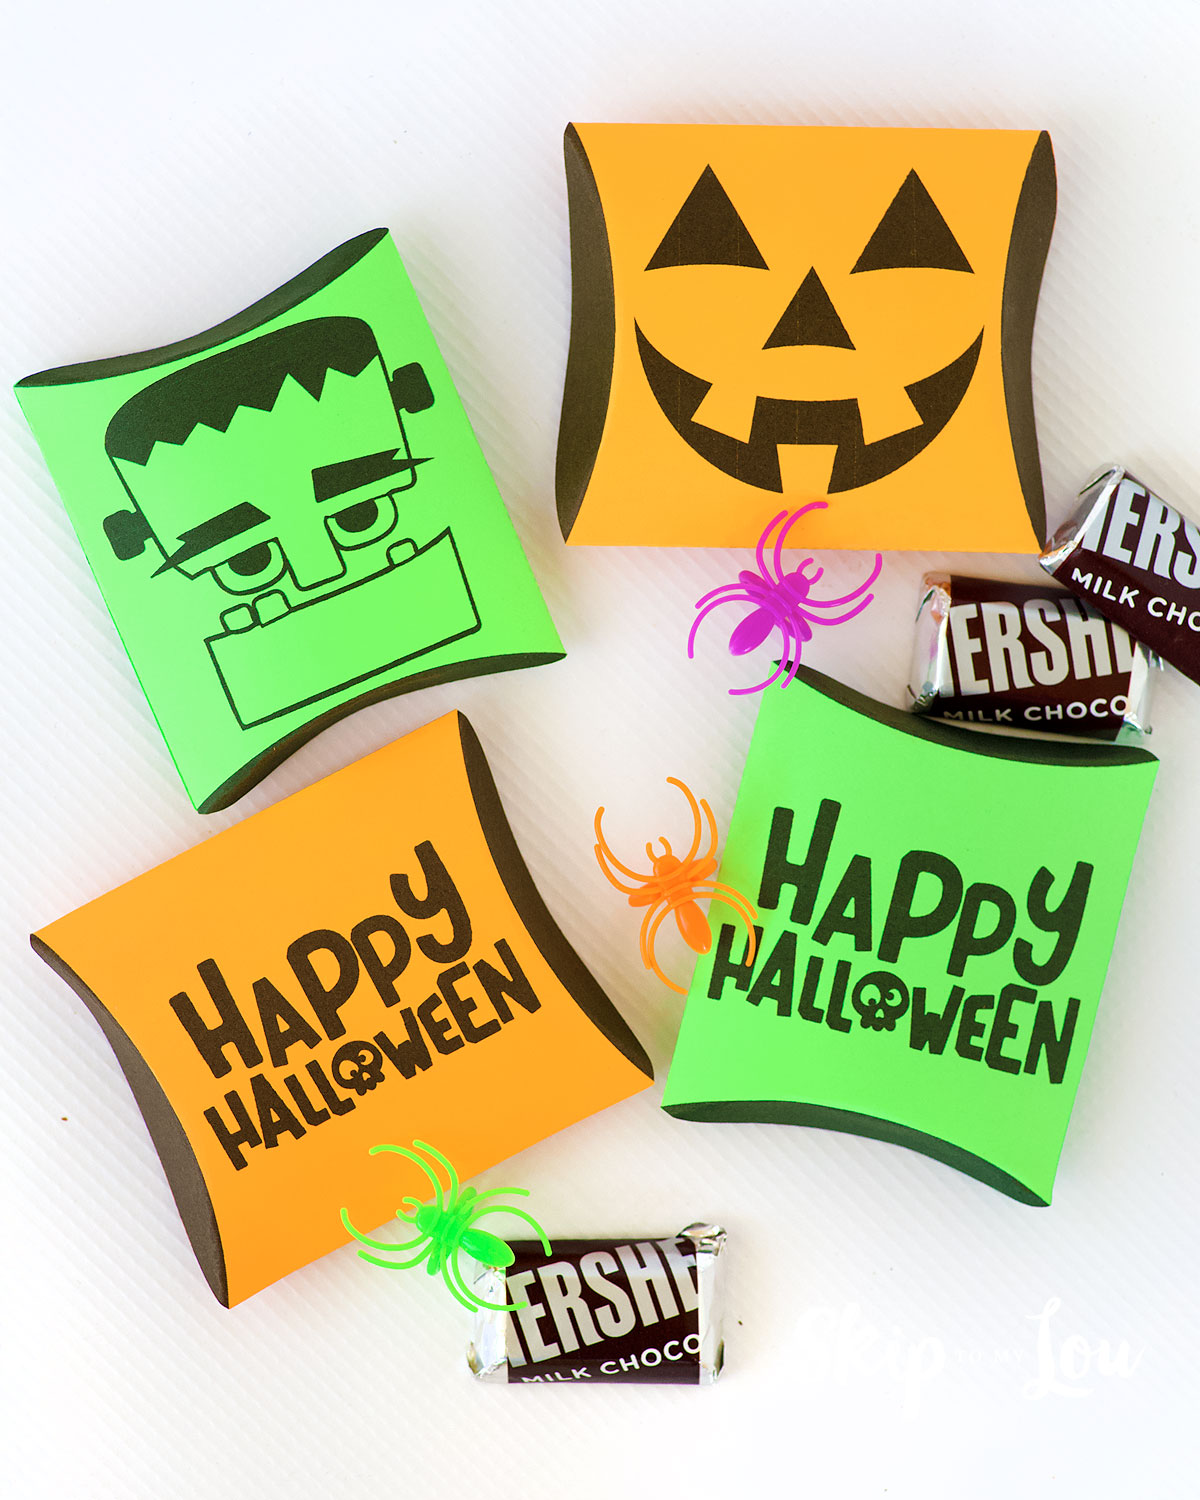
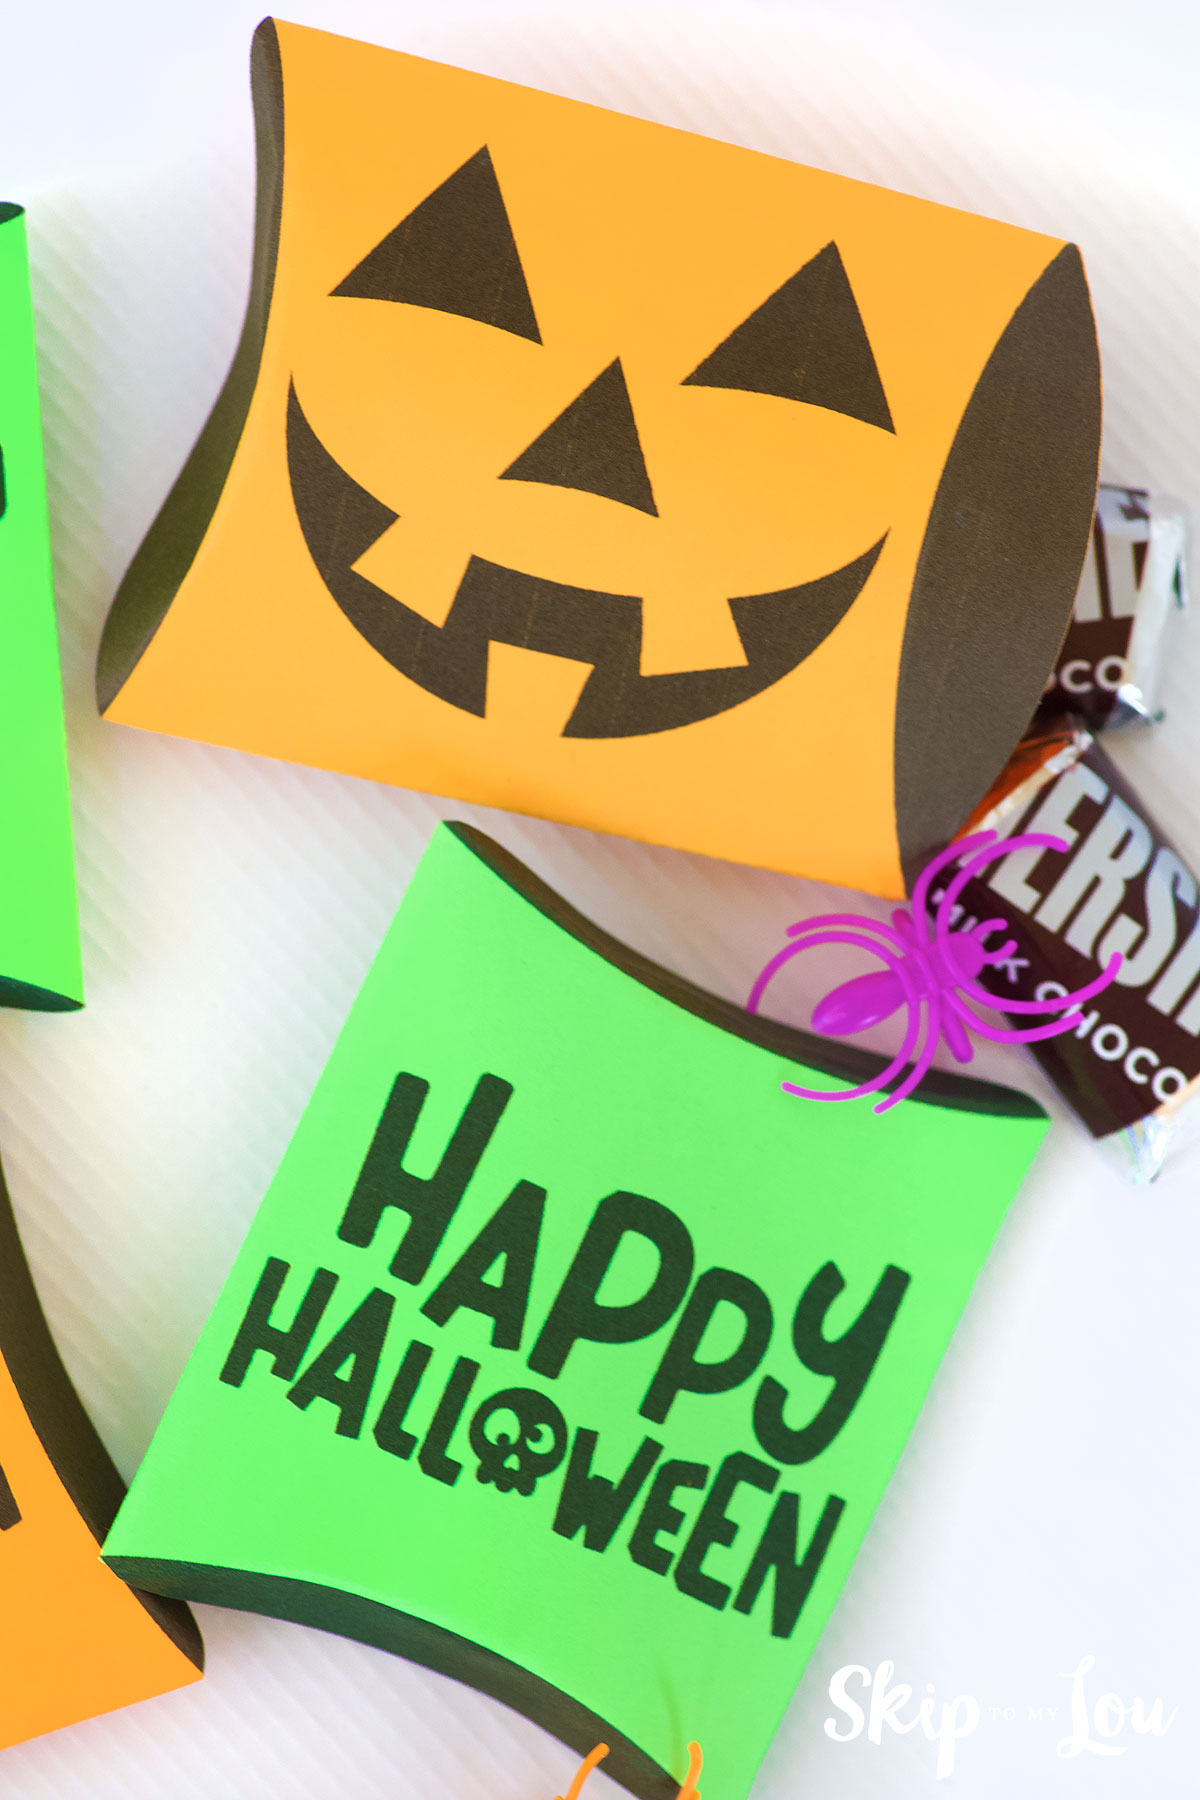
Get ready to add a little spooky charm to your Halloween with these adorable Halloween Pillow Boxes! Whether you’re handing out candy, creating party favors, or gifting something small, these printable pillow boxes are the perfect finishing touch. Best of all, you can choose between two fun designs: a cute Pumpkin or a friendly Frankenstein. And the best part? They’re super easy to make!
Related: Love giving fun treats? Check out this popular post, featured in Woman’s Day Magazine, for the cutest Halloween-themed candy bar wrappers!
DIY Halloween Pillow Boxes
These pillow boxes are a cute and easy way to add some Halloween spirit to your celebration. Perfect for gifting small treats to friends, neighbors, or classmates. Grab your free printables and get crafting!
You can grab the PDF for easy cutting or the PNG to use with your Cricut
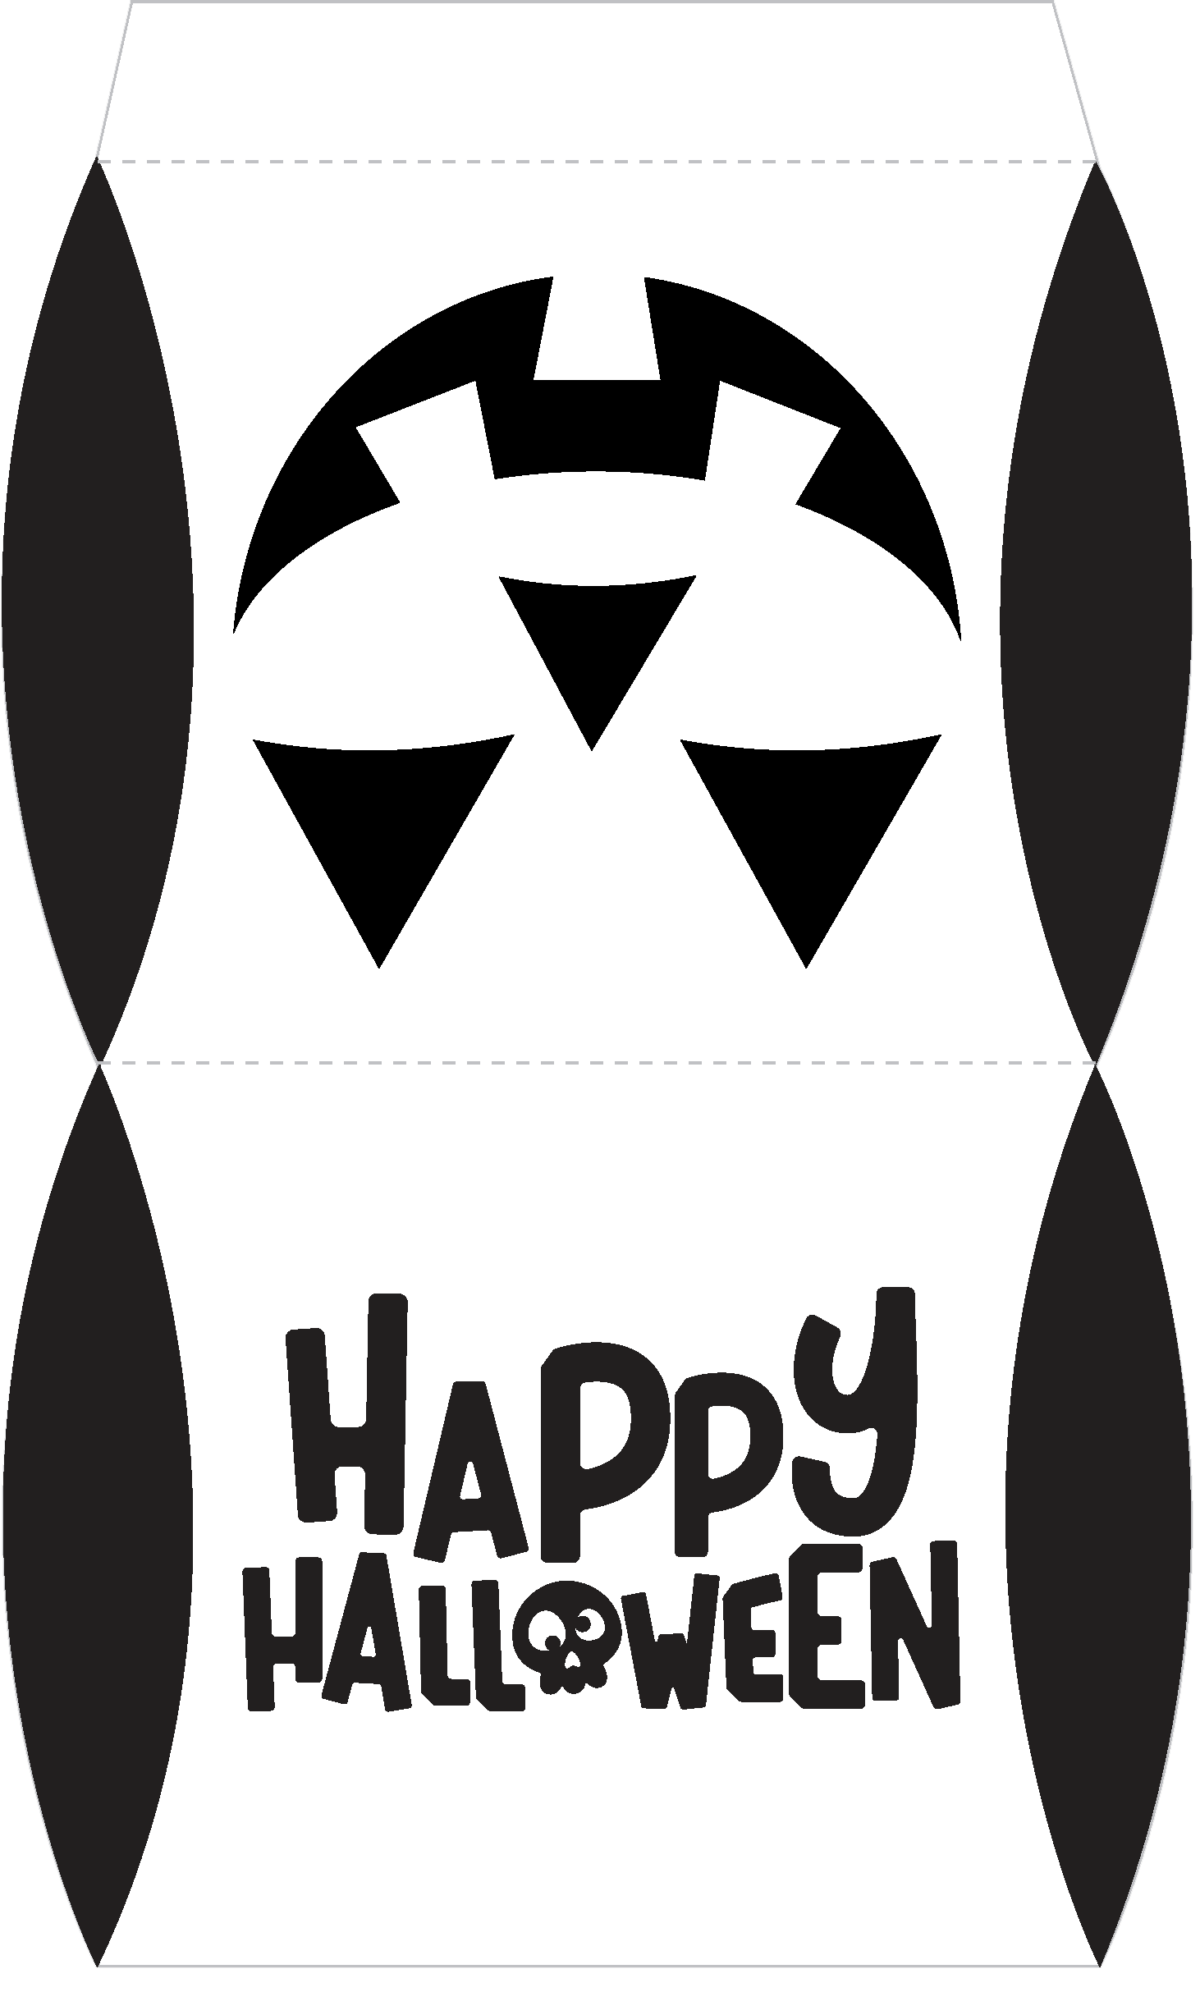
- Print the Pumpkin Design on orange cardstock for a classic Halloween vibe.
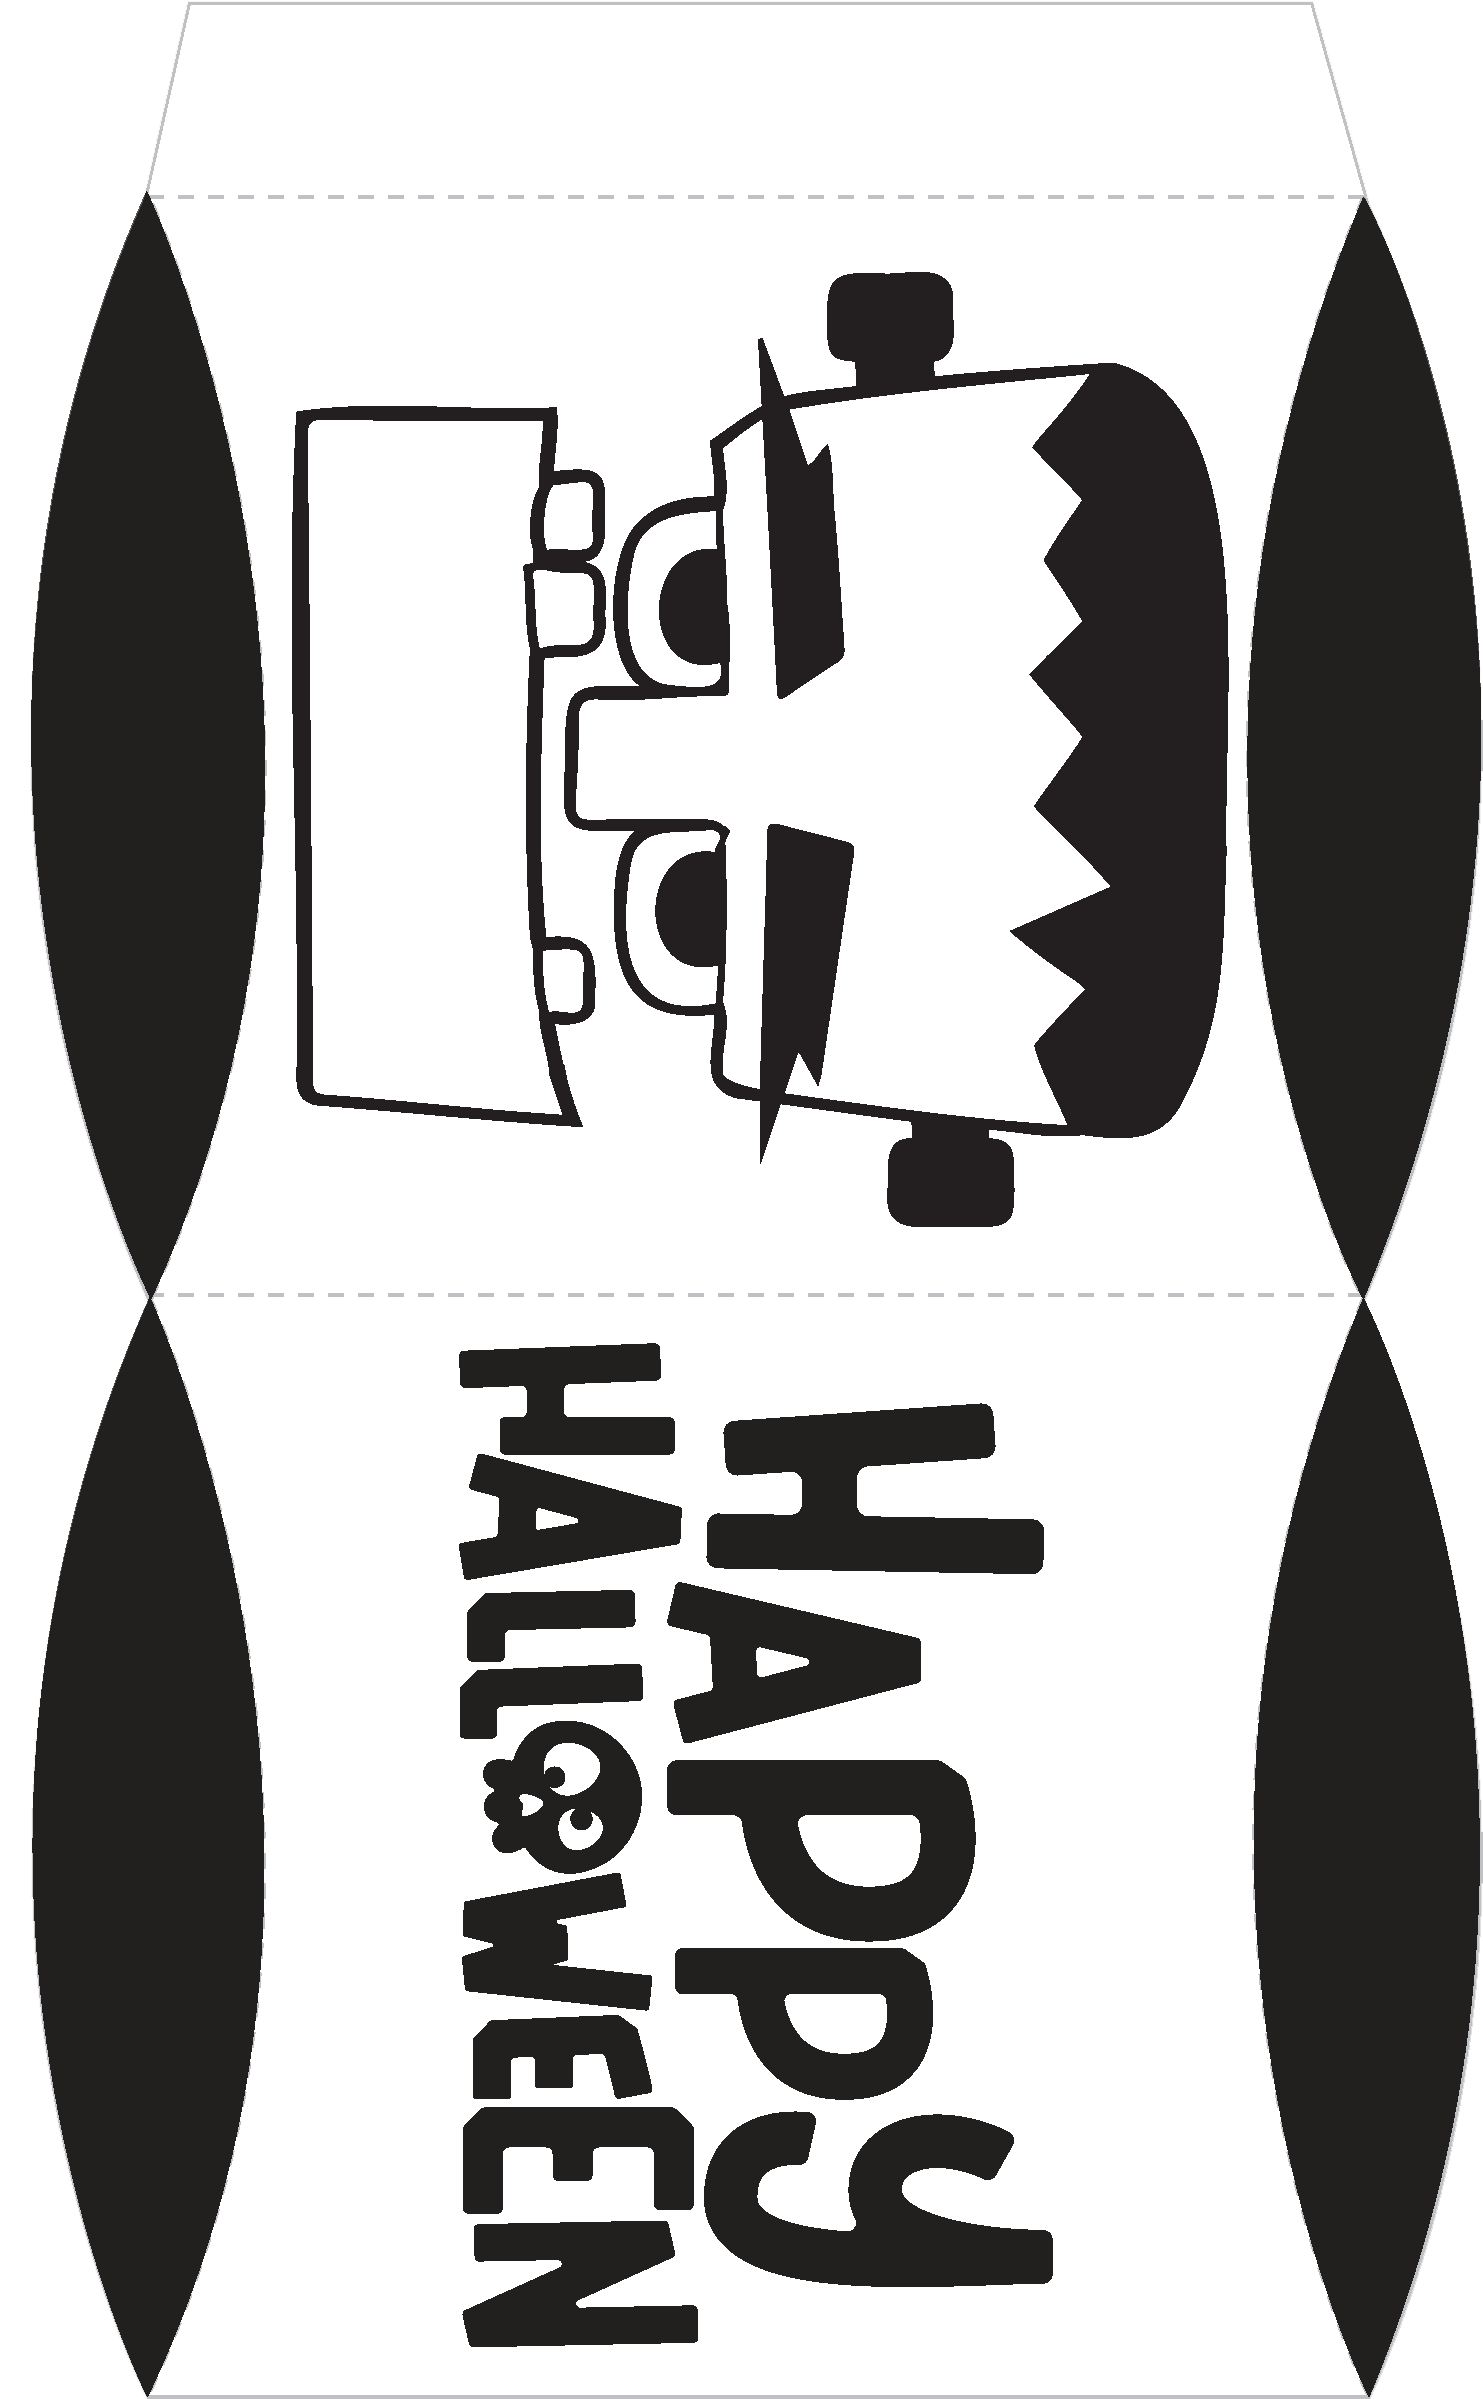
- Print the Frankenstein Design on green cardstock for a fun and spooky twist.
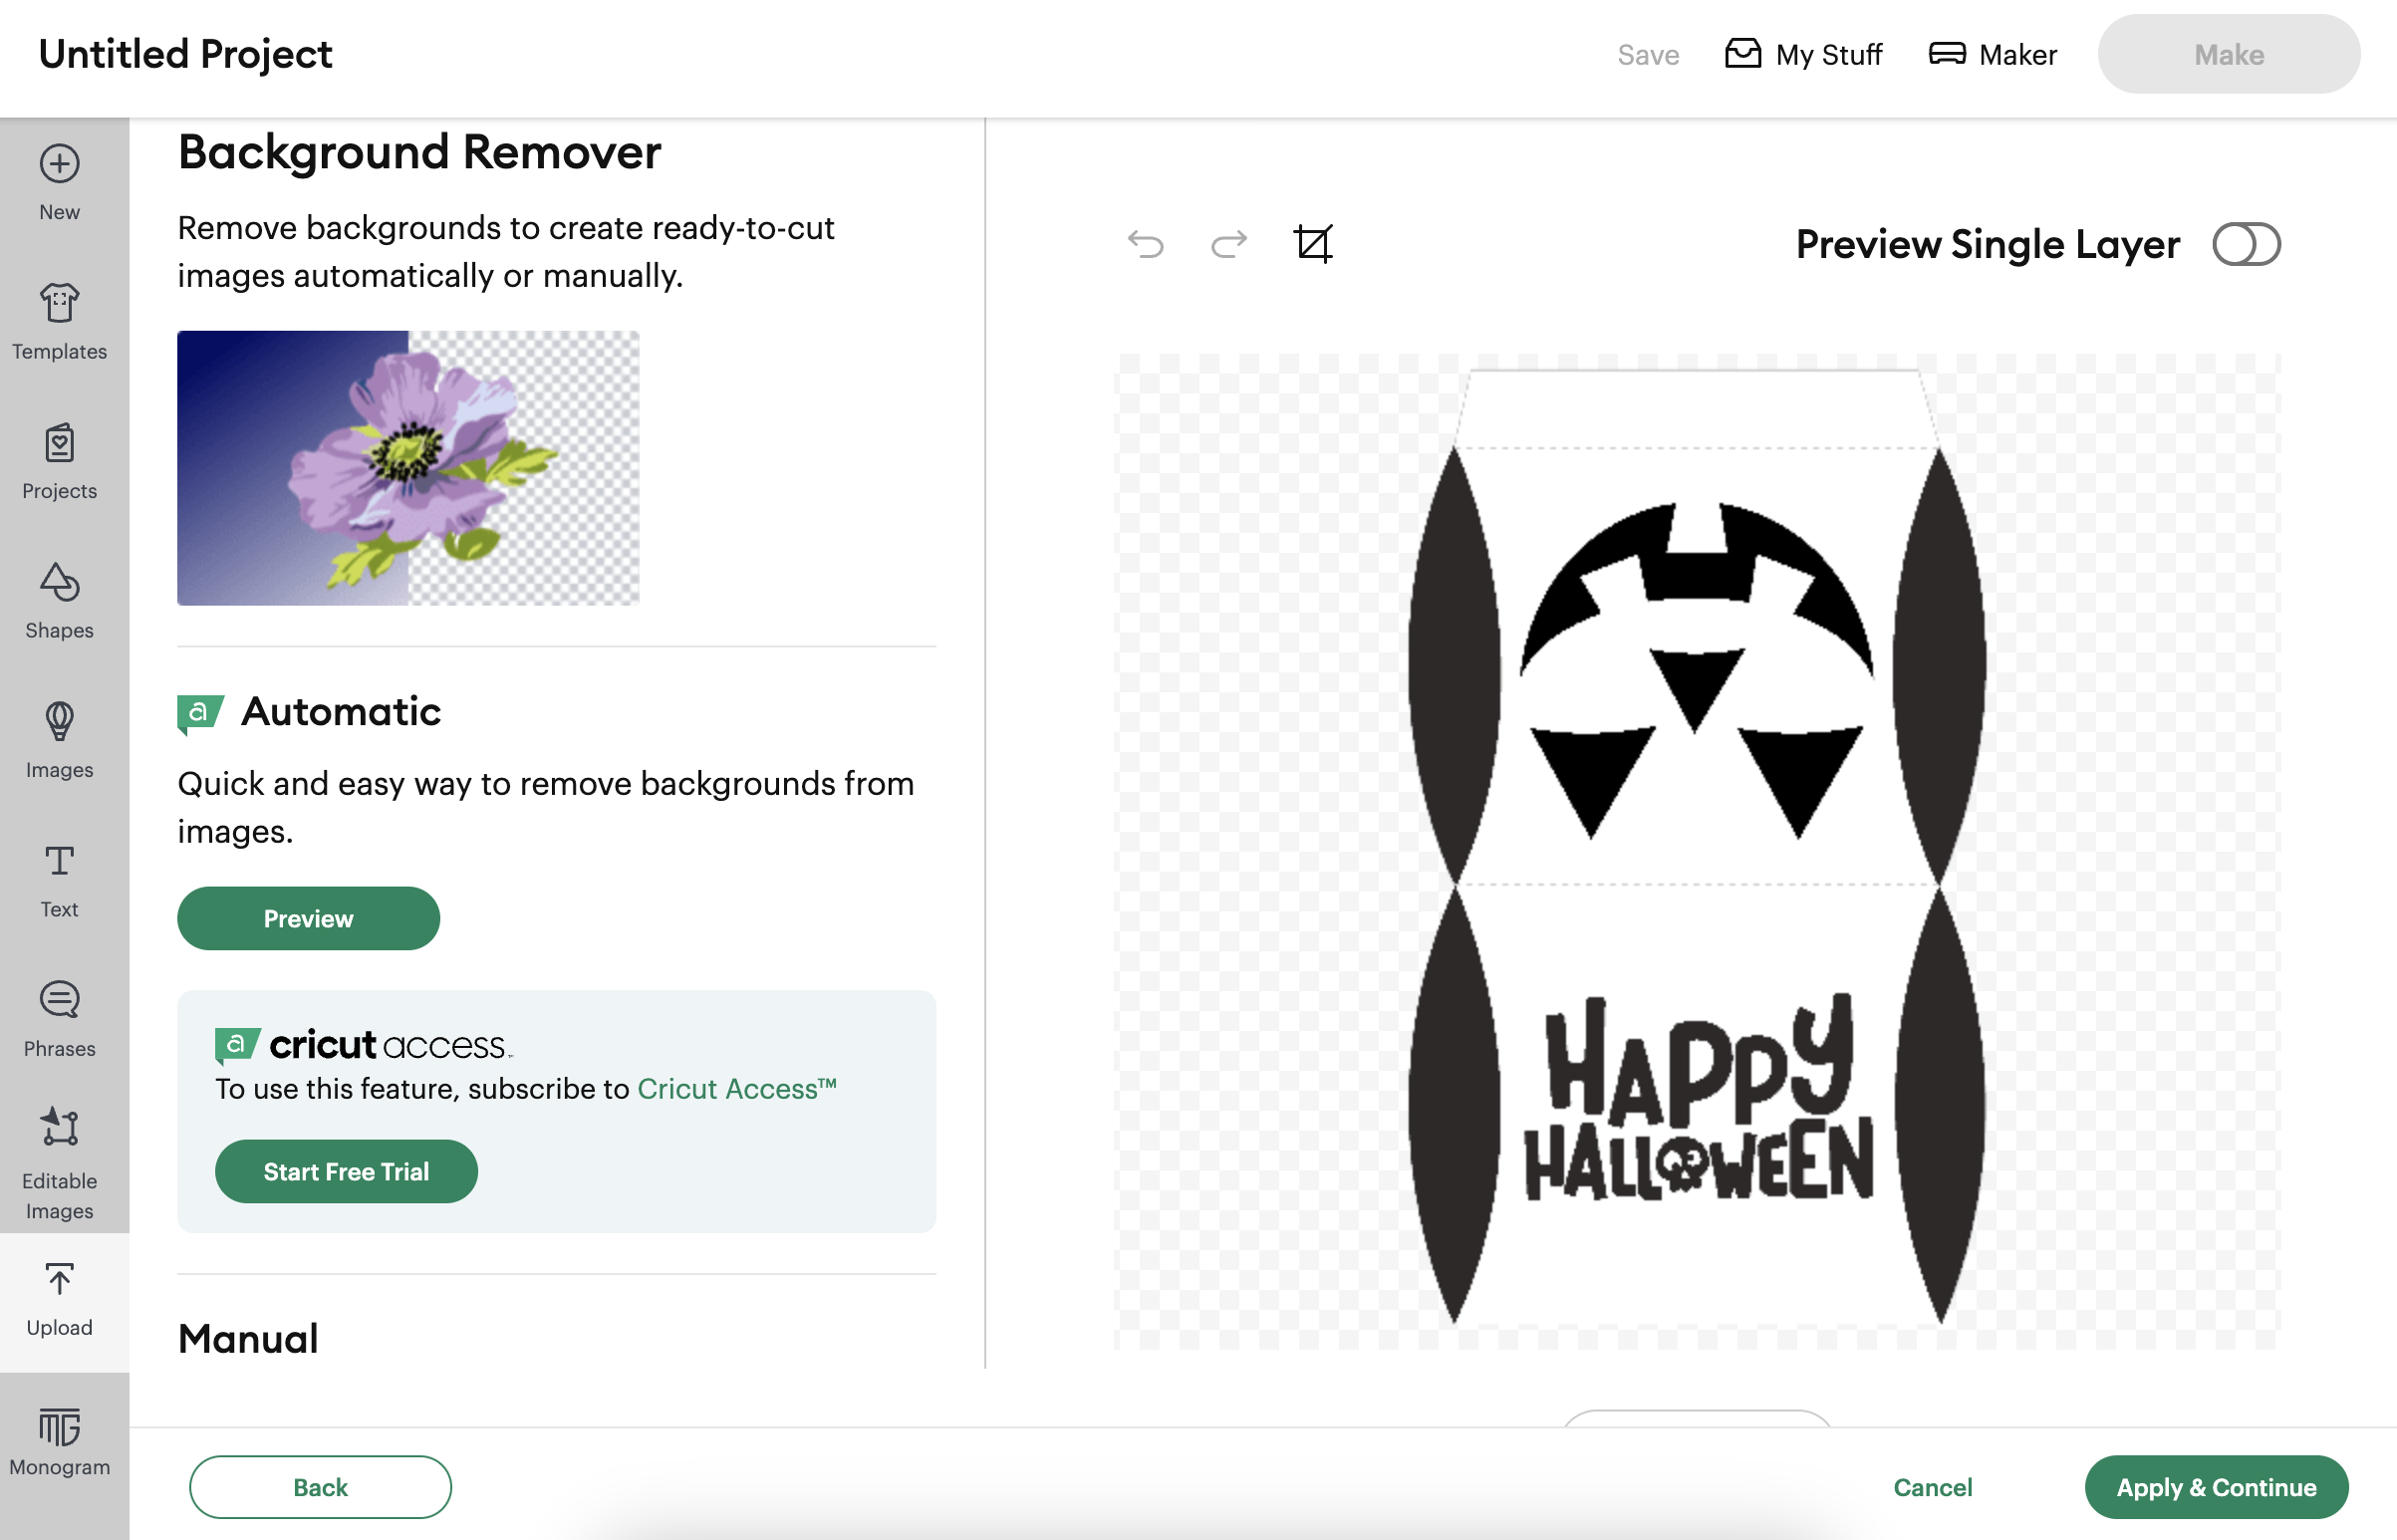
How to Print & Cut with the Cricut
Making a bunch of these Halloween Pillow Boxes is a breeze with the Cricut! Once you upload the PNG file into Cricut Design Space, you can quickly print , load them onto your cutting mat, and let the Cricut do all the work. In just minutes, you’ll have perfectly cut pillow boxes ready to fold and fill. It’s the perfect solution if you’re short on time or need to make a large batch of treat boxes for a party or event. With the Cricut’s precision and ease, you can whip up a whole batch in no time!
Simple Steps
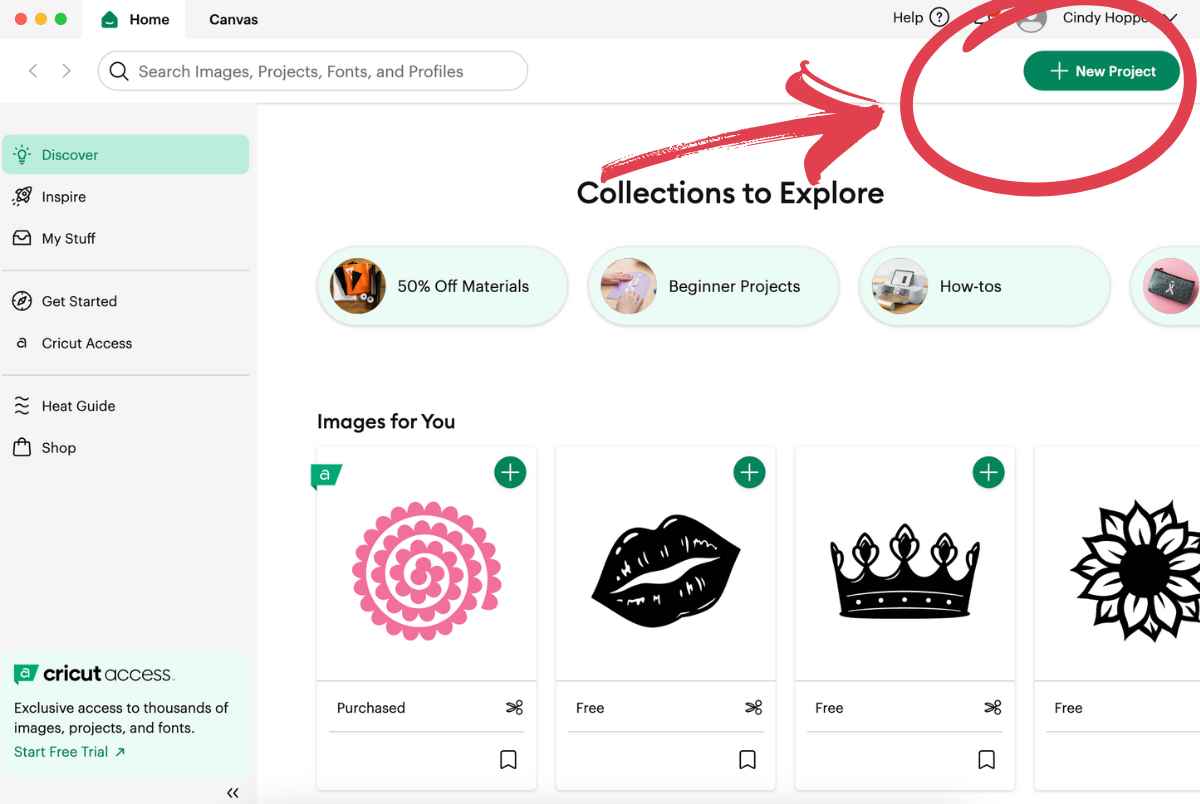
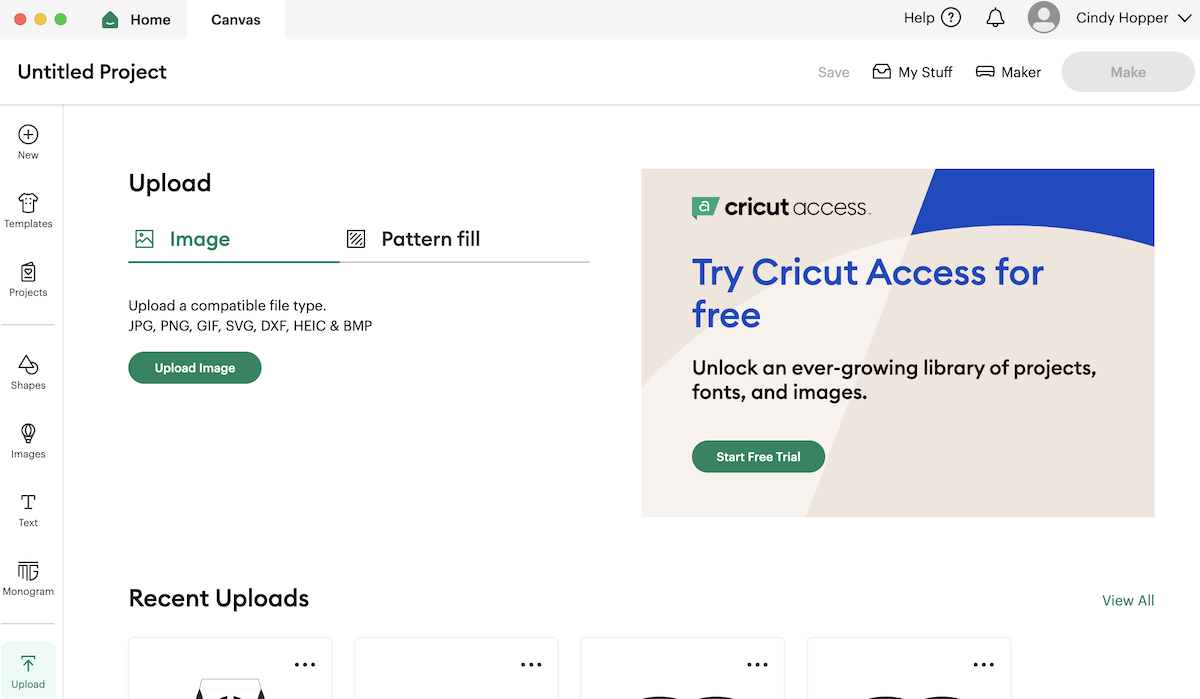
- Open up Cricut Design Space on your computer. Select new project.

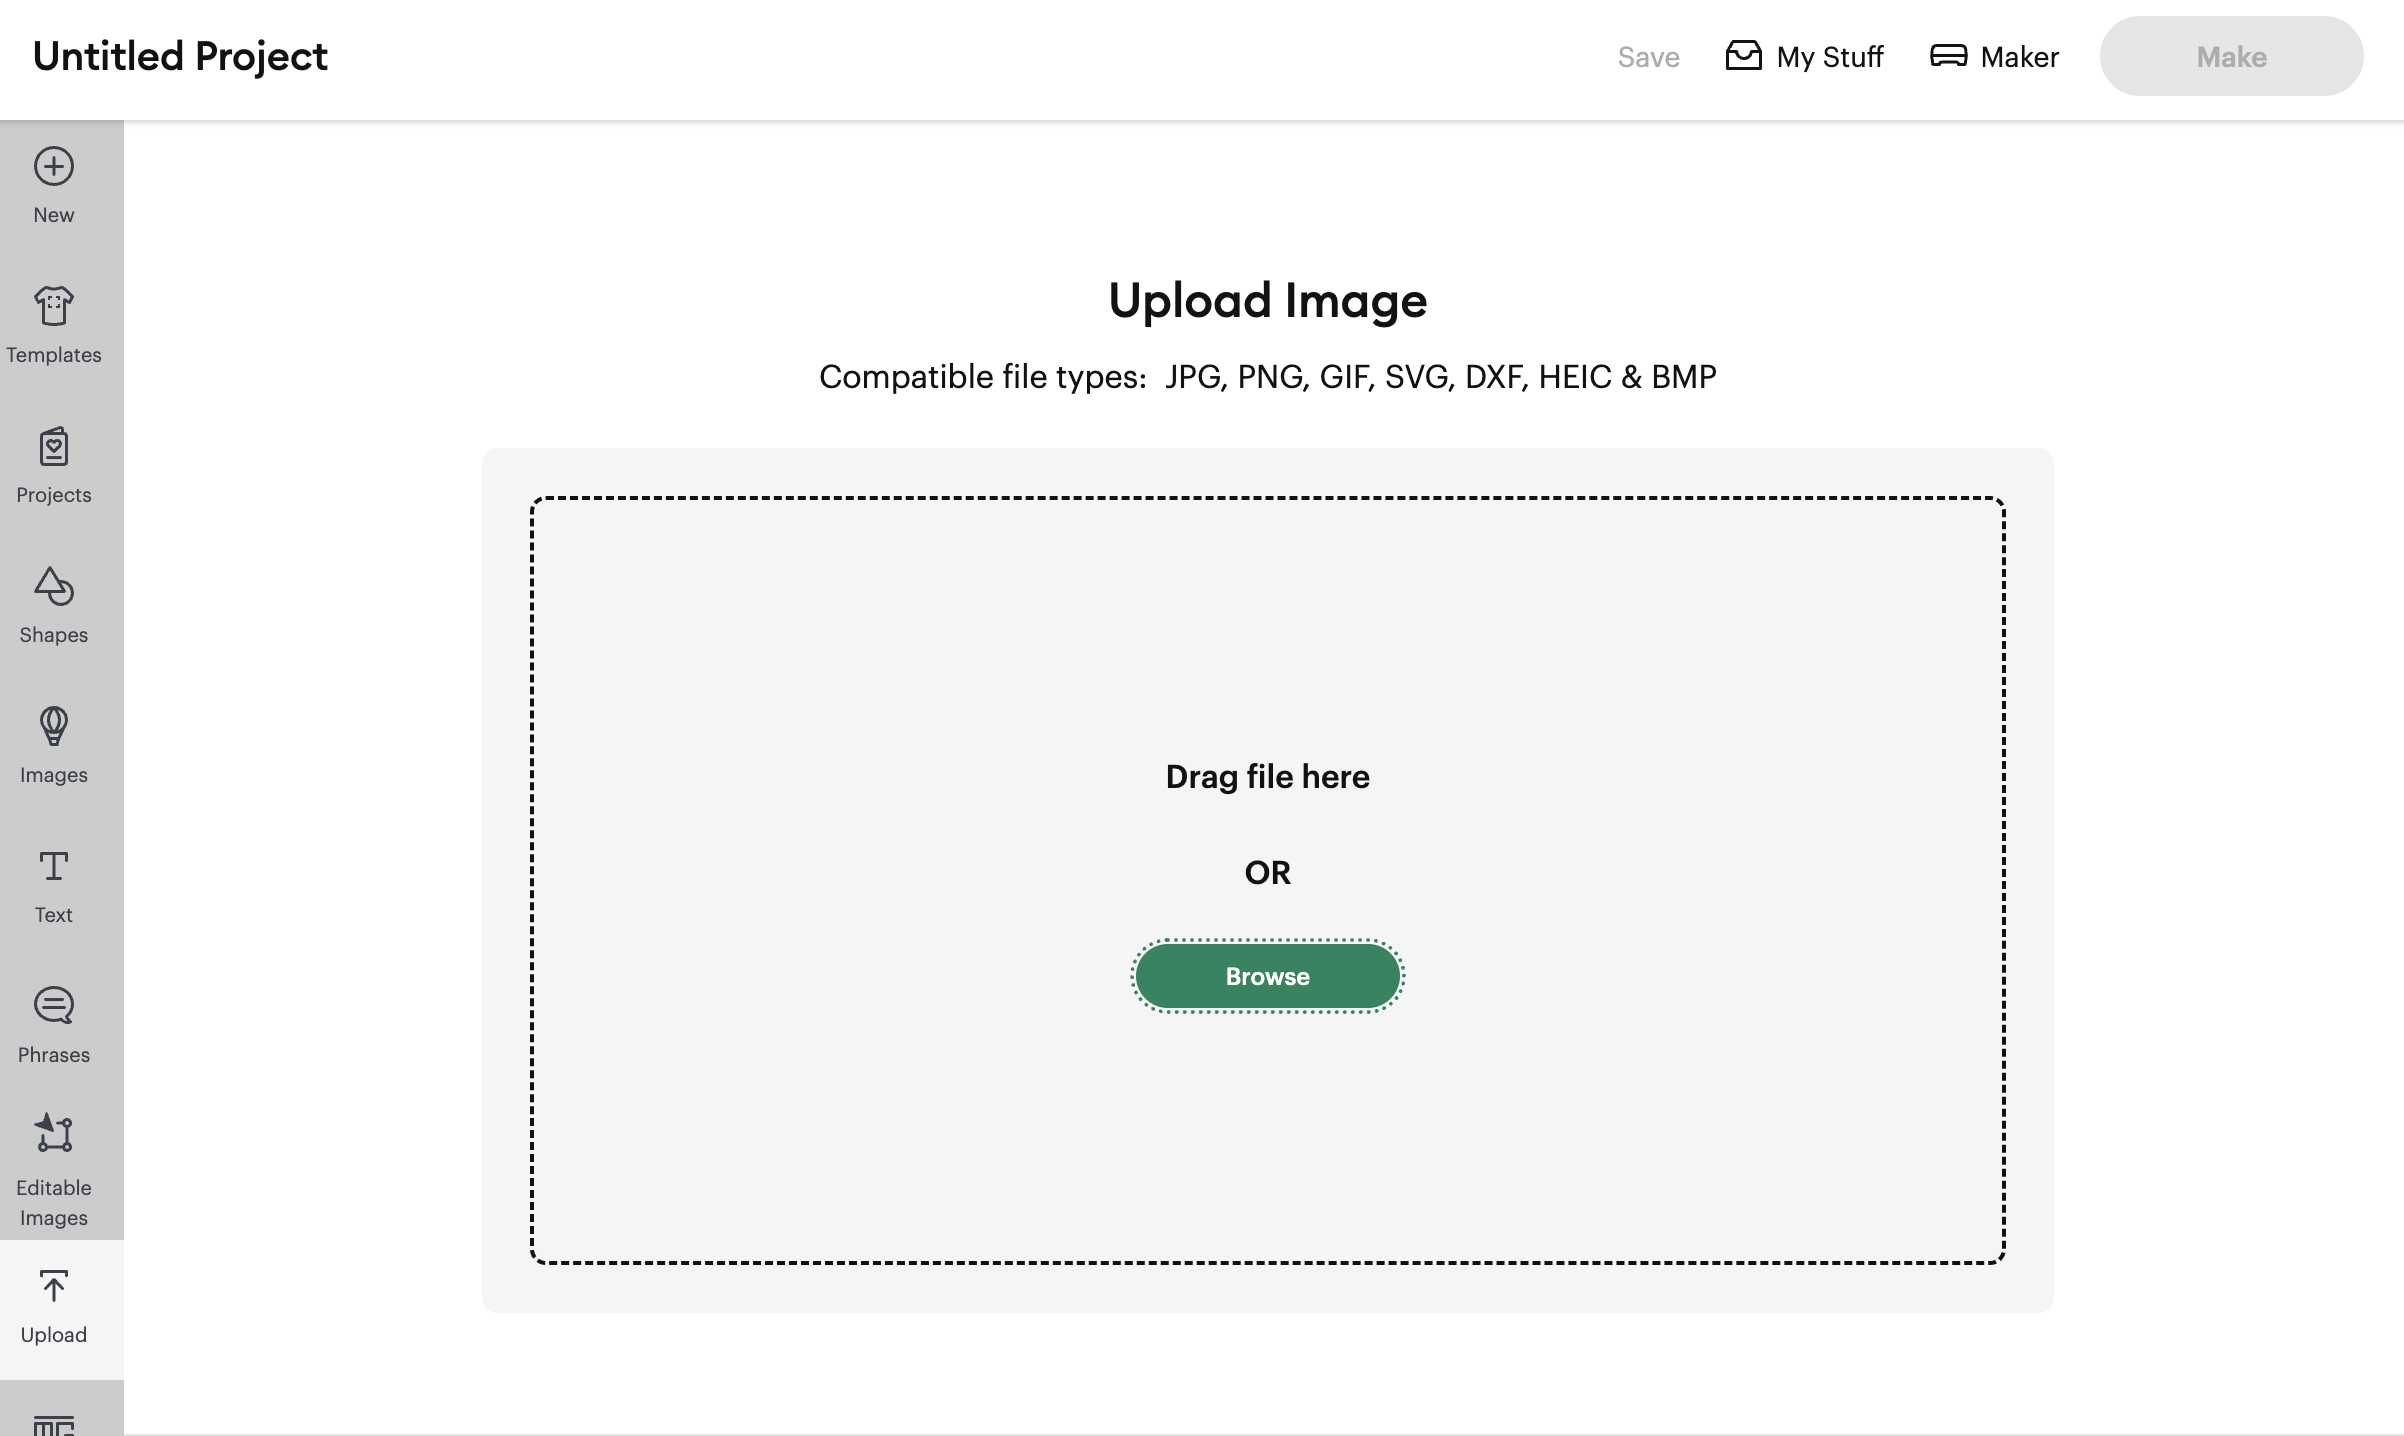
- Upload the PNG file to Cricut Design Space


- Select Browse and locate pillow box png file on your computer and select.

- Click continue.

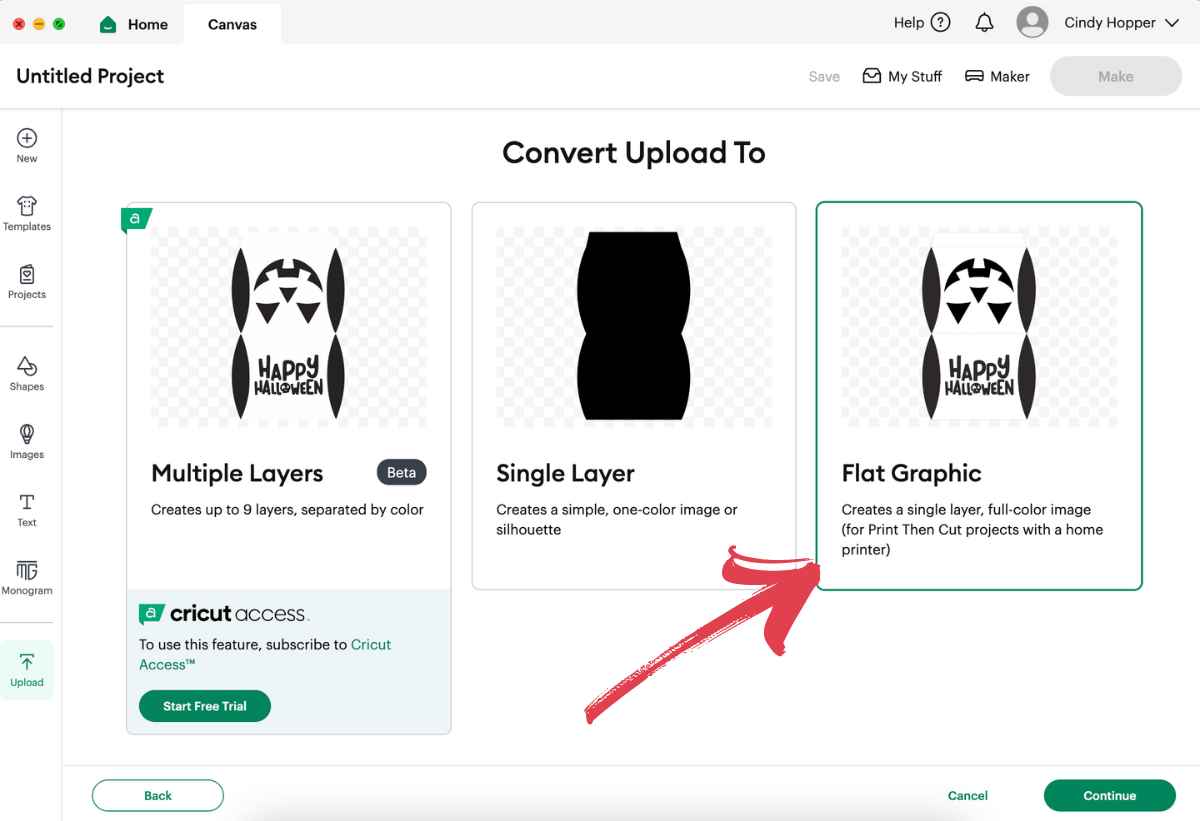
- Select Apply and continue.

- Select Flat Graphic and this hit continue.

- Add Tags (optional) and select upload.

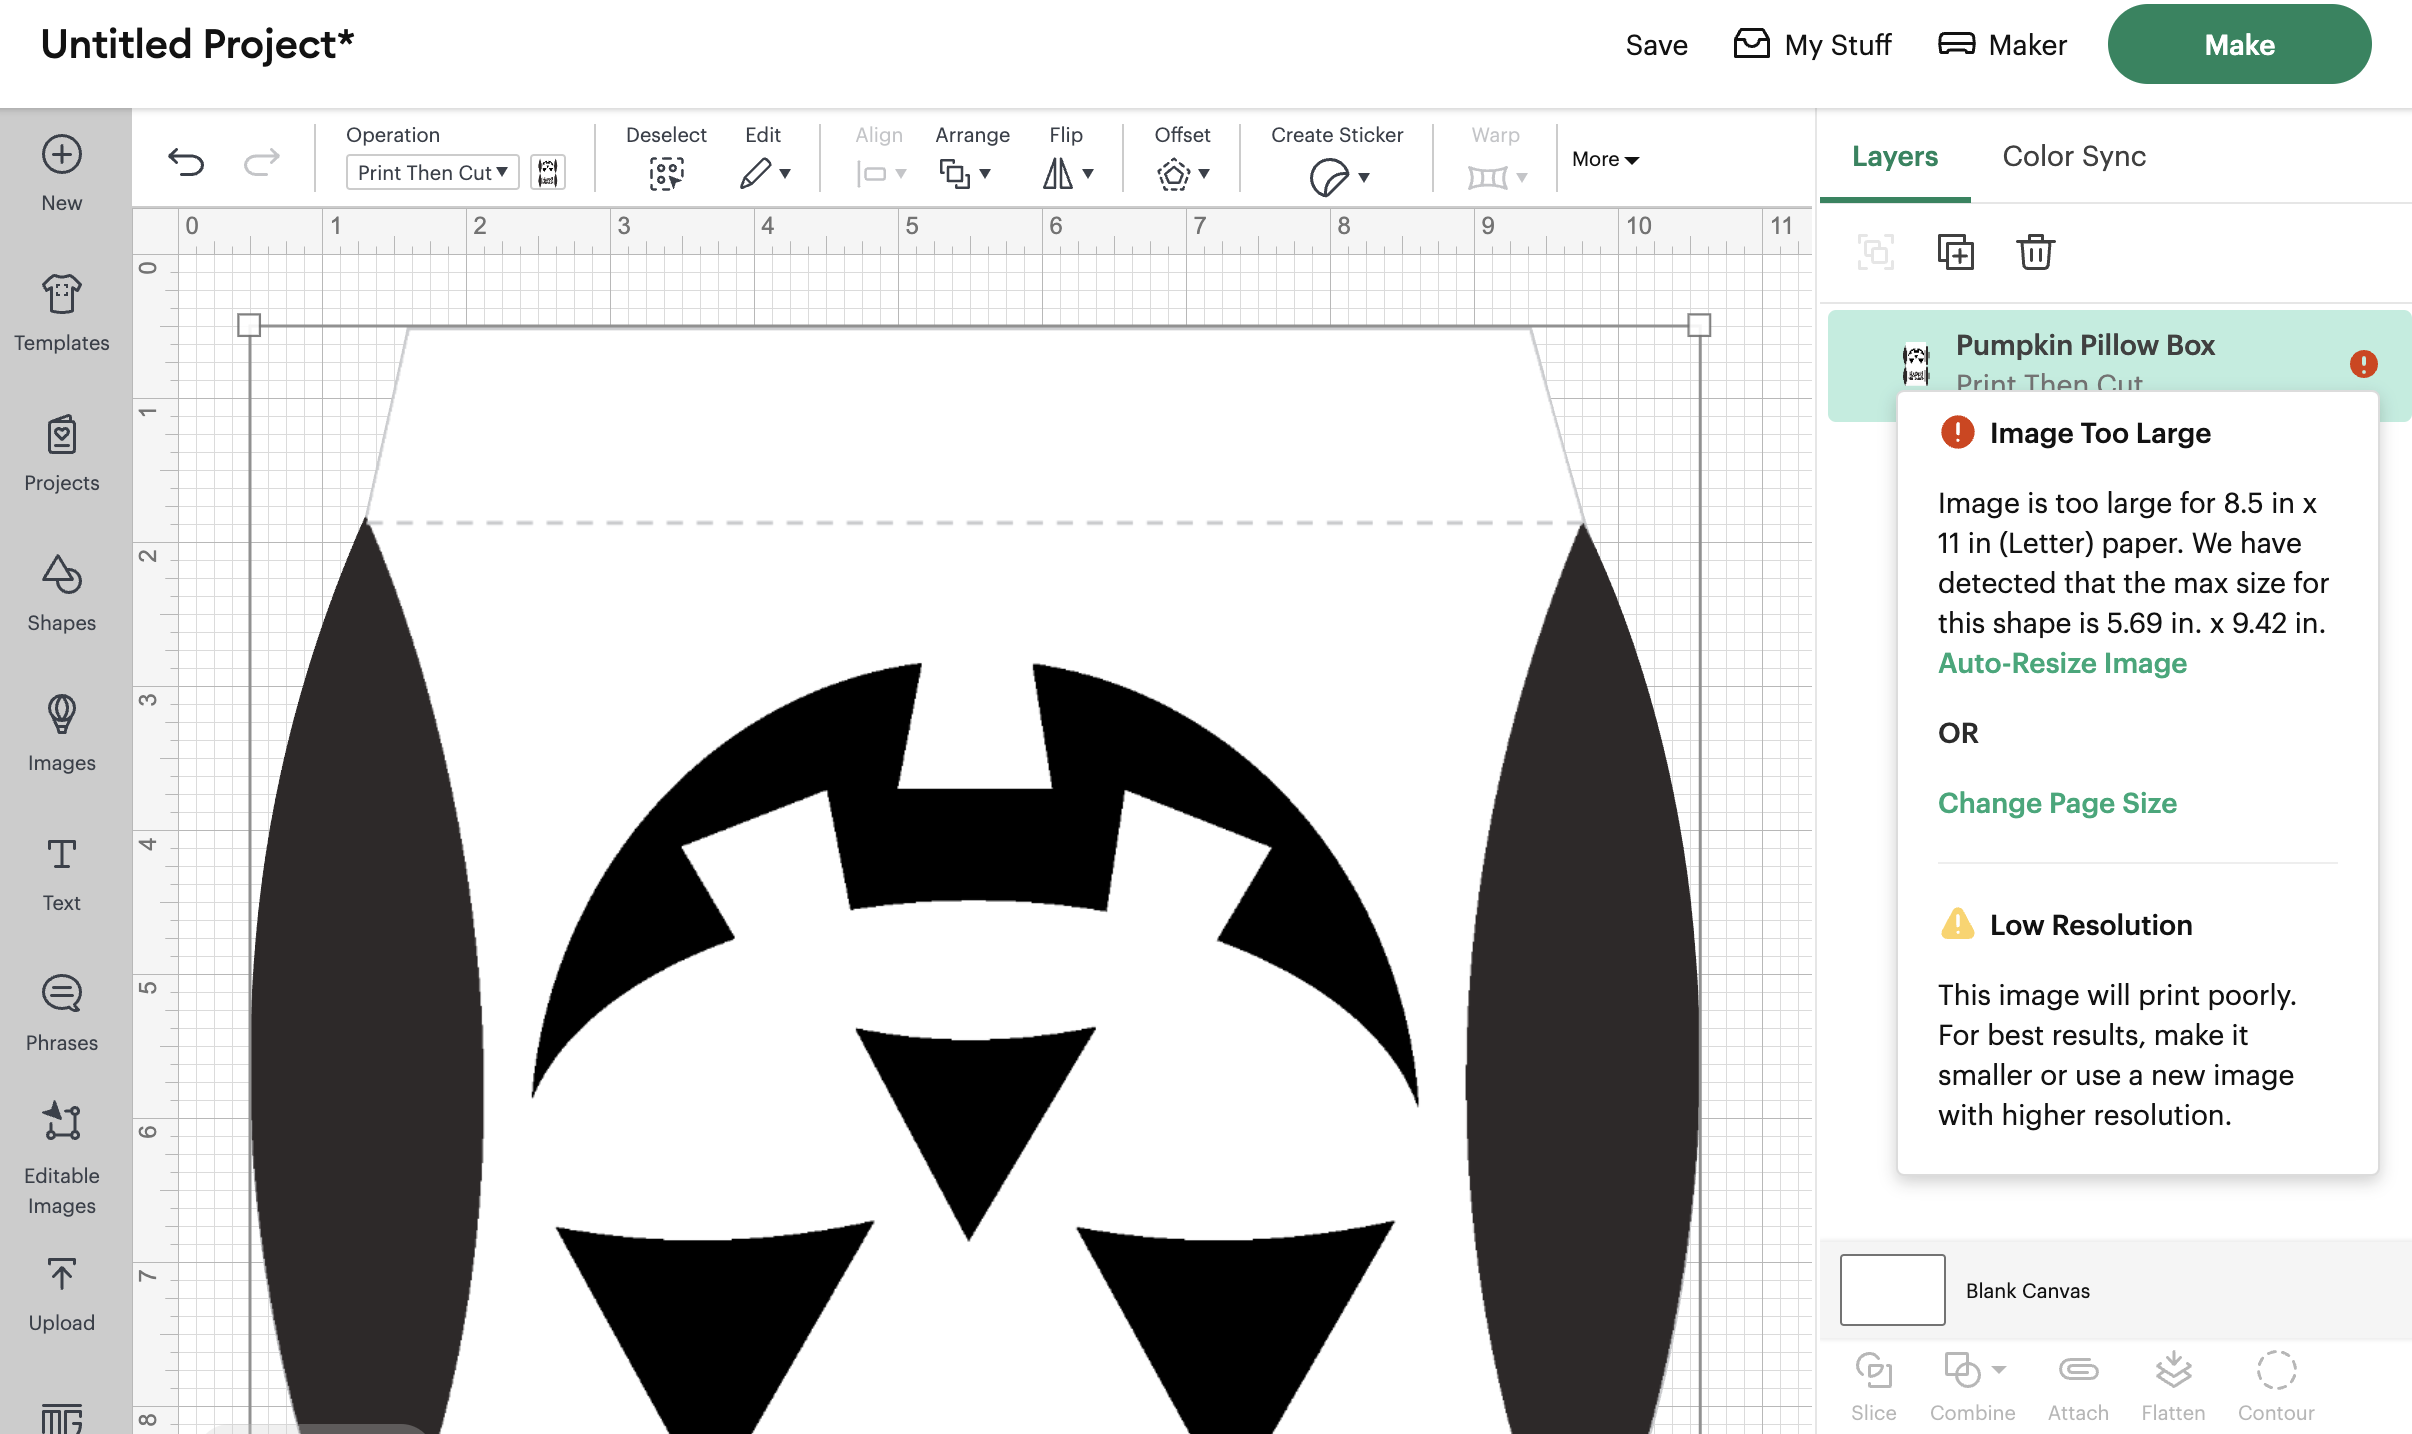
- The image will be too large.
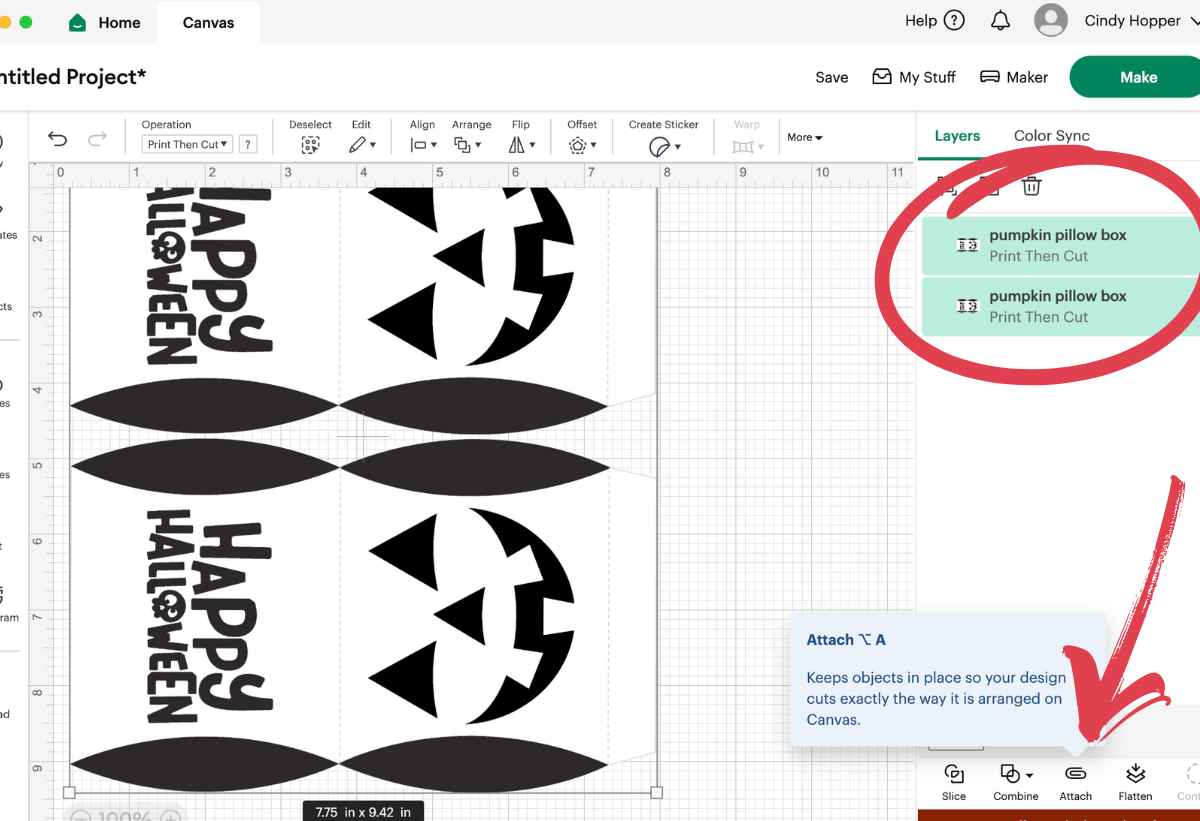
 Since I wanted to cut two pillow boxes on one page, I rotated the image, sized it to 4.68 x 7.73, and copied and pasted another one.
- Select both copies and then choose attach.
- If the image is too large you can select to have it auto-sized or play around with sizing until it is just how you need it. Select Make when you are ready.
- Select continue.
- Select send to printer.
- Sensor marks are added. Select next.
- Check print settings. Select Print.
- Verify print quality. Select Done.

- Select material. I used a lightweight cardstock.

- Load mat into the Cricut and press the flashing light to cut.

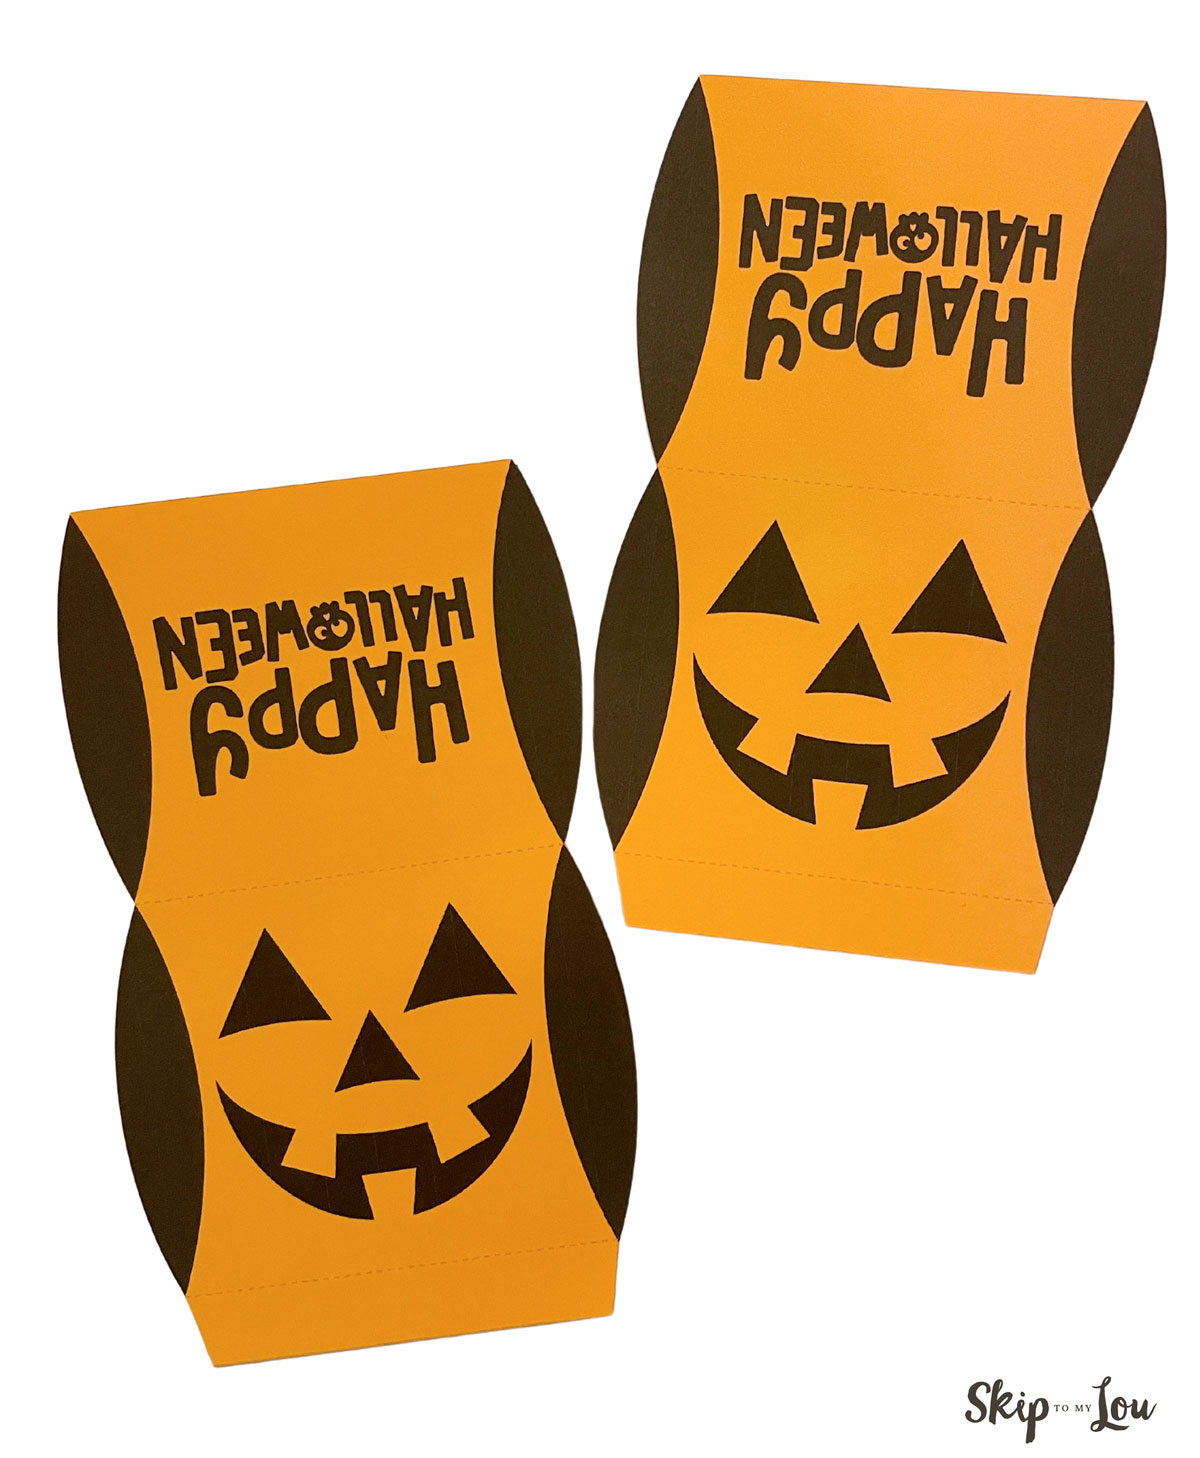
- Once the image is cut, remove from the mat.

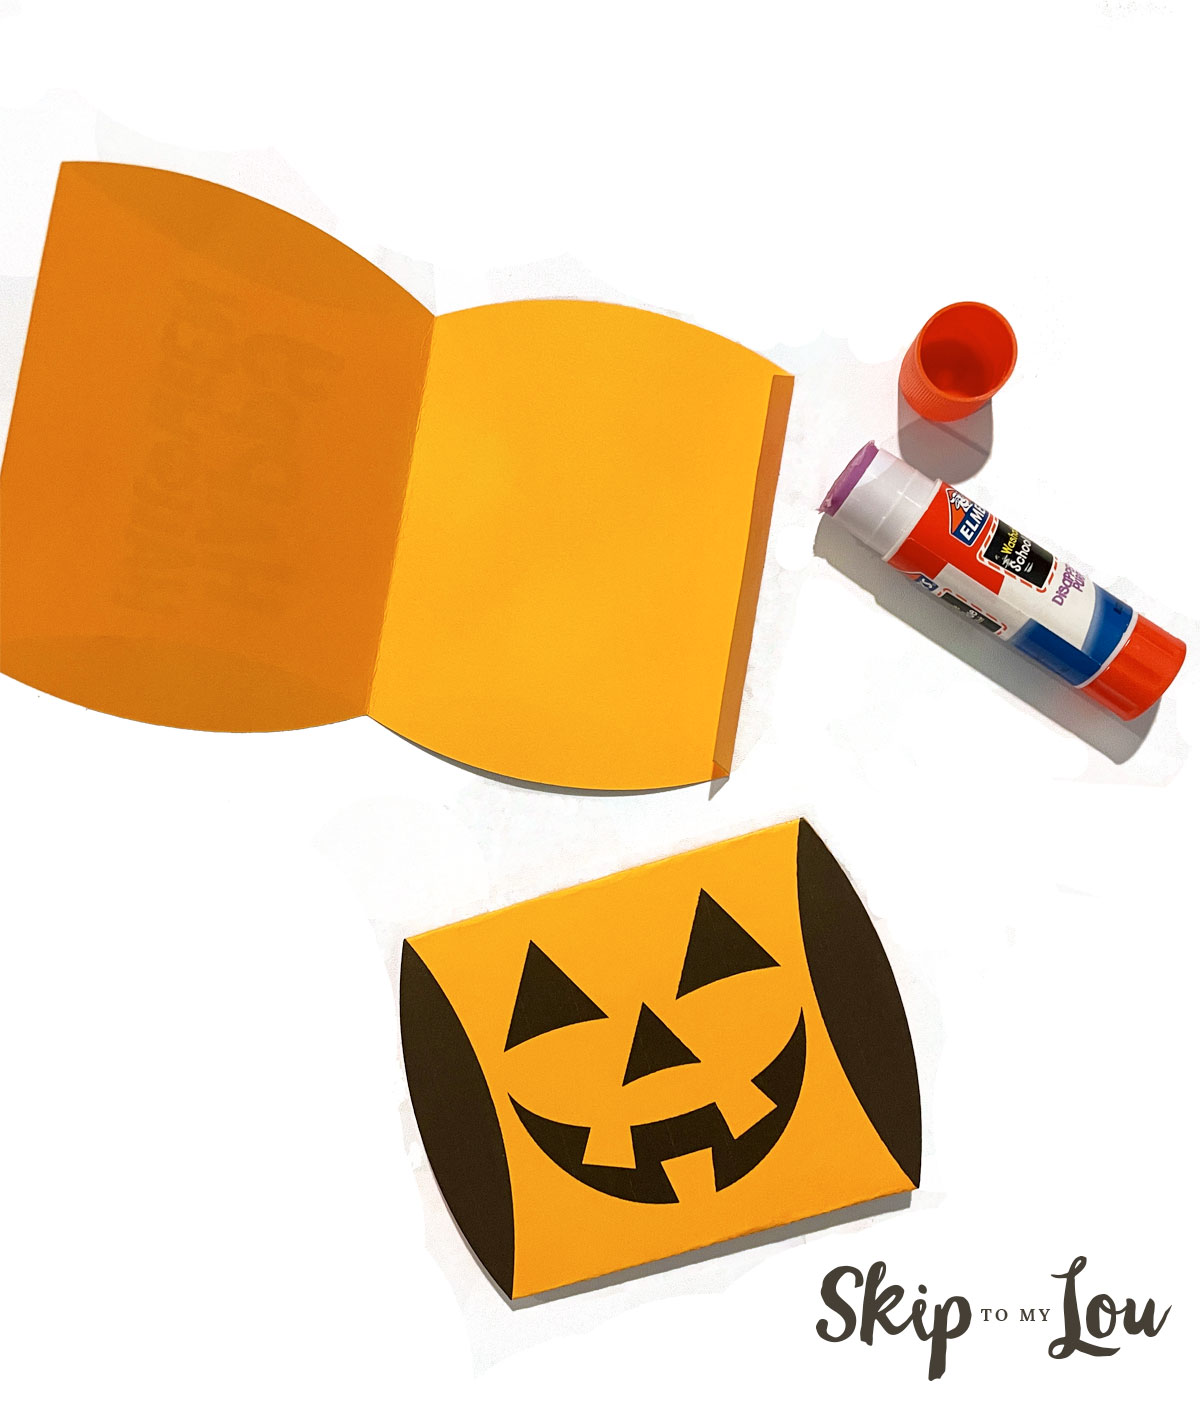
- Fold boxes along dotted lines.

- Place a generous amount of glue on the flap to fasten. Make sure to only have glue on the flap. Leave flat. Once the glue is dry fold in the ends.

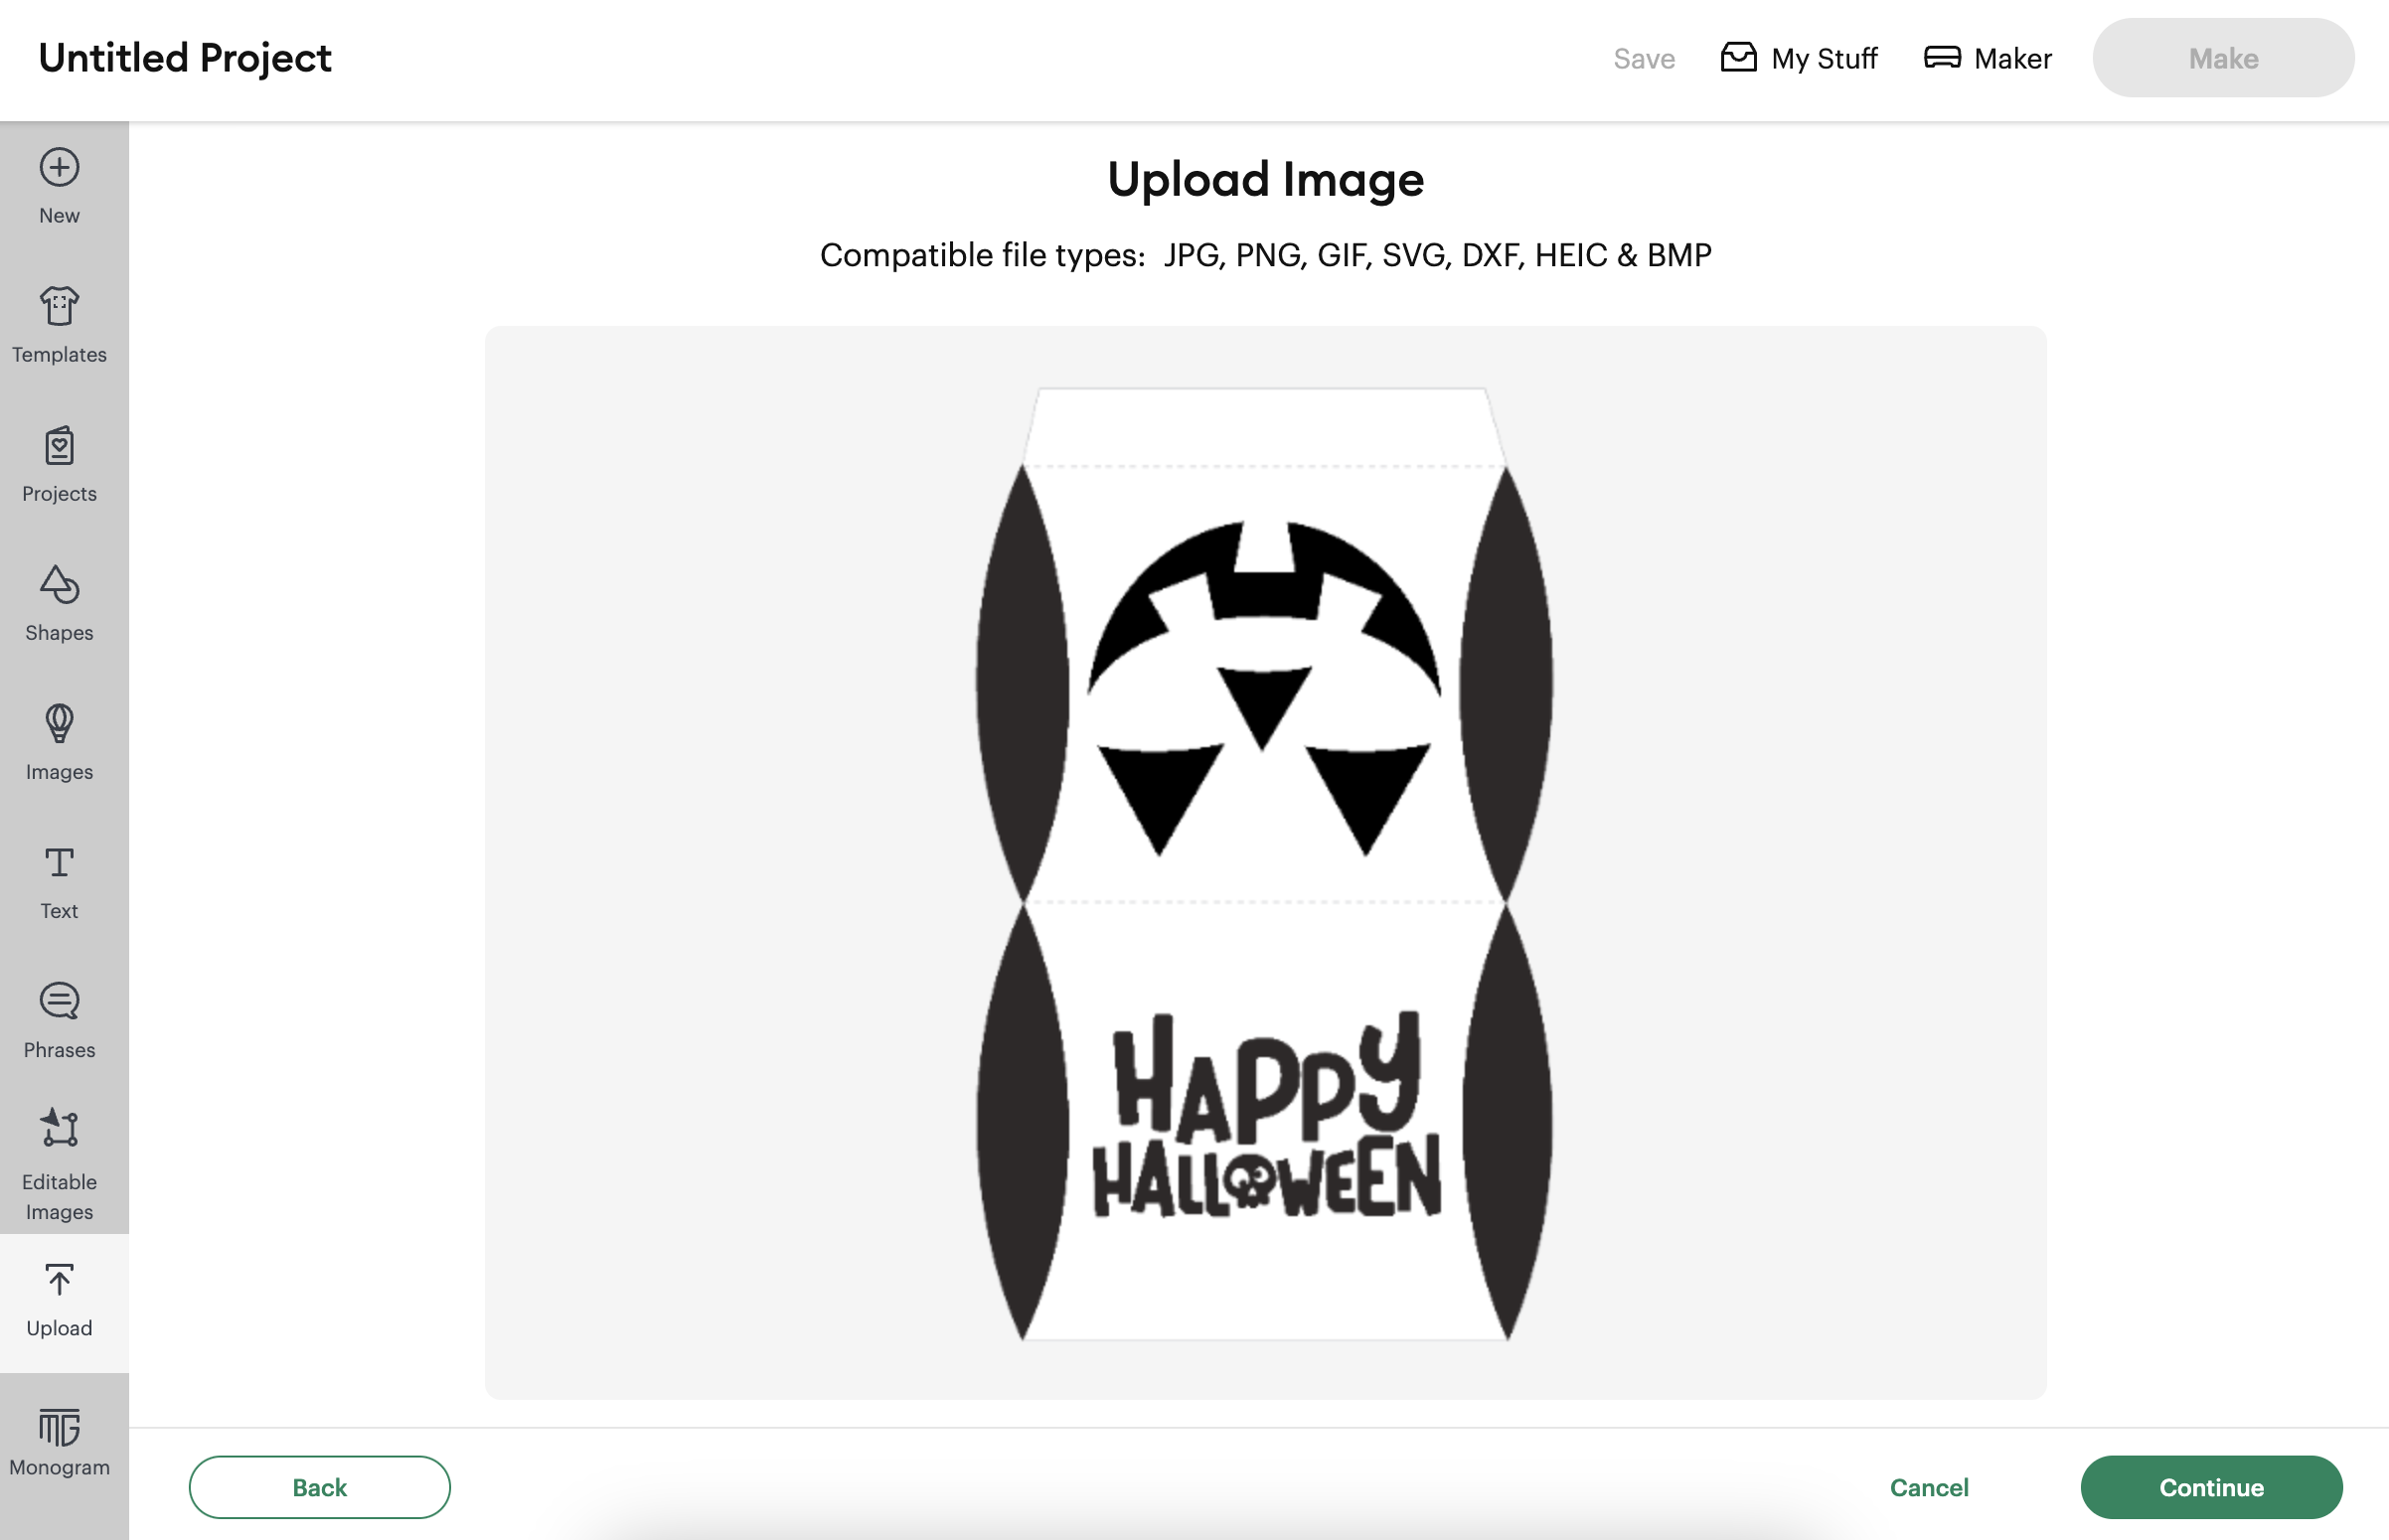

 Since I wanted to cut two pillow boxes on one page, I rotated the image, sized it to 4.68 x 7.73, and copied and pasted another one.
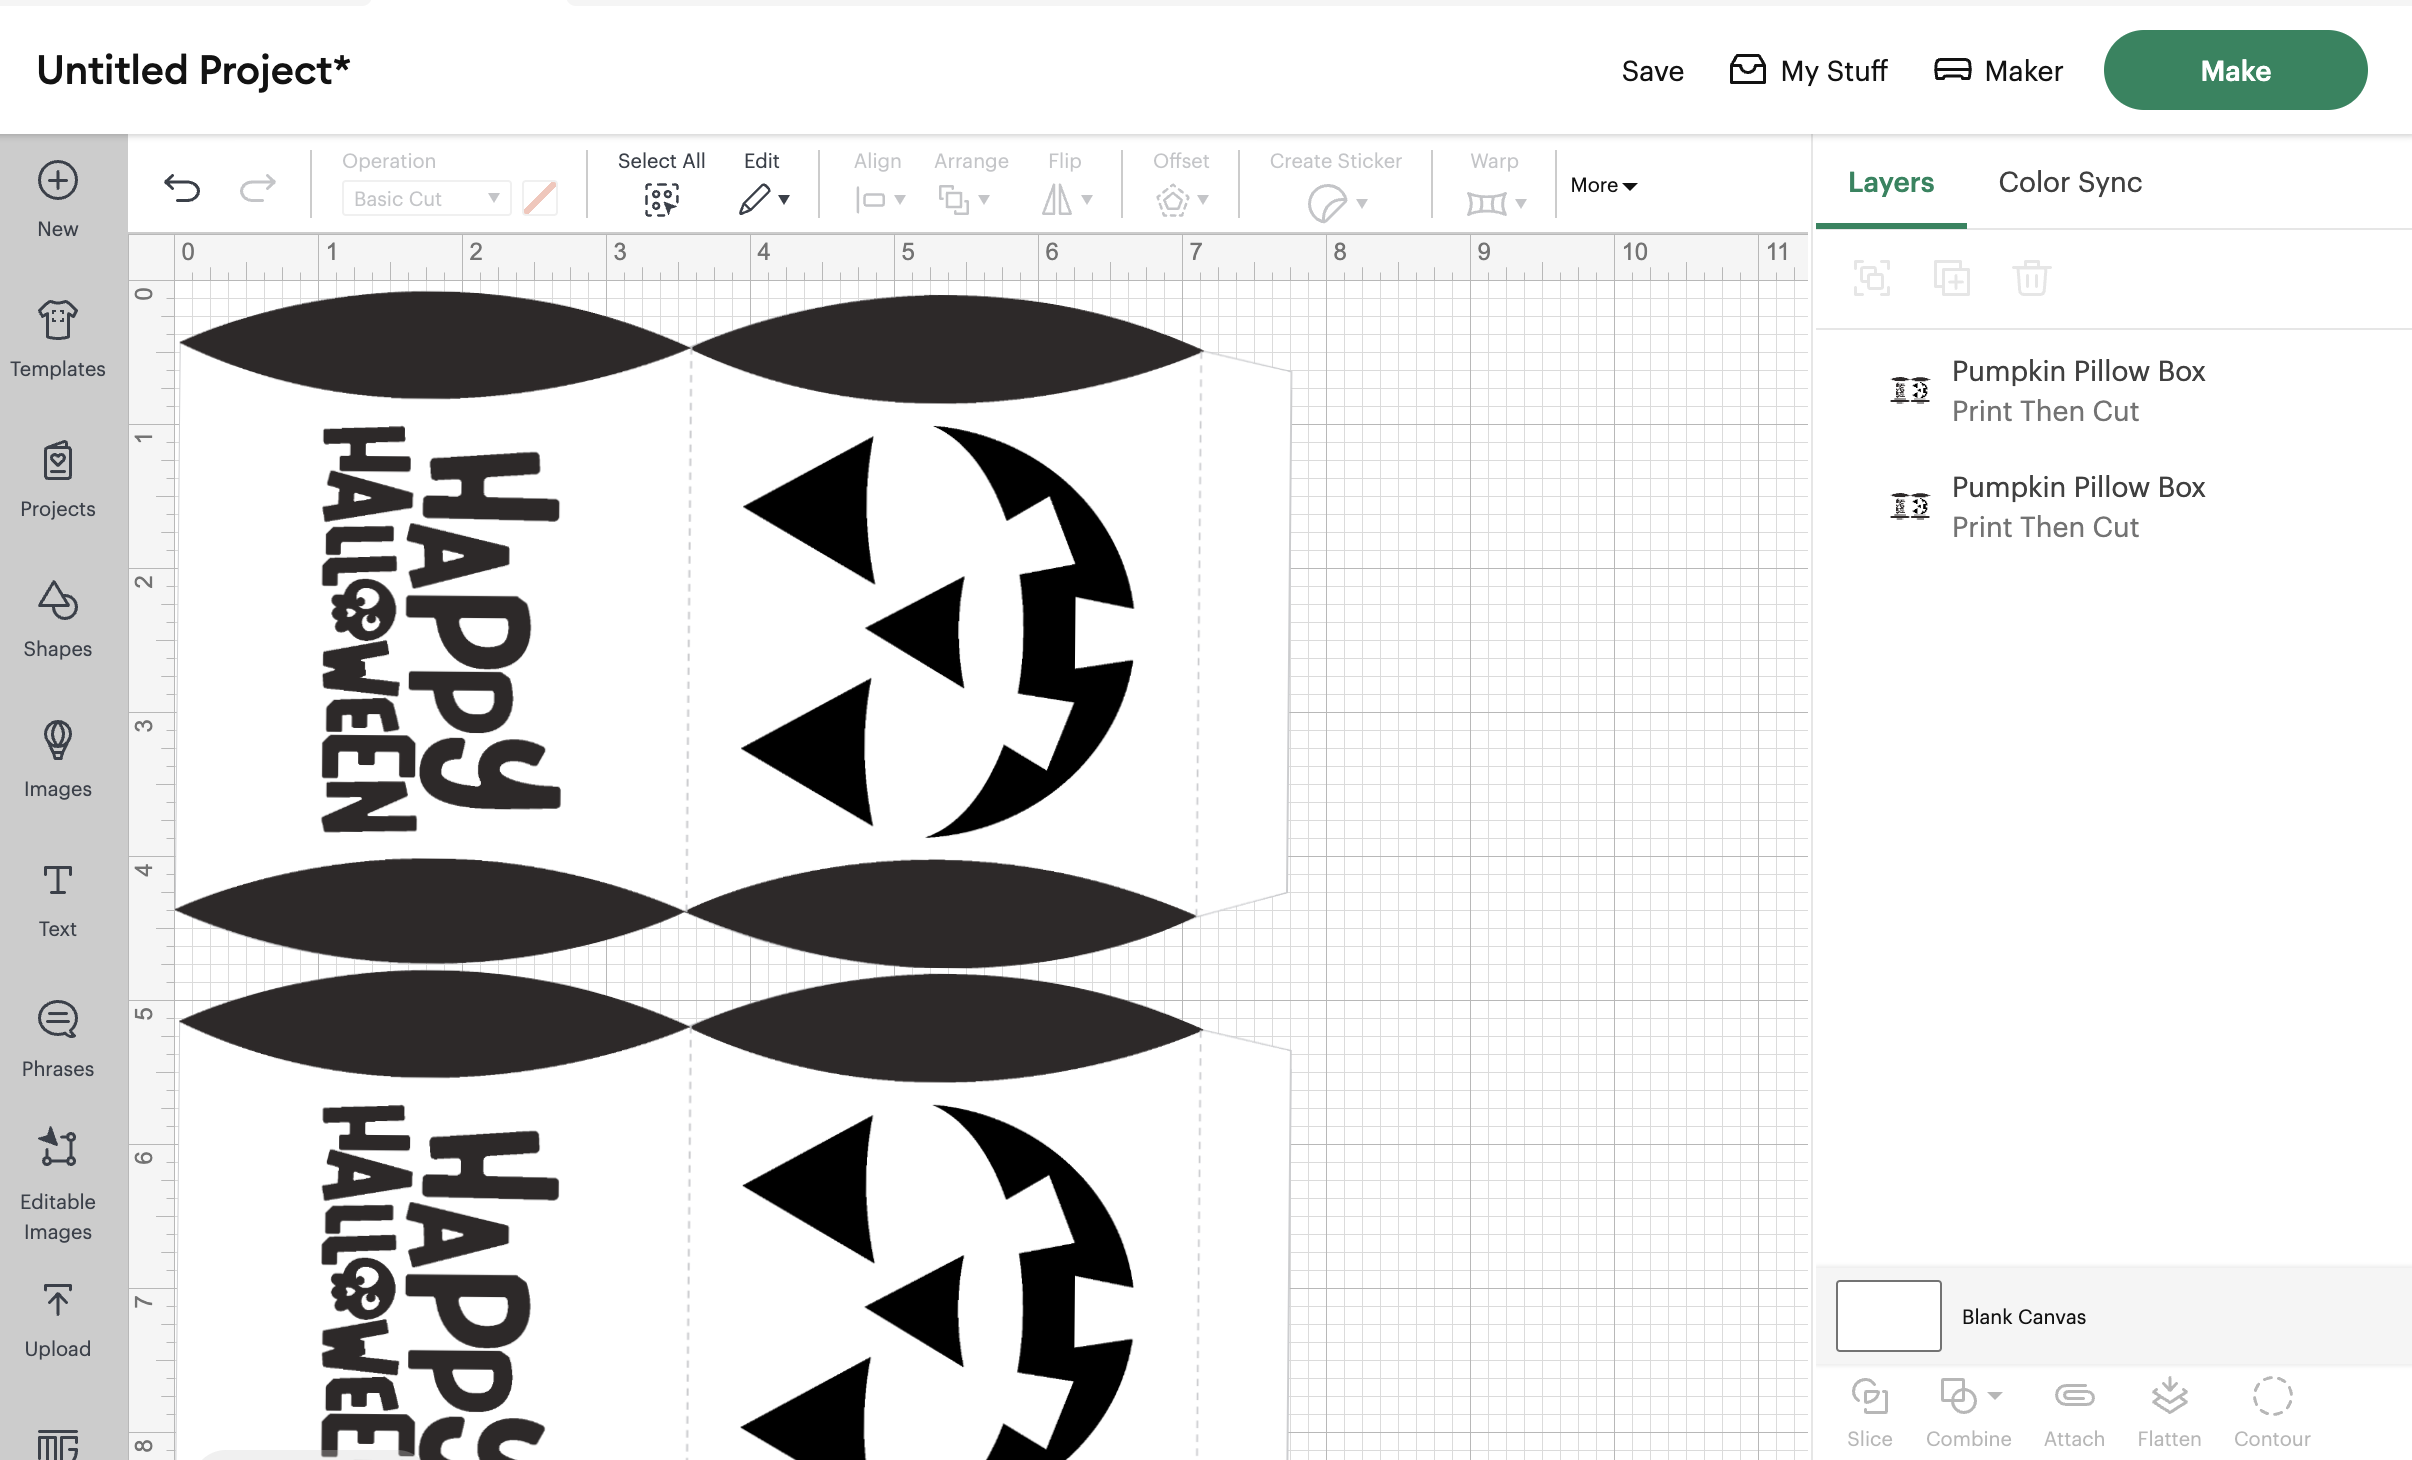


 Load mat into the Cricut and press the flashing light to cut.
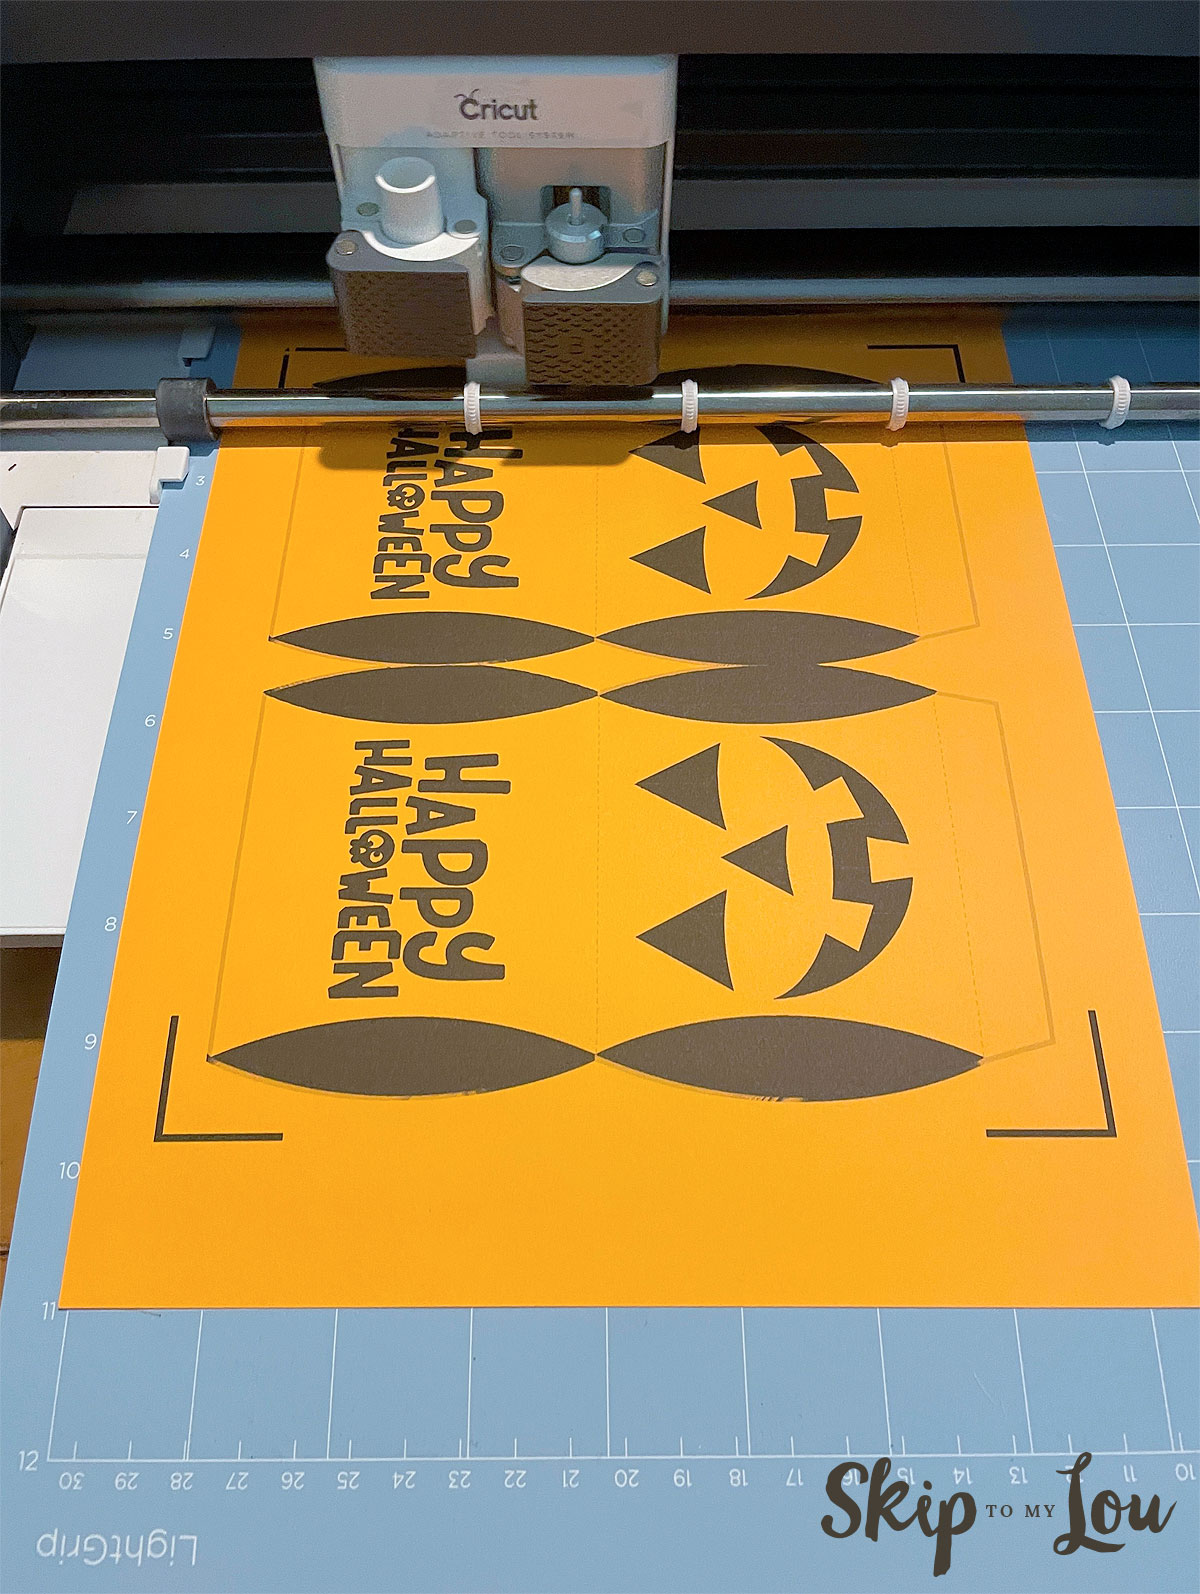
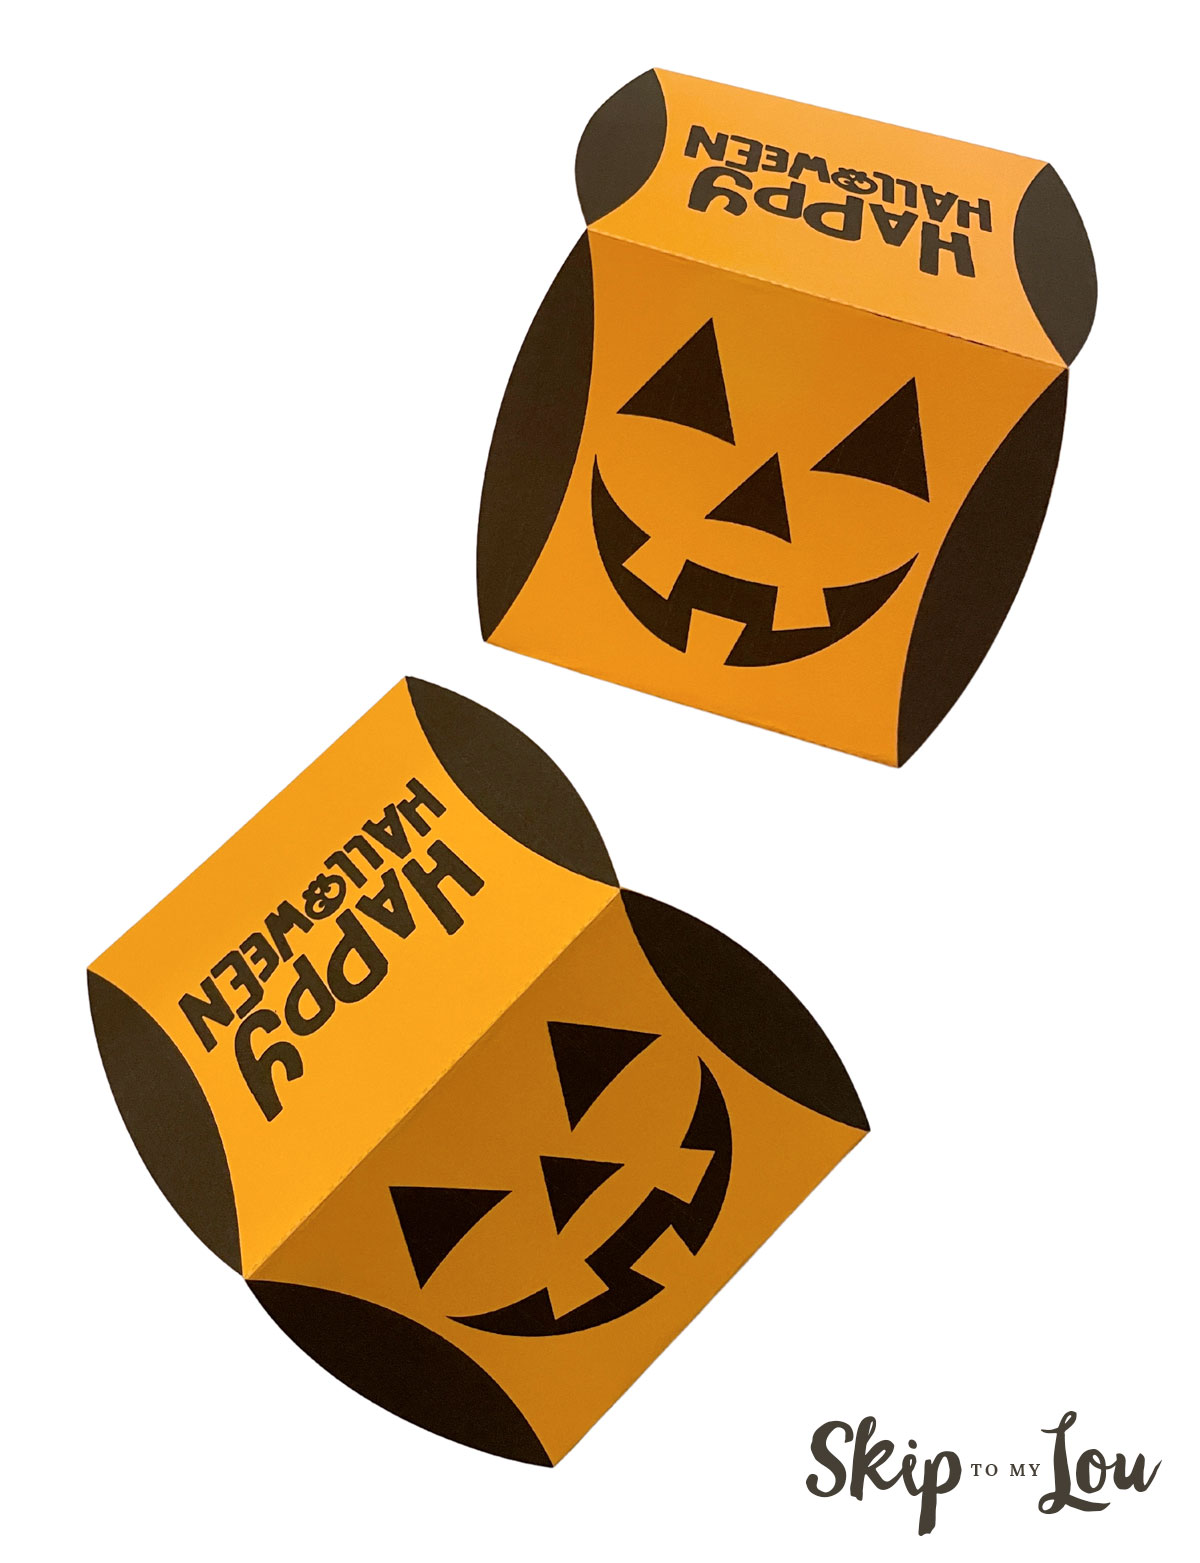
Cute and easy Halloween treat!
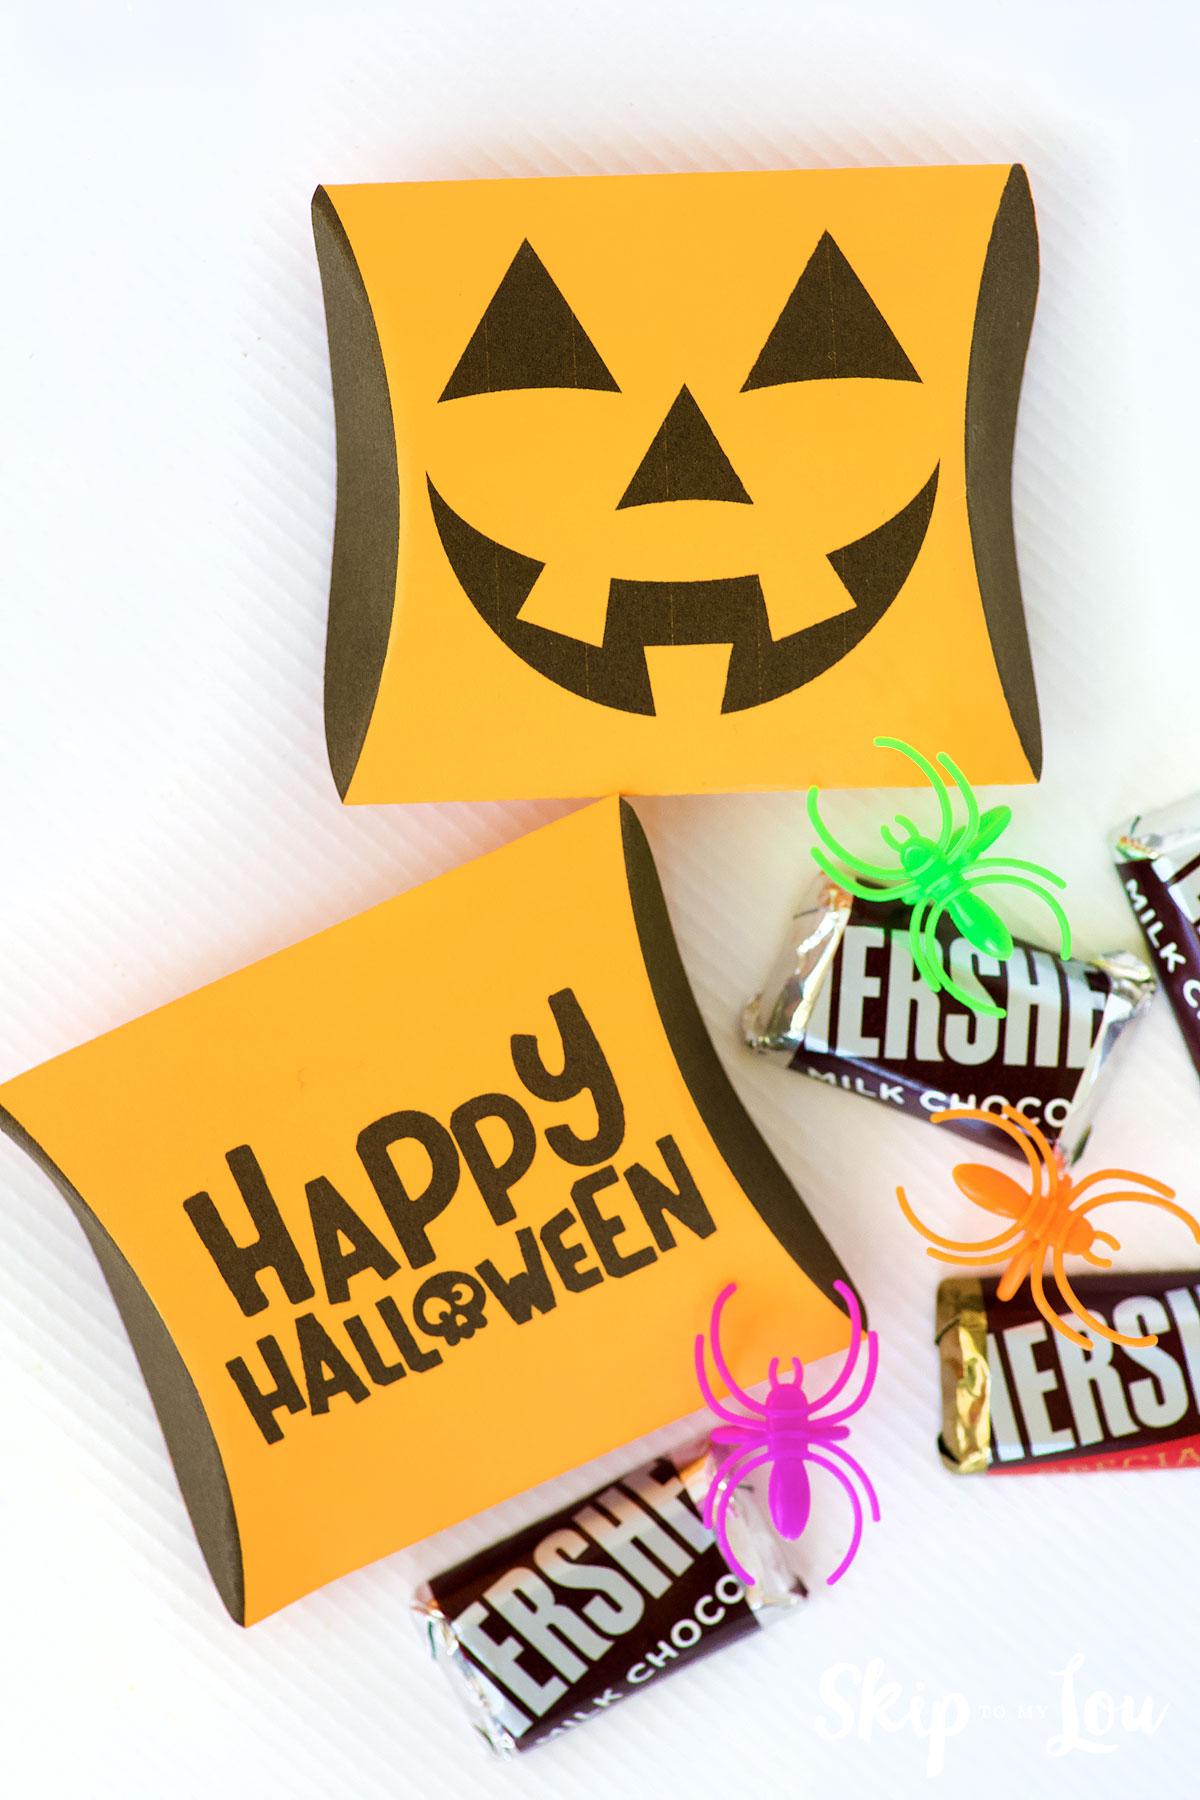
Fill with your favorite candies and treats. No tricks only treats here.
No worries if you don’t have a Cricut cutting machine! I’ve included the files so you can easily cut them by hand. But seriously, a Cricut is such a fun tool to have—it opens up endless creative possibilities! If you’re curious, you can check it out here (this is my affiliate link). If you decide to buy, I’ll receive a small commission at no extra cost to you. Win-win!ore Halloween Fun
More Halloween Fun
- Boo Flags are perfect for booing your neighbors.
- Printable Tic Tac Toe
- Halloween Bottle Labels
- Halloween Juice Box Covers
- Darling Hanging Bat Treat Bags – a favor and room decoration all in one!
I would love to keep you fully stocked with creative ideas, yummy recipes, fun crafts, and loads of free printables. Subscribe to Skip to my Lou to get new ideas delivered to your inbox. Follow me on Facebook, Pinterest, Twitter, and Instagram for all my latest updates.