This Halloween origami project is perfect for creating cute, little pumpkins with a witch hat! If you’re looking for a quick, festive craft, this Halloween origami pumpkin tutorial is just what you need. I’ll walk you through each step with simple, easy-to-follow instructions. I think you’ll love folding these charming little pumpkins that capture all the spooky sweetness of the season. Grab some orange and black paper, and get ready for some crafty Halloween fun!

Related: We have so many Halloween decorations for you to try, so once you’ve made this darling pumpkin, be sure to check out Halloween Placemats, Halloween Costume Awards, Free Printable Halloween Bottle Labels, Ghost/Ghoul Template, and other props related to the scary season!
Supplies Needed for This Origami Pumpkin Tutorial
You will need the following supplies to make easy origami pumpkins:
- Orange and Black Sheet of square origami paper (any paper will do, but it must be square. Rectangular paper won’t work. You’ll need orange paper for the pumpkin and black paper for the witch hat. You’ll also need a small piece of green paper for the pumpkin stalk.
- Glue stick
- Markers, pencils, pens, etc to decorate your pumpkin and witch hat.
Related: If you like origami projects I have so many more. Check out all the easy tutorials.
Video: Watch How to Fold an Origami Halloween Pumpkin and Origami Witch Hat
How to Fold a Paper Pumpkin Step by Step
Instructions:
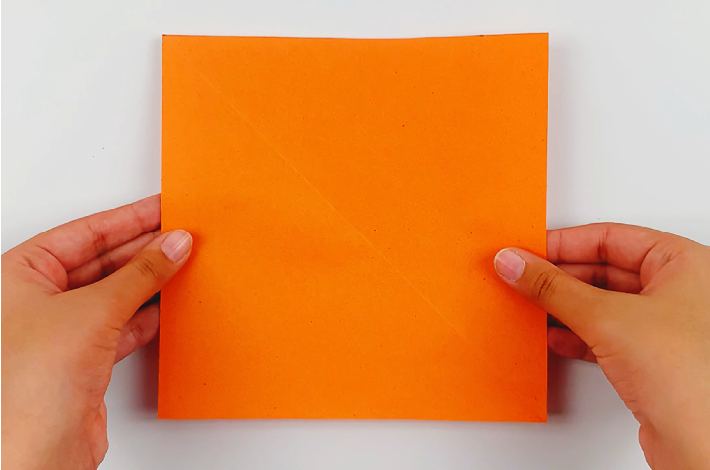
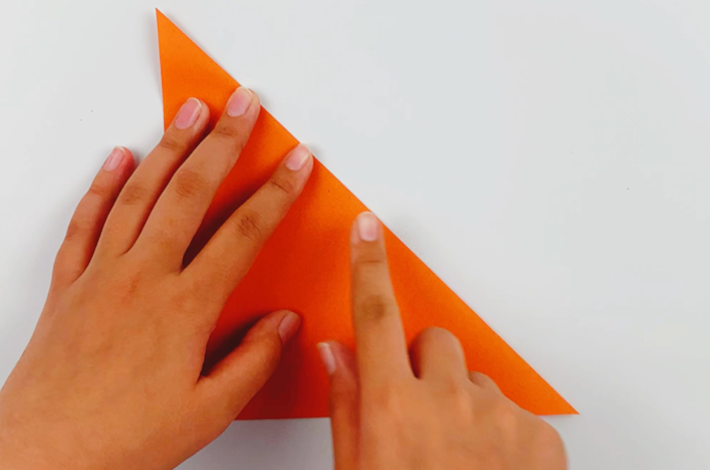
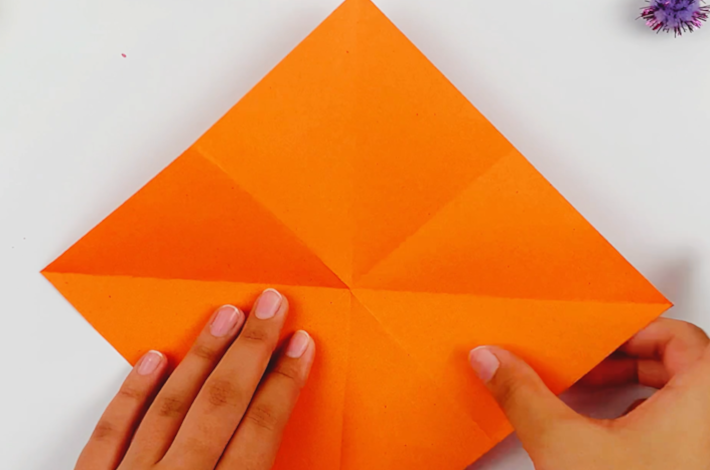
Step 1: Take the piece of square paper. Fold it in half by taking the top right corner and folding it to the bottom edge of the paper on the left-hand side at a 45-degree angle. Now do the same with the top left-hand corner. This will leave you with an X-fold line running through the paper when you open it up.
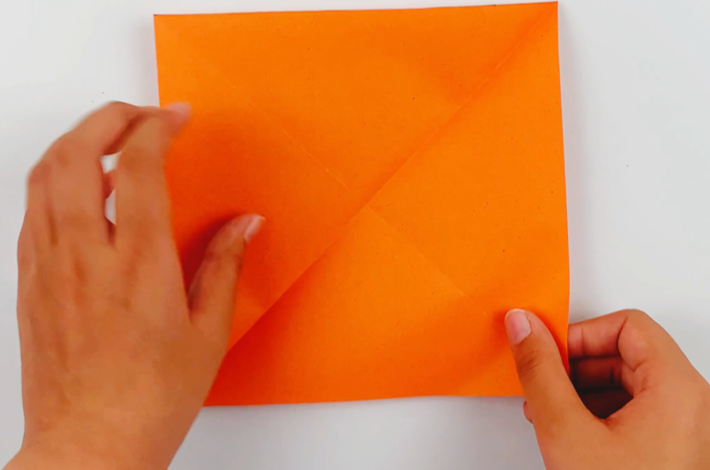
Step 2: Fold the paper in half. Now unfold, turn the paper 90 degrees to the right, and fold it in half again.
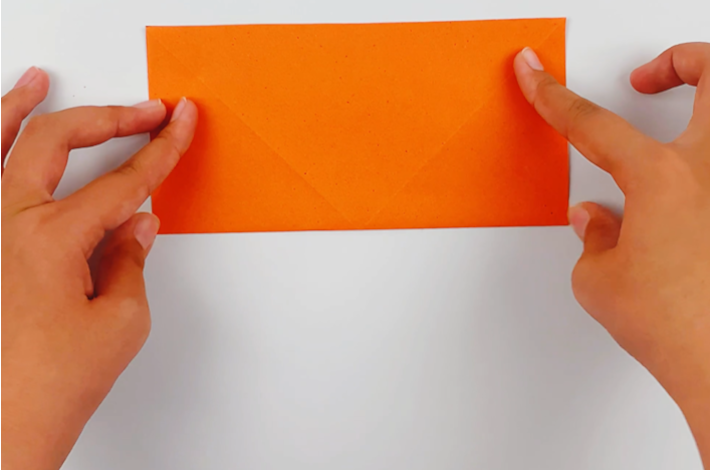
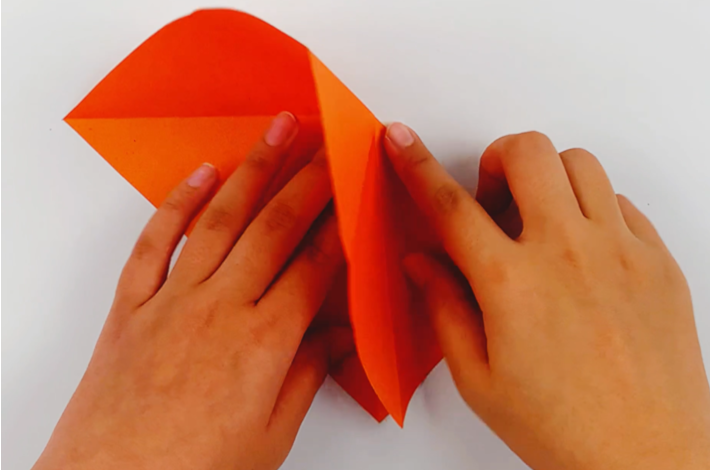
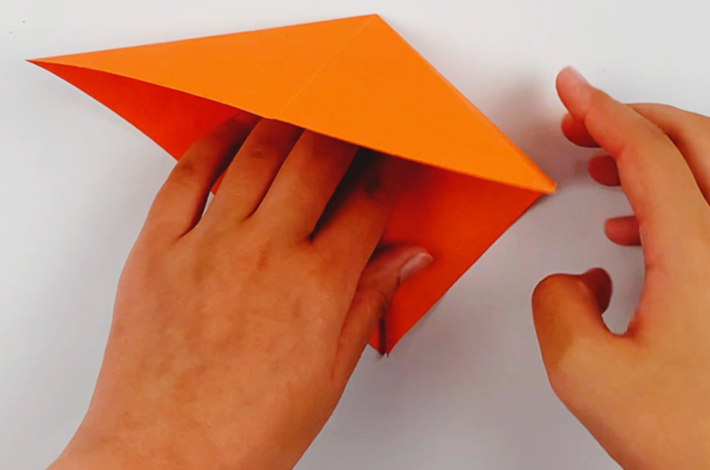
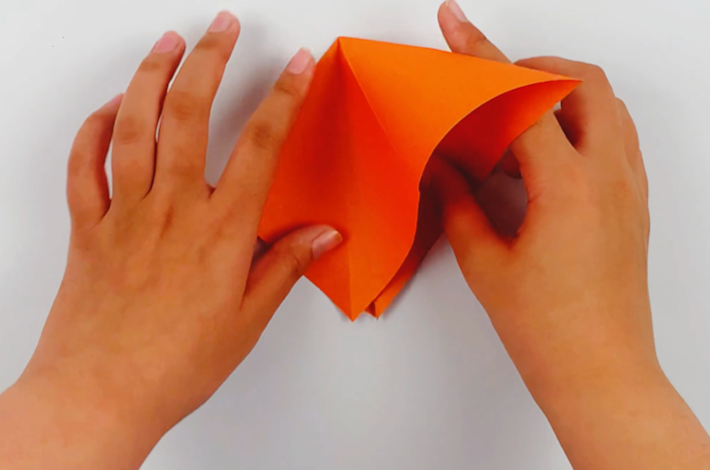
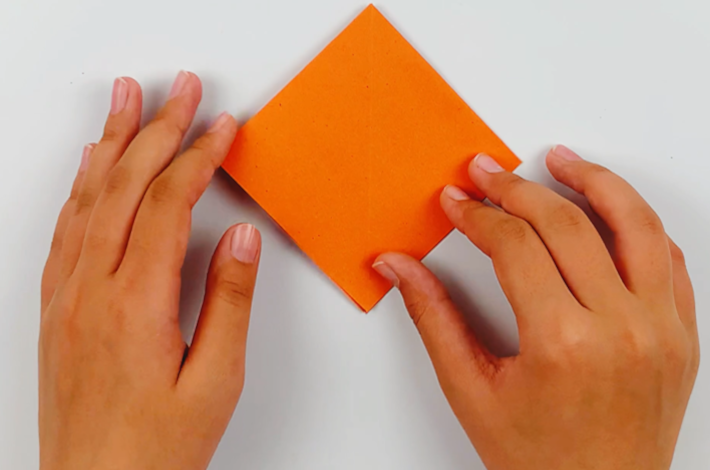
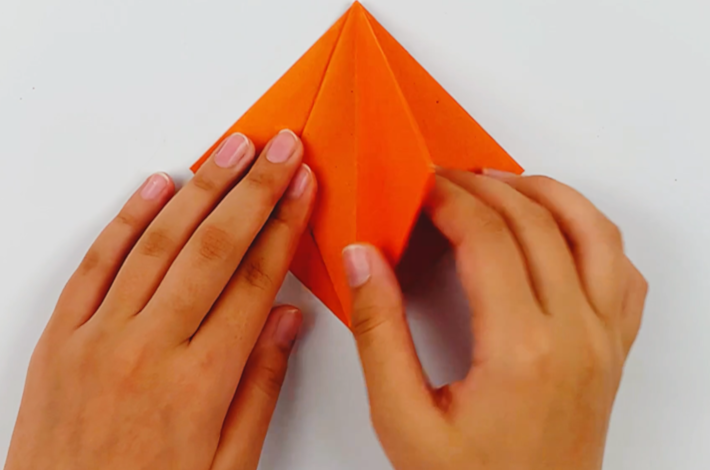
Step 3: Turn the paper at a 45-degree angle and fold the flaps on both sides inside and downwards to form a diamond shape. If you are unsure how to do this, watch the video, as it shows the folds that need to be made clearly.
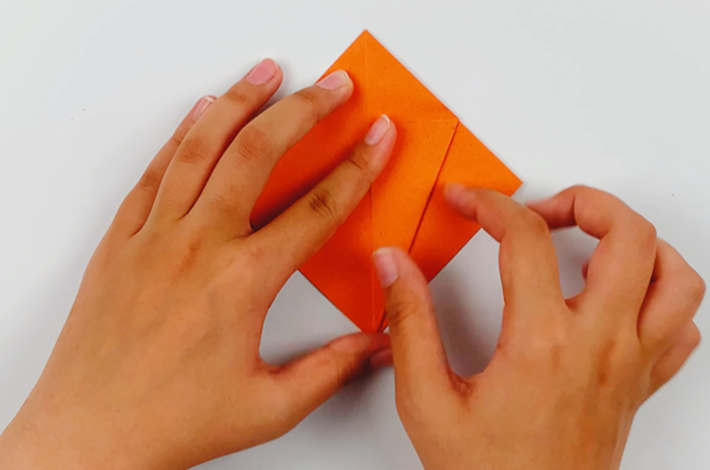
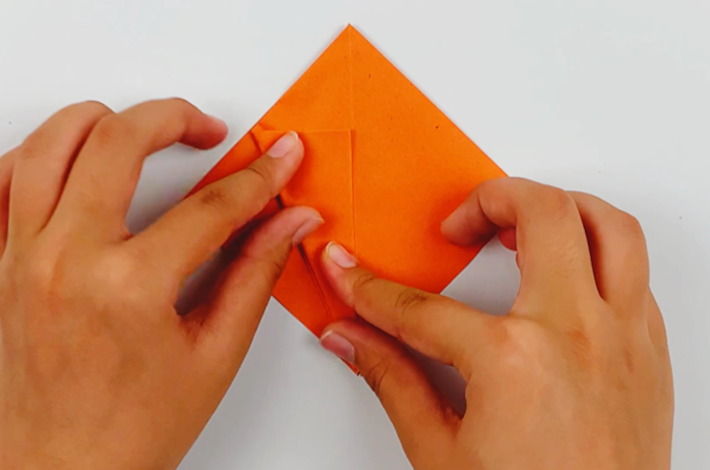
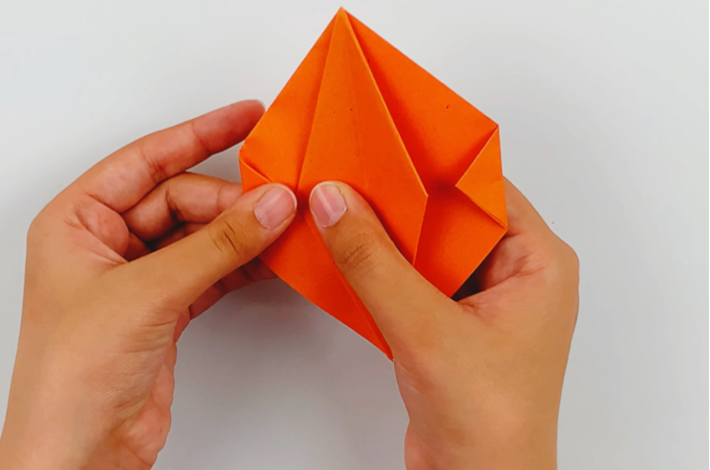
Step 4: Take the top flap on the right and fold it towards the center line as shown below. Then fold the bottom section over towards the center line as well as shown in the second picture. Again, if you are unsure, the video shows these folds step-by-step. The last part of this step is to take the two folds you have made on the right top flap of the diamond and fold them over to the left-hand side.
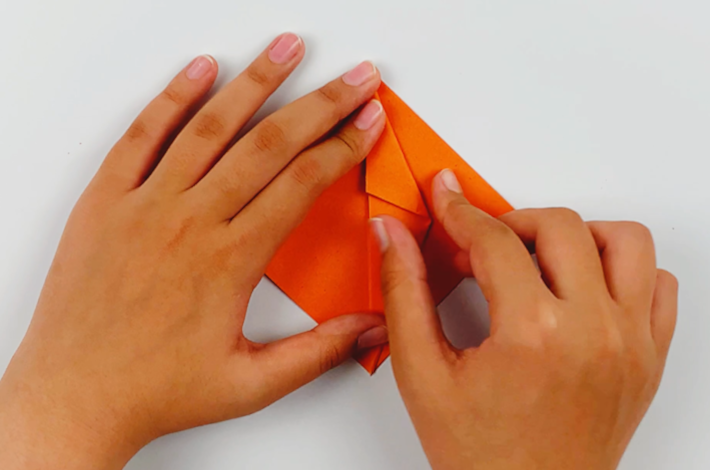
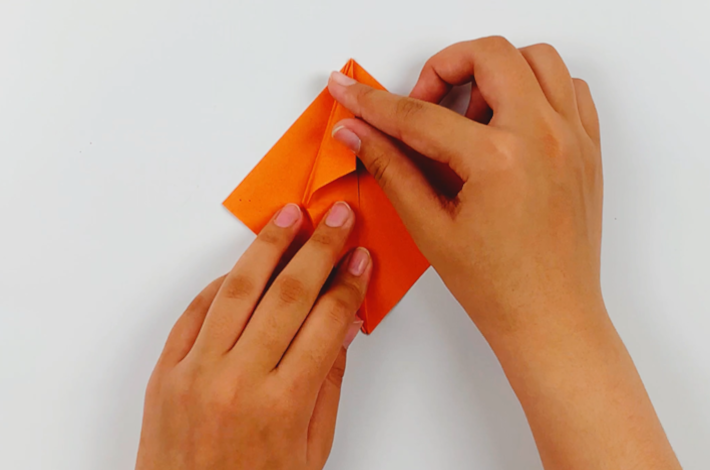
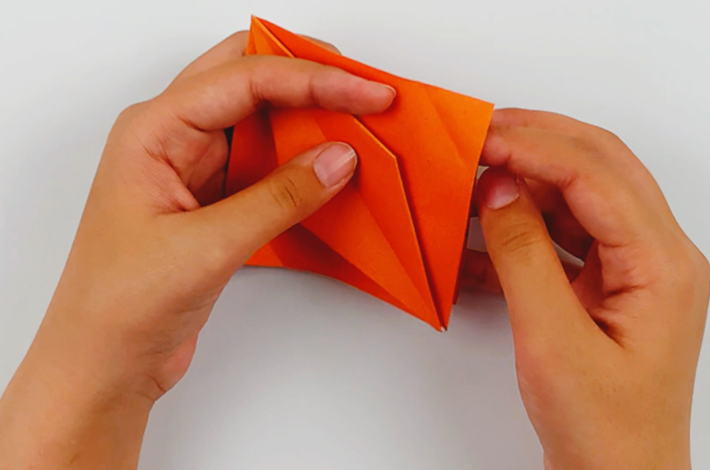
Step 5: Now take the next flap from the right-hand side and fold it over to the left-hand side. Now you are going to make the same folds as you made in Step 4, but this time from the left-hand side as shown in the pictures below. Open up the two smaller folds to display a narrower diamond shape within the larger diamond. Watch the video if you are unsure what folds you need to make.
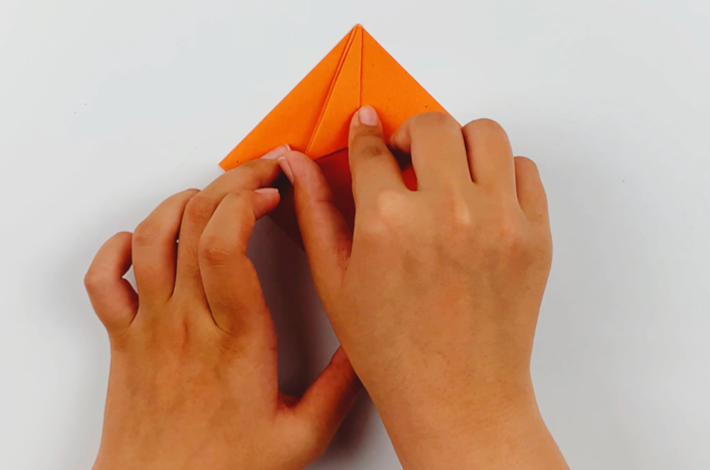
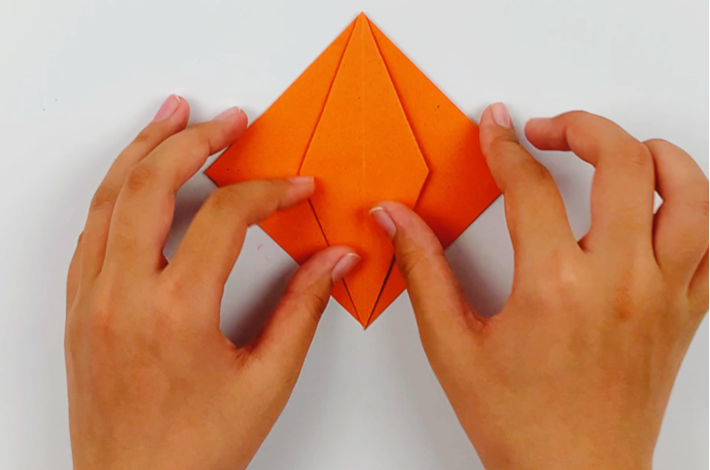
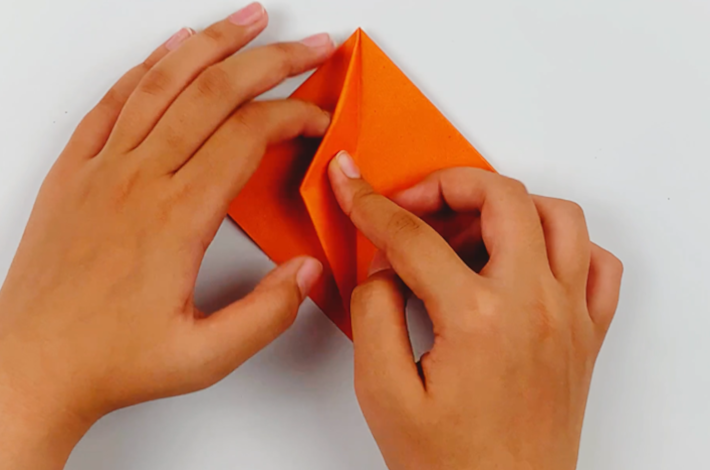
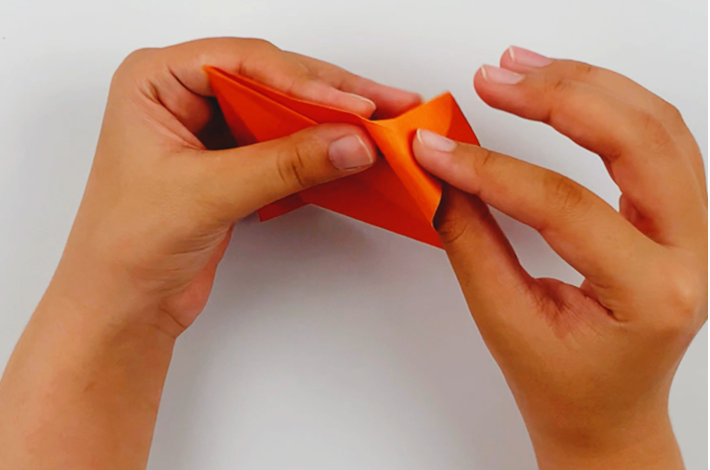
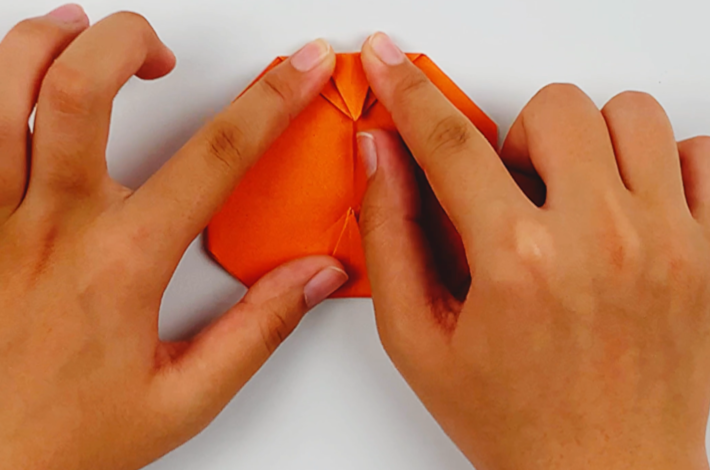
Step 6: Fold the left and right-hand corners towards the center. Unfold them again, but now tuck them inwards as shown in the images below.
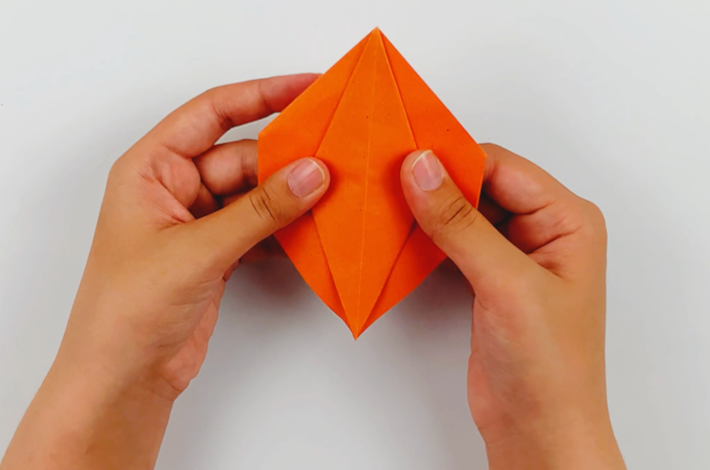
Step 7: Flip the paper over and fold the bottom section over. Do the same for the top section as shown in the images below.

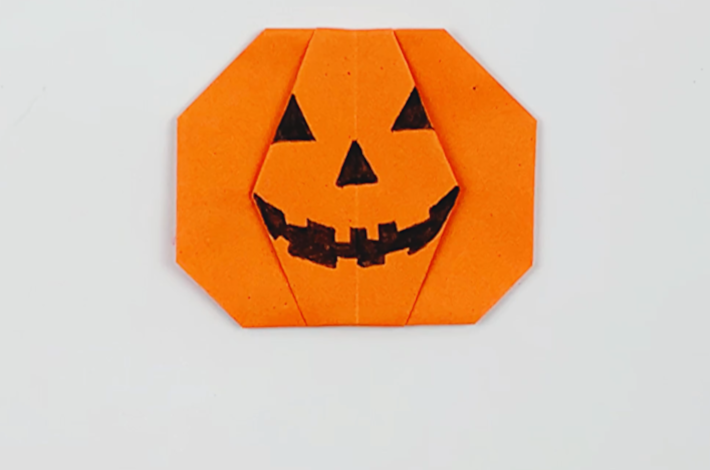
Step 8: Time to decorate the pumpkin! Flip it over and using a marker, draw on a scary face! Don’t forget eyes, a nose, and teeth.
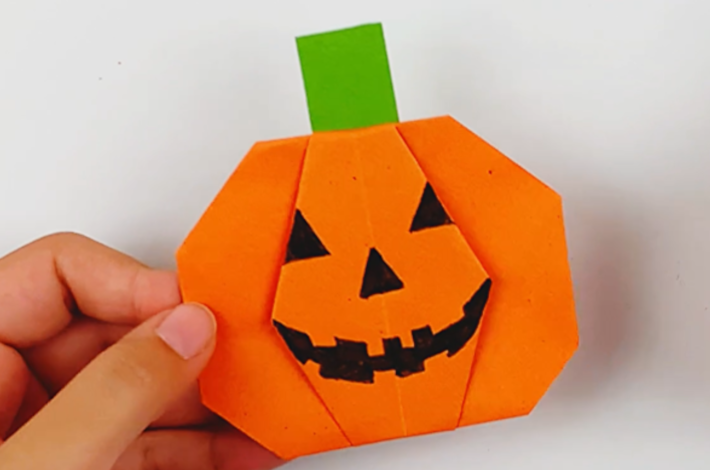
Step 9: Cut a small piece of green paper in a rectangular shape for the stalk. Glue this to the back of the pumpkin.

Related: Pumpkin lovers will want to download these free pumpkin coloring pages.
Step by Step Origami Witch Hat
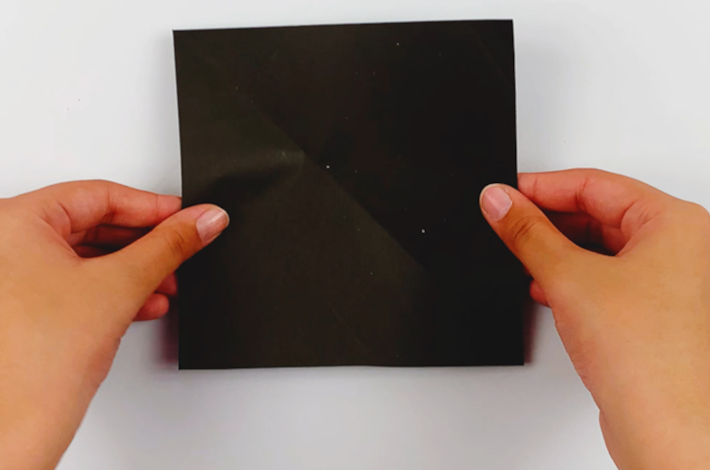
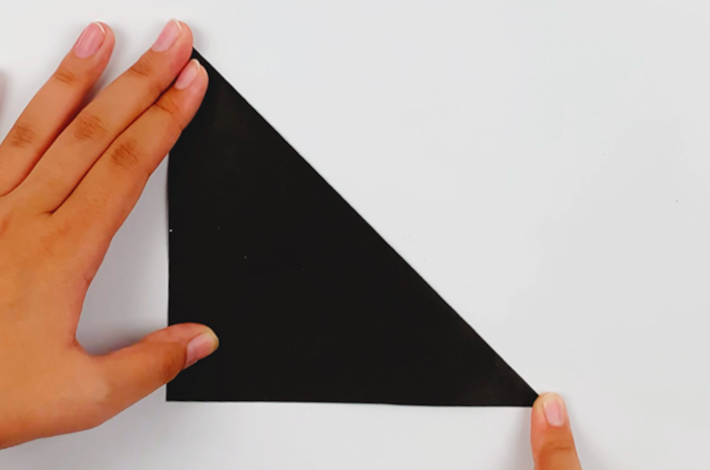
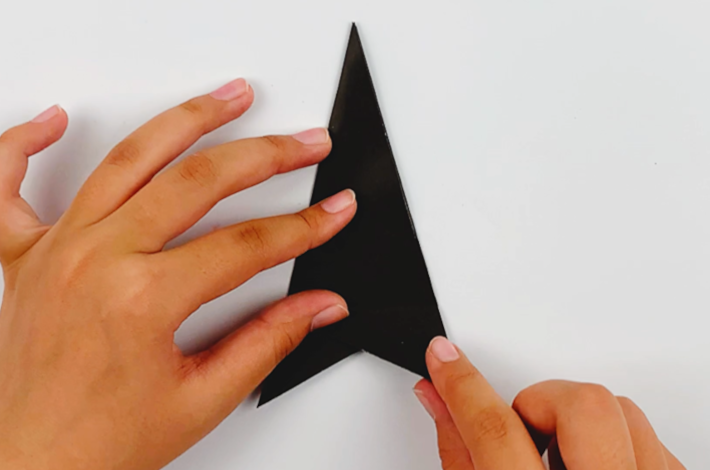
Step 10: It’s time to make the witch hat. Start with a black sheet of square paper. Fold it to form a triangle by taking the top right and corner and folding it down to the bottom left corner.
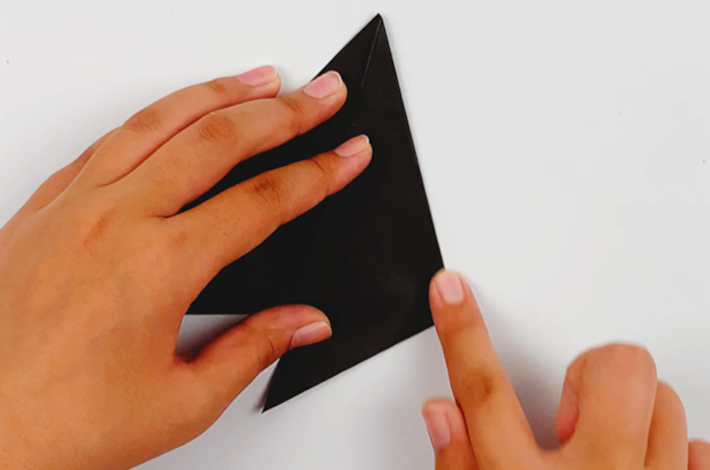
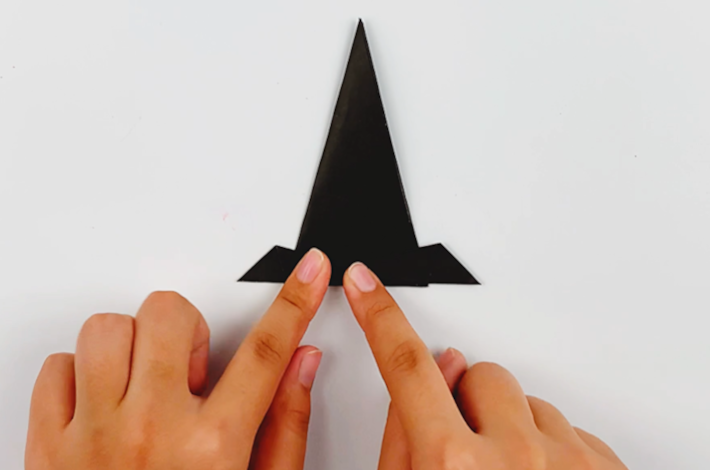
Step 11: Turn the paper so the longest edge is on the bottom. Now fold the right-hand side over to the center of the triangle. Do the same with the left-hand side.

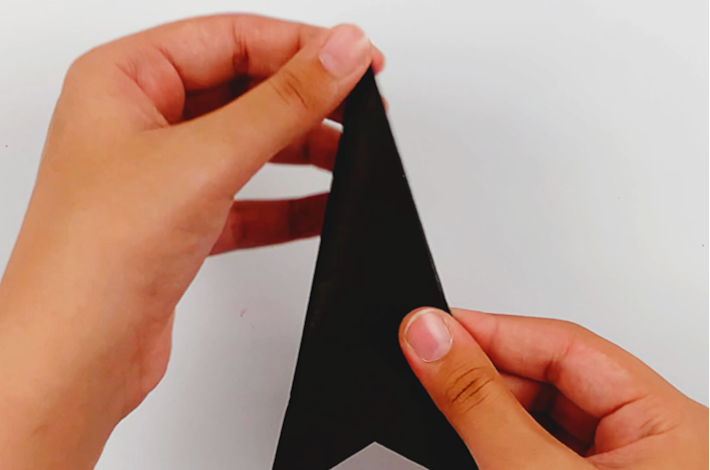
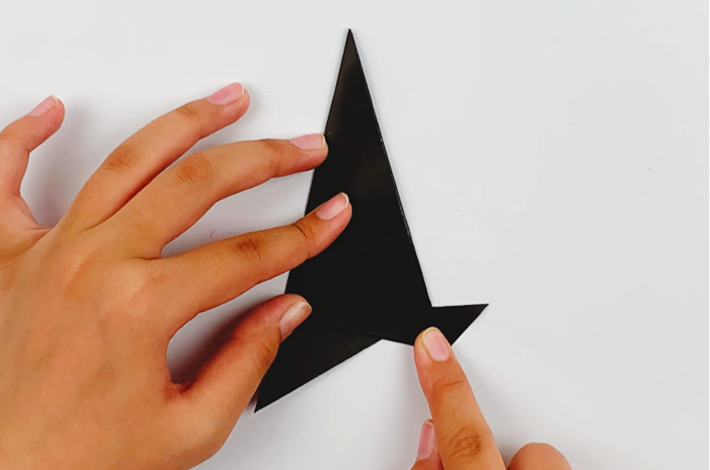
Step 12: Fold the bottom section upwards, and then unfold again.
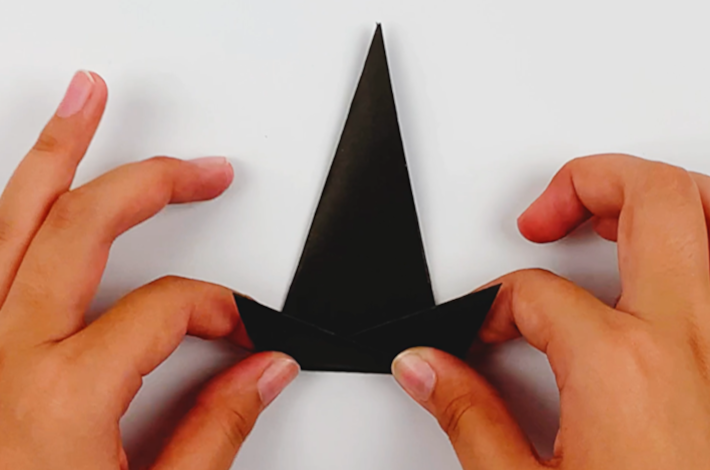
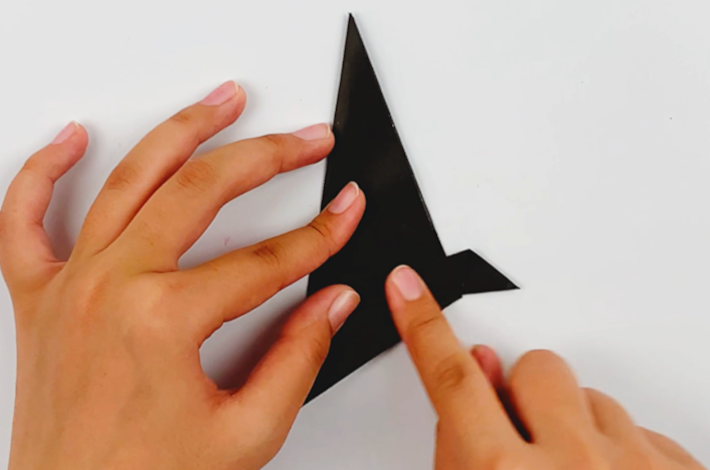
Step 13: Fold the right-hand point, forming a straight line for the brim of the witch hat. Do the same for the left-hand point. The images below show the folds that need to be made, but if you are unsure, remember to check the video.
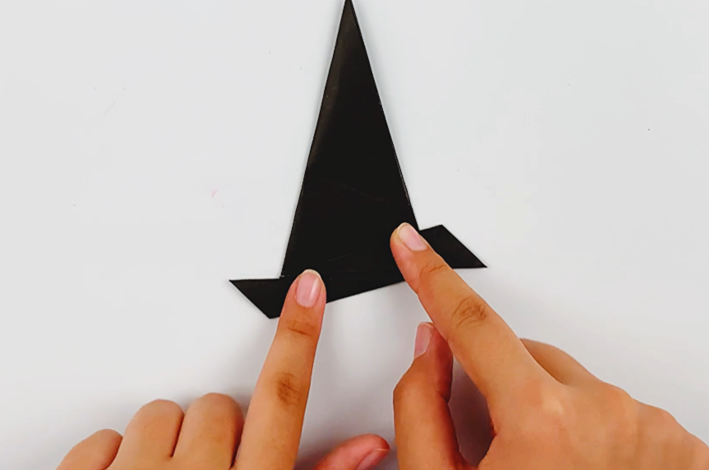
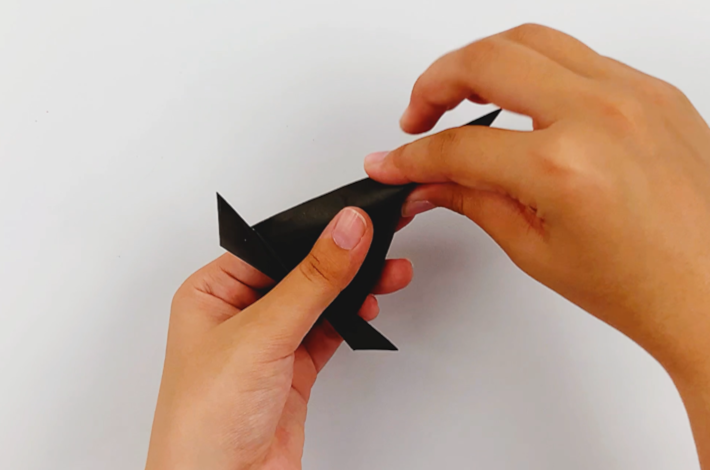
Step 14: Crinkle and twirl the top of the hat to give it an authentic, worn look.
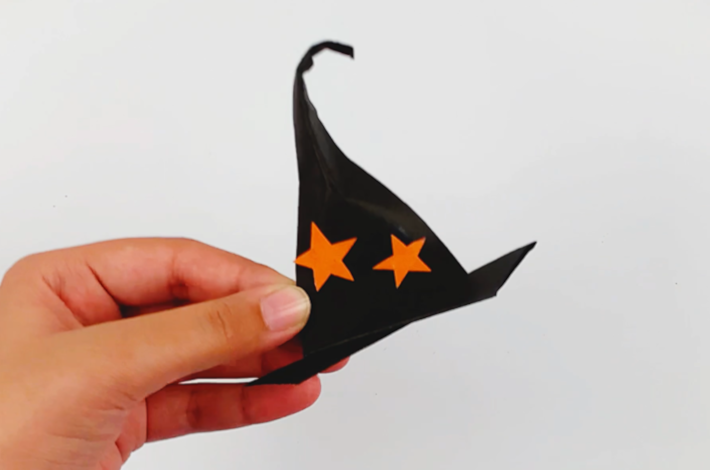
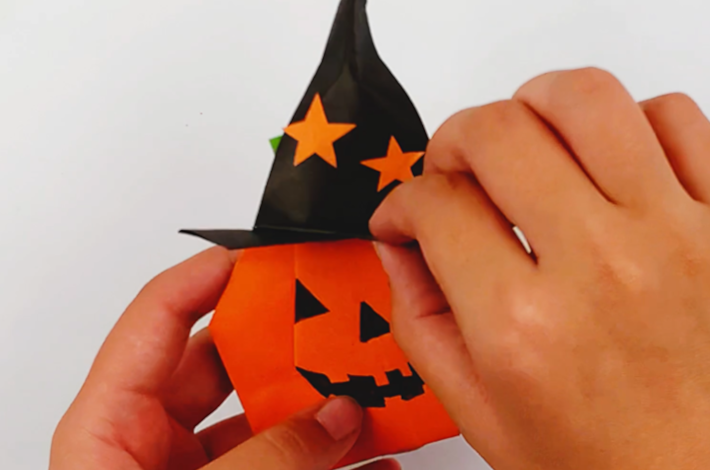
Step 15: Decorate your witch’s hat and place it on the pumpkin.
Related: Draw witch hat and cute little jack-o-lantern drawing for more holiday fun.
Other Fun Ideas for Halloween
We have so many crafts, games, and recipes for you to try at Halloween. Here are a few that you should check out.
- These delicious Nutter Butter Ghosts are the perfect Halloween sweet.
- Keep your kids entertained with these Ghost Coloring Pages and Halloween coloring pages.
- Let your kids learn to draw a Ghost!
- Do you need some Halloween Templates? We’ve got you covered.
- Why not try the Left Right Pumpkin Passing Game with your family
- Here are some COOL Pumpkin Carving Ideas!
- Here’s the easy way to make Cheap Halloween Decorations.
- Looking for a kid’s costume. Why not try the No Sew DIY Witch Costume?
- You’ve got to try these SPOOKtacular Halloween Dinner and Dessert Ideas!
- The neighborhood kids will love these Spider Cupcakes!
- Need cute treats? These custom Halloween chip bags are fantastic paper craft. How cute are these Halloween boxes!?!
I would love to keep you fully stocked with creative ideas, yummy recipes, fun crafts, and loads of free printables. Subscribe to Skip to my Lou to get new ideas delivered to your inbox. Follow me on Facebook, Pinterest, Twitter, and Instagram for all my latest updates.