One of the most delightful stitches to master is the Lemon Peel Stitch. This stitch creates a beautiful texture that looks intricate but is actually quite easy to do.
The Lemon Peel Crochet Stitch has a wonderful texture that’s perfect for a variety of different projects. It’s ideal for making baby blankets, scarves, or even dishcloths.
This easy crochet stitch is a fantastic way to practice and improve your crochet skills, especially if you’re familiar with single and double crochets. It’s a great stitch for beginners wanting to step up their game or for experienced crocheters looking to add a new texture to their repertoire.
Keep reading to learn step-by-step how to crochet Lemon Peel Stitch, including tips and tricks to perfect this delightful pattern.
This article contains affiliate links.

The lemon peel stitch is perfect for beginners, and it’s one of the basic crochet stitches you should learn. You’ll use simple techniques like single crochet stitches and double crochet to create a lemon peel-like texture. It’s an excellent pattern to help you practice and become comfortable with basic stitches.
Now, let’s dive into our pattern instructions to create this beautiful stitch. We’ll start with the foundation chain and then move on to the free crochet pattern.
How To Make a Lemon Peel Stitch Stitch: Step-By-Step
First, you will need these materials:
- Crochet hook: Use our crochet hook tutorial to choose the right hook size.
- Yarn: Pick your favorite color and type of yarn. Cotton yarn works best.
- Scissors: To snip the yarn when finished.
- Darning needle: To finish off your ends.
Steps To Create a Lemon Peel Stitch
Foundation Chain
The Lemon Peel Stitch works with any number of stitches, but it’s easiest to begin with an even number of chains.
So make a basic starting chain stitch to your desired length.
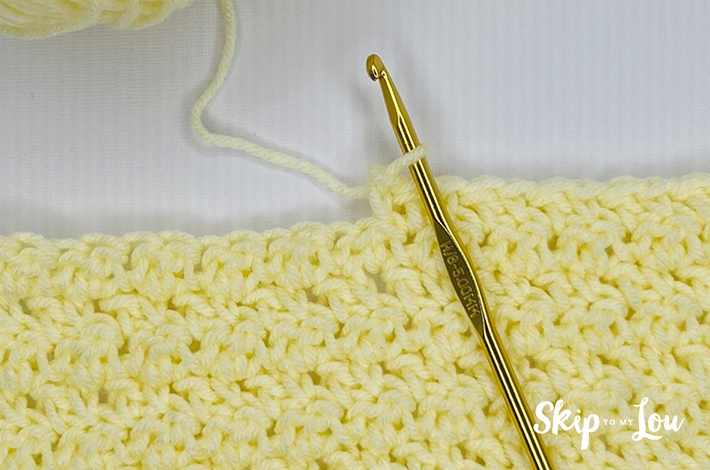
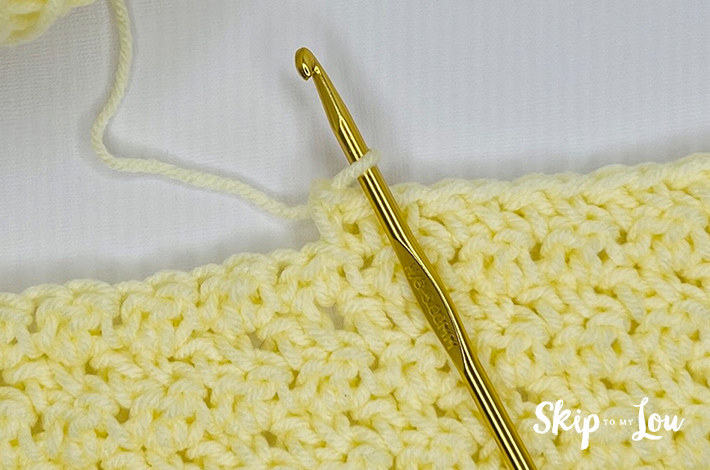
Lemon Peel Stitch
The basic pattern for the Lemon Peel Stitch goes like this:
- Chain an even number of stitches.
- For the first row: chain one, then alternate single crochet and double crochet stitches to the end of the row.
- Repeat row 1, maintaining the pattern.
With some slight adjustments, you can make the pattern work for an odd number of chains:
- Chain an odd number of stitches.
- For the first row: chain one, then alternate single crochet and double crochet stitches, ending with a single crochet.
- For the next row: chain one, then start with a double crochet, alternating with a single crochet, ending with a double crochet.
- Repeat rows 1 and 2 while maintaining this alternating pattern.
My Favorite Crochet Tools
These essential crochet tools will enhance your crochet projects:
- If you are like me and like to crochet on the go, this tote is a stylish way to keep everything you need at your fingertips!
- My MOST FAVORITE tool is these portable scissors that always make it through security and fit perfectly in my hook case.
- A️ yarn bowl is a beautiful way to wrangle yarn while crocheting
- Keep organized with this crochet hooks kit with a case. This 85-piece kit has over 2,500 ⭐️⭐️⭐️⭐️⭐️ five-star reviews.
- Crochet Stitch Dictionary: 200 Essential Stitches with Step-by-Step Photos is the most handy resource!
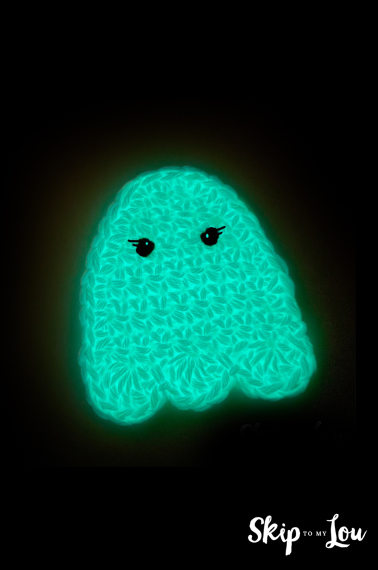
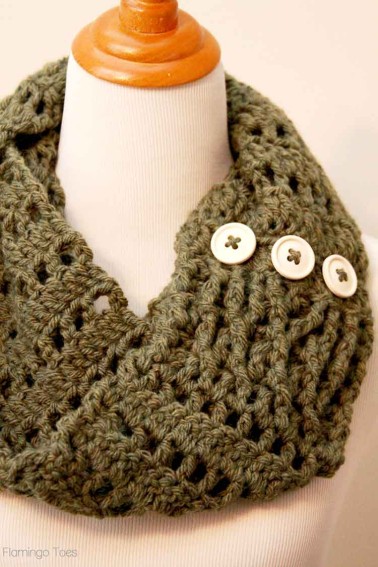
Easy Crochet Projects For You
For more free patterns, take a look:
- Diamond Stitch: How-To Guide
- Popcorn Stitch: Simple Tutorial
- Granny Stitch: Step-by-Step Guide
- Star Stitch: How to Crochet
- Shell Stitch: Step-by-Step Tutorial
- Linen Stitch: Crochet Tutorial
- Mini Bean Stitch: How-To Guide
Tips and Basic Crochet Stitch Tutorials
- Starting A Chain Crochet
- How To Make a Slip Knot
- Choosing the Correct Crochet Hook
- Single Crochet Stitch
- Double Crochet Stitch
I would love to keep you fully stocked with creative ideas, yummy recipes, fun crafts, and loads of free printables. Subscribe to Skip to my Lou to get new ideas delivered to your inbox. Follow me on Facebook, Pinterest, Twitter, and Instagram for all my latest updates. Happy crocheting!