If you’re a beginner crocheter, one of the first things you’ll need to master is creating a foundation chain, often known as a “chain crochet.” Whether you’re embarking on your very first crochet project or your 100th one, mastering the art of creating a perfect starting chain is essential.
Whether you’re making a cozy blanket, new stitch patterns, or a series of chain stitches, in this step-by-step tutorial, we’ll guide you through the process of starting your crochet journey with a solid foundation chain. So, grab your crochet hook, yarn, and let’s get started!
Where a Chain Crochet is Useful:
The foundation chain is not only the first step in virtually every crochet project but also a crucial element in determining the width or length of your work. It’s the beginning chain point for projects ranging from the simplest single crochet stitches to more complex patterns, making it a fundamental skill for both beginner crocheters and those seeking to explore new techniques.
Whether you’re looking for easy ways to start your first project or browsing free crochet patterns online, you’ll find that the ability to create a flawless foundation chain is an important step. So, whether you’re using acrylic yarn, cotton yarn, or any other type of yarn you prefer, we’ll show you the ropes to make basic crochet stitches every time.
How To Start a Chain Crochet
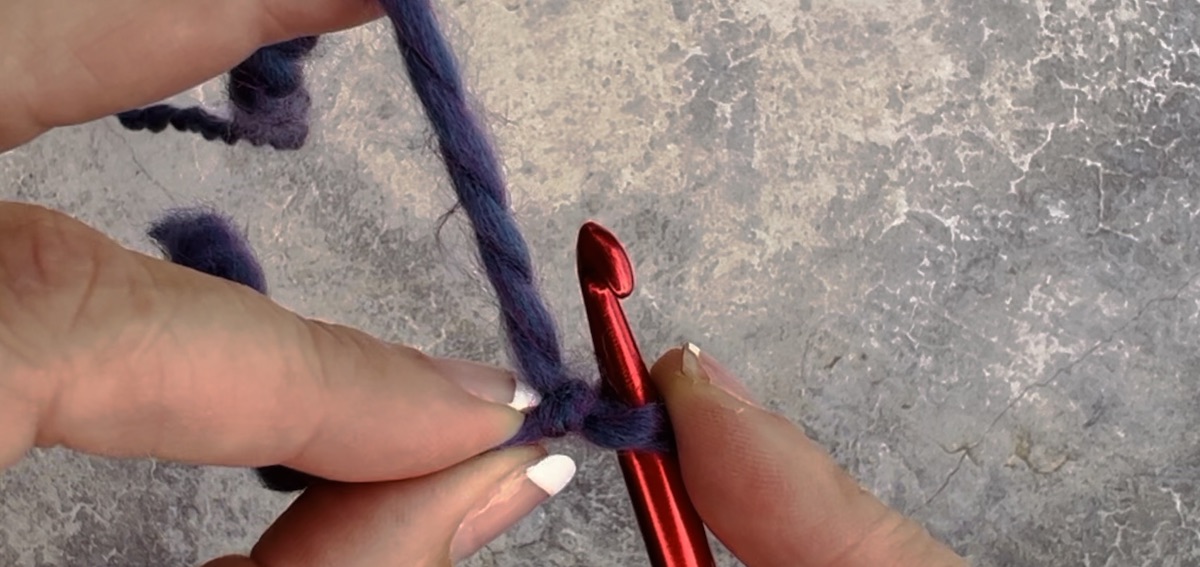
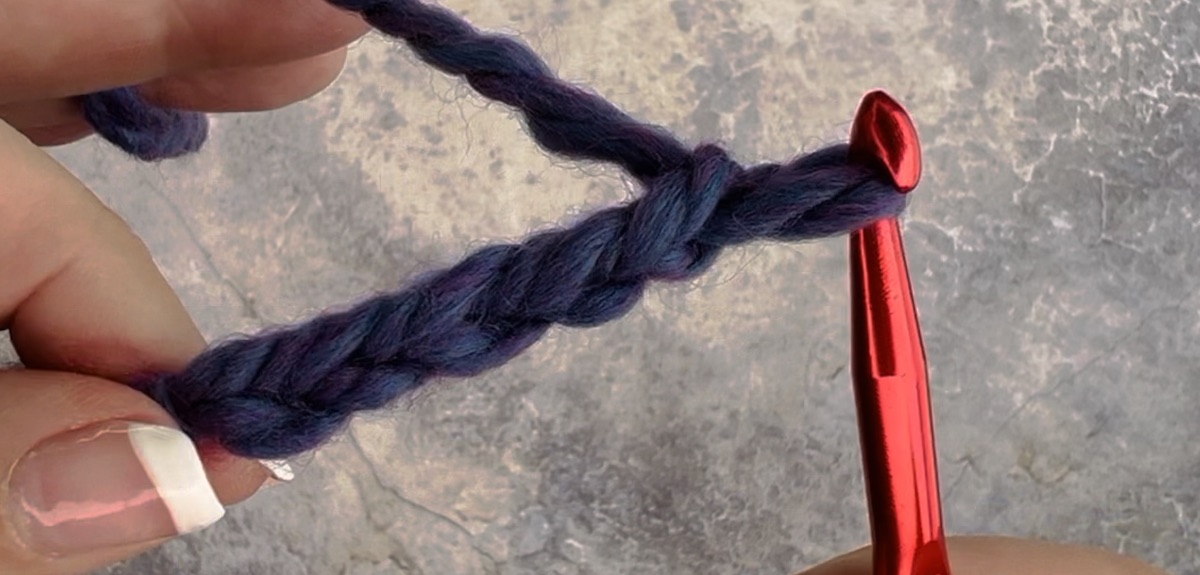
1. The first thing is to begin with a slip knot on your crochet hook. Hold the tail end of the yarn with your right thumb and index finger, applying the right tension to keep it secure but not too tight.
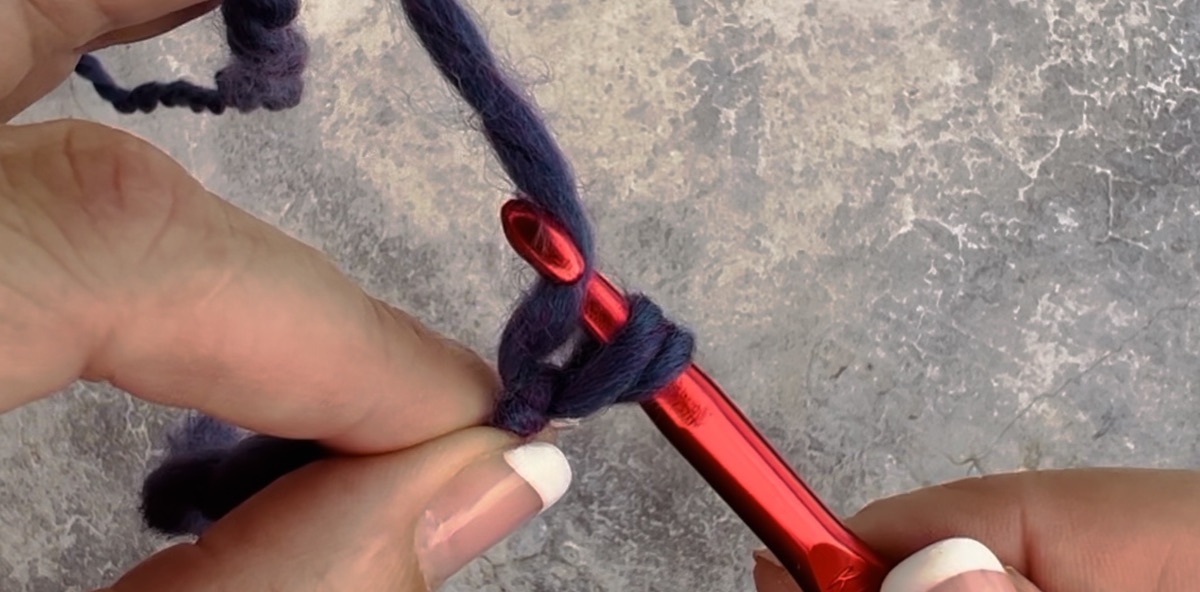
2. Hold the crochet hook where it narrows, holding it tightly. Rotate the hook slightly to align the top part with the yarn’s hole for better maneuvering.
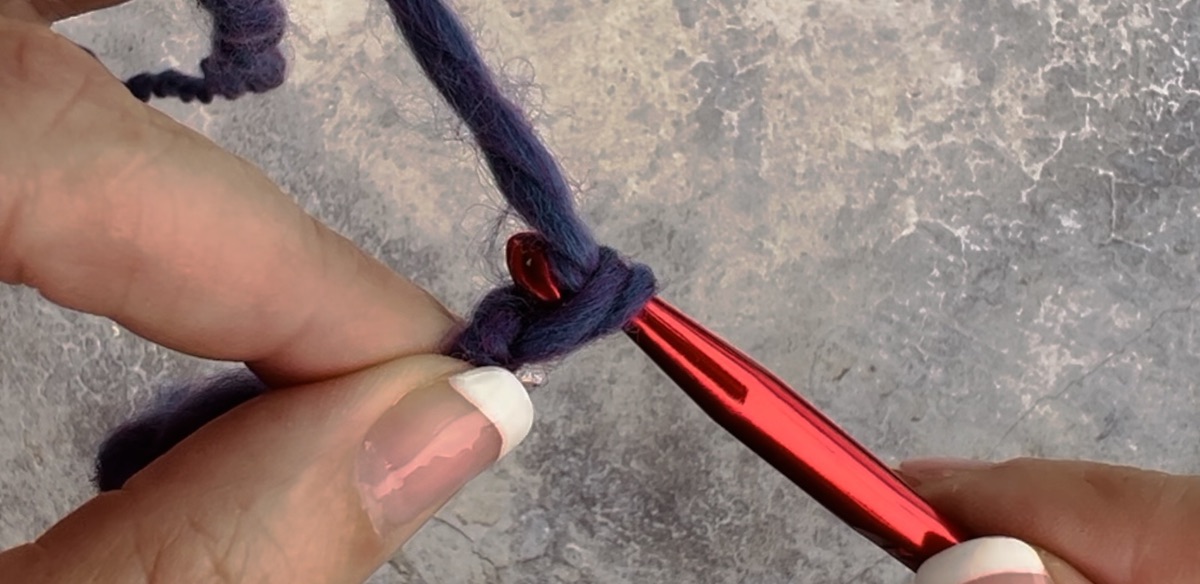
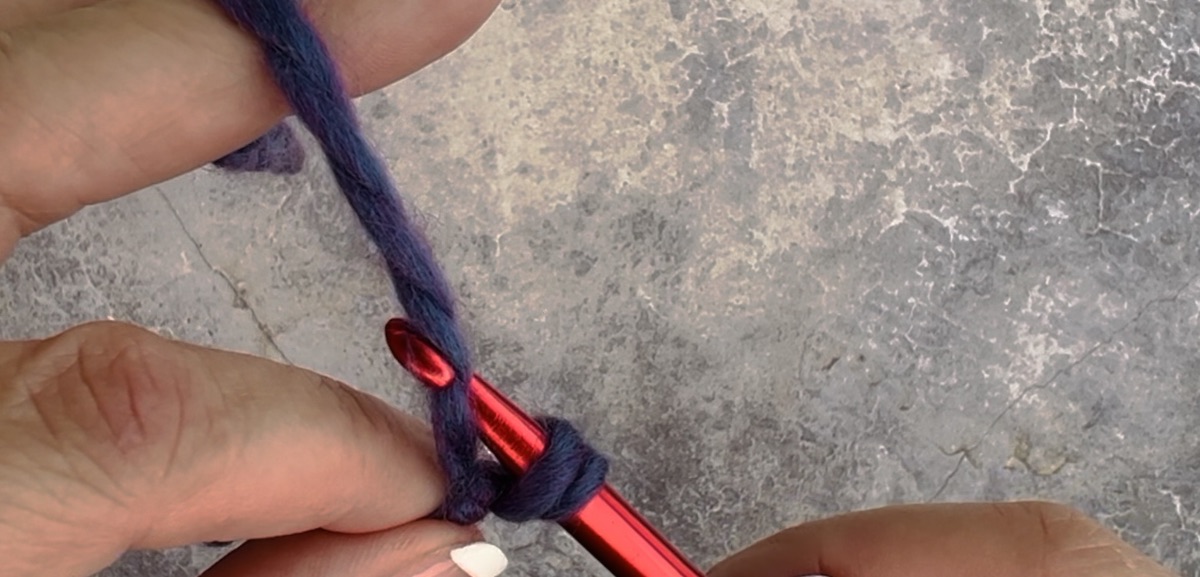
3. Insert your crochet hook into the slip knot and pull the yarn through, without excessive tension.
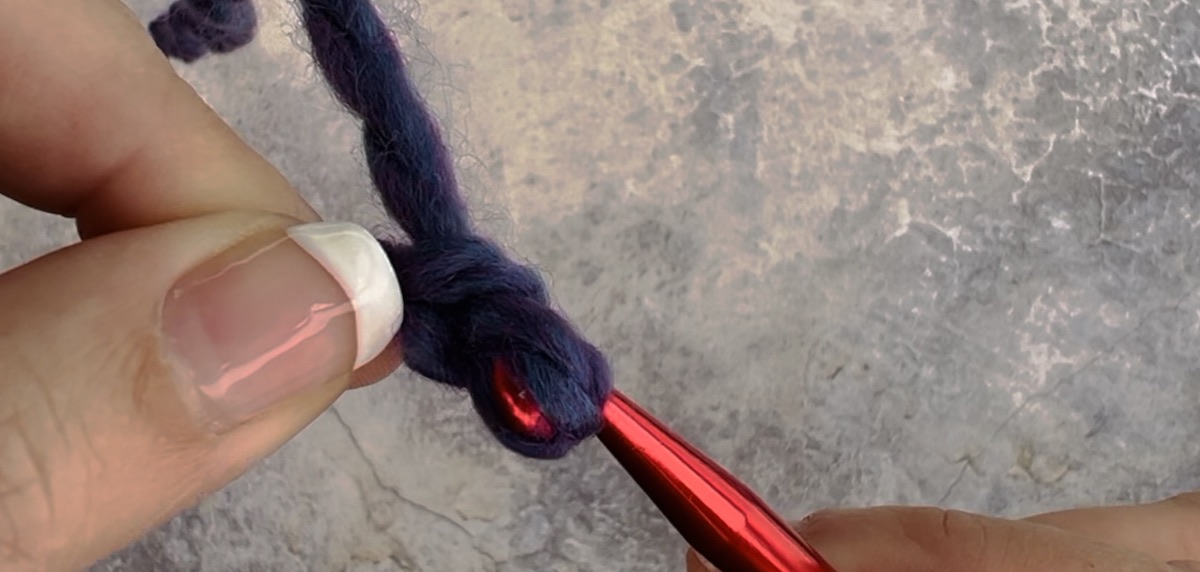
4. Continue this process by grabbing the yarn with the hook and pulling it through the loop on the hook. This is your first chain stitch.
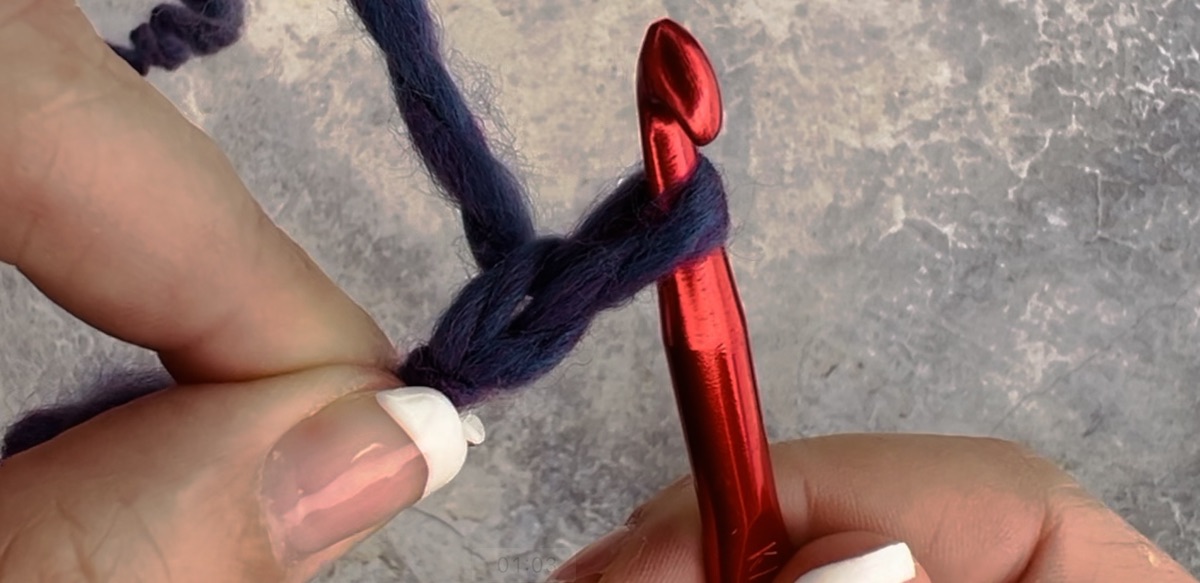
5. Repeat step 4, creating a chain of as many stitches as needed. Remember not to pull the yarn too tightly, as it will result in a chain that’s difficult to work with.
Whether it’s the next row, a turning chain, or a new stitch, these foundation stitches will serve as the basis for all your crochet adventures.
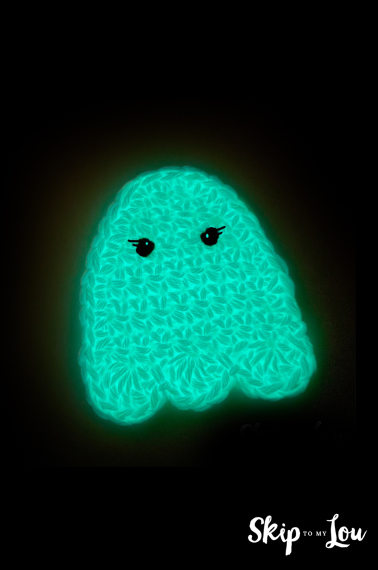
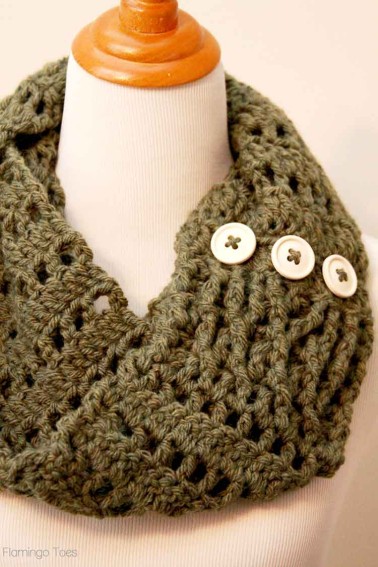
Now that you made your very first stitch, you’re ready to try a crochet project! Here are some ideas and helpful tips for you.
My Favorite Crochet Tools
- If you are like me and like to crochet on the go this tote is a stylish way to keep everything you need at your fingertips!
- My MOST FAVORITE tool is these portable scissors that always make it through security and fit perfectly in my hook case.
- A️ yarn bowl is a beautiful way to wrangle yarn while crocheting
- Keep organized with this crochet hooks kit with a case. This 85-piece kit has over 2,500 ⭐️⭐️⭐️⭐️⭐️ five-star reviews.
- Crochet Stitch Dictionary: 200 Essential Stitches with Step-by-Step Photos is the most helpful resource to keep handy!