Lips are one of the most important features of a human face. Let’s learn how to draw lips in 7 easy steps! Drawing lips is an important part of portrait drawing, so if you want to improve your realistic portraits, this drawing lesson is just for you. This easy step-by-step tutorial is a fun and simple way to learn how to draw lips with a front view.
In this blog post, you will learn the best way to draw lips using basic shapes and a regular h pencil, a ballpoint pen, and your favorite coloring pencils. Let’s get started!
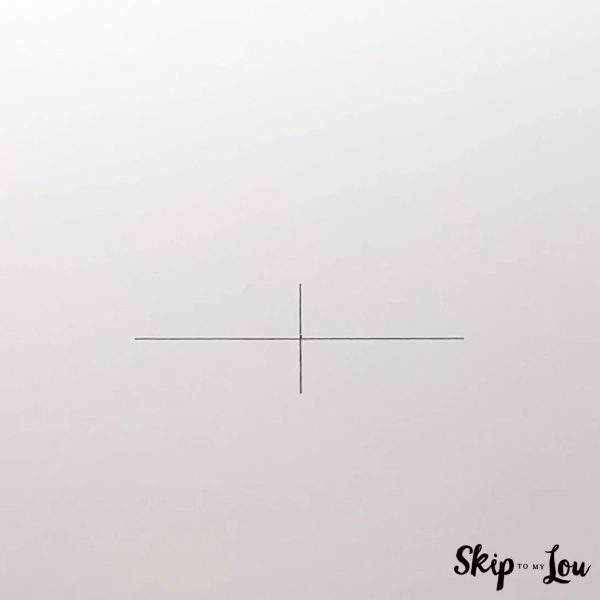
Step 1
The first thing to make this lips drawing is starting with a simple cross. Notice how the horizontal line is longer than the vertical line. In this step, it’s a good idea to use a ruler so the lips won’t be crooked. Now is the time to decide the width of the lips! To draw thin lips, make the vertical line shorter, and if you want larger lips, make the line longer.
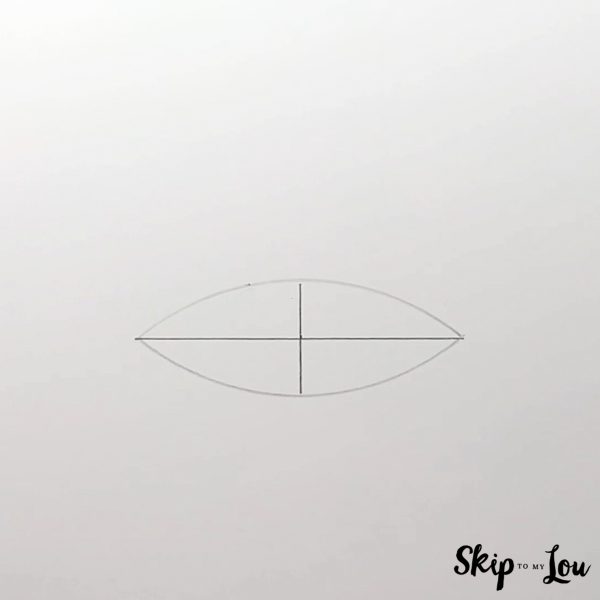
Step 2
In this next step, we’ll draw an oval shape to make the outline of the lips. Pay close attention to ensure the oval touches all four corners of the cross.
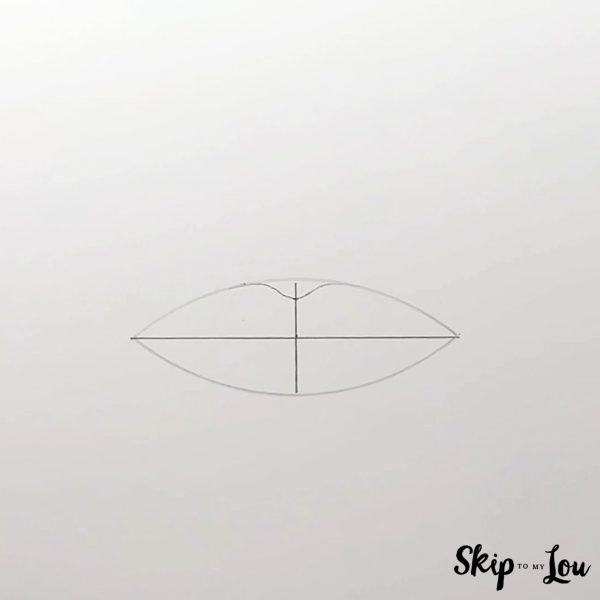
Step 3
Now that we have a general shape, let’s draw Cupid’s bow with a small inverted triangle. This step will affect the shape of the lips, so take your time!
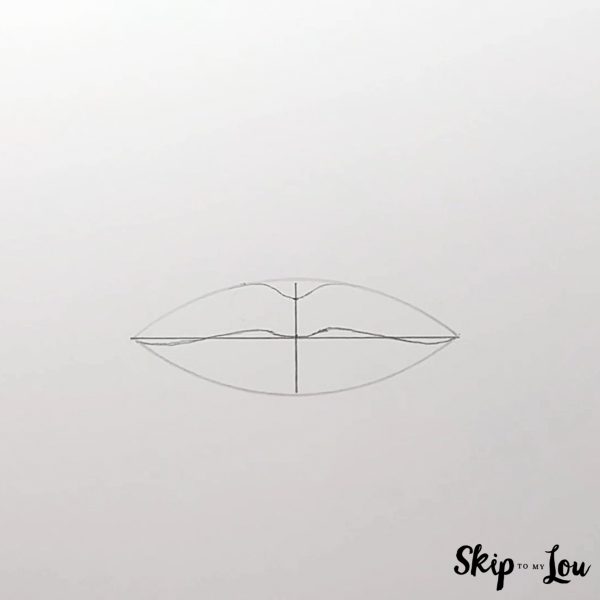
Step 4
Let’s get more detailed. In the center of the bottom lip, transform the middle line into a curved line following the natural shape of a mouth. Then, in the bottom line of the top of the lip, draw an M-like shape, leaving two small spaces between the top and bottom of the lip.
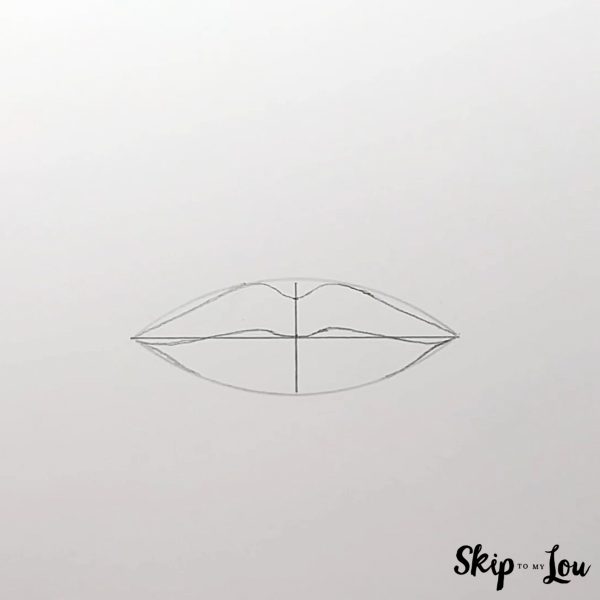
Step 5
In this step, we will make the lips outline more defined. Make the outline come closer to the outer corners of the lips. You can play around with different sizes and shapes – remember, the lips are one of the most noticeable facial features!
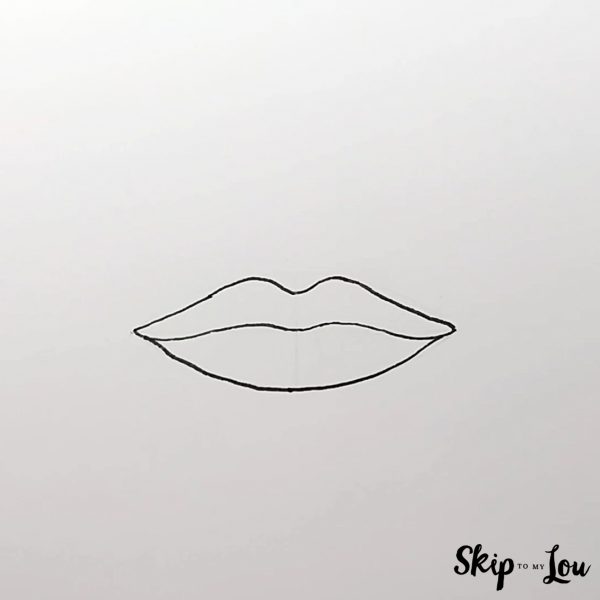
Step 6
Once you’re happy with the previous step, erase all extra lines. Use a pen or marker to outline the final shape.
Step 7
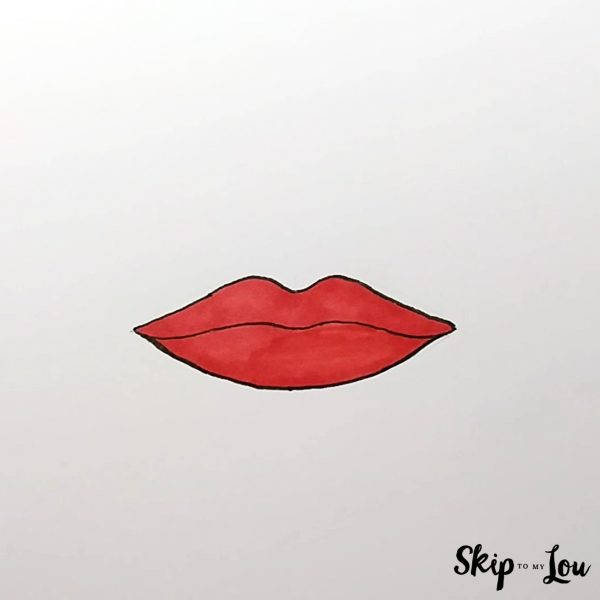
For the final step, we’ll use colors to create the shading of the lips. You can use a regular nude color, a darker tone, or make them bright red, it’s completely up to you. You can also add light strokes with a pencil to create lip wrinkles.
Tips:
Now that your drawing of lips is all done, it’s time to practice with different lips. Try different lips shapes and sizes, and you’ll quickly notice how easy it is to draw lips for your portraits!
Related: How to Draw a Skull and How to Draw Eyes are great basic drawing tutorials to help with drawing realistic figures.
This article contains affiliate links.
- Sketching Pencils
- Kneaded Rubber Eraser
- Sketch Pad
- Erasable Colored Pencils
- Fine markers
- Sketch and Drawing Art Pencil Set
- Artist drawing set (This is great for new and experienced artists. It’s also something I give as a gift.)
Before You Go
Thank you so much for stopping by to draw lips with me! Learning to draw new things is easy and fun and I hope you will check out more of my drawing tutorials!
- How to Draw a Christmas Tree
- How to Draw the Grinch
- How to Draw a Snowman
- How to Draw Santa
- How to Draw a Moon
I would love to keep you fully stocked with creative ideas, yummy recipes, fun crafts, and loads of free printables. Subscribe to Skip to my Lou to get new ideas delivered to your inbox. Follow me on Facebook, Pinterest, Twitter, and Instagram for all my latest updates.