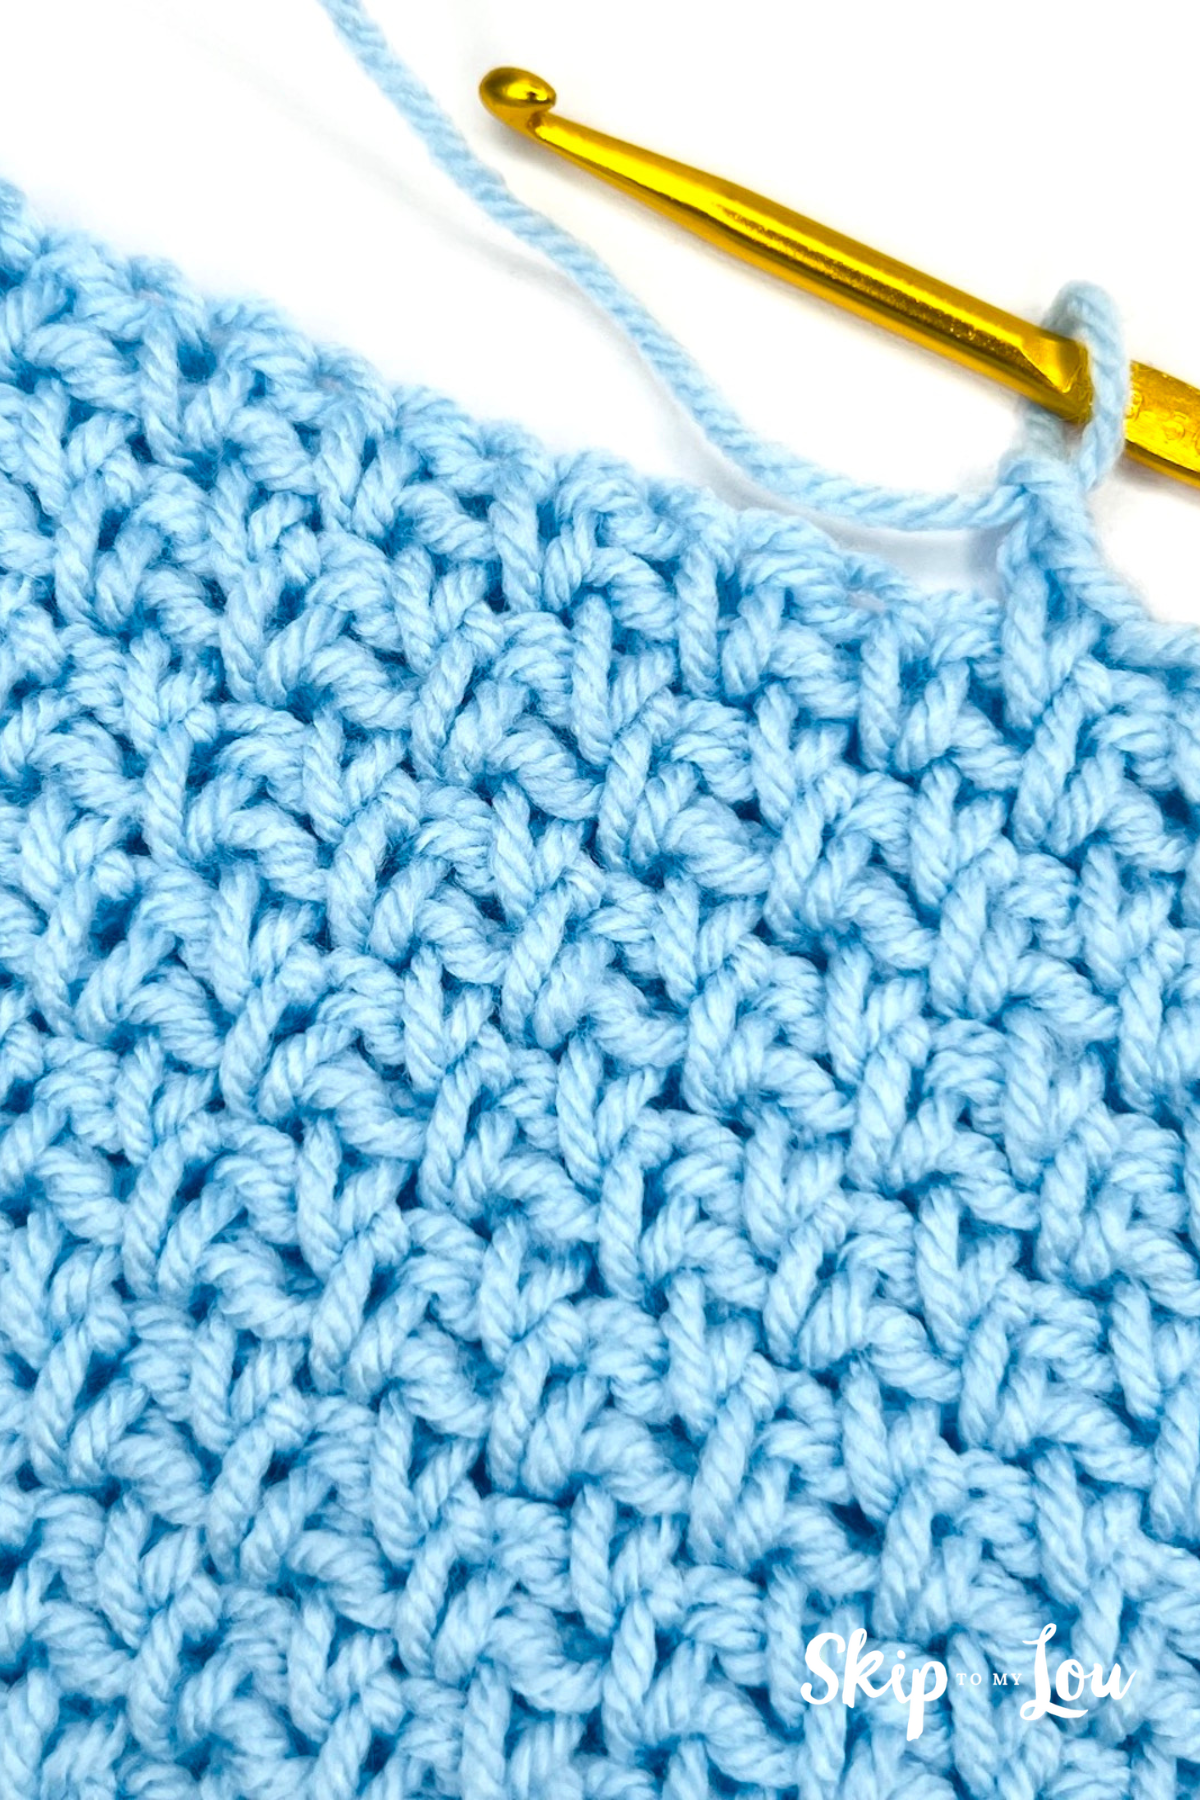
Crocheting is a fun and relaxing hobby, and the granite stitch is one of those stitches that looks amazing and is easy to learn. It’s also known as the moss stitch or linen stitch, and it’s great for beginners and pros alike.
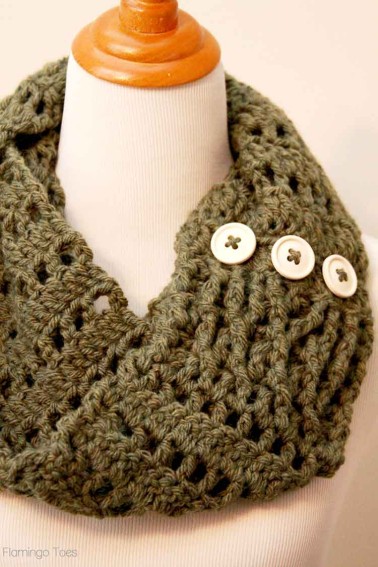
The granite stitch creates a lovely, dense texture that’s not too bulky. It’s perfect for making scarves, baby blankets, and dishcloths. You’ll love how the fabric feels – soft yet sturdy.
Learning the granite stitch also helps you master basic crochet techniques. It’s a great way to build your skills and confidence.
Ready to dive in? Keep reading to find out how to crochet the granite stitch step by step!
This post contains affiliate links.
The granite stitch is perfect for beginners – it’s a simple stitch that’s ideal for a first project. You’ll be using simple techniques like chain stitches and single crochets. It’s sure to become one of your favorite crochet stitches.
Alright, let’s get started with the photo tutorial to create this beautiful stitch. We’ll begin with the foundation chain, so grab your yarn and hook!
How To Make the Granite Stitch: Step-By-Step
First, gather these materials:
- Crochet hook: Check our hook guide to choose the right hook size.
- Yarn: Select your favorite color and type of yarn.
- Scissors: For cutting your yarn when done.
- Darning needle: To weave in your ends.
Steps
Step 1: Foundation Chain
Start by chaining an even number of stitches.
Keep chaining until you reach your desired length. For example, a moss stitch blanket might need 120 stitches.
If you need help with making a chain stitch, try our foundation chain guide.

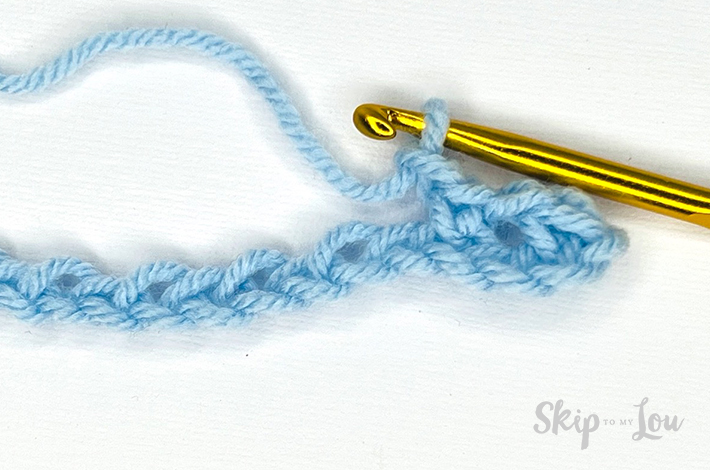
Step 2: Granite Stitch First Row
First, insert your crochet hook into the 4th chain from the hook and yarn over.
Pull the yarn through the chain and yarn over again.
Finally, pull the yarn through both loops on the hook to complete one single crochet stitch.

Next, chain 1 stitch.
This will create your first chain-1 space, which you’ll work into in the second row.

Skip the next stitch in your foundation chain and single crochet into the next chain.

Then work in a single chain.
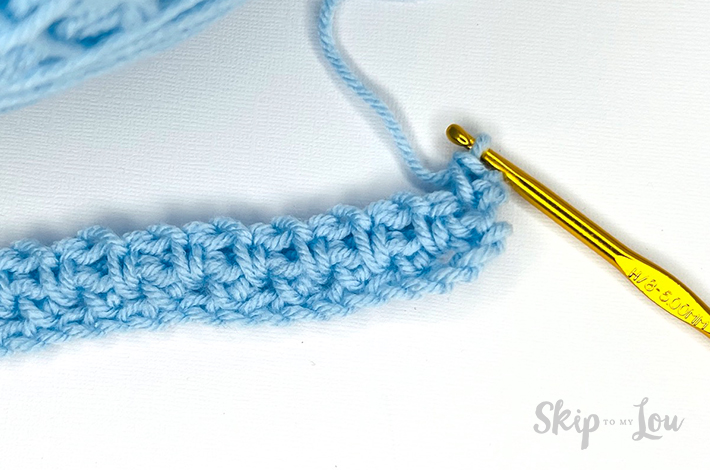
Continue repeating the sequence of chain 1, skip 1, and single crochet 1 all the way to the end of your foundation chain.


Step 3: Granite Stitch Second Row
To start your second row, and all following rows in the moss stitch, turn your work around.

Next, chain two stitches. This will act as your turning chain.

In the first row, you made several chain-1 spaces, and now you need to single crochet into each of them.
Find the first chain-1 space in your row and single crochet into it.
Then chain 1.
This creates one of the chain-1 spaces for your next row, which you’ll continue to work into as you go.
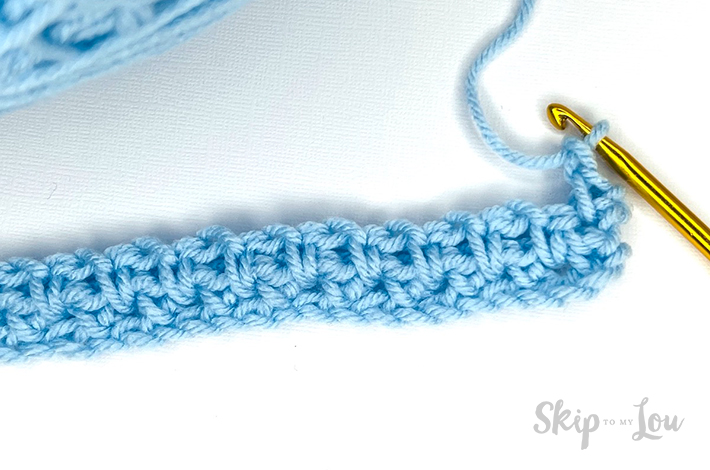
After chaining one, single crochet into the next chain-1 space, just like before.
Continue this pattern of chaining one and single crocheting into each chain-1 space until you reach the end of the row.
The last stitch should always be a single crochet into the last chain space in the row, which will be a chain-2 space.
My Favorite Granite Stitch Crochet Tools
Each of these useful crochet tools will improve your crochet projects:
- If you are like me and like to crochet on the go, this tote is a stylish way to keep everything you need at your fingertips!
- My MOST FAVORITE tool is these portable scissors that always make it through security and fit perfectly in my hook case.
- A️ yarn bowl is a beautiful way to wrangle yarn while crocheting
- Keep organized with this crochet hooks kit with a case. This 85-piece kit has over 2,500 ⭐️⭐️⭐️⭐️⭐️ five-star reviews.
- Crochet Stitch Dictionary: 200 Essential Stitches with Step-by-Step Photos is the most handy resource!
Easy Crochet Projects For You
- Step-by-Step Guide to the Elizabeth Stitch
- Mastering the Diamond Stitch
- Easy Popcorn Stitch Tutorial
- Granny Stitch: A Complete Guide
- Crocheting the Star Stitch
- Shell Stitch: Detailed Instructions
- Linen Stitch Crochet Guide
Tips and Basic Crochet Stitch Tutorials
- How To Begin A Chain Crochet
- How To Create a Slip Knot
- Choose the Right Crochet Hook
- Single Crochet Stitch
- Double Crochet Stitch
I would love to keep you fully stocked with creative ideas, yummy recipes, fun crafts, and loads of free printables. Subscribe to Skip to my Lou to get new ideas delivered to your inbox. Follow me on Facebook, Pinterest, Twitter, and Instagram for all my latest updates. Happy crocheting!