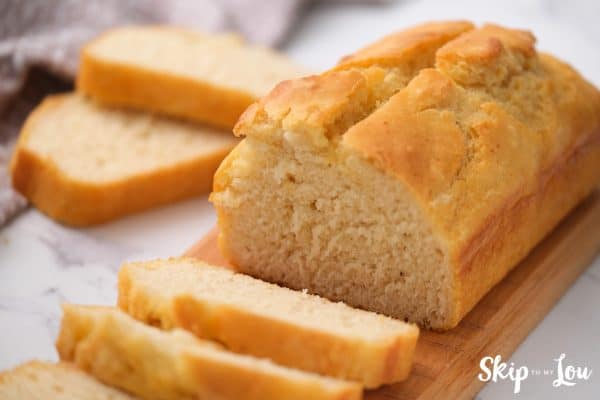
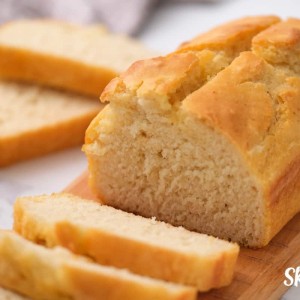
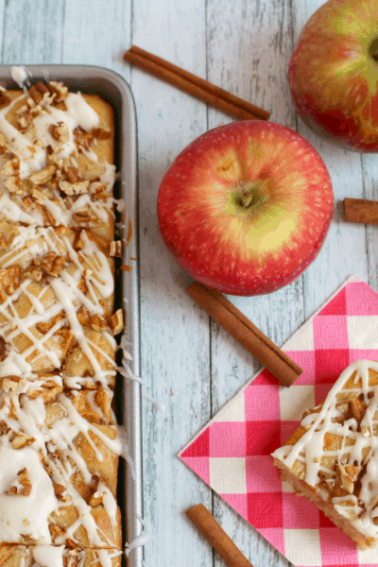
This Beer Bread Recipe is unbelievable! With only four ingredients and less than an hour, you have delicious homemade bread! My self rising flour bread recipe will not disappoint and no bread machine is needed!
The smell of bread baking is divine and here at Skip to My Lou, I have yeast bread, banana bread, and gluten free bread recipes ready for you to try!

What You Will Need to Make Beer Bread
- 3 cups self-rising flour ( see instructions on how to make self-rising below)
- 1/3 cup sugar
- 1 can of beer
- 1/4 cup butter, melted
- loaf pan
WATCH VIDEO: LEARN HOW TO MAKE THIS RECIPE
How To Make Beer Bread
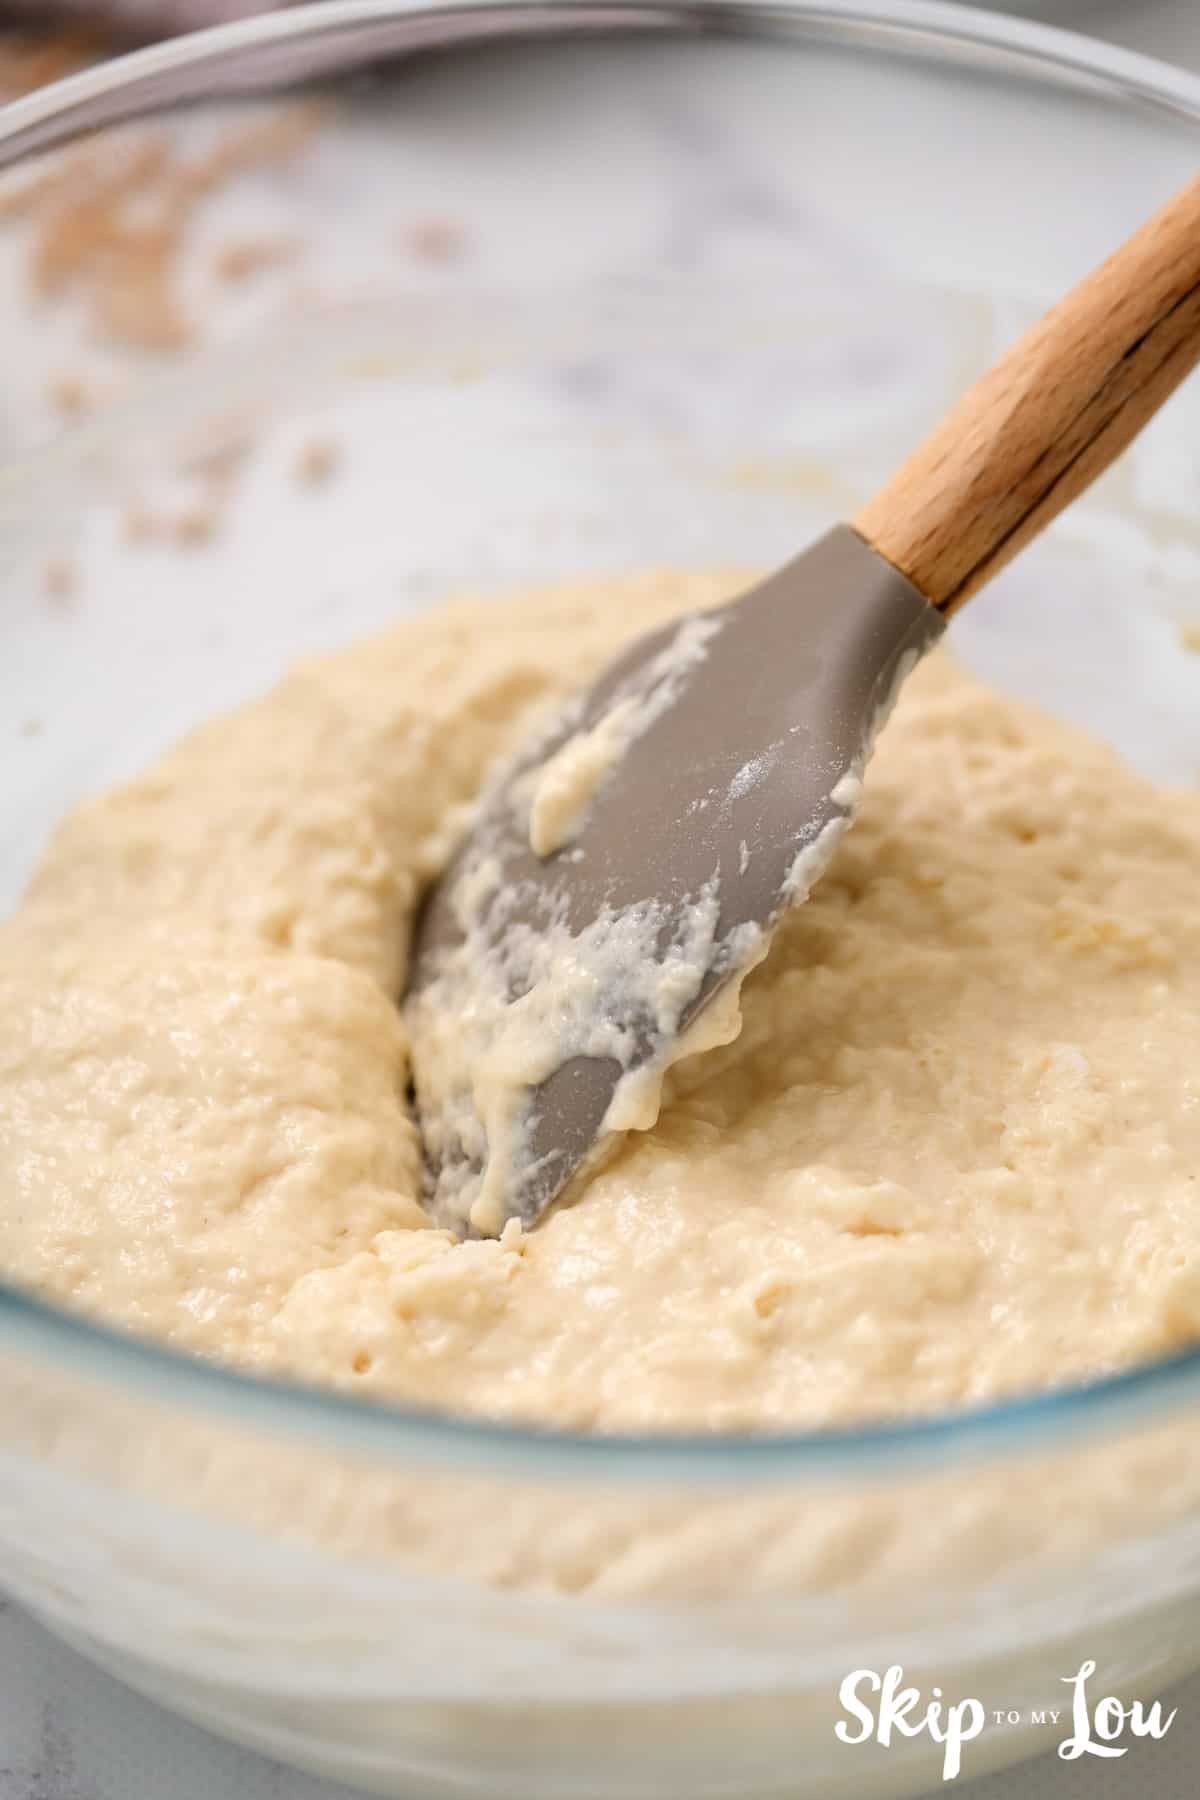
- Preheat your oven to 350 degrees. Place oven rack in the middle position and prepare the loaf pan with shortening, butter, cooking spray or olive oil. In a large bowl, stir together self-rising flour, beer and sugar.

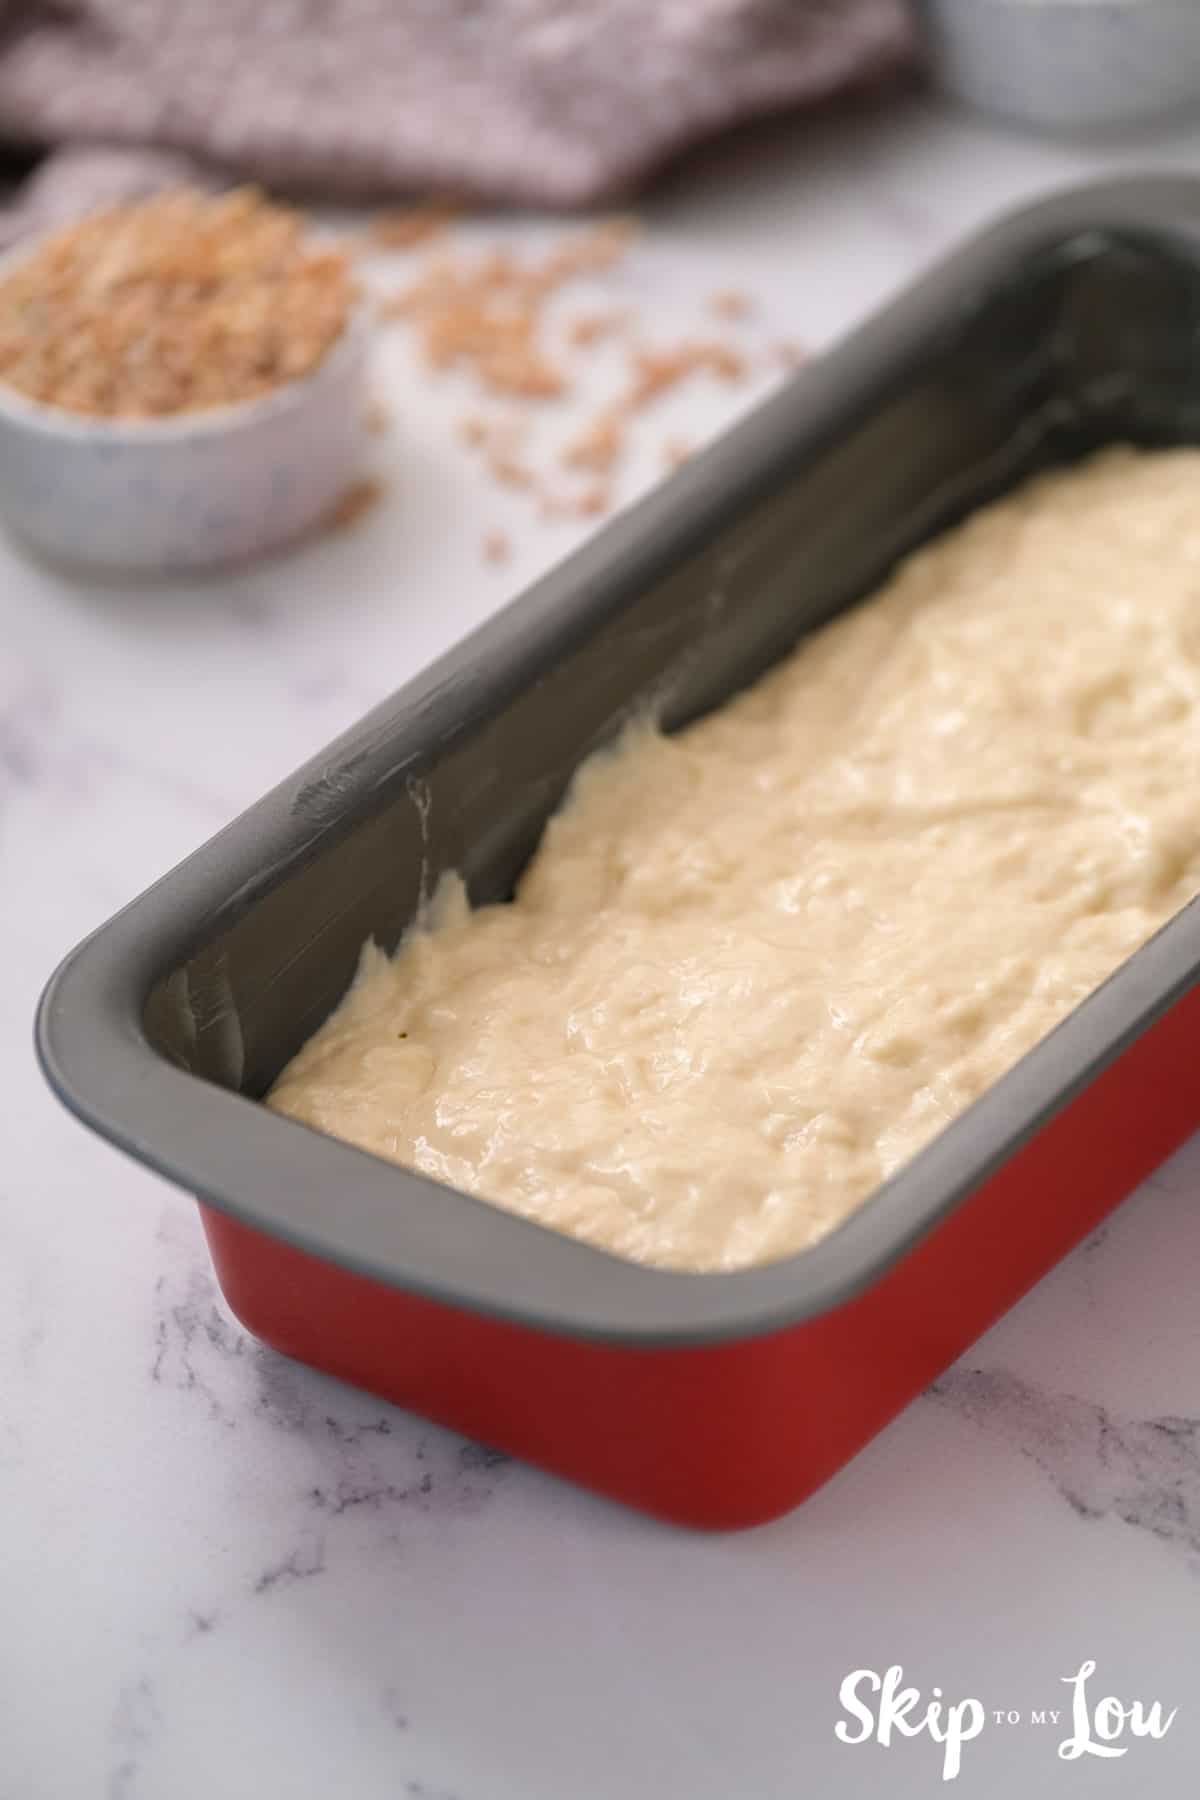
- Pour bread mix into a loaf pan. Smooth and gently even the batter with a spatula.
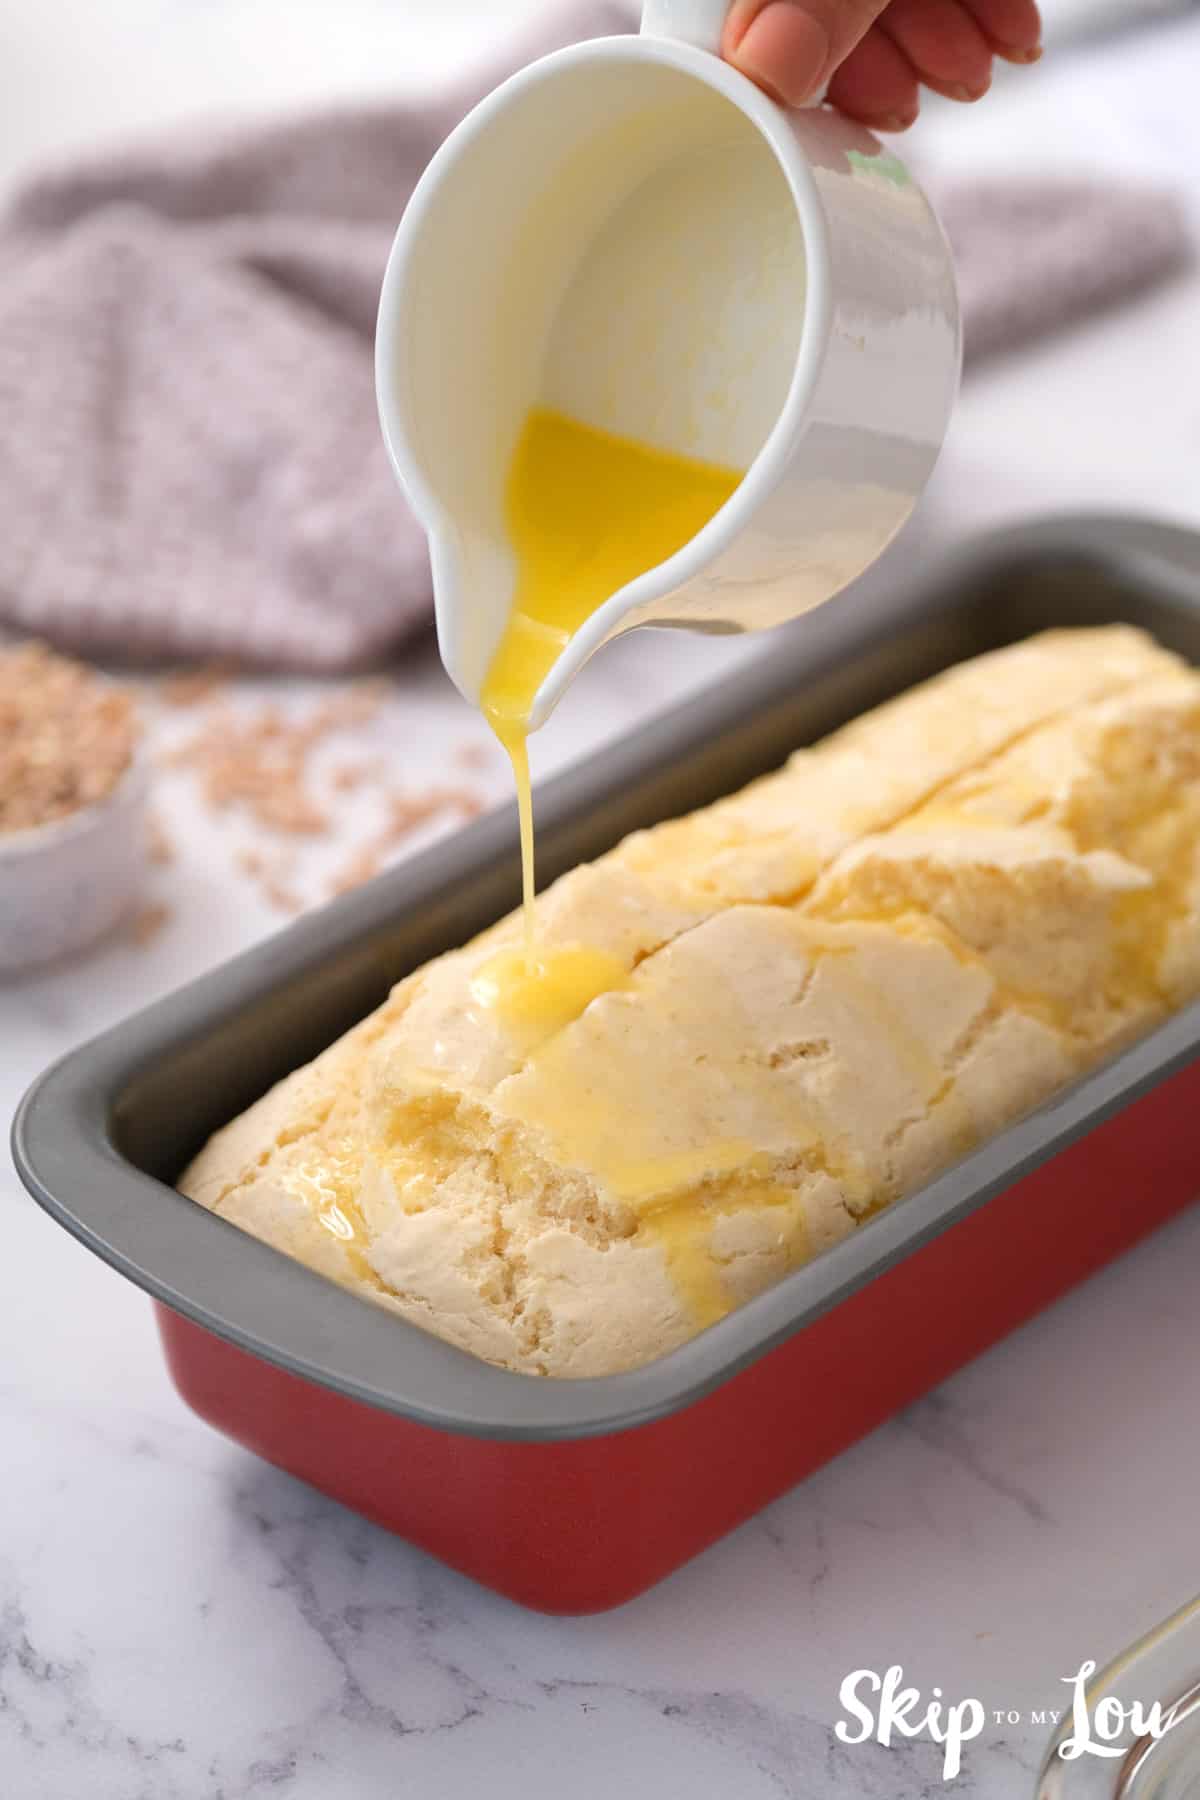
- Bake at 350 for 25 minutes. Remove from oven, slit the top and pour the butter over the bread.
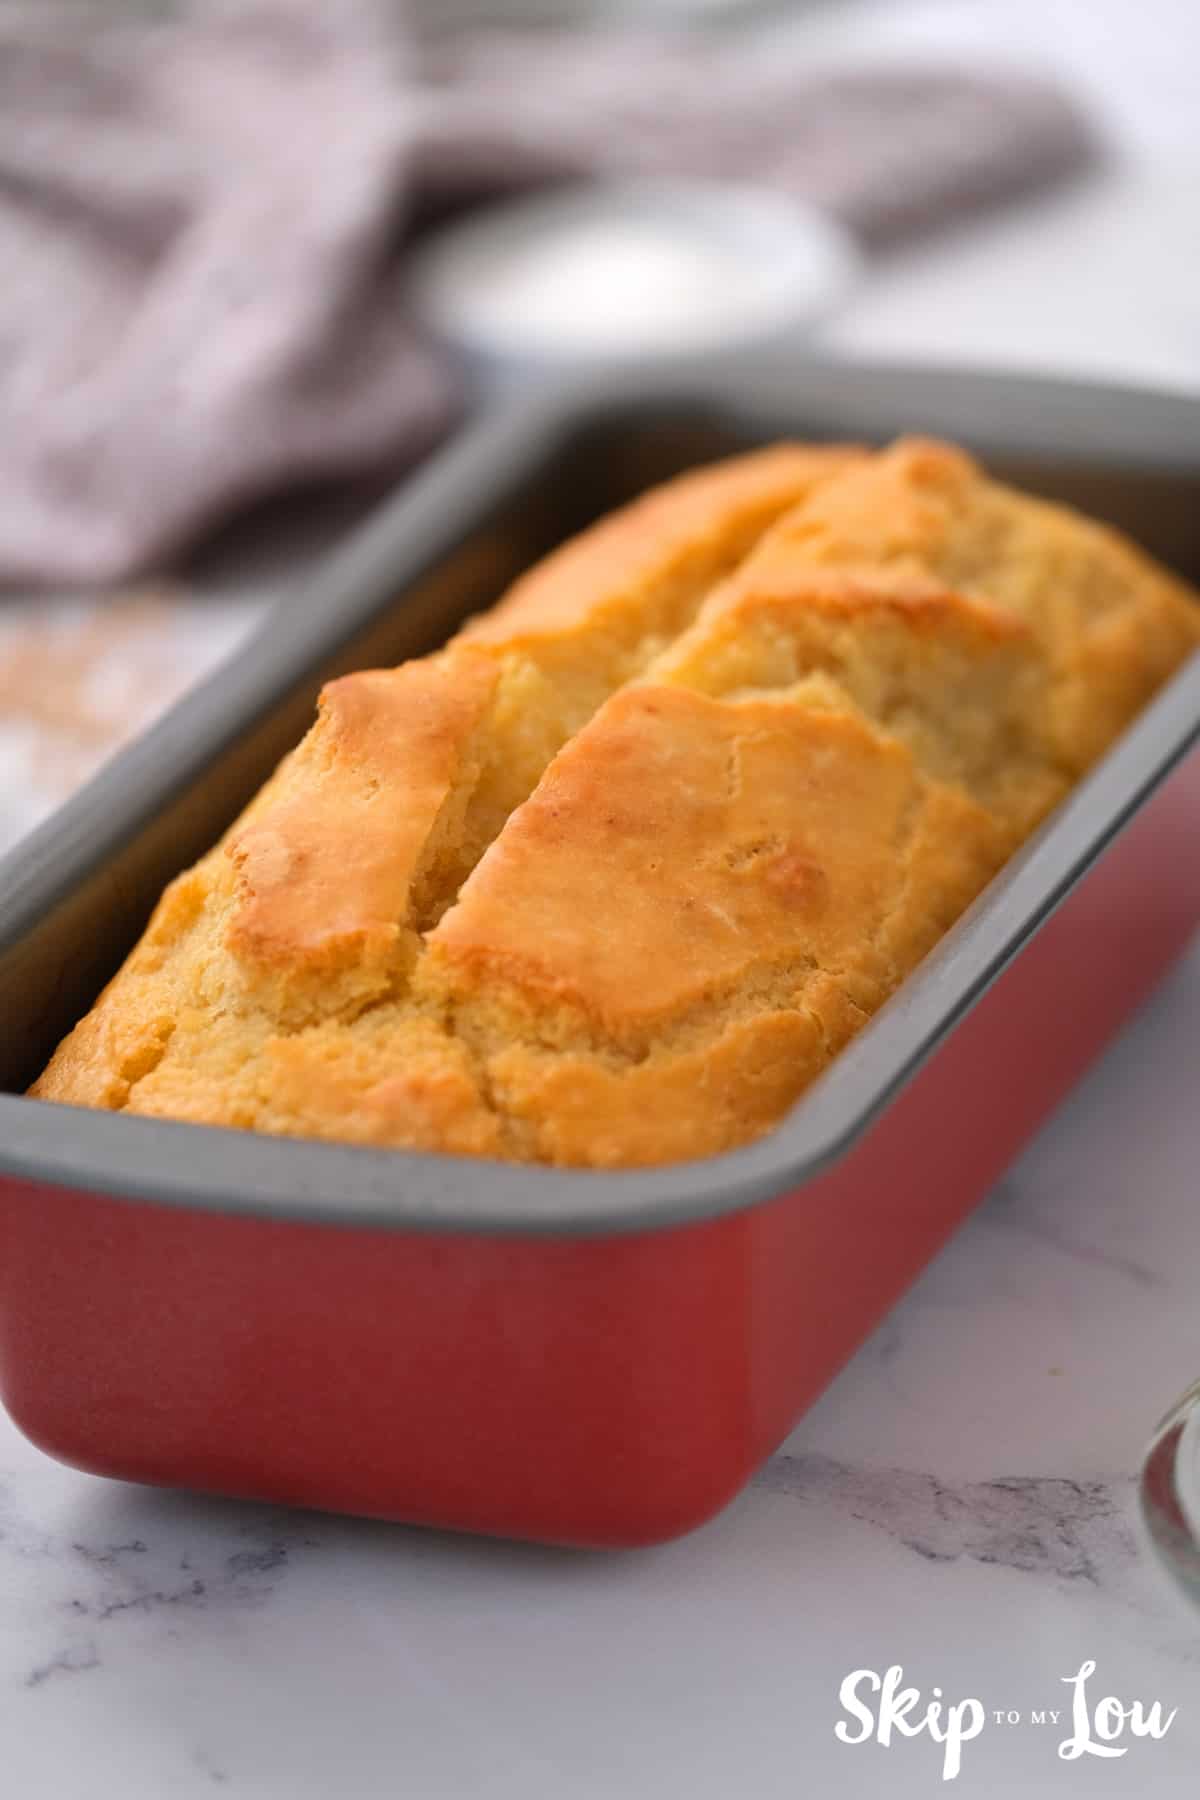
- Return bread to the oven and bake another 20-25 minutes until golden brown.
- Cool in loaf pan for 5 min before turning out on a wire rack to continue cooling. Of course, that is if you can keep your hungry family from slicing into it before then!
Beer Bread
Equipment
- 1 Bowl
- 1 Loaf Pan
Ingredients
- 3 cups self-rising flour
- 1/3 cup sugar
- 1 can beer
- 1/4 cup butter melted
Instructions
- Stir together self-rising flour, beer and sugar.
- Pour into loaf pan.
- Bake at 350 for 25 minutes, remove from oven and split the top.
- Pour the butter over the bread.
- Bake another 20-25 minutes until golden brown.
Nutrition
Substitutions and tips
No Self Rising Flour on hand? Only All-Purpose Flour? No worries, you can make your own Self Rising Flour in a snap with plain flour, baking powder, and salt!
The conversion goes like this: for every 1 cup of flour, add 1/2 teaspoon of salt and 1 1/2 teaspoons of baking powder. So for this recipe, you need 1 1/2 teaspoons of salt and 4 1/2 teaspoons of baking powder to turn your plain flour into self-rising flour.
Both light beer and darker beer will work in this versatile beer bread mix. Food and beer go together like Danny and Sandra Dee, so just imagine melting some shredded cheese on top of this tasty loaf!
more deliciousness from Skip to my Lou
Also, Zuppa Toscana Soup pairs perfectly with this baked beer bread.
I would love to keep you fully stocked with creative ideas, yummy recipes, fun crafts, and loads of free printables. Subscribe to Skip to my Lou to get new ideas delivered to your inbox. Follow me on Facebook, Pinterest, Twitter, and Instagram for all my latest updates.

To make your own self-rising flour, combine 1 cup of all-purpose flour with 1 ½ teaspoons of baking powder and ½ teaspoon of salt. For this recipe you need 3 cups, so triple the recipe above to make your own 3 cups of self-rising flour. Note: the baking powder will lose its potency over time, which means your baked goods won’t rise as they should. Your box should be marked with a “use-by” date.
This was the worst bread I’ve ever tasted!
If you start with room temperature beer, it’s better. Also, put into a cold oven and bake for 1hour then take out and smear a whole mess of real butter on it. I have better success just throwing it onto a cookie sheet. No loaf pan needed. I have been making this for years.
Am heading to the kitchen to make this right now! We are having homemade chicken and rice and this sounds as if it may be perfect together. Thanks for sharing 🙂
Sarah, I am not sure. I would assume it is the yeast in the beer that does something??
Is there any way to make this without beer, coke maybe?
Thinking of splitting a batch into smaller loaves to give as gifts, any suggestions? less time baking i’m sure, but at what point should I pour the butter on? Thank you!
Made this for dinner tonight, awesome! Came out exactly like Tastefully Simple beer bread. My family ate the entire loaf!! Now I’ll always have the ingredients on hand.
I have been meaning to try to find my late MIL’s recipe. But this looks so simple & tasty- both are hugely important in my book. I will be making this- soon! Thanks!
I made this last night and it was amazing! My husband and I ate it with chicken taco soup from the crockpot and could not get enough!!
Can’t wait to try this recipe! I always have Tastefully Simple bread on hand, now I can make my own:) Stop over for a visit sometime!
Have you ever tasted Tastefully Simple’s Beer bread? I’m wondering if this tastes similar?
I made it today with a coors light and it came out delicious! I think 1/4 cup butter was a little much but it kept me from eating the whole loaf!
Oh no Cynthia! Did you bake it for 25 minutes, then slit the top and pour the melted butter over it, then back into the over for another 25 minutes. The bread is soft but I wouldn’t call it gummy. Did you use self-rising flour? I didn’t use special beer — just a can of Bud Select. Okay I am going to make it again and make sure I have the directions right! Sooo sorry!
I just made the beer bread and I wasted a can of beer!!! I did as requested put it in the oven-really didnt need a 1/4 cup butter but used it anyway. Baked it for the second 20-25 minutes and it wasnt ready yet so I continued to bake it for another 5 minutes. You could tell it still was not ready so I kept in another 5 minutes. Took it out and let it cool down. Terrible-gummy and ready for the trash. Now if anyone can tell me what I did wrong I will try it again because it does look good on the picture.