Today, we have another fun origami folding extravaganza for you.
This one allows you to make your own frog with a few simple folds. While it’s a little more complex than some of our other paper crafts, beginners will have a blast trying this out. Plus, this frog can jump!
Origami is not only fun but also an excellent way to teach patience and can help develop fine motor skills and hand-eye coordination.
And let’s be honest, who doesn’t want a cool jumping origami frog?

We have many other fun origami tutorials on Skip to My Lou including Origami Paper Favors, Fold an Origami Bow Tie in 9 Simple Steps, Easy Origami 8-Petal Flower Step-by-Step Guide, and How to Fold a Fabulous Origami Fish: A Step-by-Step Guide.
Supplies Needed for This Origami Frog Tutorial
You will need the following supplies:
- Square origami paper (any paper will do, however, but it must be square. Rectangular paper won’t work)
- Art supplies (markers, pencils, pens, etc) to decorate your frog
Video Tutorial: How to Fold an Origami Frog
Instructions: Fold an Origami Frog in 14 Steps
Step 1: Take your square piece of paper to start the folding process. Fold it in half by taking the top right corner and folding it to the bottom edge of the paper on the left-hand side at a 45-degree angle. Don’t forget to squish folds you make to form a proper crease.


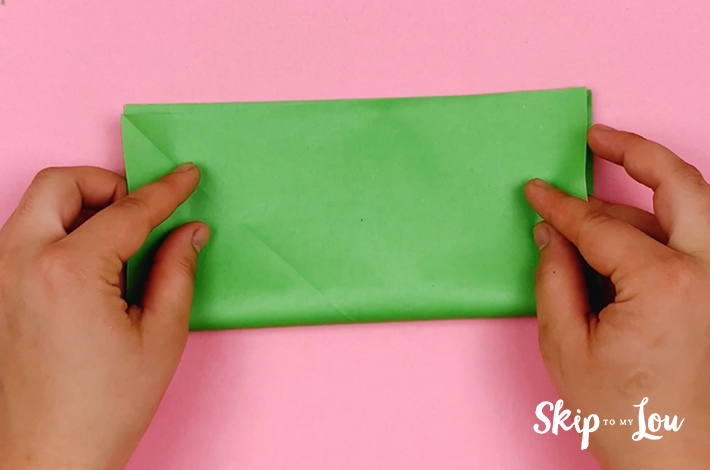
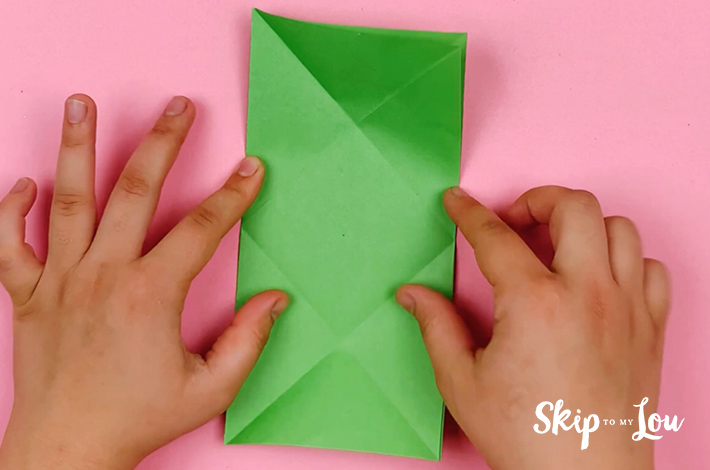
Step 2: Unfold the paper to the original square shape and now fold the bottom corners up to the top edge of the paper to form a rectangle.
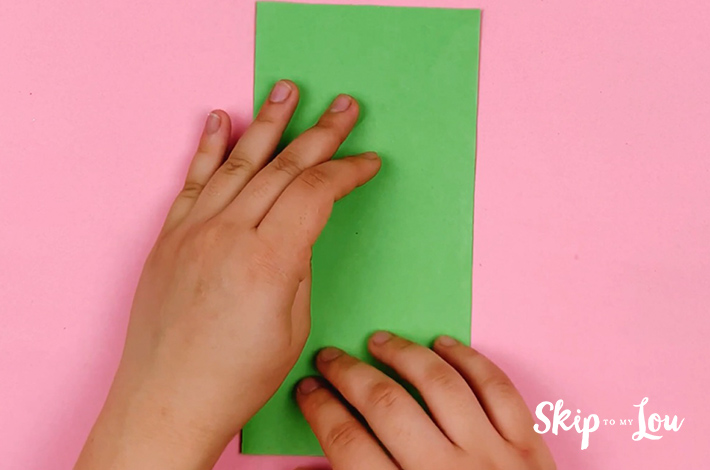
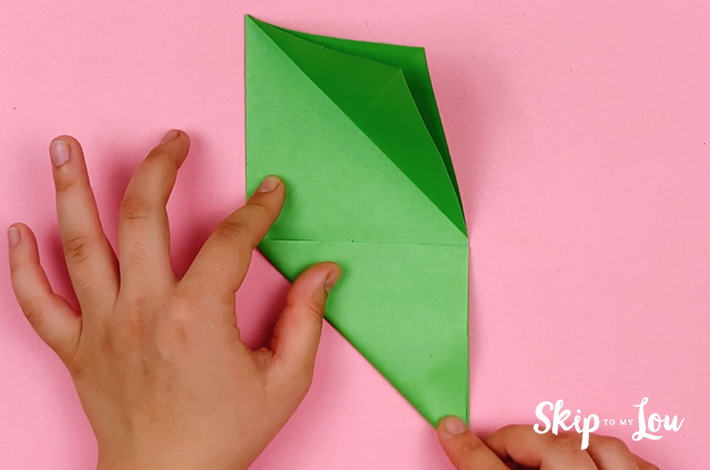
Step 3: Turn the paper 90 degrees and fold the top left corner down towards the right along the crease you originally made in Step 1. Do the same on the right-hand side.
Step 4: Now make exactly the same folds from the bottom left and right sides of the paper.

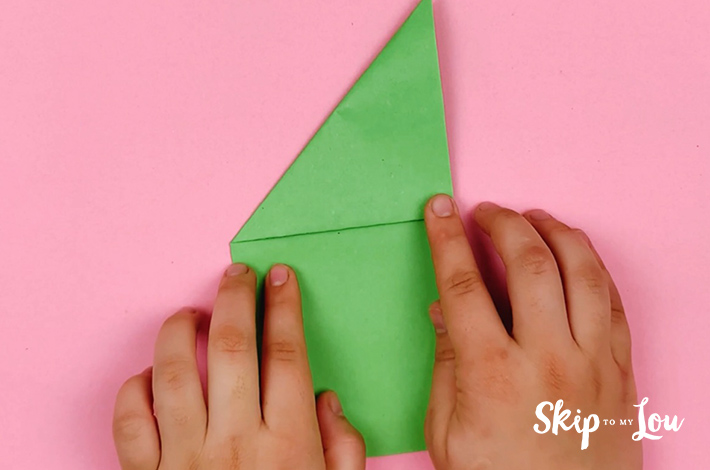
Step 5: Unfold the paper into the rectangular form again. Fold the top section to form a triangle along the folds you’ve already made. If you are unsure, the video shows this clearly.
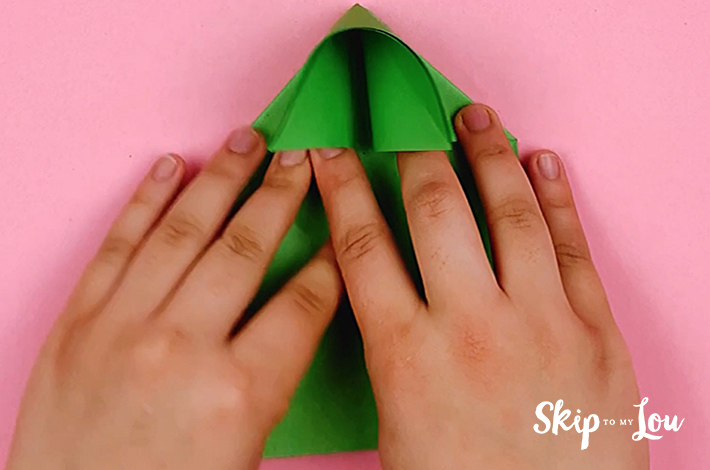

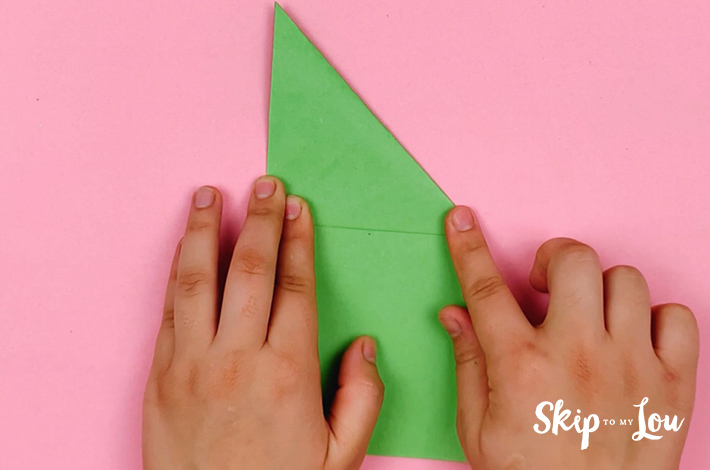
Step 6: Make exactly the same folds, but this time with the bottom edge of the paper. You will now have a diamond shape.
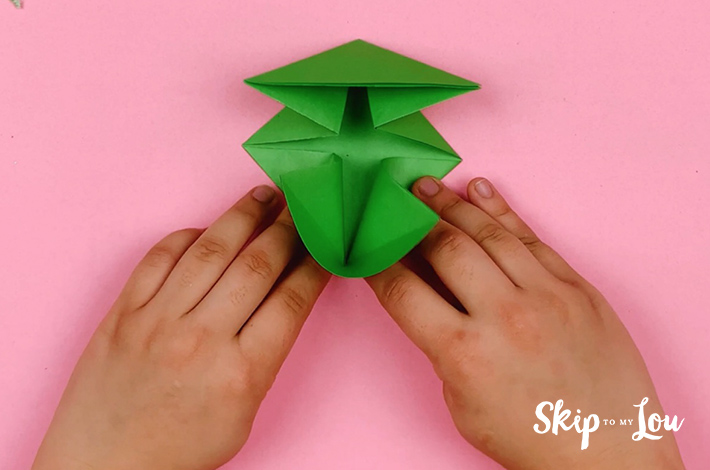
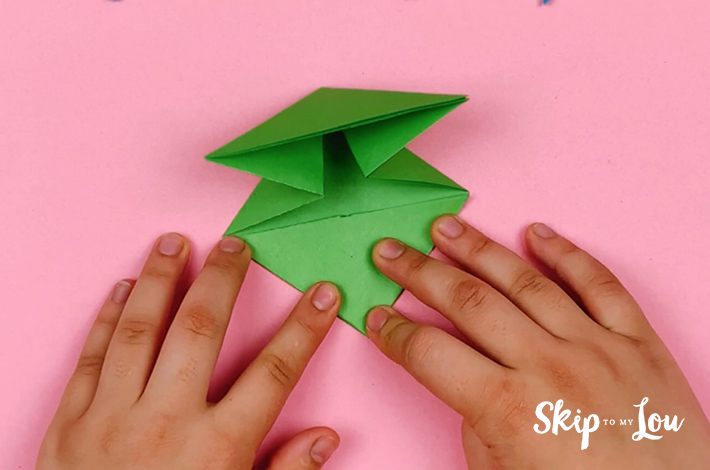
Step 7: Fold the top left and right flaps upwards to form a small diamond shape. Watch the video if you are unsure of what folds to make.
Step 8: Repeat the process with the bottom left and right flaps.

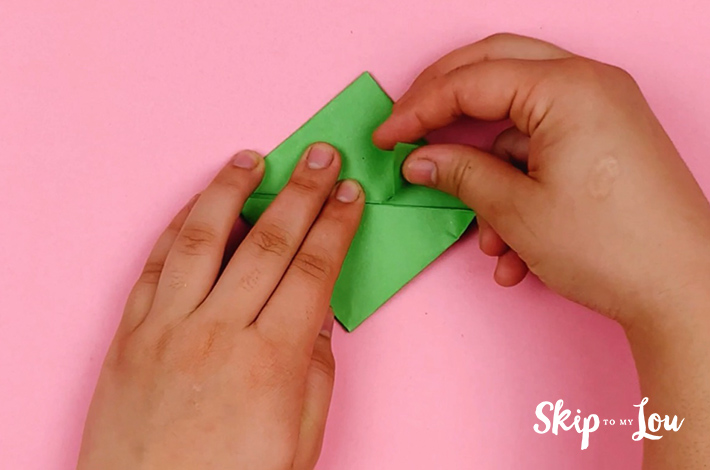
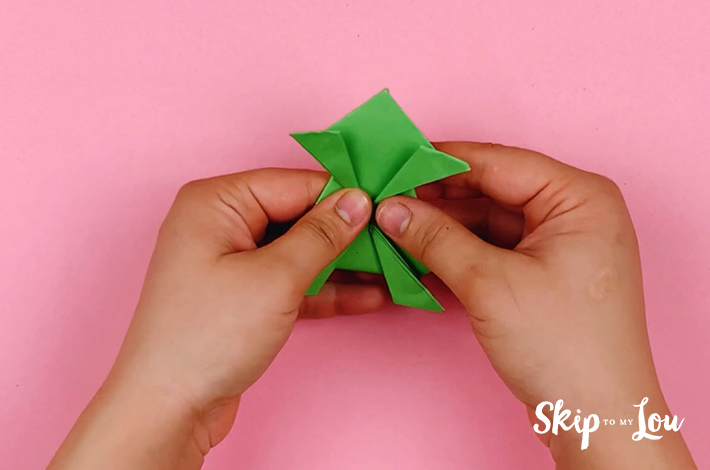
Step 9: Now fold all four sections of the bottom and top diamond shape in half at a 45-degree angle. The video shows these folds clearly.
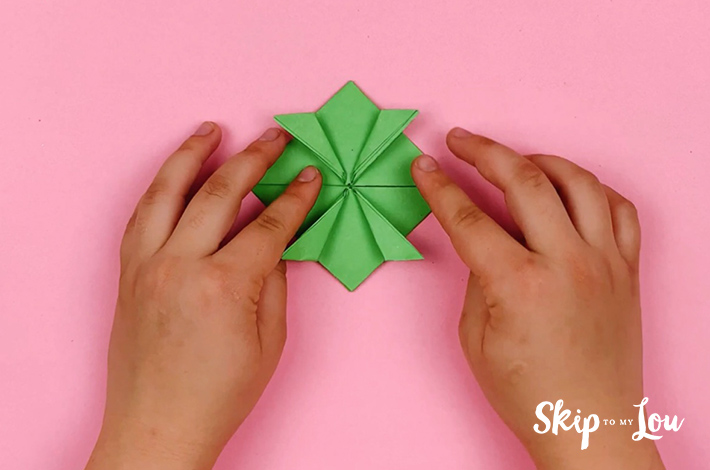
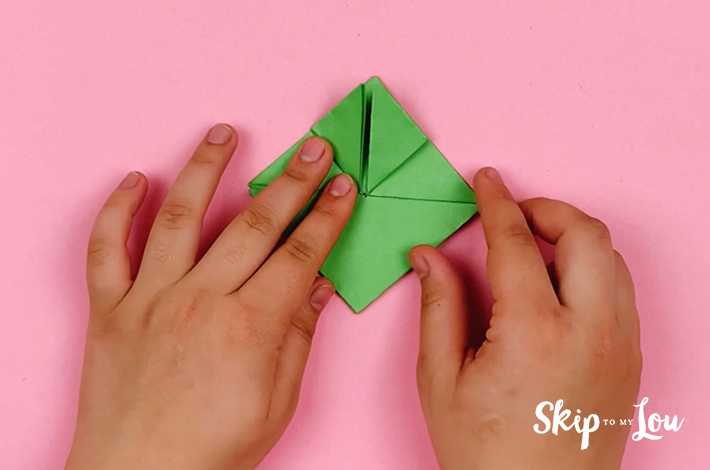
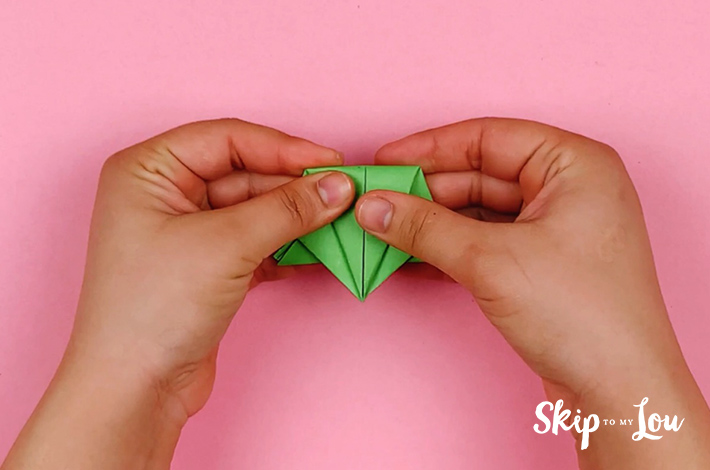
Step 10: Flip the paper over and the bottom triangle upwards.
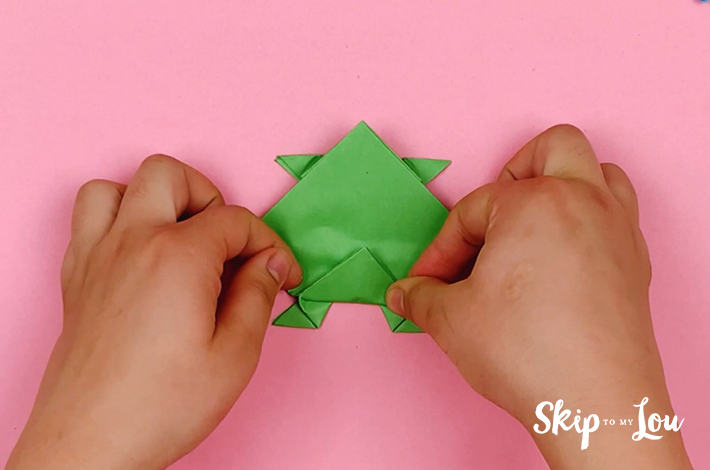
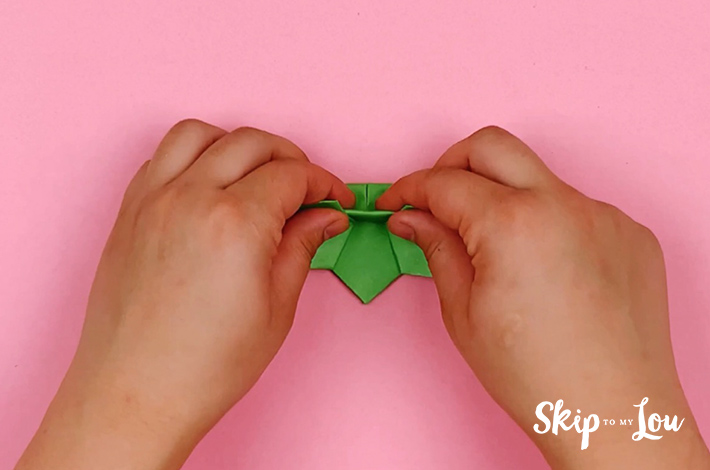
Step 11: Fold the left and right corners towards the center.
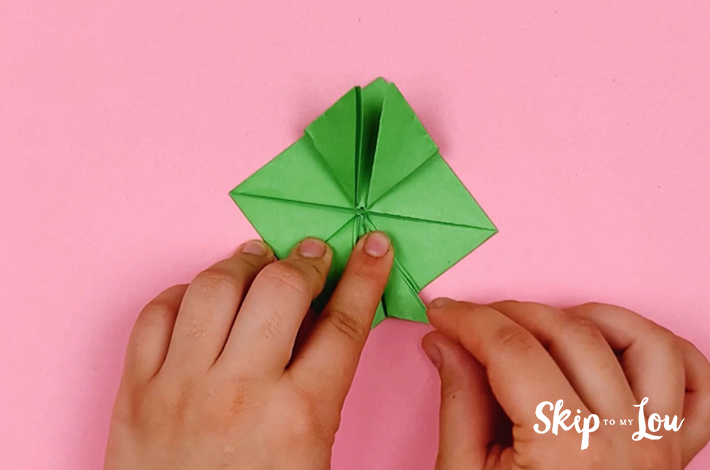
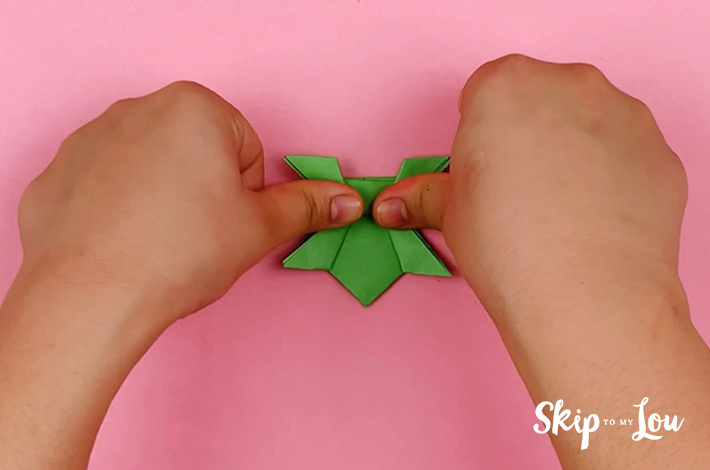
Step 12: Flip the paper over and in half along the center.
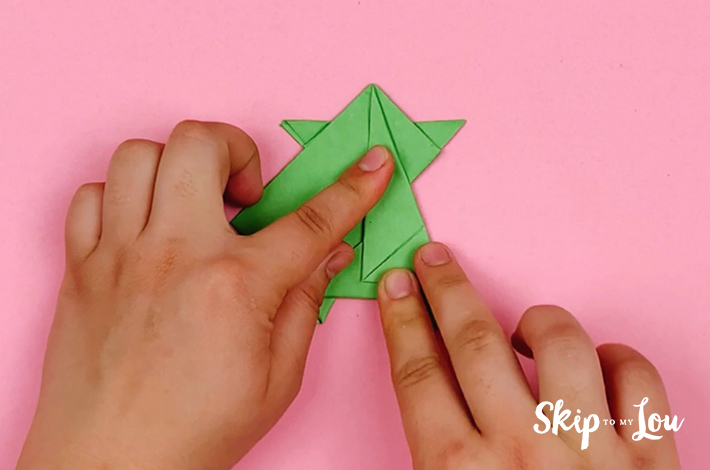
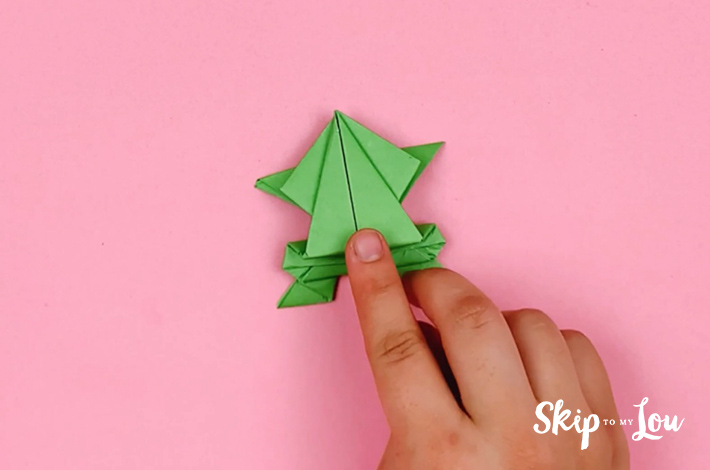
Step 13: Turn the paper 180 degrees and fold the top section back over. This forms the spring effect for the frog, allowing it to jump.
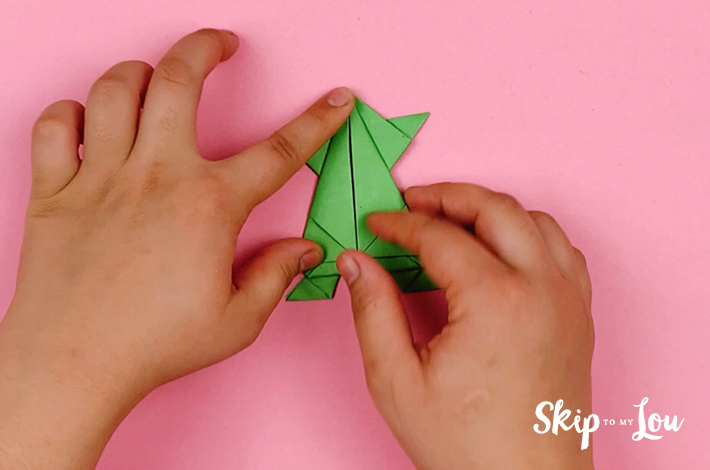
Step 14: Push on the back section of the frog to make it jump! Boing!
Now you could just leave the frog like this, but why not decorate it?
Other Fun Ideas for Origami
Be sure to check our some other awesome origami ideas.
- Origami Candy Box Paper Craft: An Easy And Fun Tutorial
- Make a Simple Origami Gift Bag {Free Craft Idea}
- Fold a One-of-a-kind Origami Crown {Craft Tutorial}
- A Step-by-Step Guide to Folding an Origami Shirt and Tie
- How To Make An Origami Cat: A Step-by-Step Guide
- How to Make an Origami Crane
I would love to keep you fully stocked with creative ideas, yummy recipes, fun crafts, and loads of free printables. Subscribe to Skip to my Lou to get new ideas delivered to your inbox. Follow me on Facebook, Pinterest, Twitter, and Instagram for all my latest updates.


