Today, you can learn how to fold a cute and functional candy box with just a piece of paper using the ancient art of origami. This step-by-step guide makes it easy and enjoyable to make your own unique candy box, and it’s suitable for beginners too.
With just a few creases and a little glue, you can make a beautiful candy box that can be used as decoration for any occasion, including in the candy dish at Halloween, birthdays, Christmas, and even on Valentine’s Day.
Place some candy or chocolates inside this beautiful little box, and you can even use it as a homemade birthday gift.

At Skip to My Lou, we have so many paper crafts and creative activities featuring various paper shapes, including A Step-by-Step Guide to Folding an Origami Shirt and Tie, Folding An Easy Origami Leaf: A Step-by-Step Guide, Origami Heart Sucker Covers, and many more.
Why don’t you try them out?
Supplies
For this tutorial, you will need the following supplies:
- A pair of scissors
- A square sheet of paper (you can use origami paper, but I love using wrapping paper with different patterns)
- A pair of scissors
- Glue stick
- String
Video: How to Fold an Easy Origami Candy Box
Step-by-Step Guide: Folding An Origami Candy Box
Follow these step-by-step instructions to fold your origami candy box. What the video first to give you an excellent idea of what to expect.
Step 1: You need a square piece of paper like this to start.
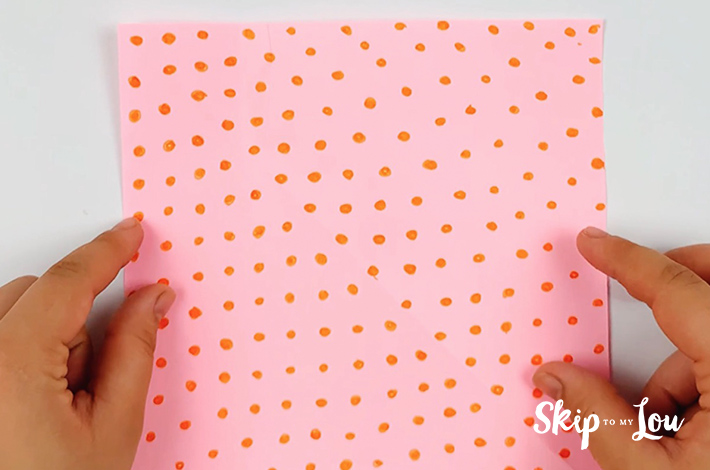
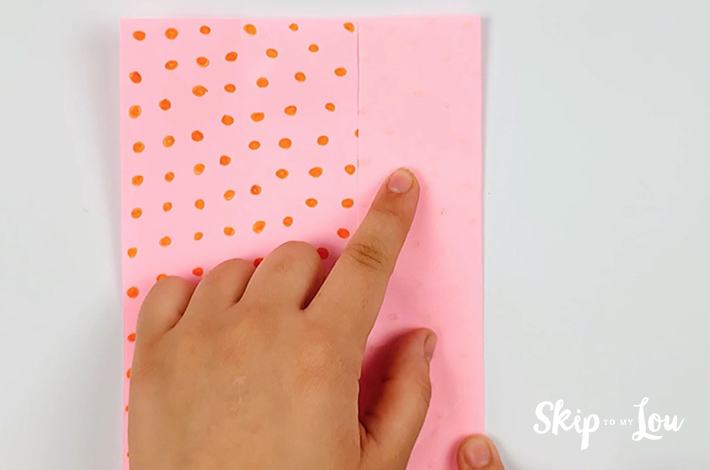
Step 2: Start by making a fold on the right side as shown in the image below. Make sure to squash the fold down and form a good crease. Now unfold, take a pair of scissors, and cut along that crease.
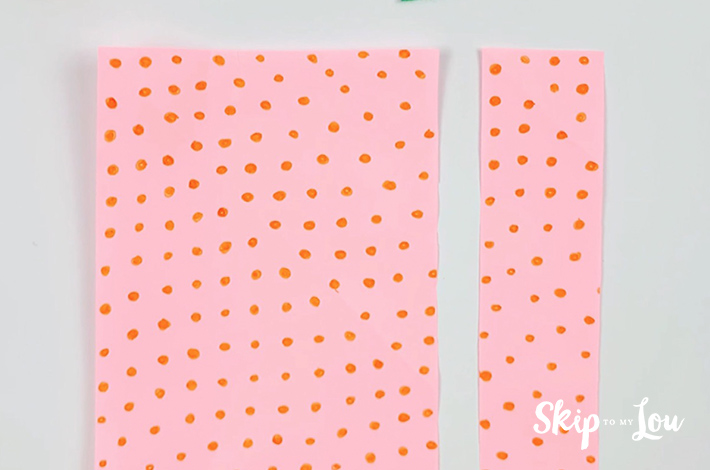
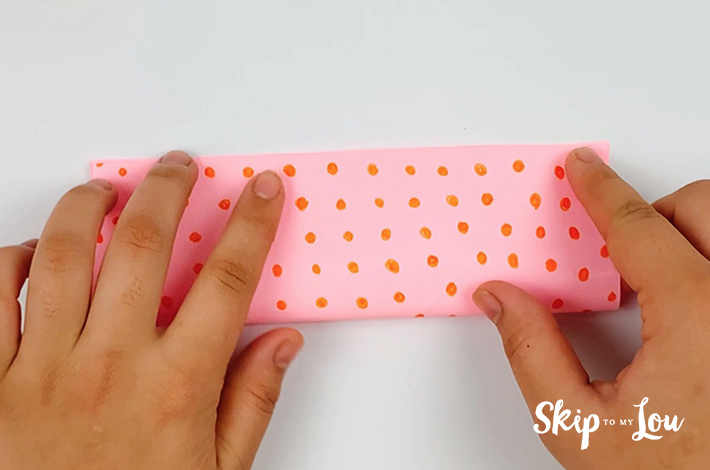
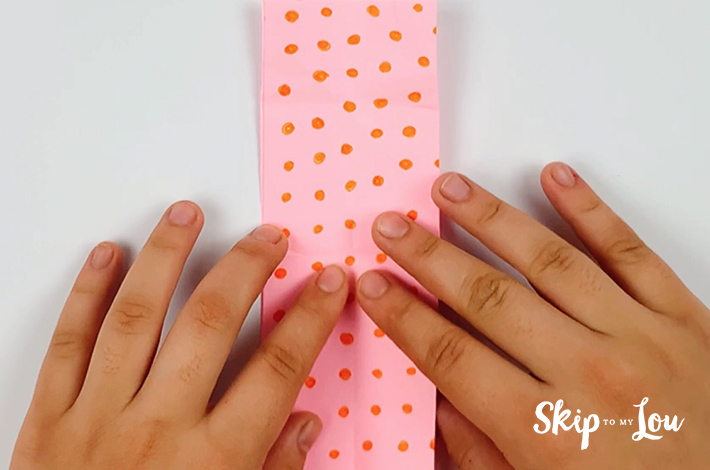
Step 3: Take the largest piece of paper and make a small fold from the bottom upwards, as shown in the image below. Then fold the paper in half from the bottom to opposite end on top.
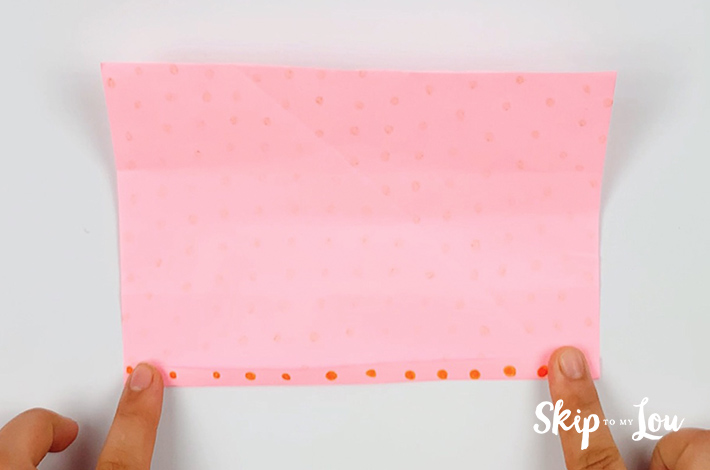
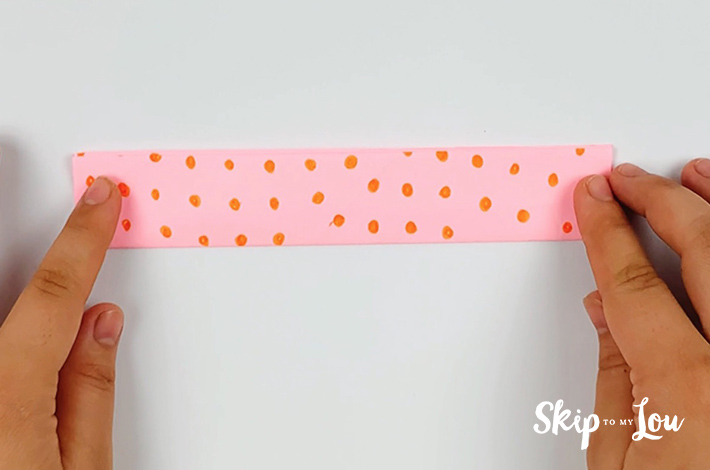
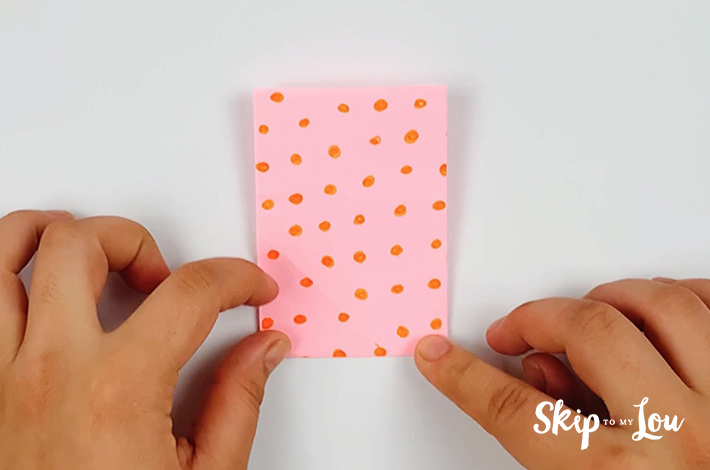
Step 4: Now fold in half again.
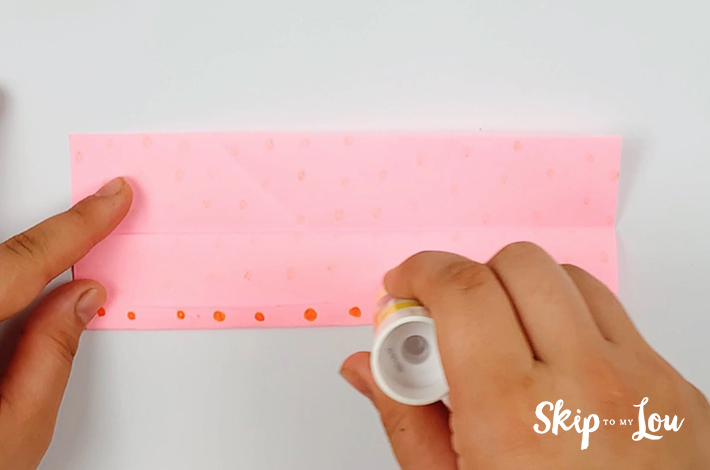
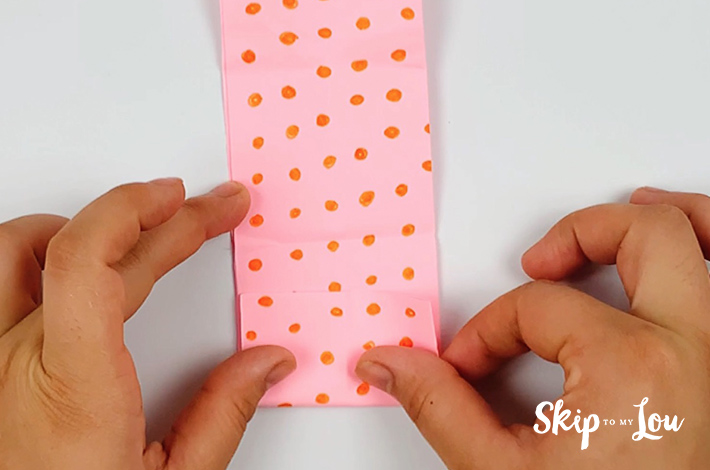
Step 5: Unfold the paper place some glue along the small bottom fold and secure the paper in place on the half fold. If you are unsure of this step, the video shows it clearly.
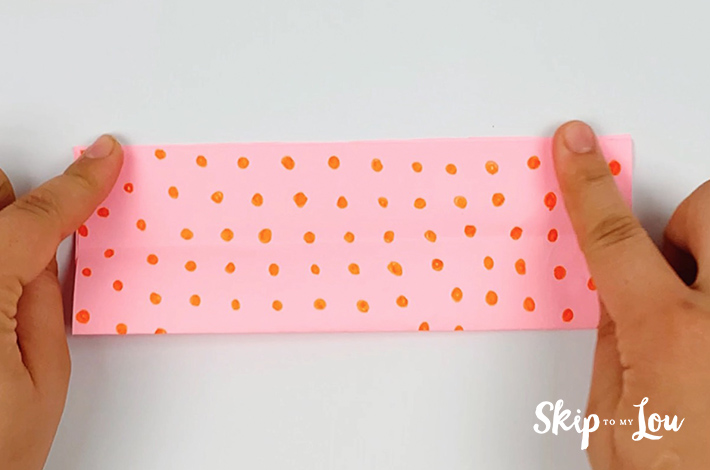
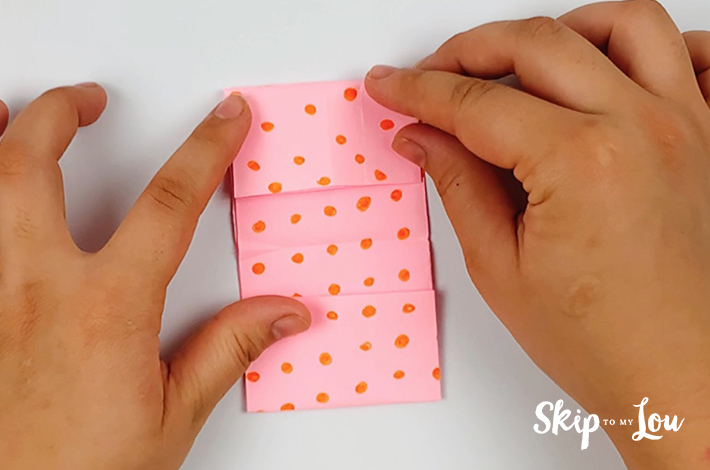
Step 6: Turn the paper 90 degrees and fold it in half from the bottom towards the top.
Step 7: Unfold the paper again, and now make a smaller fold at the bottom as shown in the image below. Do the same at the top.
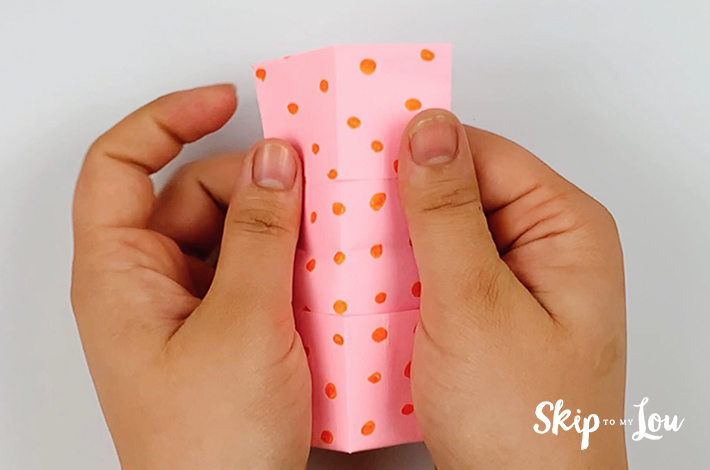
Step 8: Now fold the paper in half along the center line as shown in the images below. If you are unsure of the fold to make, watch the video which shows this clearly.

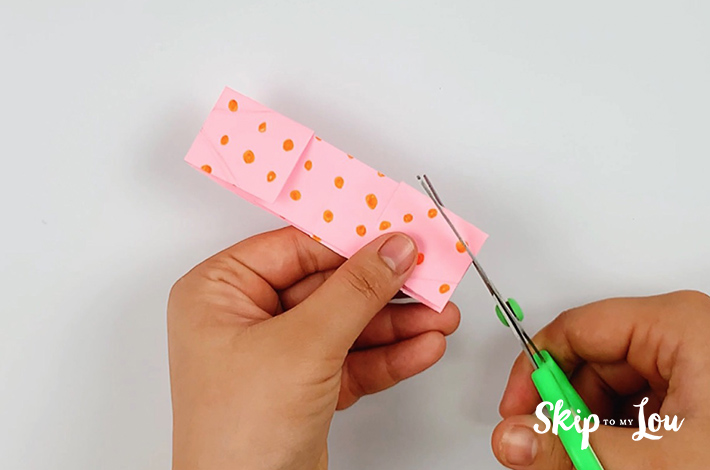
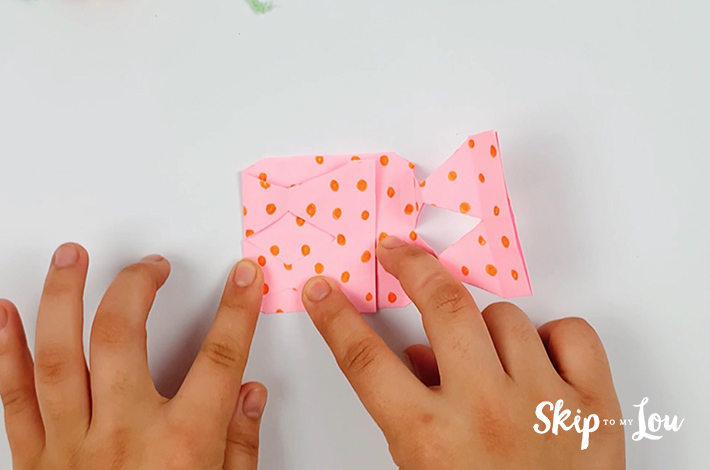
Step 9: Now take your scissors and cut off the corners at a 45-degree angle.

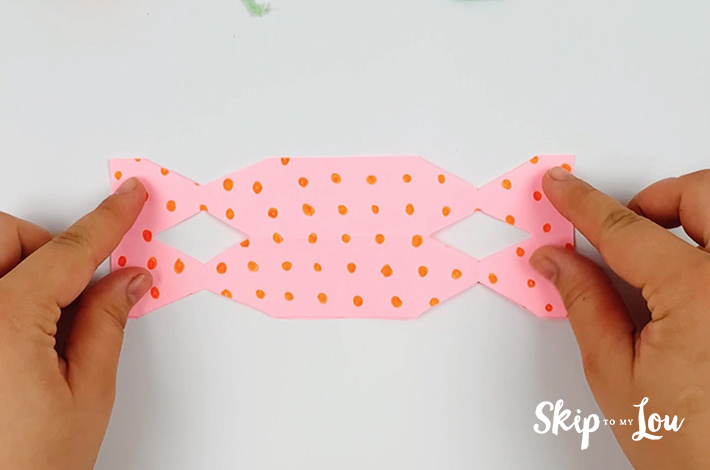
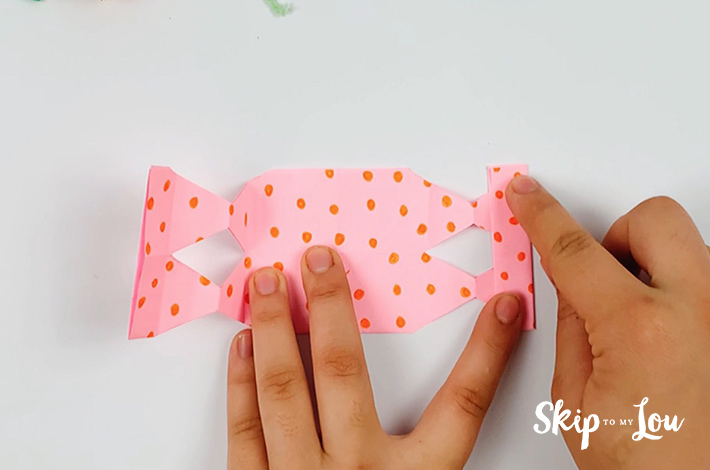
Step 10: Unfold the paper once again. Now make a fold on the right-hand side as shown in the image below and then do the same on the left-hand side.
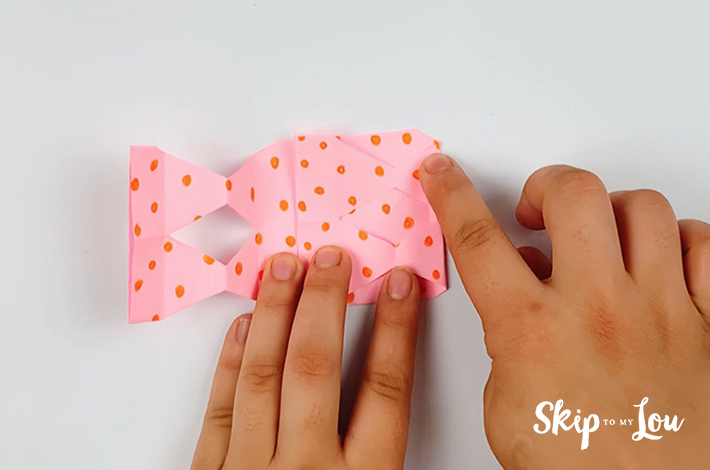
Step 11: Now make a smaller fold on the right-hand side as well as the left-hand side as shown in the images below.
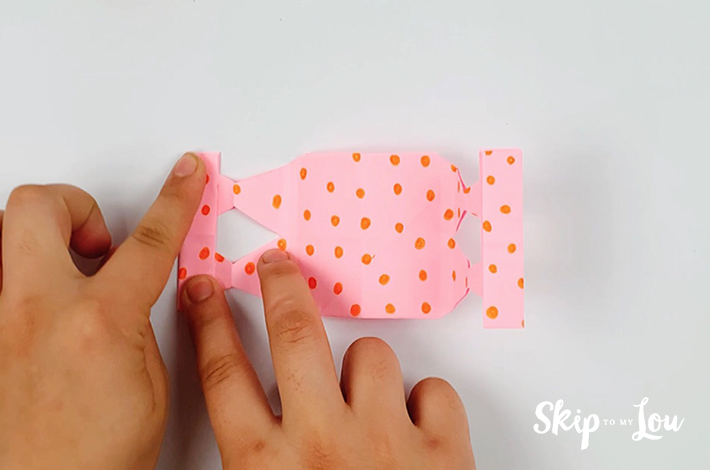
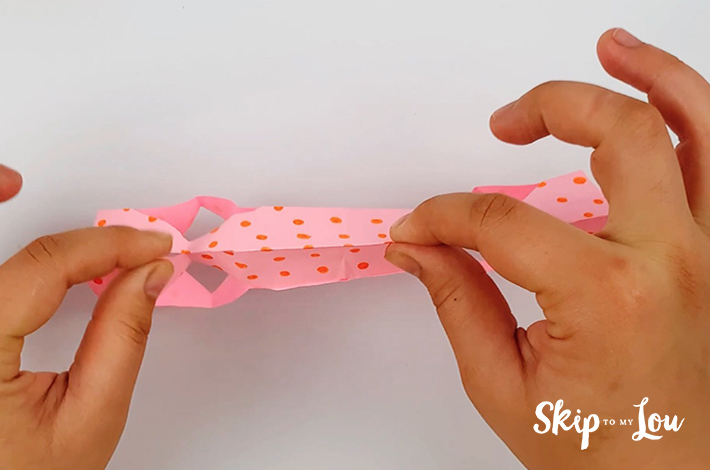
Step 12: Open the paper using your finger and ensure all the creases are folded properly to form a square box shape.
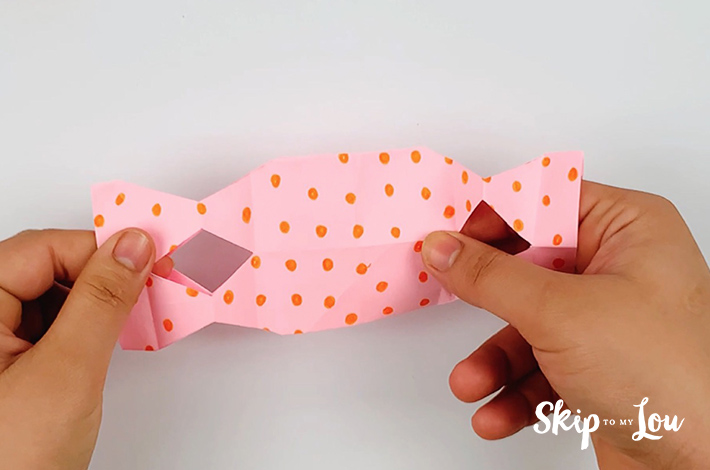
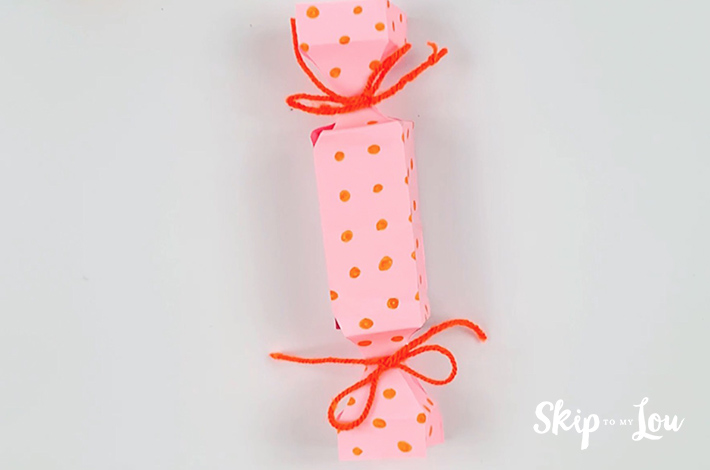
Step 13: Tie some string to either end and your origami paper candy is complete. Make sure you put any sweets inside before you secure the final piece of string.
Other Paper Crafts to Try
Be sure to try some of the other paper crafts we have on Skip to My Lou.
- Craft Idea: Origami Paper Favors
- How to Make a Perfect Paper Cup Mechanical Claw Machine
- Make a Simple Origami Gift Bag {Free Craft Idea}
- DIY Origami Gift Card Holder
- Craft Idea: Origami Pen Holder
I would love to keep you fully stocked with creative ideas, yummy recipes, fun crafts, and loads of free printables. Subscribe to Skip to my Lou to get new ideas delivered to your inbox. Follow me on Facebook, Pinterest, Twitter, and Instagram for all my latest updates.


