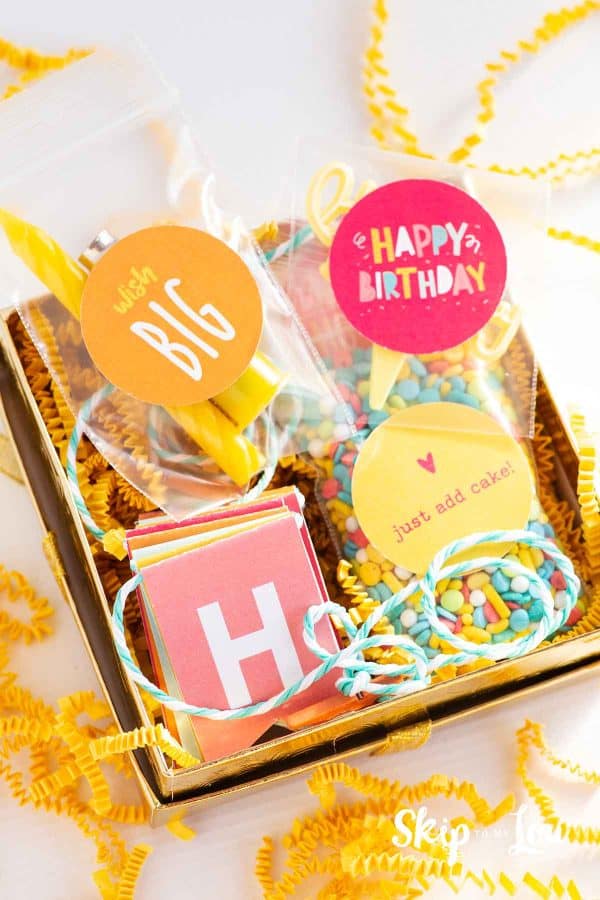
Who needs a party planner when you’ve got my DIY Tiny Birthday Box banner and sticker tutorial? I’m so excited to share this super fun and easy DIY gift box idea, banner and sticker file designed to celebrate the birthday of your favorite people!
Related: Birthday Cake Ideas and Mahomes Chiefs Cupcakes and Cupcake Wrappers pair perfectly with this Party Box!
I have purchased a bridal shower in a box and admit, it was very handy. I used 60% of the items.
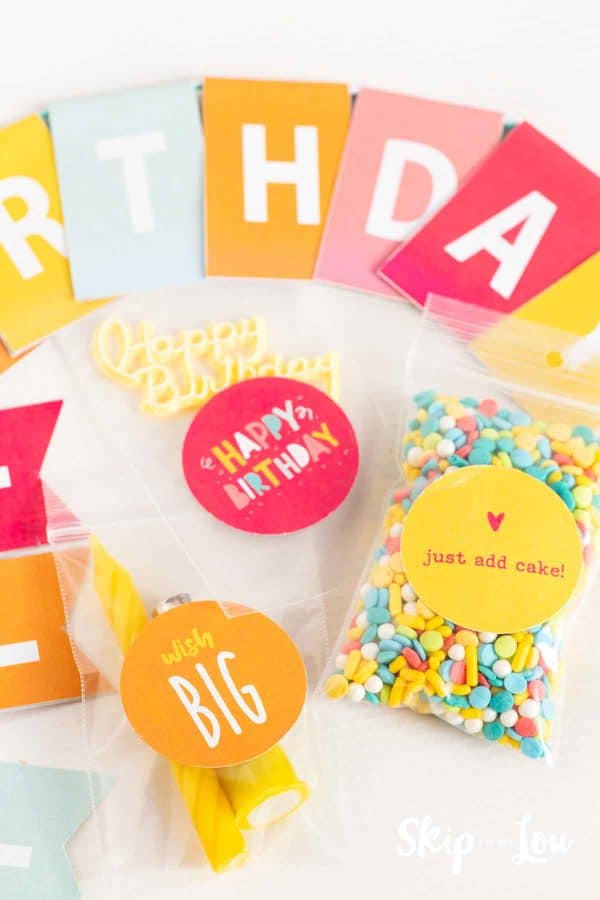
So, when designing this tiny treasure, I made sure to include all the things! An easy to make, colorful Happy Birthday banner and fun stickers to apply to the different elements inside the box. You will make your own filler paper using cardstock or tissue paper. And for the cake topper, candles and sprinkles, you choose what the recipient likes best!
Let’s Get Started on our Tiny Birthday Box
You will need a few supplies, so round up the following:
- colored ink cartridge
- my pdf template for the banner and the stickers (keep scrolling to download button!)
- colored card stock if you are making crinkled box filler
- tissue paper if you are not making your own box filler
- sticker paper or circle punch cutter
- scissors
- cardboard box (You can find foil wrapped gift boxes at some stores!)
- wrapping paper if you do not find a pre-wrapped box
- small plastic zippered bags for holding sprinkles, candles, etc.
- Sprinkles and a Happy Birthday cake topper of your choice
- candles and a lighter
- cord or satin ribbon or cute string for banner
- double-sided tape or hot glue gun and glue stick to set banner pieces
- balloons, candy or trinkets the celebrant loves
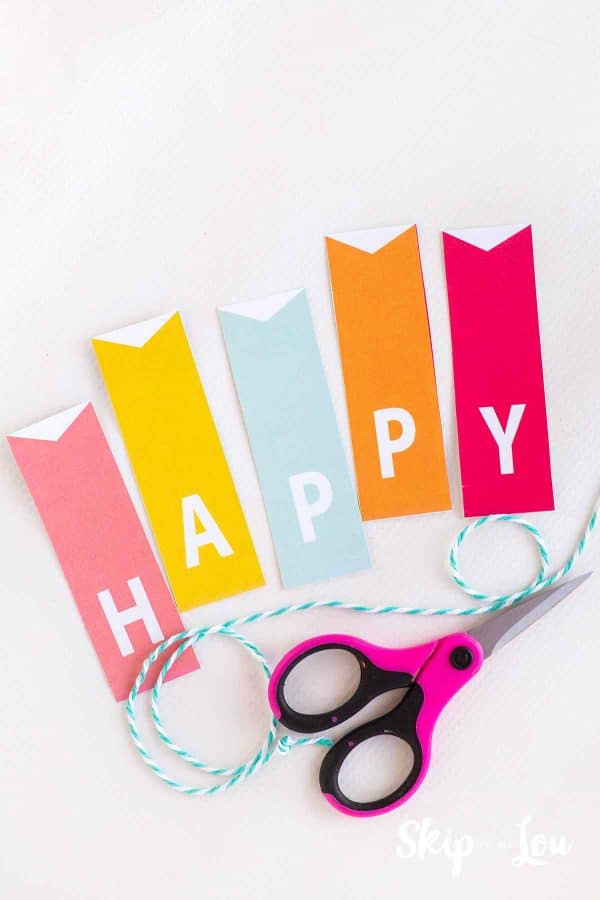
Here are the Instructions for the banner
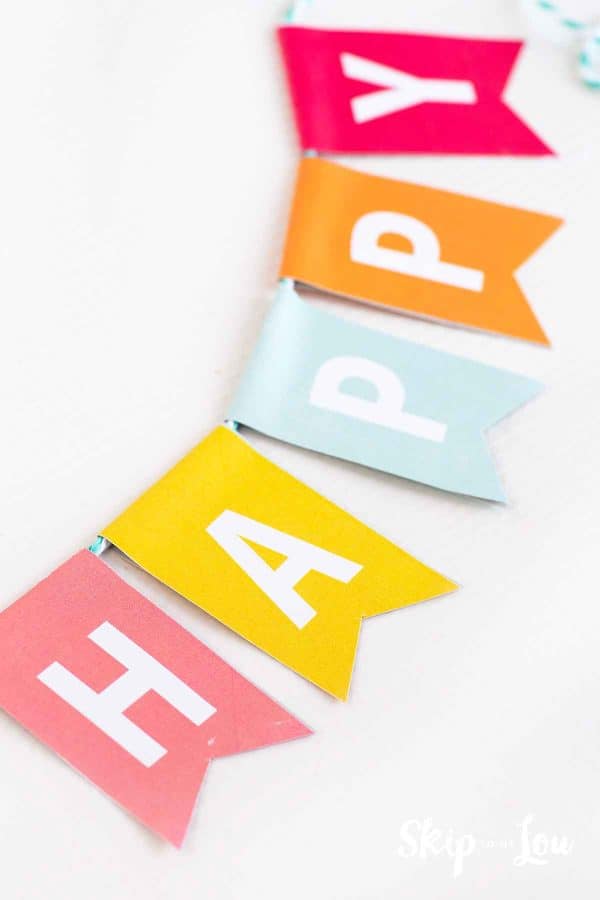
- Download and print the banner file and carefully trim each letter into a perfect rectangle. I mean, it doesn’t have to be perfect, but the more careful you are, the more uniform the banner will be!

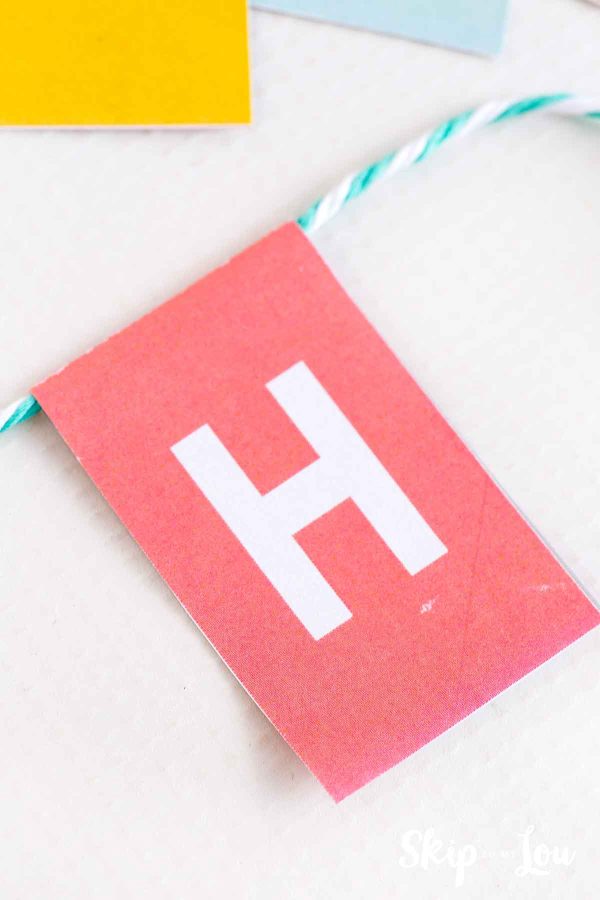
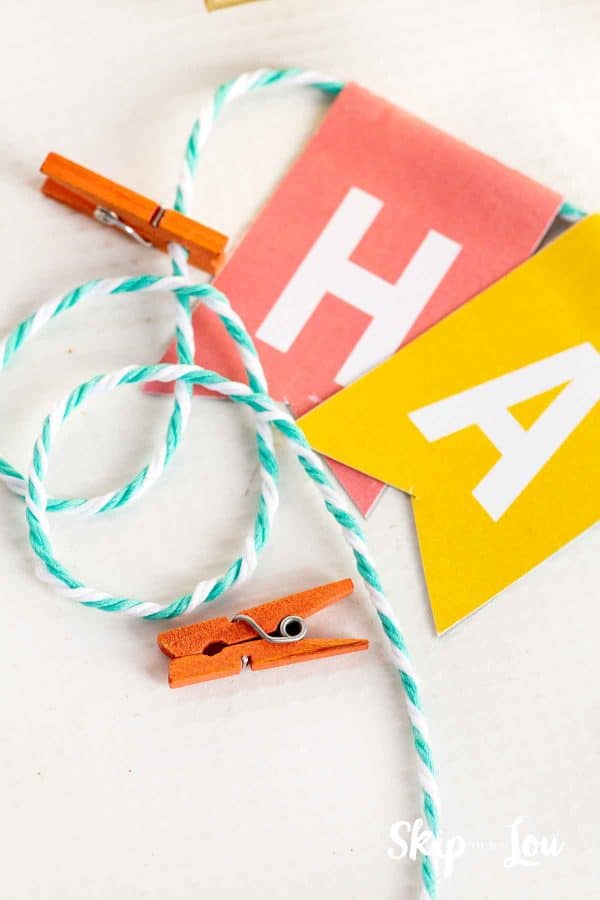
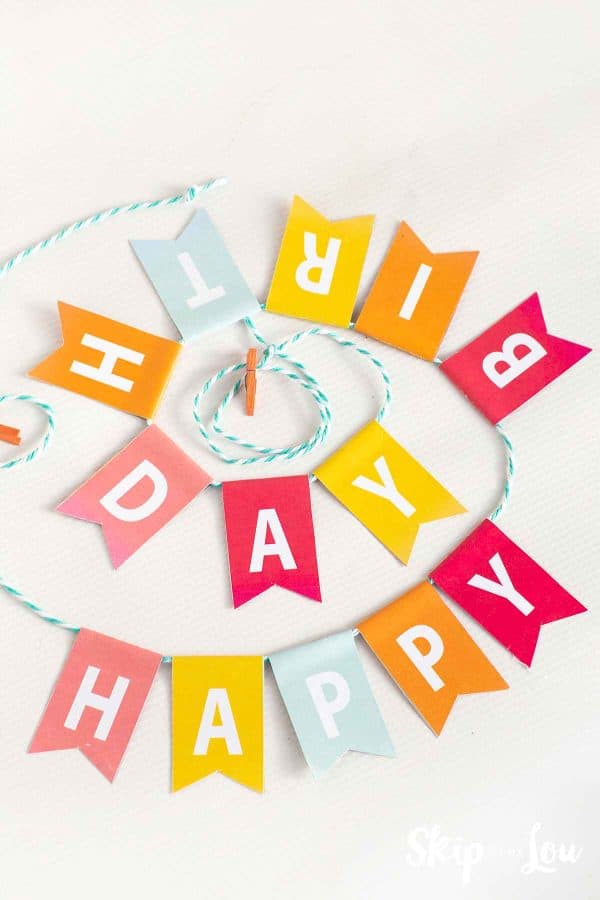
- Fold each letter in half and place the cord or string on the crease. Don’t glue the letters in place until you’ve spaced them like you want. To allow the letters to slide along the string, glue 1 cm below the cord to the bottom and hold for 1 minute each. The letter should slide freely this way. Look at the very last picture to see a completed banner.
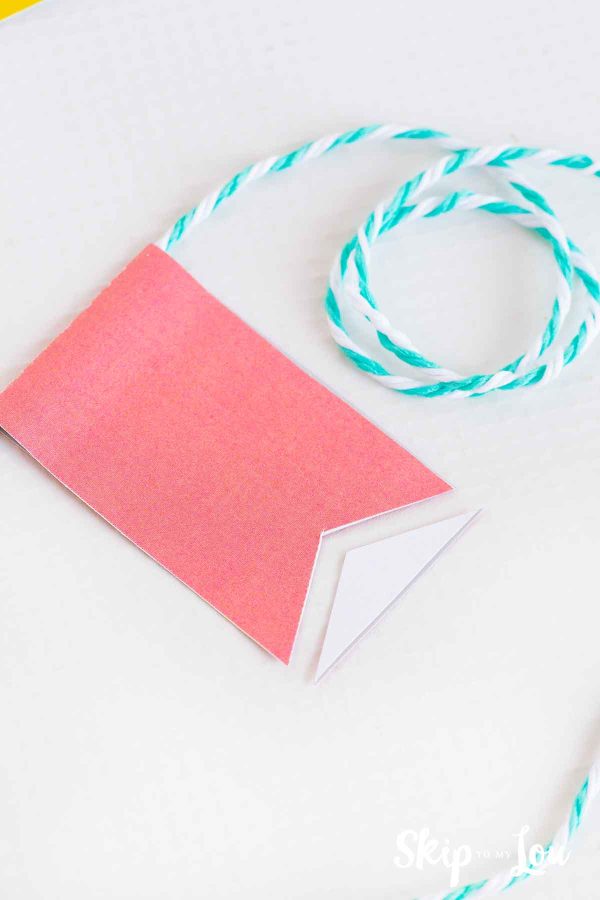
- Flip banner letters over to cut out the triangle at the bottom to give your banner a festive edge.
- Almost finished!
- Attach mini clothes pins to each end of the banner to make hanging it a snap!
- Fold the banner like an accordion to carefully pack in in the box.
- Make the fun accordion folded filler paper, or buy it pre-made. Pack up the sprinkles, cake topper, candles and whatever else you are going to include.
Instructions for the Stickers
- Download the sticker file and print on sticker paper or use a circle punch to cut out stickers.
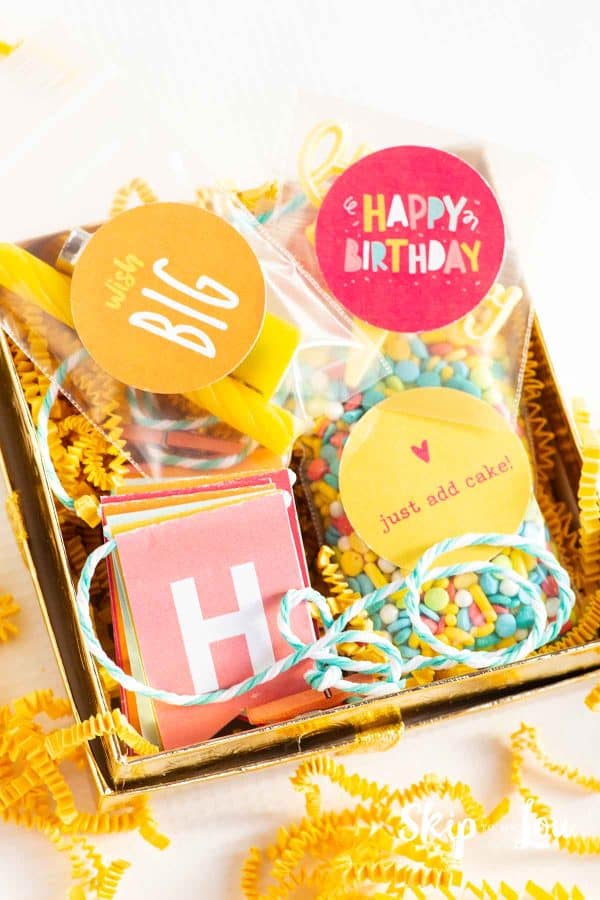
- Apply stickers to plastic bags as shown.
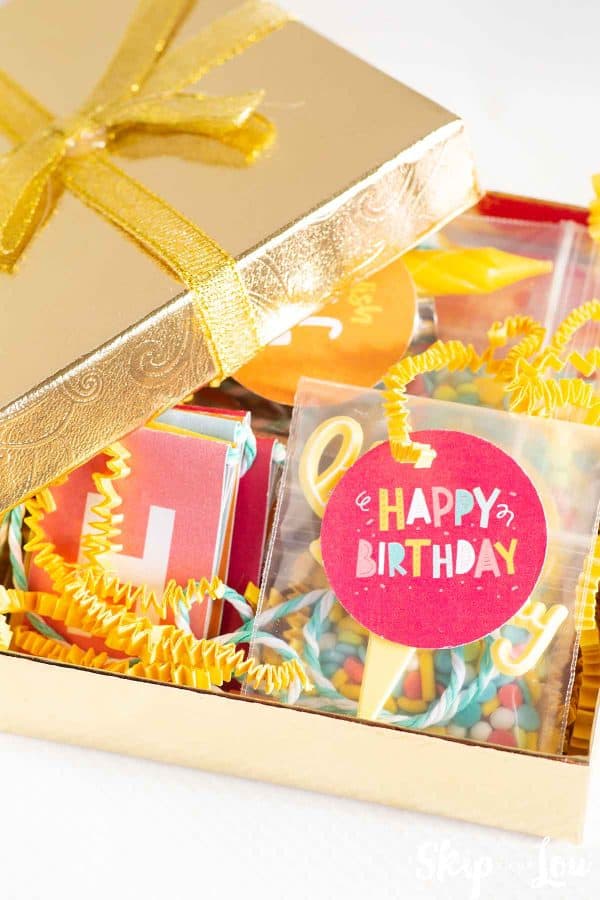
- Boom! Birthday Party in a Tiny Box!!!

Before You Go
Thank you for stopping by to check out my DIY Tiny Birthday Box today! Please leave me a comment below and let me know how yours turned out! And I’ve got you covered on all things Gifting and Party, so enjoy these, too!
- Bella’s Breakfast with Santa Birthday Party is an adorable event for those with birthdays at Christmas time!
- Gift boxes come already filled with my Any Way You Slice it You’re Amazing mini pie gift! Download and print this sticker and make any pie and awesome gift!
- Lottery Ticket Christmas Gift is the perfect printable gift holder for everyone who is feeling lucky on your Christmas list.
- This DIY Graduation Gift Card Holder is a darling way to honor your graduate and gift them what they need the most!
- Valentine’s Day Cocoa Bomb Packaging can move you to the expert level in your gifting game. You’re welcome.
- Glass Jar Gifts these Peppermint Brownies are unforgettable! People will stand in line to be on your Christmas list!
I would love to keep you fully stocked with creative ideas, yummy recipes, fun crafts, and loads of free printables. Subscribe to Skip to my Lou to get new ideas delivered to your inbox. Follow me on Facebook, Pinterest, Twitter, and Instagram for all my latest updates.