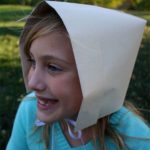
Make this easy Pilgrim Bonnet to help celebrate Thanksgiving! Paper bonnets and paper pilgrim hats will surely make the family photo a festive one. It is a simple Thanksgiving craft to make before eating or have them ready-made sitting at each place.

I would love to keep you fully stocked with creative ideas, yummy recipes, fun crafts, and loads of free printables. Subscribe to Skip to my Lou to get new ideas delivered to your inbox. Follow me on Facebook, Pinterest, Twitter, and Instagram for all my latest updates.
RELATED: You’ll also want this super cool pilgrim hat!
Thanksgiving has been a holiday my family has always enjoyed celebrating. Being able to share with others all the things we are thankful for is the best feeling. With the holiday comes the big holiday feast. What could be more fun than dressing up like the Pilgrims who shared the first Thanksgiving feast?
I came up with a super easy idea to help dress for dinner. It’s a simple papercraft on how to make a bonnet hat. It’s an absolutely adorable way to make a girl pilgrim hat.
Supplies You will need for this Pilgrim Bonnet
Do you know what is so great about this craft? It requires very few supplies to make Who knows you may have all items on hand.
- A large piece of white construction paper (18 inches x 12 inches)
- Ribbon (I used 1/4 inch ribbon)
- Scissors (affiliate link)
- Stapler or tape (affiliate link)
- Ruler
- Clear Tape
How to Make a Paper Pilgrim Bonnet
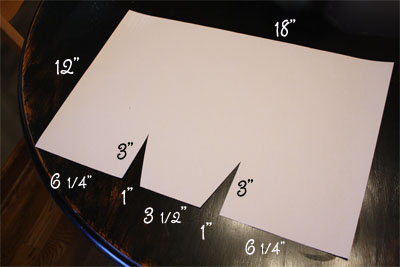
Take a large piece of construction paper and cut following the picture of the Pilgrim bonnet template. The pattern piece is easy to duplicate.

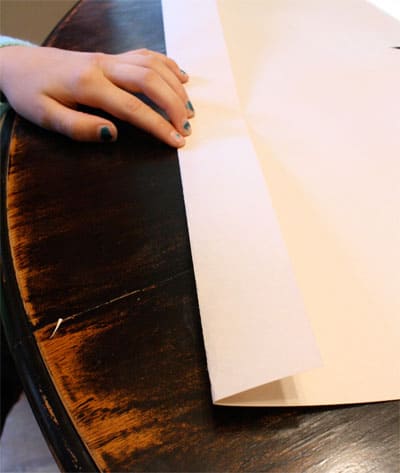
Fold up the edge without the cuts by 2 inches. This will be the bonnet brim when finished.

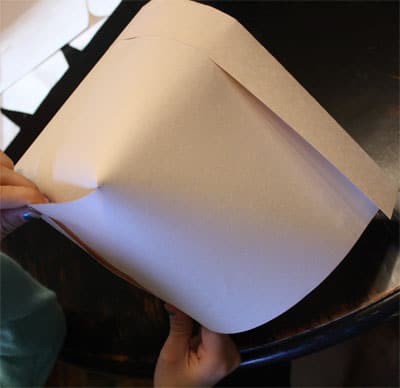
Next, fold the side with the cuts. Fold the middle piece down and bring the sides to the middle. Staple at the top and bottom or run a piece of tape up the back.

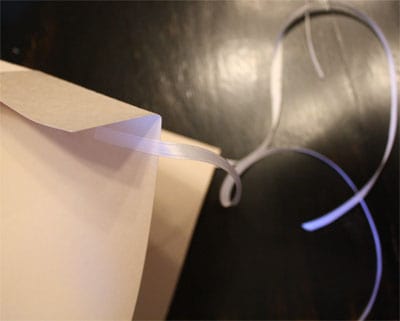
Finally, cut the ribbon to the size of the individual wearing the bonnet. Tape or staple a piece of ribbon underneath the fold on the front on each side, making the ties. These ties will run down to the bottom edge and tie underneath the chin.

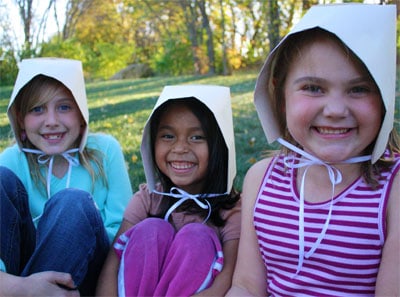
Now we have some adorable Pilgrims and as you can see by their big smiles, they had fun making their bonnets. And, how cute are these pilgrims?!?

Create a full Pilgrim costume by adding a black dress with a white apron over it. Finish the costume with white stockings, black shoes, and your DIY bonnet.
More Thanksgiving DIY Craft Activities
On Thanksgiving Day keeping kids entertained while dinner is being prepared is a must. Do you want more ideas kids and adults alike will enjoy? Here are some ideas that you can add to the kid’s table or do throughout the season.
- These adorable felt turkey crayon holders make fun table markers for kids. And this free turkey coloring page is perfect to keep the kiddos busy.
- If you like origami this craft is for you, Fold a Paper Mayflower Ship {Free Printable}.
- These darling Thanksgiving Coloring Pages {Free Printables} are sure to keep your kids entertained.
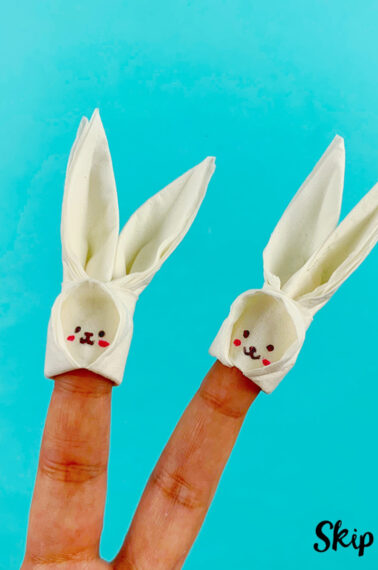
- These Turkey Finger Puppets are so easy to make and will keep your kids engaged even after they are made.
- Thanksgiving Placemats and Thanksgiving worksheets will keep kids engaged.
- Need to keep the conversation going at the adult table? These Thanksgiving conversation starters are full of noncontroversial topics!
- Be sure to test your Thanksgiving Trivia.
I would love to keep you fully stocked with creative ideas, yummy recipes, fun crafts, and loads of free printables. Subscribe to Skip to my Lou to get new ideas delivered to your inbox. Follow me on Facebook, Pinterest, Twitter, and Instagram for all my latest updates.
How to Make a Pilgrim Bonnet Out of Paper
Ingredients
- 1 piece 12" x 8" White Construction Paper
- 1/4 inch Ribbon cut to size
- 1 pair Scissors
- 1 Stapler
Instructions
- Take a large piece of construction paper and cut following the picture of Pilgrim bonnet template.

- Fold up the edge without the cuts 2 inches. This will be the bonnet brim when finished.

- Next, fold the side with the cuts. Fold the middle piece down and bring the sides to the middle. Staple at the top and bottom or run a piece of tape up the back.

- Cut the ribbon to the size of the individual wearing the bonnet. Tape or staple a piece of ribbon underneath the fold on the front on each side, making the ties.

- Now we have some adorable Pilgrims!


This is such a fun project! I love it.
Love this easy hat that everyone will enjoy and make great thanksgiving picture memories both making and wearing!
Thank you I needed something fast and easy for my preschool class and this is so awesome and adorable Have a Blessed Holiday season
I love these paper Pilgrim bonnets! Thanks so much for sharing your idea. I’m including them in my Kids Thanksgiving Paper Craft Round-up!
this was a huge help for my 5th grade live wax museum over the revolutionary war. Especially since I was molly pitcher!!!
I modified this for Little red riding hood. Thanks:)
Great idea just had a little trouble turning the two tab to the middle because it always turned out to be triangular maybe make that a little more clear but this helped a lot! Thanks!! 🙂
We are trying to make a family turkey dinner for our family of 5 adults and 2 grand kids. This àctivity made it fun instead of serious. WHat fun…native American music. In the background.