We love easy paper crafts on Skip to My Lou, and today, we’ve got a super fun easy origami project for you to try.
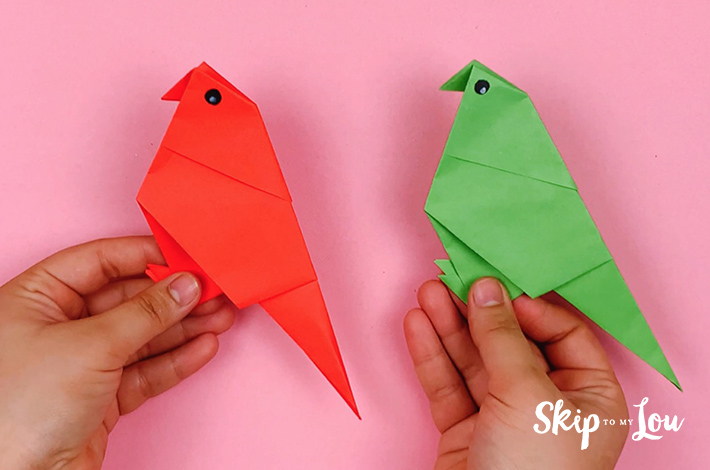
Parrots are fascinating birds that love to talk, and our instructions will help you fold a simple origami parrot.
These paper birds are the perfect way to keep kids entertained and make for excellent school projects for teachers, too, because, with a little guidance, origami beginners can fold their own paper toy birds.

Skip to My Lou is filled with fun origami projects that you should try out including Origami Heart Sucker Covers, Make a Puppy Ears Card, and DIY Origami Gift Card Holder.
Supplies Needed for This Origami Parrot Tutorial
You will need the following supplies:
- A square piece of paper
- Colored pencils
Video: How to Fold An Origami Paper Parrot
Folding an Origami Parrot Step-by-Step Guide
Follow this origami bird step-by-step guide to fold your parrot. Make sure you watch the video as well to help you during the folding process.
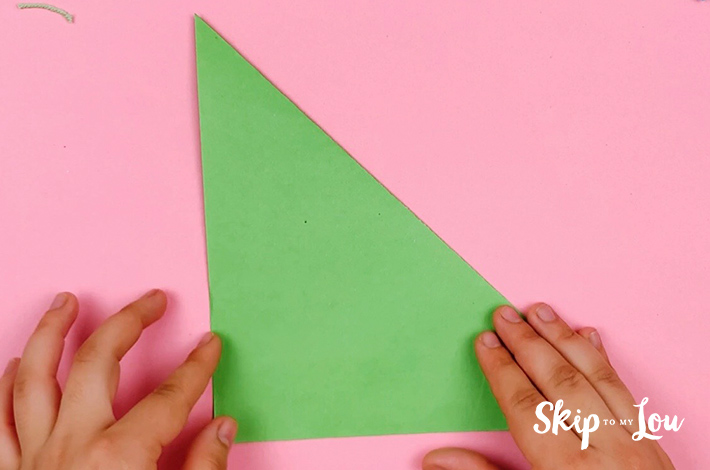
Step 1: Start with a square piece of paper and fold it on a 45-degree diagonal.

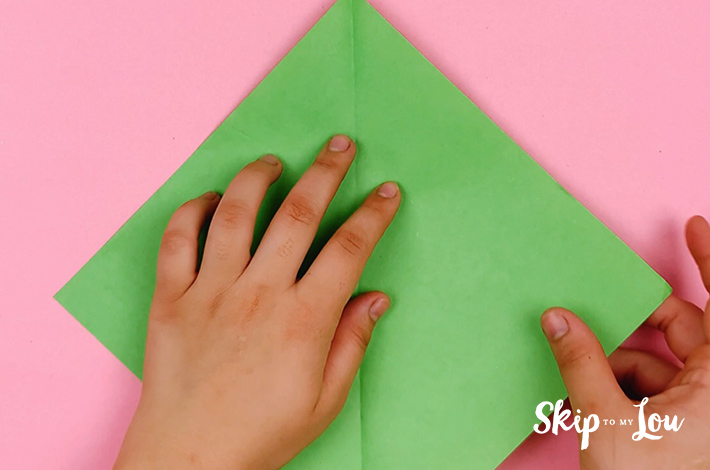
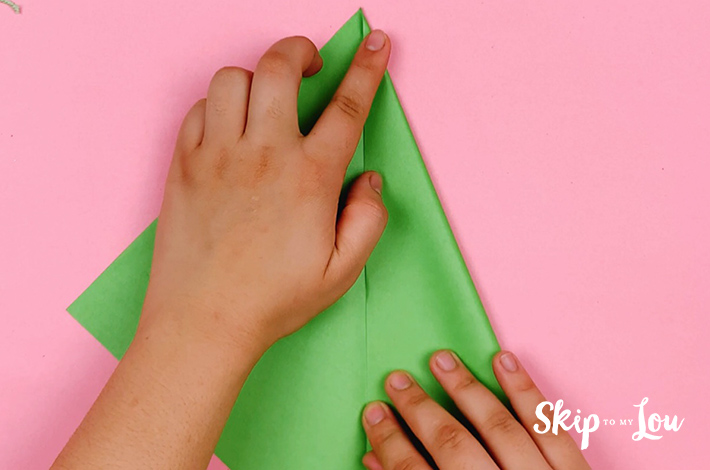
Step 2: Open the fold and turn the paper 45 degrees. Now fold the right flap over as shown in the images below. Do the same for the left flap.
Step 3: Take the right side of the paper and fold it towards the crease line of the first fold. Do the same with the left-hand side.
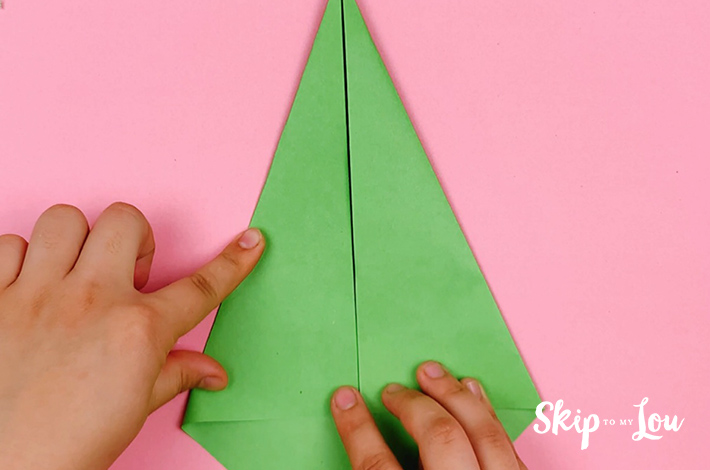
Step 4: Flip the paper over and fold the bottom of the paper upwards, as shown in the image below.
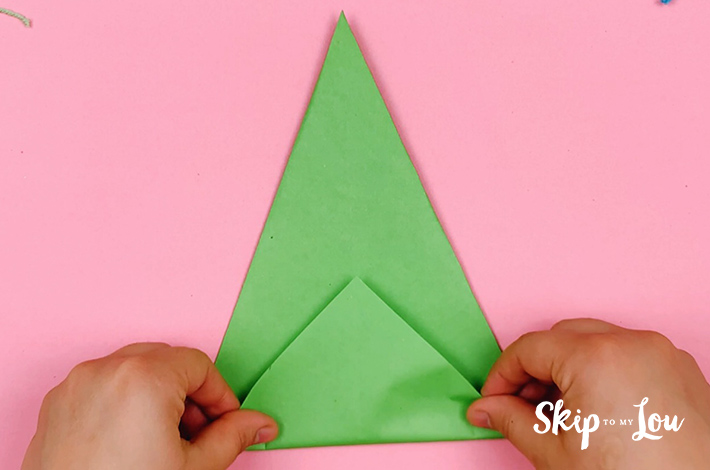
Step 5: Flip the paper over again and fold the left and right bottom corners towards the center line. The video shows this clearly if you aren’t sure of the exact folds to make.


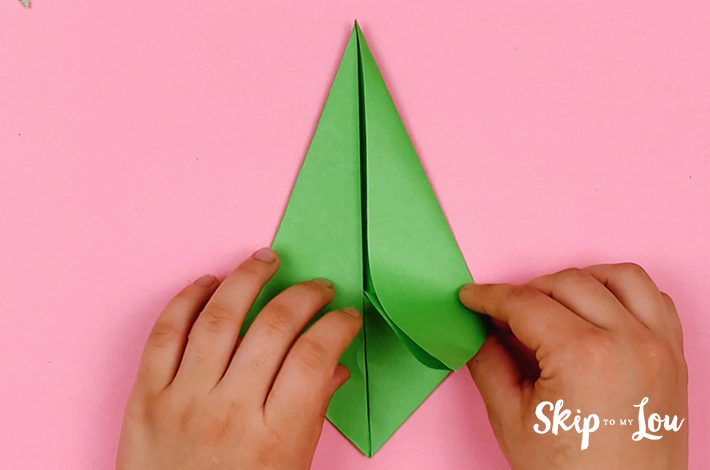
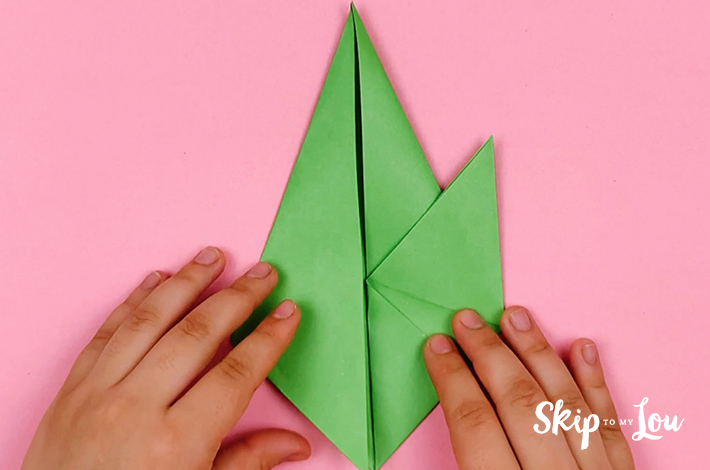
Step 6: Unfold the paper again on the right-hand side. Now fold a triangle as shown in the images below. This can be tricky if you are just using these photographs, but the video shows the folds you need to make clearly.
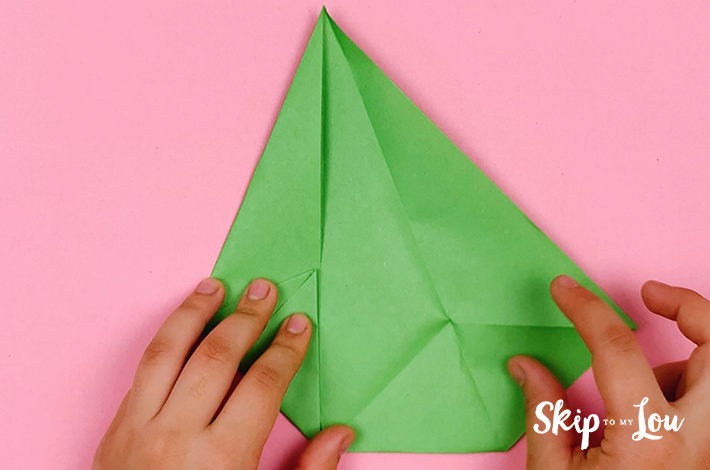
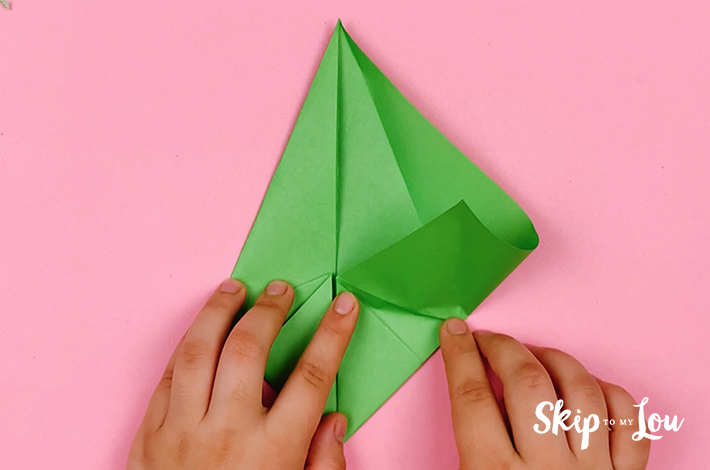
Step 7: Do the same on the left-hand side.
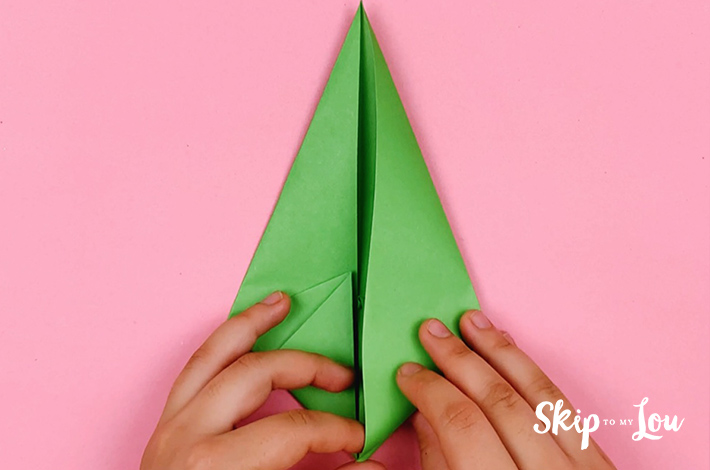
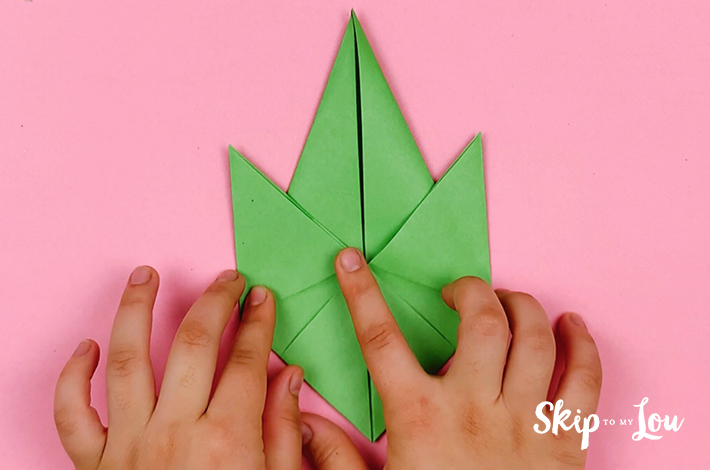
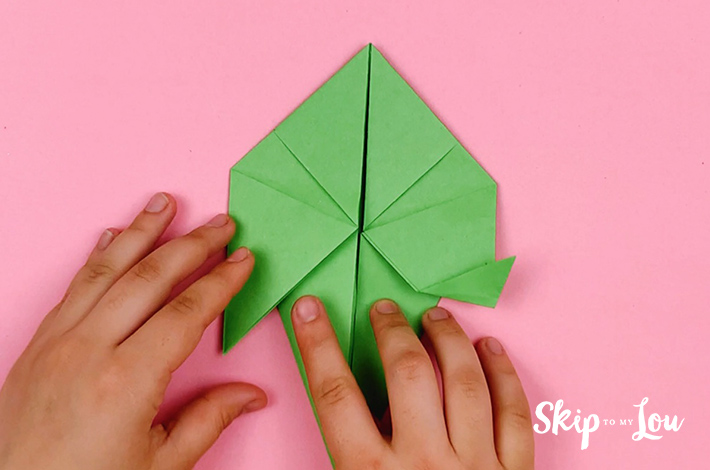
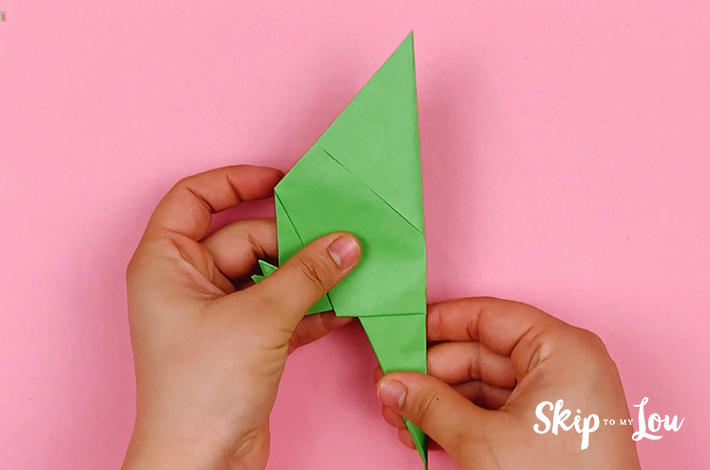
Step 8: Take the bottom right-hand section and fold upwards at an angle as shown in the images below. Do the same for the bottom left-hand section.
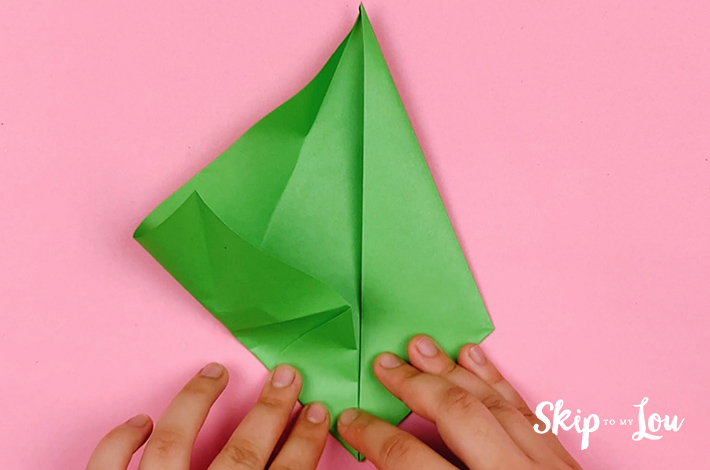
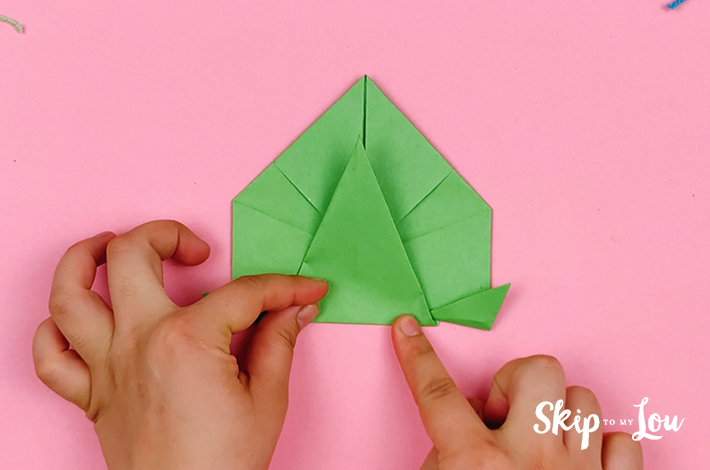
Step 9: Flip the paper 180 degrees and make two small folds on the left and right side, as shown in the images below.
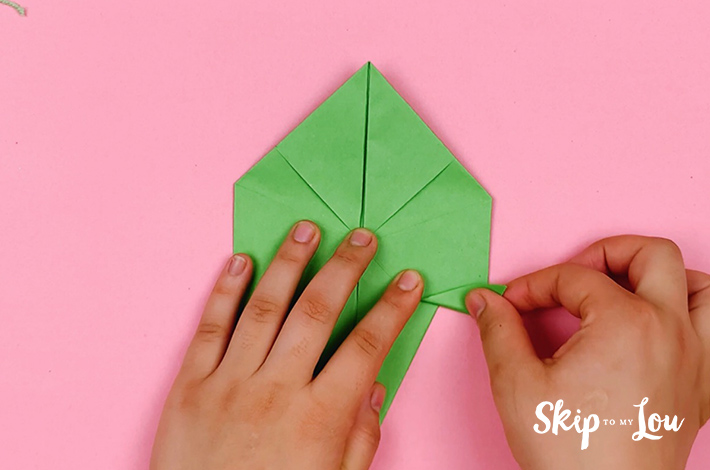
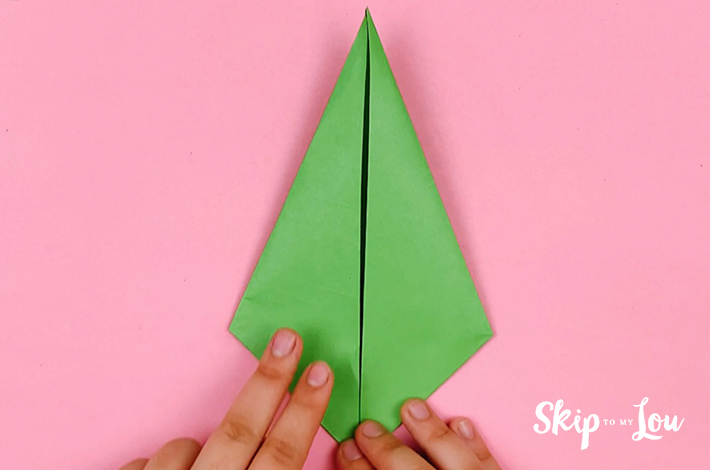
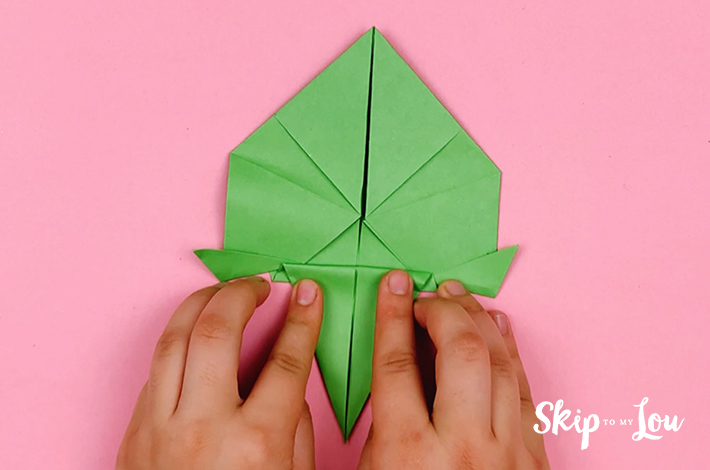
Step 10: Now fold the bottom triangle upwards towards the center of the paper and then fold the top section of it back down, as shown in the images below.
Step 11: Now fold the paper in half.
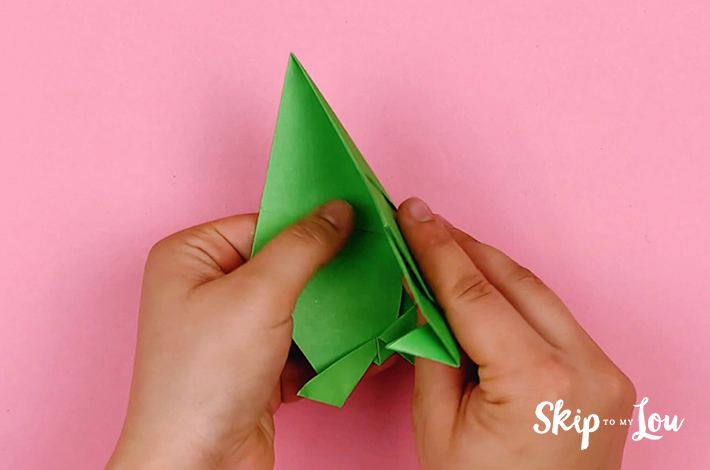
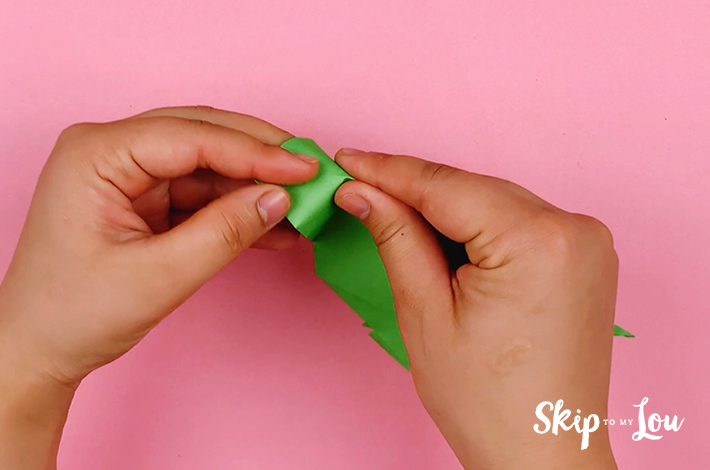
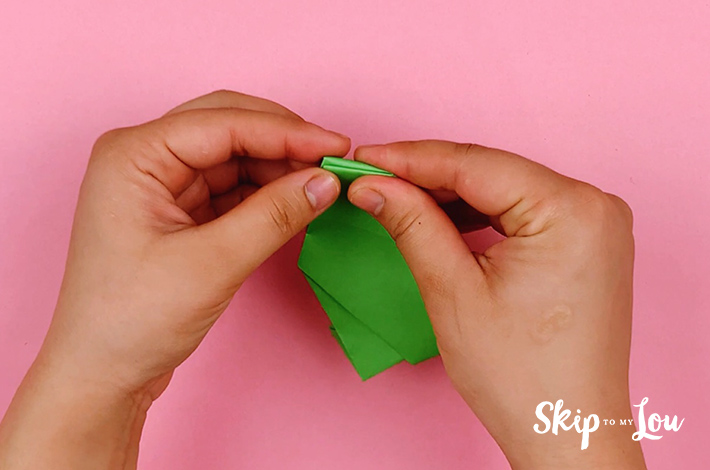
Step 12: Take the top section, and fold inwards as shown in the images below.
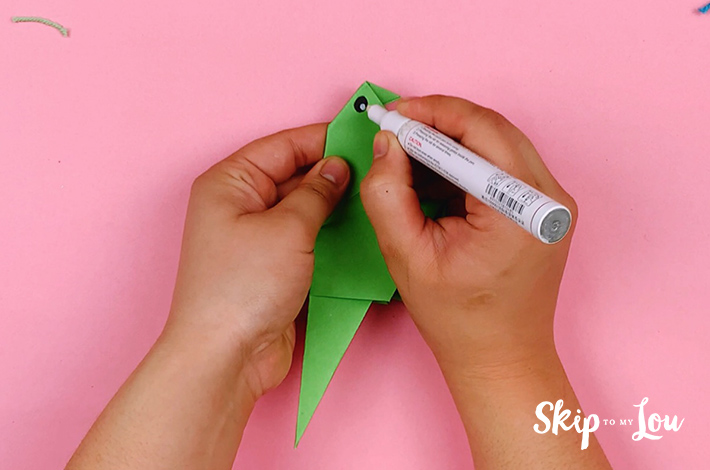
Step 13: Your parrot is ready to be decorated. Draw an eye, and decorate the wings, it’s up to you really!
Related: If you love parrots, turn this colorful free printable into a paper parrot launcher flying bird craft—and get creative with parrot coloring pages too!
Try These Easy Origami Animals
Now that you have a parrot, why not fold some other origami animals
- Jumping Origami Frog {Paper Craft}
- Easy Origami Butterfly {Paper Craft}
- How to Fold a Fabulous Origami Fish: A Step-by-Step Guide
- Bunny Origami
- How To Make An Origami Cat: A Step-by-Step Guide
- How to Make an Origami Crane
I would love to keep you fully stocked with creative ideas, yummy recipes, fun crafts, and loads of free printables. Subscribe to Skip to my Lou to get new ideas delivered to your inbox. Follow me on Facebook, Pinterest, Twitter, and Instagram for all my latest