I love butterflies! They are such beautiful creatures and I could watch them for hours as they float around my garden.
In today’s blog post tutorial, we will show you how you can create your own with just a few origami paper folds. Paper crafts are so much fun, and your kids will love making their own paper butterfly with a dimension of realism they’ll love.
Once folded, it can be used in all kinds of ways, as wall art, a bookmark, or as decorations. For example, you could hang the butterflies from the ceiling in a child’s room. Or encourage your child to start origami scrapbooks with all their creations.
We have a range of other origami tutorial blog posts, including, a One-of-a-kind Origami Crown {Craft Tutorial}, Make a Simple Origami Gift Bag, and How To Make An Origami Cat: A Step-by-Step Guide.
Why Origami Crafts are Excellent for Younger Kids
Not only is origami the perfect stress reliever for adults to try, but it benefits children too, teaching them to concentrate on a task, while also helping them with problem-solving, and developing fine motor skills. It teaches patience, too.
Supplies Needed for This Origami Butterfly Tutorial
You will need the following supplies:
- A pair of scissors
- Nice origami paper (any type of paper will do, however).
Video: How to Fold Simple Paper Butterflies
Traditional Origami Butterfly Instructions: How to Fold a Beautiful Butterfly
Follow these step-by-step instructions to fold your own origami butterfly. Remember to watch the video if you are unsure what folds to make.
Step 1: Start with a square piece of paper.
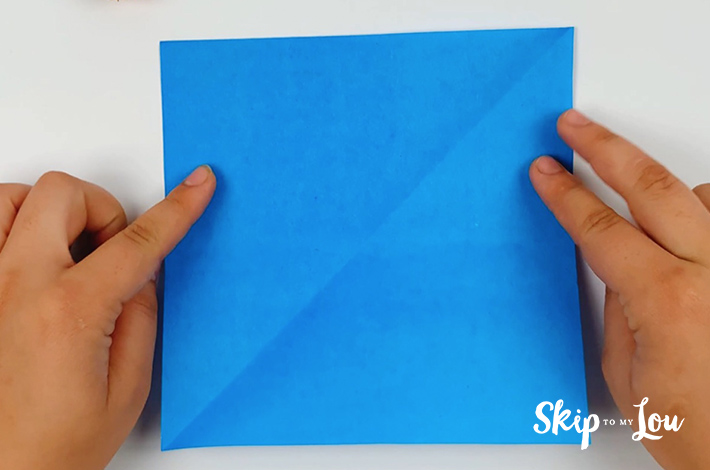
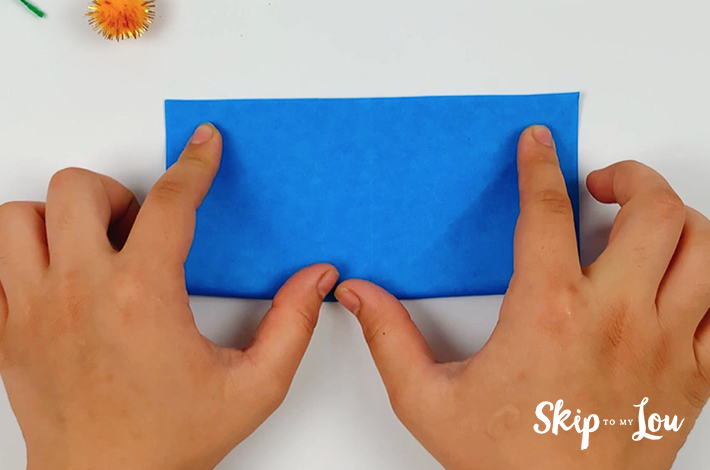
Step 2: From the top point, fold the paper in half towards the bottom point, making a crease so the top edge and the bottom edges of the paper meet. Now turn the paper 90 degrees and repeat the process to form an X in the middle of the paper.
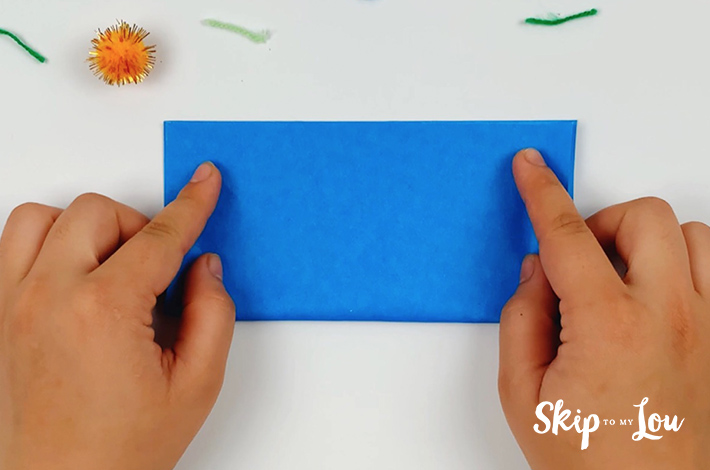
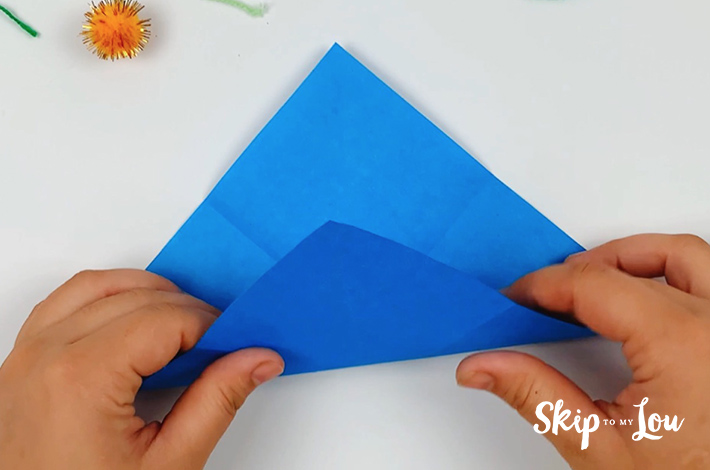
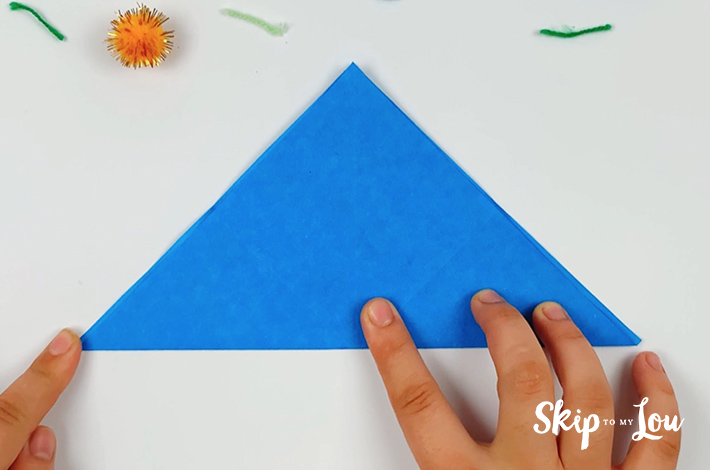
Step 3: Now turn the paper 45 degrees and fold upward so the bottom edge reaches the top edge to form a triangle.
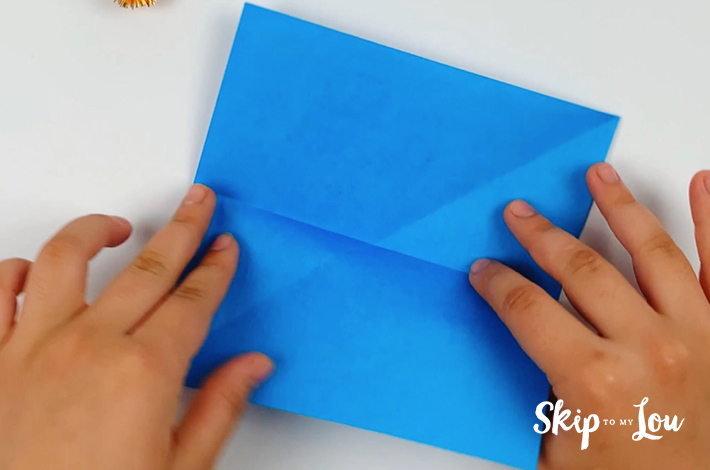
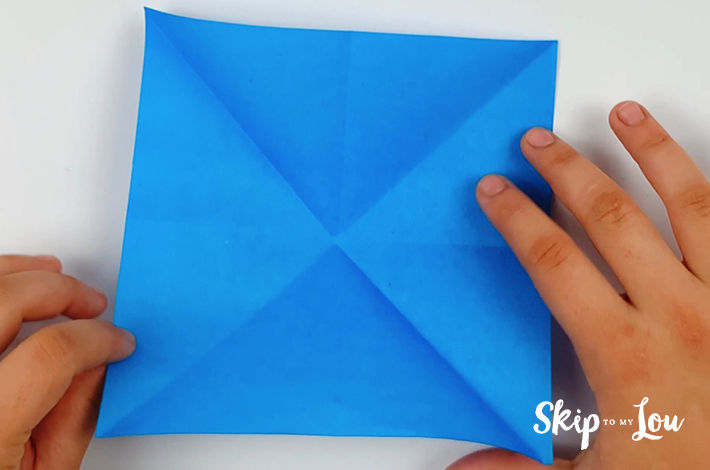
Step 4: Open the paper out to the original square shape.
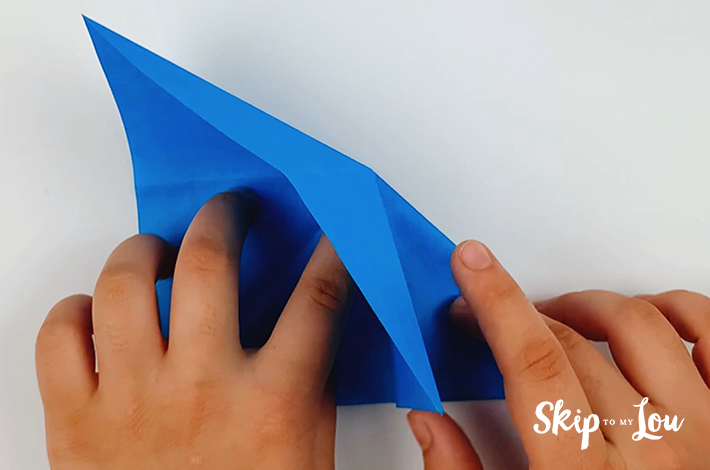
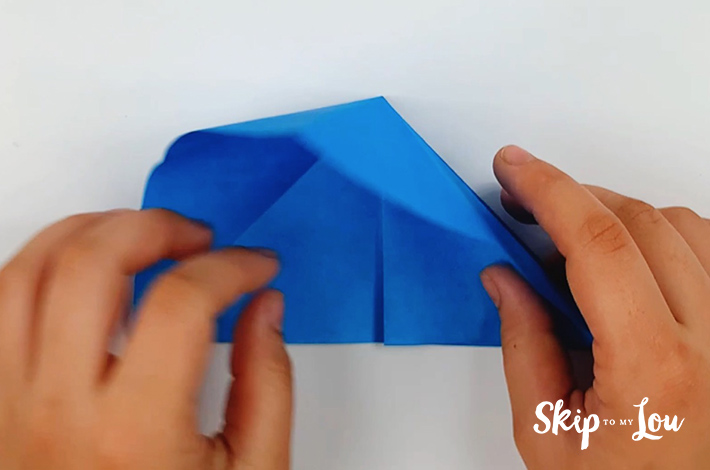
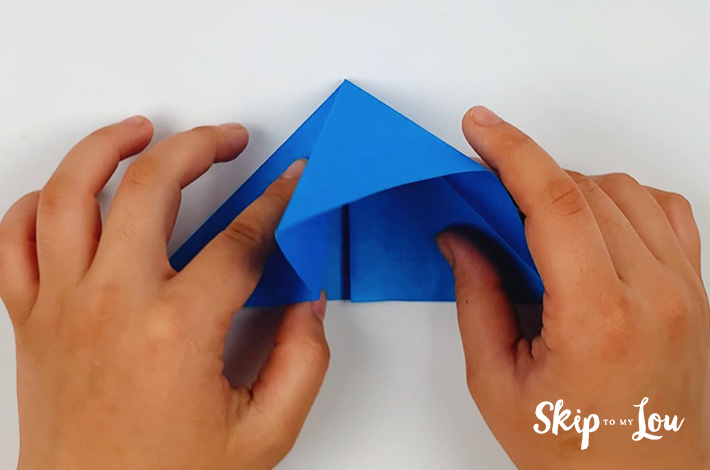
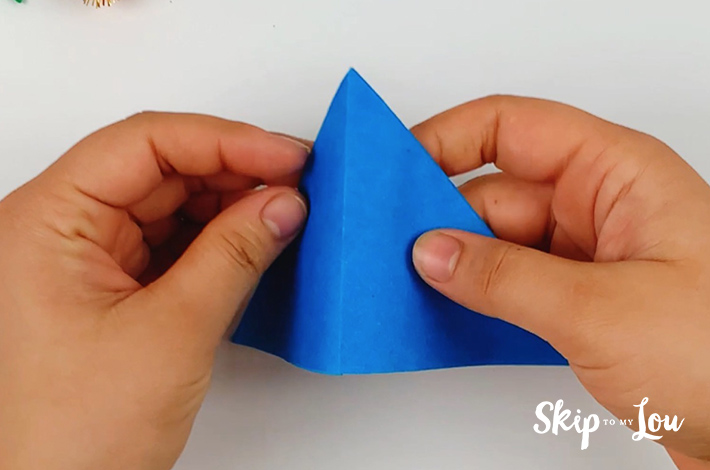
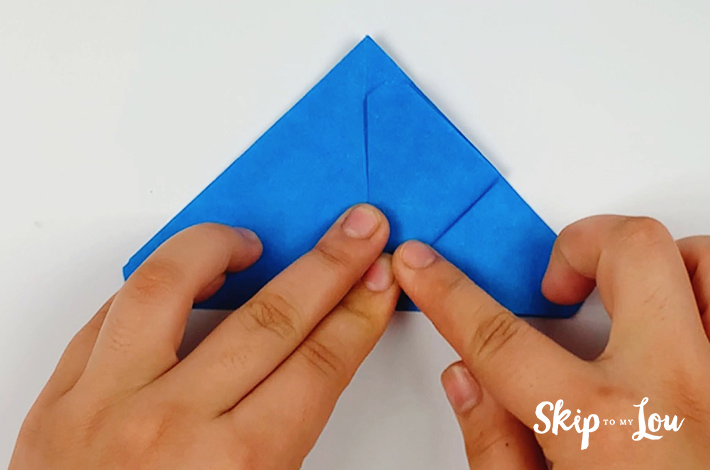
Step 5: Now fold the paper inwards as shown in the images below. If you are not sure of the correct folds, the video shows this clearly.
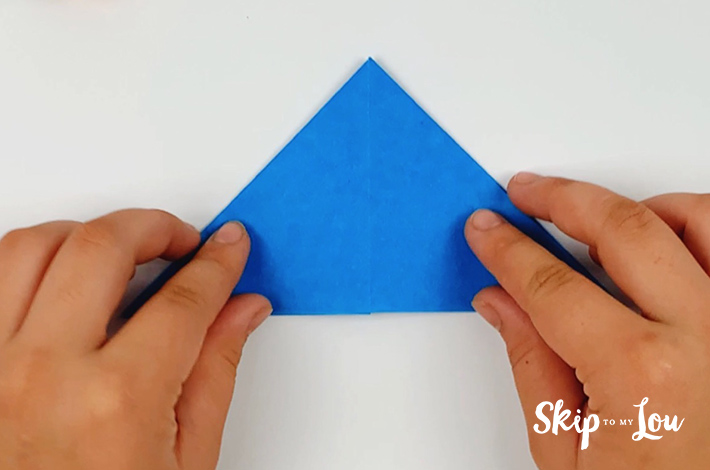
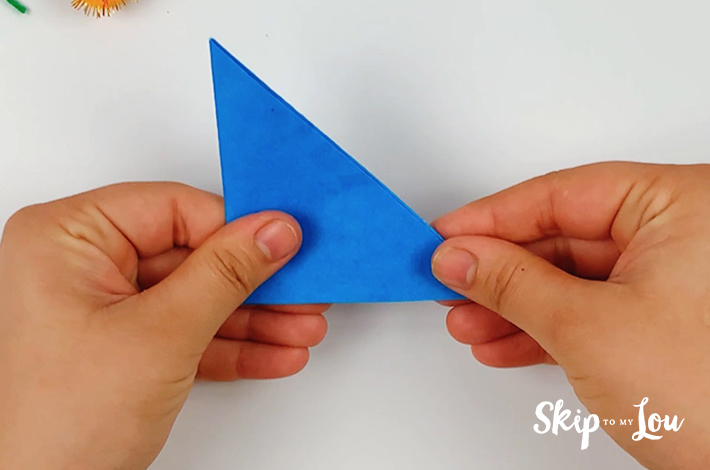
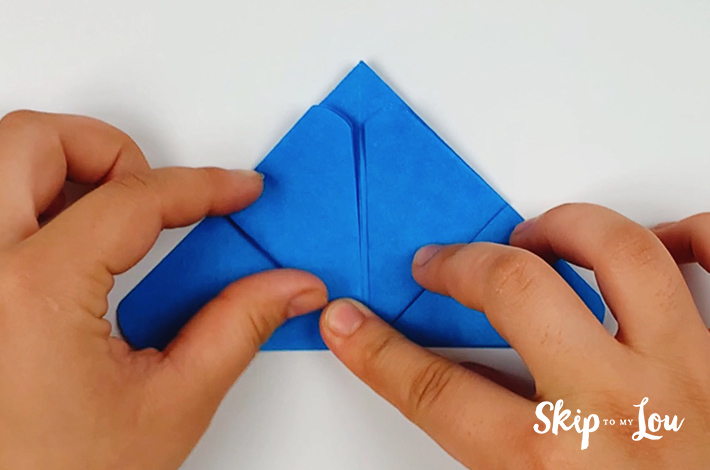
Step 6: If you’ve done it correctly, you will be left with a small triangle as shown below.
Step 7: Now fold the triangle in half again.
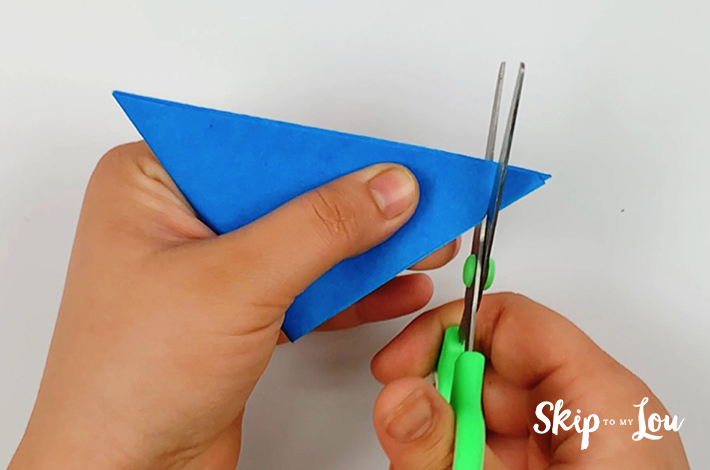
Step 8: Cut the right flap as shown in the images below.
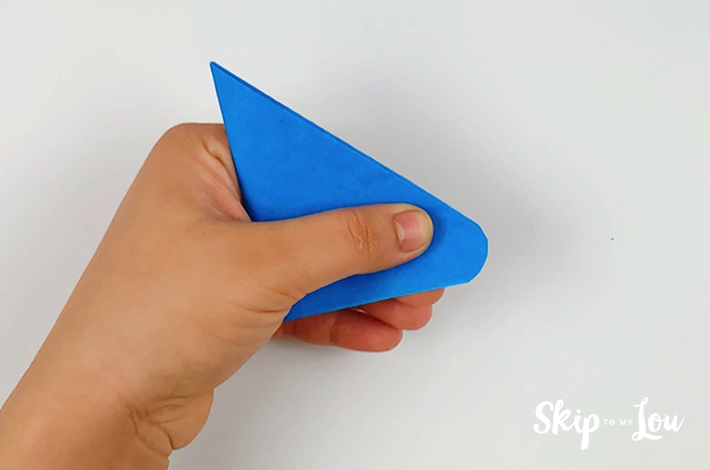
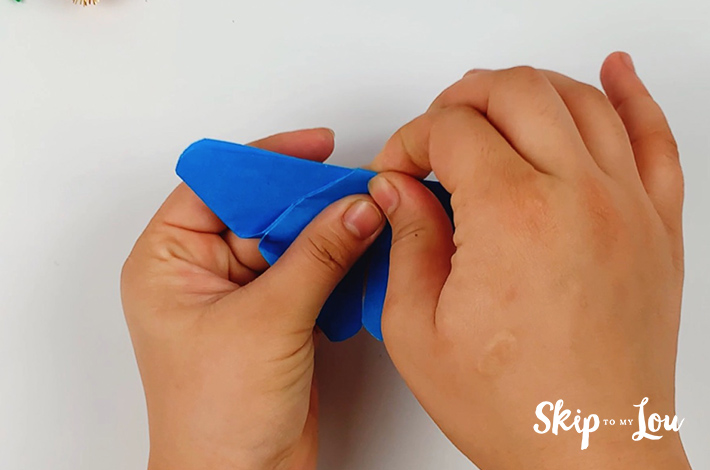
Step 9: Open the triangle once and only fold the top section of the right flap upwards. Do the same with the left flap. Do the same with the left flap.
Step 10: Turn the triangle over, and fold the top section backward, towards the longer side of the triangle.


Step 11: Now fold the top edge back over the underside of the paper.
Step 12: Flip the butterfly over and make a fold along the center line of the wings.
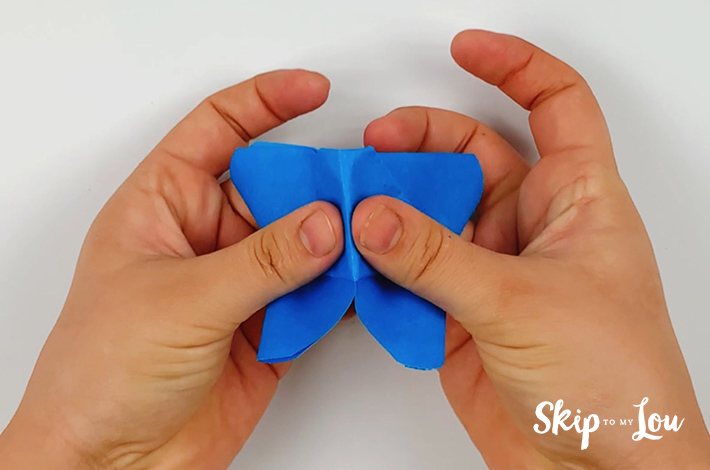
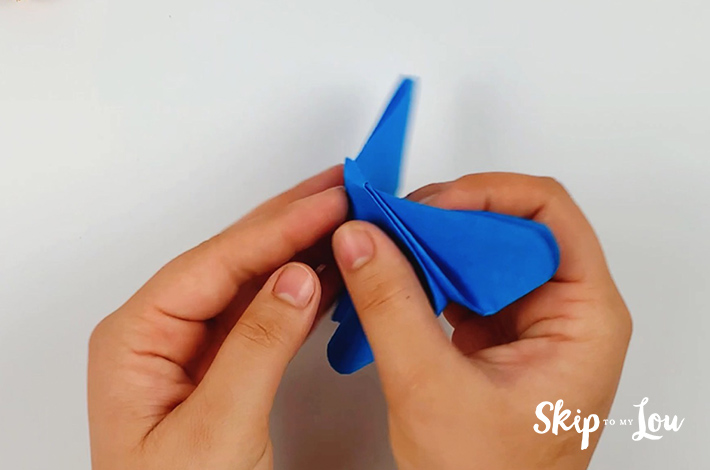

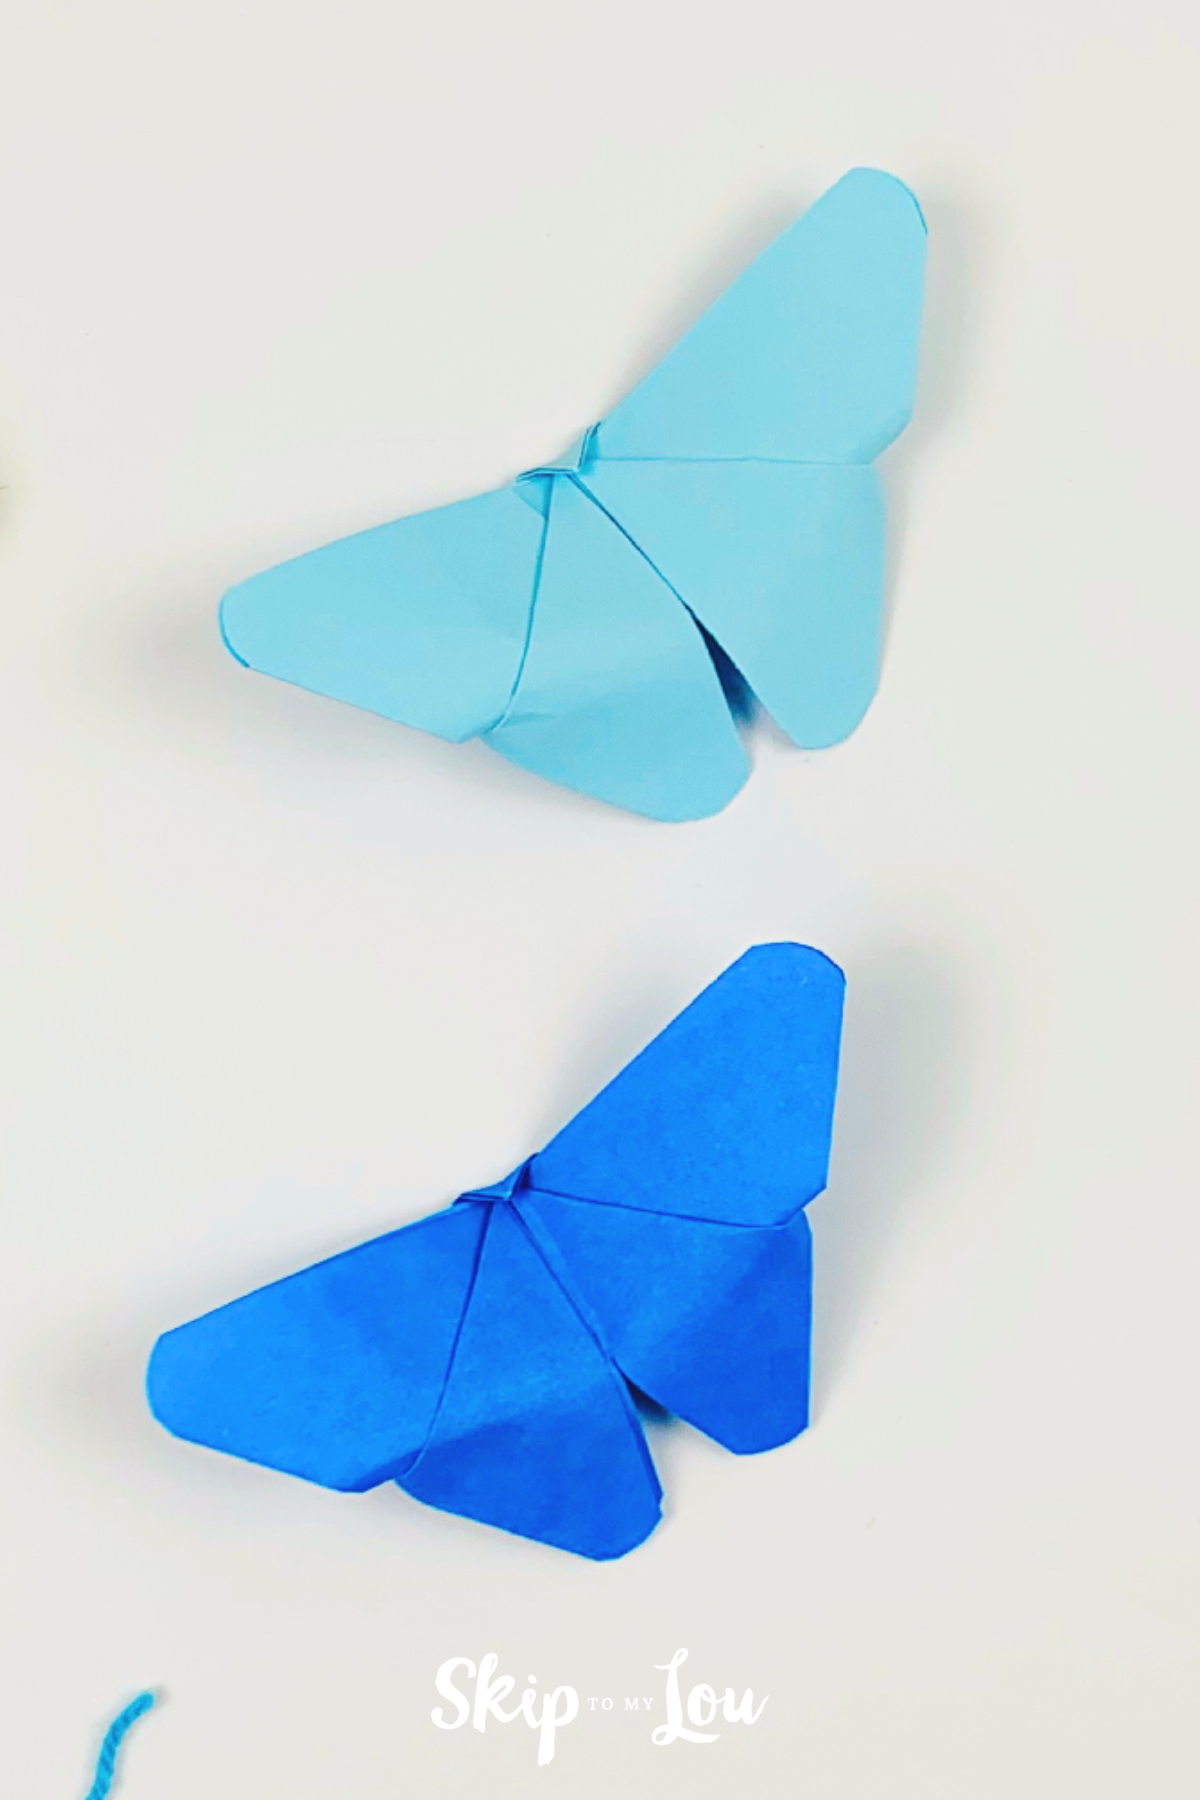
And there you have your own DIY origami butterfly!
Other Easy Origami Crafts to Try
- Did you know you can even turn a dollar bill into a money origami shirt?
- How to make an origami swan
- DIY Origami Gift Card Holder
- How to Fold a Fabulous Origami Fish: A Step-by-Step Guide
I would love to keep you fully stocked with creative ideas, yummy recipes, fun crafts, and loads of free printables. Subscribe to Skip to my Lou to get new ideas delivered to your inbox. Follow me on Facebook, Pinterest, Twitter, and Instagram for all my latest updates.


