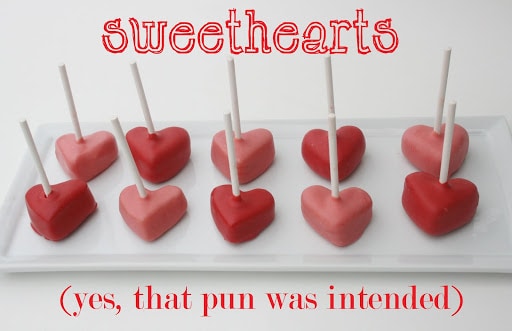
Nothing says celebration like a plate of decadent, hand-crafted heart cake pops. Whether it’s Valentine’s Day, Mother’s Day, or your best friend’s birthday, these delicious heart-shaped treats are sure to delight! Let me show you how easy it is to make a perfect little bite-sized dessert perfect for any occasion.
If you are making something special you might like these darling Valentine’s treat tags or these hearts would be darling wrapped up with this “Have I told you lately I love you” tag.
Here’s What You’ll NEED to Make Heart Cake Pops
These cuties are so easy to make with a few simple ingredients! All you need to make heart cake pops:
- a baked cake (baked following instructions for the cake mix)
- a container of frosting
- lollipop sticks
- candy melts (good quality like Merkens for Clasen, it will help with melting and the taste)
- little heart cookie cutter (mine is about 1.5 inches)
- parchment paper
How to Make Heart Cake Pops Step by Step
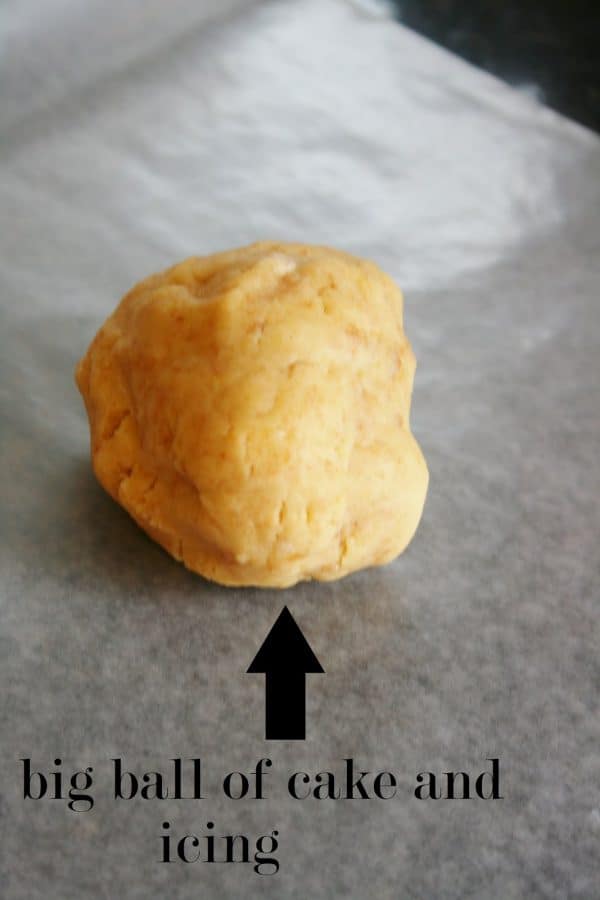
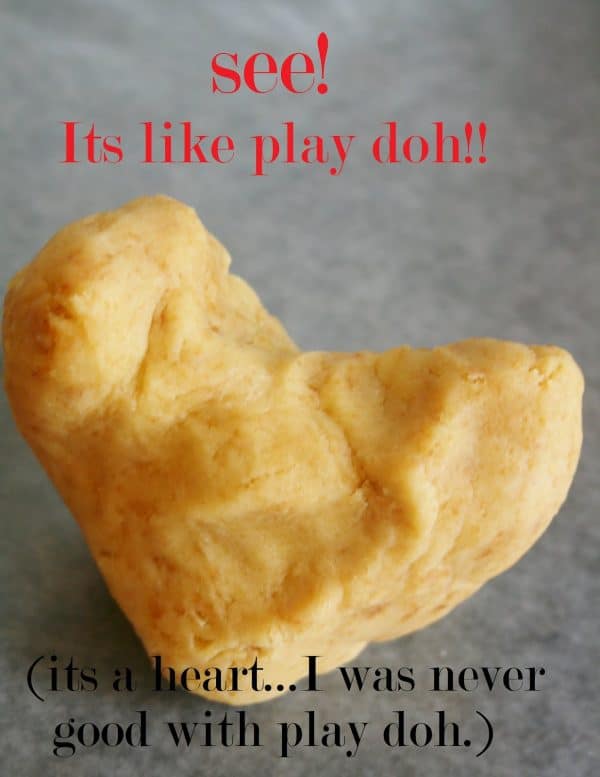
1. First, break the baked cake apart and mix it with frosting. If you have never made cake pops before you’ll need to play around with the amount of icing you add to the cake. I wish I had an exact measurement, but I don’t. I add my icing, little by little until I reach the consistency of playdoh (meaning you can play with it). Try adding about half the can of frosting little by little and continue adding more until it is about the consistency of play dough. I usually use about 3/4 of the can.
2. Next, flatten the cake mixture into a pancake about 3/4 of an inch thick…
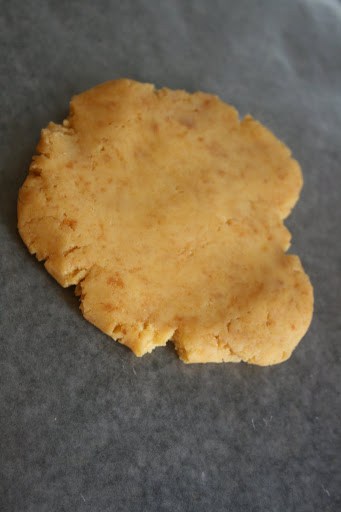
3. Cut out your hearts.
TIP: If the dough sticks to the cookie cutter, dip the cookie cutter in flour before cutting out the heart.

4. Now pop the cake hearts into the freezer or refrigerator for about 30 minutes to firm up ………30 minutes later… It’s showtime!
TIP: I don’t freeze the hearts completely. If you dip frozen hearts the candy coating will crack as the cake warms and expands.
5. Place candy wafers in a microwave-safe bowl. Melt candy for 30 seconds at 50% power or defrost setting and stir. Continue to microwave at the same setting in 15-30-second intervals, stirring at each interval until the candy is almost completely melted. If there are still small pieces of candy that haven’t melted, let the candy sit for about 30 seconds and stir. This prevents overheating and keeps your candy nice and smooth. Candy is ready for molding, dipping, or drizzling when the texture is smooth and resembles cooked pudding. Once your candy is melted and mixed together it’s time to dip.
TIP: It is important to melt the candy coating slowly. Melting too quickly and too hot will cause the coating to seize and thicken and also can produce that white film “bloom” when hardened.
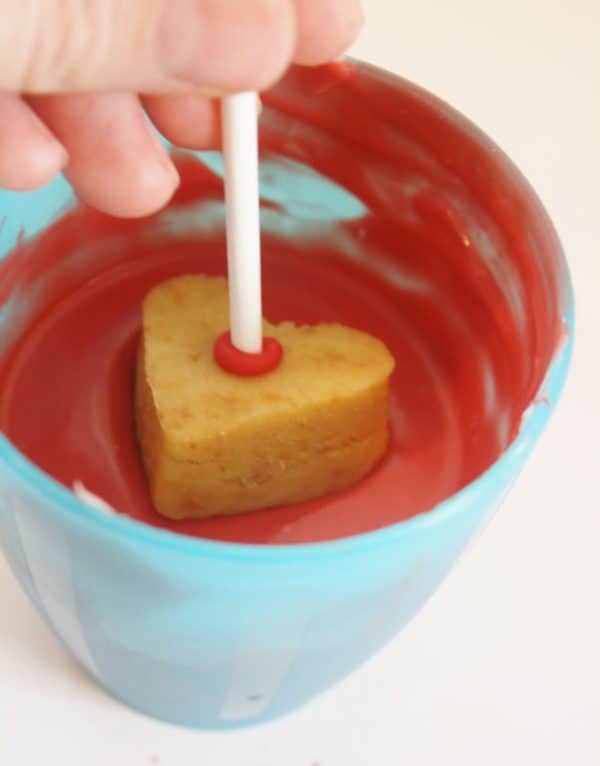
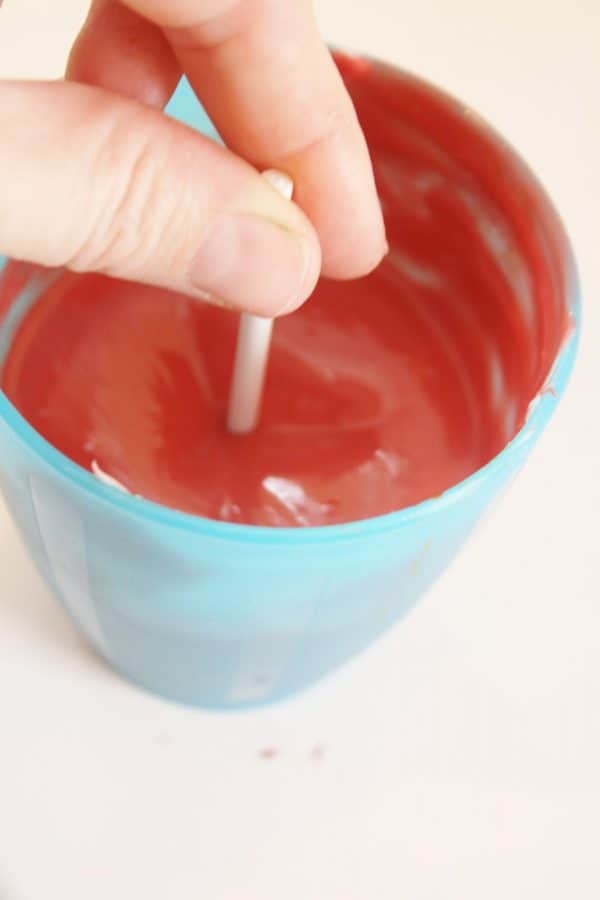
6. Dip the sucker stick into the chocolate and then into the heart. Allow it to harden. This acts as a bit of glue for the stick.
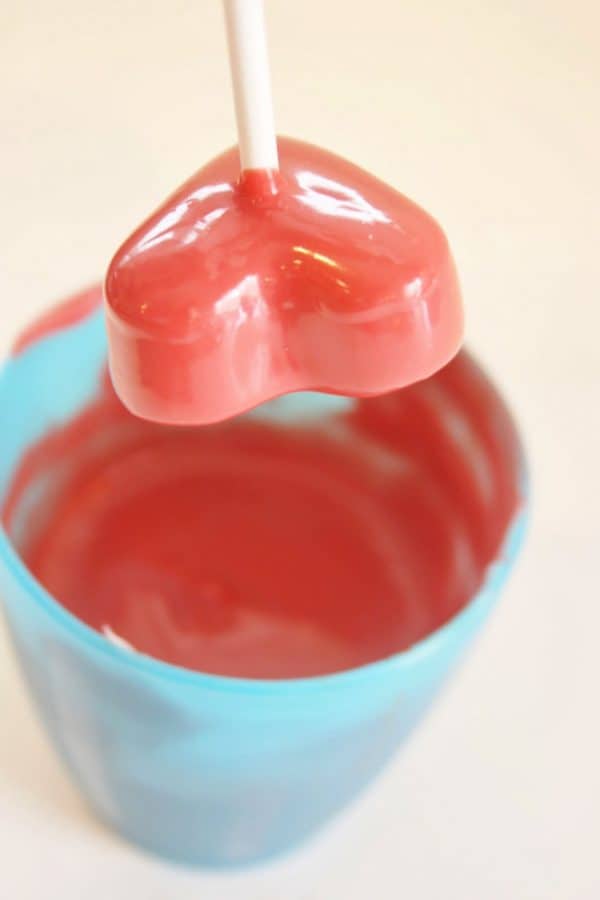
7. Dip the heart, allow excess to drip off the heart, and lightly tap or gently drag along the edge of the cup.
Candy Melting Tips
- Make sure not to overheat your candy by melting it on too high of a setting or for too long; it will lose its consistency and harden or seize if it is overheated or if liquids are added. Melting slowly will keep candy liquid and prevent that white film “bloom” when hardened.
- If you choose to use a double boiler, don’t let melted candy come in contact with water. When the candy coating comes in contact with even just a few drops of water or steam, it will become a gritty clump of chocolate. This is called seizing. Make sure bowls and utensils are completely dry.
- If the candy becomes too thick, add 1 1/2 teaspoons of vegetable shortening per 10 oz. of candy; 2 teaspoons per 12 oz. This should not be necessary if you buy good quality candy coating.
- If you choose to use a double boiler, don’t let melted candy come in contact with water. When the candy coating comes in contact with even just a few drops of water or steam, it will become a gritty clump of chocolate. This is called seizing. Make sure bowls and utensils are completely dry.
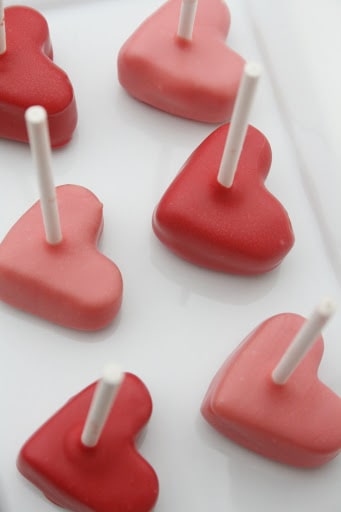
8. Set heart pop on parchment paper or waxed paper to dry. Once dry eat them, gift them or just look at them. Be sure to take a few pictures of your beautiful work.
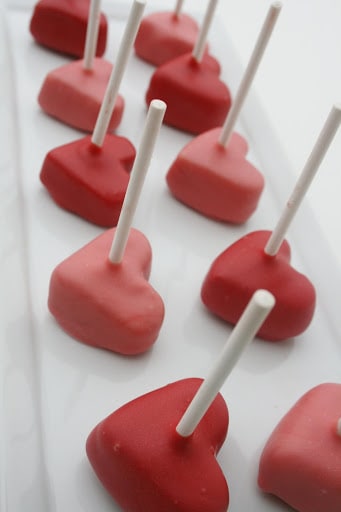
While cake pops are great for any occasion they make sweet Valentine cake pops the perfect valentine’s day dessert! Make them even more festive with sprinkles.
Make different flavors of cake pops by changing up the cake mix. I also love to use chocolate cake. Red velvet cake with cream cheese frosting is another winning combo to try.
Kate Petronis is the face behind the cakes, parties, and everything else that’s sweet over at And Everything Sweet.
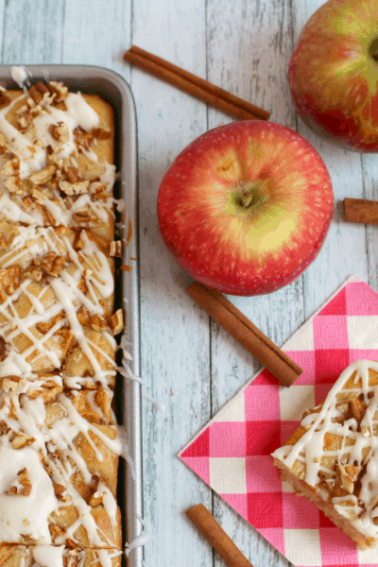
RELATED: Apple Cake Pops are another fun-shaped cake pop that makes a cute gift for teachers.
More Hearts…
Are you looking for creative ways to express your love and affection? Crafting is a wonderful way to fill your home with warmth and joy, and heart crafts are a perfect choice! There’s something special about making something with our hands.
I would love to keep you fully stocked with creative ideas, yummy recipes, fun crafts, and loads of free printables. Subscribe to Skip to my Lou to get new ideas delivered to your inbox. Follow me on Facebook, Pinterest, Twitter, and Instagram for all my latest updates.

Terry, this is not raw dough. You bake the cake first, crumble it, add frosting, and form it into hearts. It is delicious, like a little bite of cake and frosting all in one on a stick! For sure a festive party favorite.
Please correct. You are telling people, children, etc to eat RAW DOUGH. That’s really bad for you. Thank you
We loved making these. Turned out so cute.
So cute!!! Can you tell me what containers you use to melt your chocolate? (those blue bowls look nice and tall and skinny, great for dipping!) thanks!!
I LOVE this idea! Thank you for such a great tutorial! I have included it in my Pinterest Cake Pop treasury too!
These are sooooo cute! I’m hosting a Valentine theme linky party starting tonight at 11:30. Would love it if you came by and linked up! http://www.serendipityandspice.blogspot.com
-Melissa
Lol. Not cake batter, you are mixing cake that has already been baked. Bake the cake first (using whatever recipe, can be boxed or scratch), crumble the cake up, add the frosting little by little until the mixture is the consistency of Playdoh. 🙂
The pops are so cute, and I am loving all the owls! Great inspiration.
Maybe I’m missing something, but you don’t bake these? What cake dough looks like Playdoh? Are you using a boxed cake mix or what?!
Thank you!! I was just asking what was in the heart containers on the Shindig web site. They are perfect! I am going to attempt my first try at cake balls for Valentine’s Day!!
Wonderful photos 🙂 Great colour inspiration. Your baby is so cute too :))
Love this idea! Thanks so much!
Great tutorial ~ can’t wait to try these! Going to your blog now.
Thank you!
So cute! They look so yummy! I may have to make some of these to give my girls at the gym 🙂 Great post!
http://craftrunwag.blogspot.com/
So cute !!!