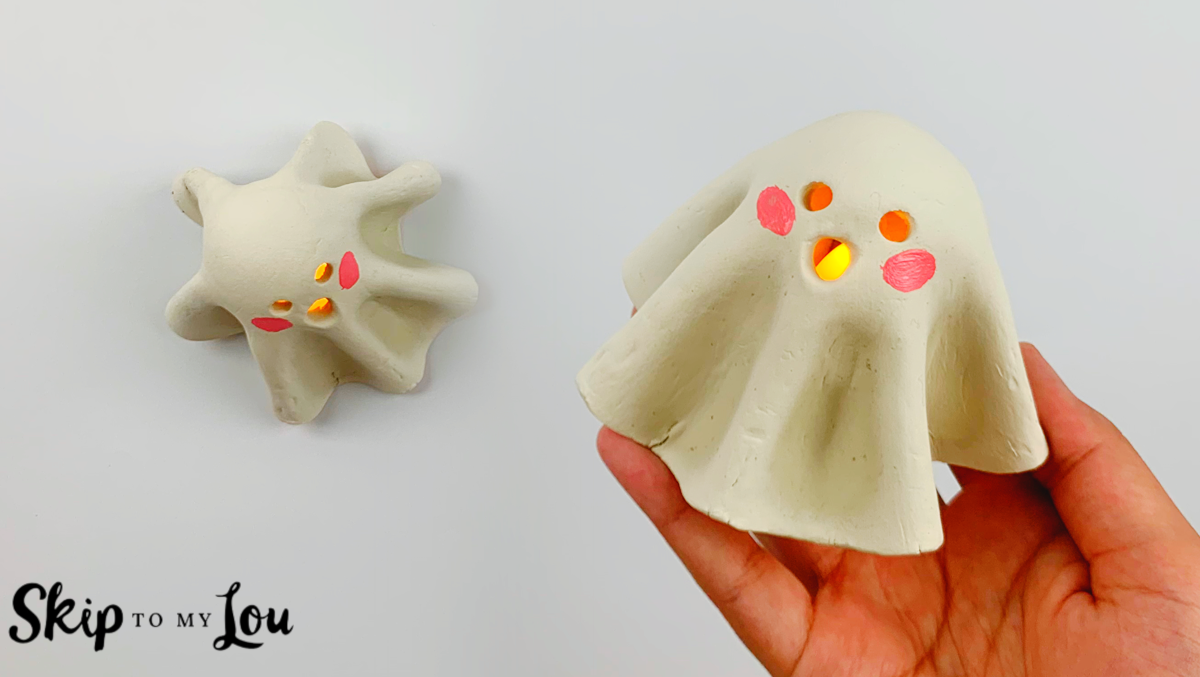
Bring a touch of spooky charm to any space with this fun ghost tealight. With a bit of modeling clay, you can shape a playful ghost that fits perfectly over a battery-operated candle light. This will create an enchanting, but spooky glow, and your kids will love it. A super easy craft for all ages, this is a fun family project.
Related: Once you’ve made a ghost tea light, be sure to check out some of our other spooky creations including a Crochet Ghost, Ghost Drawing, Glow In The Dark Ghost Craft, Hanging Lantern Ghosts, and Ghost Coloring Pages.
Ghost Tealights Supplies
To create your ghost tealights, you will need the following supplies.
- Paper cup
- Craft styrofoam egg
- Craft glue
- Baking paper
- Rolling pin
- Hobby knife
- Modeling clay
- A large plate
- Pink craft paint
- Battery-powered tealight
Video: Watch How to Make a Ghost Tealight
Ghost Tealight Step-by-Step
Here’s the step-by-step process to follow to make this cute ghost tealight. Once you have all your supplies together, it’s really simple and won’t take too much time.
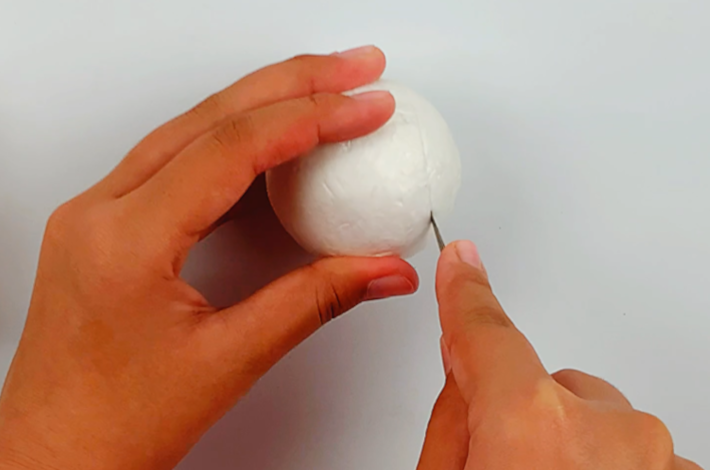
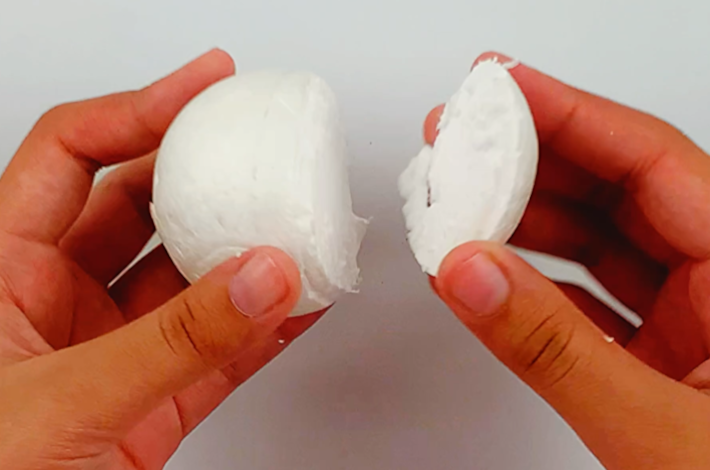
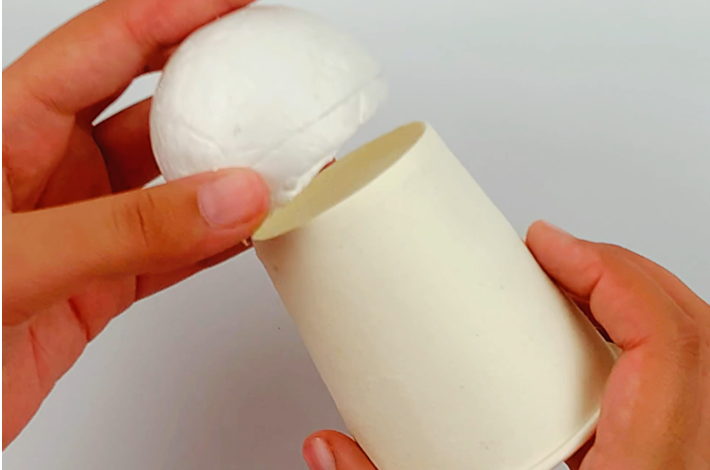
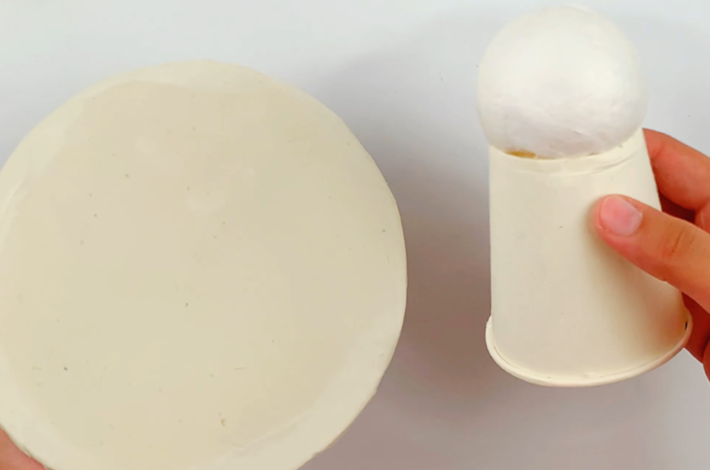
Step 1: Start with the paper cup and the craft styrofoam egg. Cut the tip off the egg on the narrower side using a hobby knife.
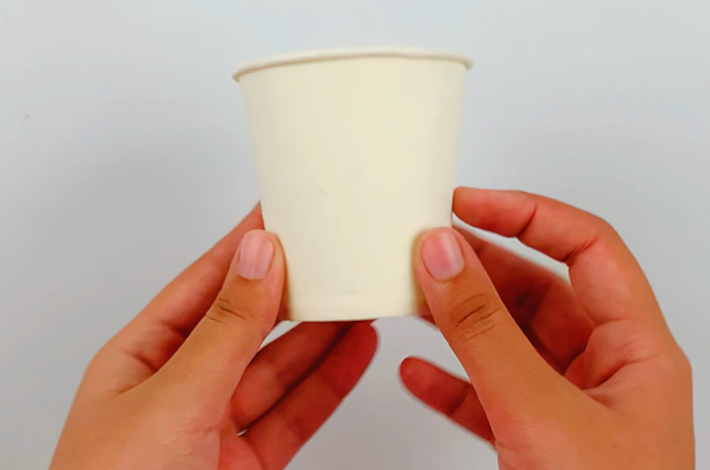
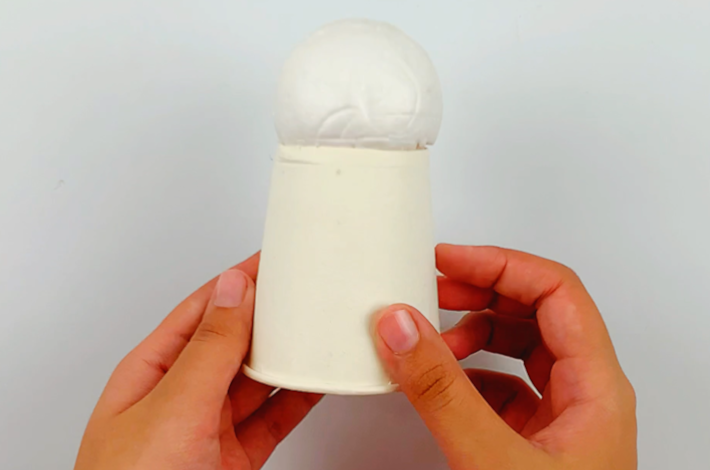
Step 2: Place the styrofoam egg on the underside of the paper cup. Glue it in place to ensure the form remains sturdy.
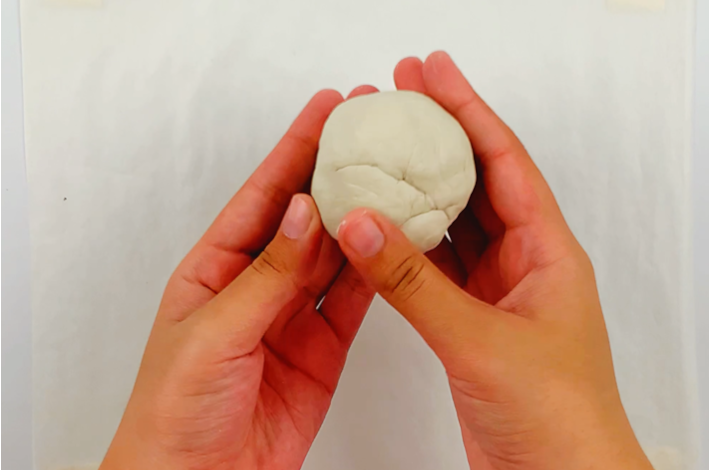
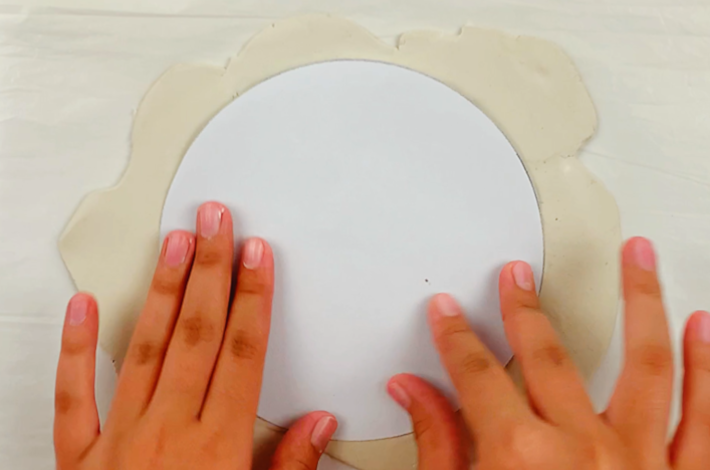
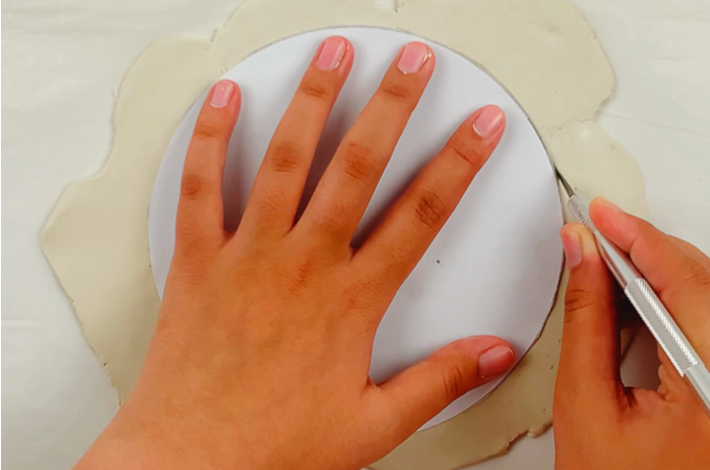
Step 3: Take your modeling clay and roll it into a ball. Place it on baking paper and roll it out. Now place a large plate on top of the rolled-out clay.

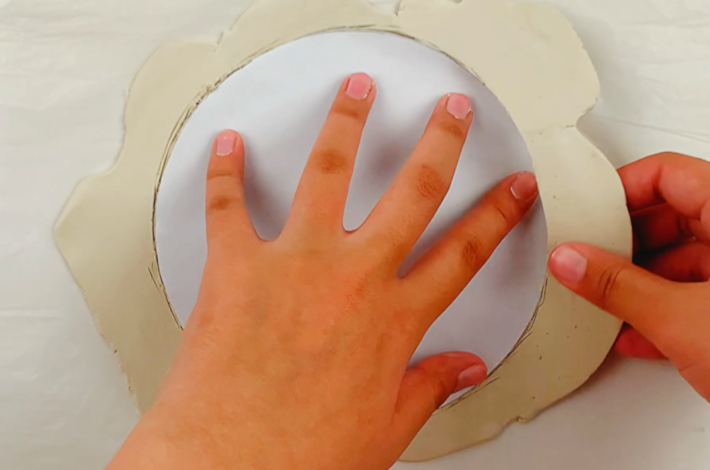
Step 4: Place a large plate over the top of the modeling clay. Use the hobby knife to cut out a circular pattern around the edges of the plate.
Step 5: Take the model clay circle and apply some water to the outer rim. Then place it over the top of the paper cup.
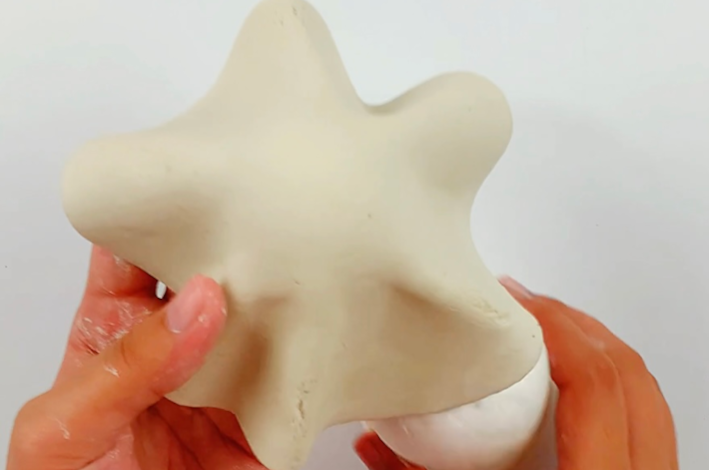
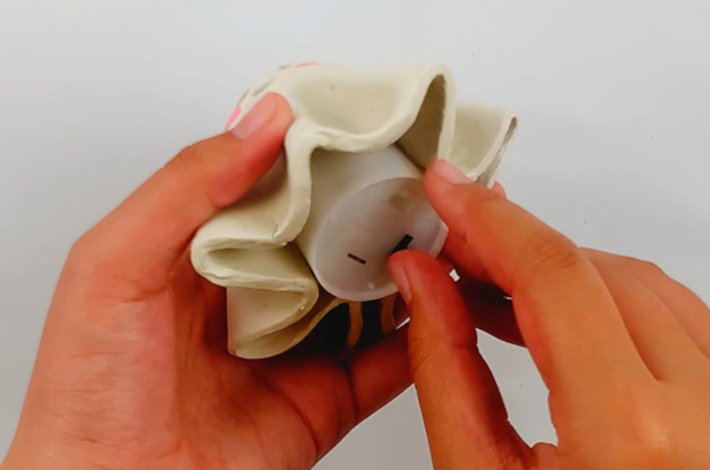
Step 6: Once you’ve placed the modeling clay on top of the styrofoam cup, you can begin to form the ghost shape.
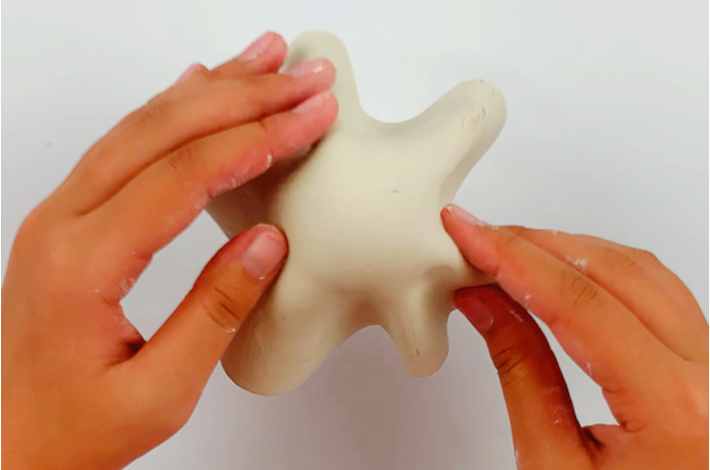
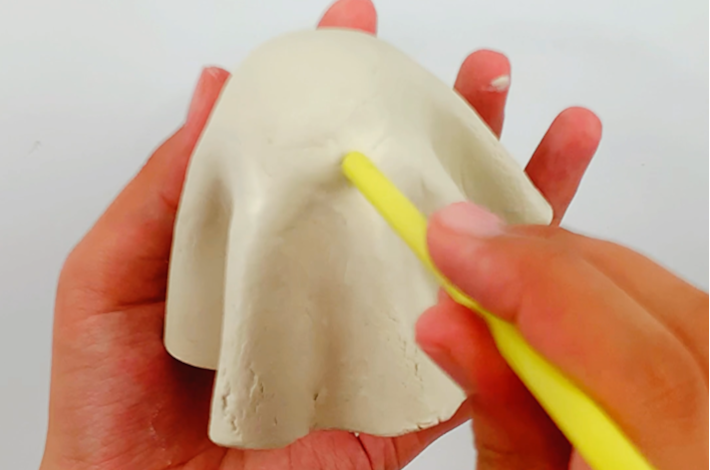
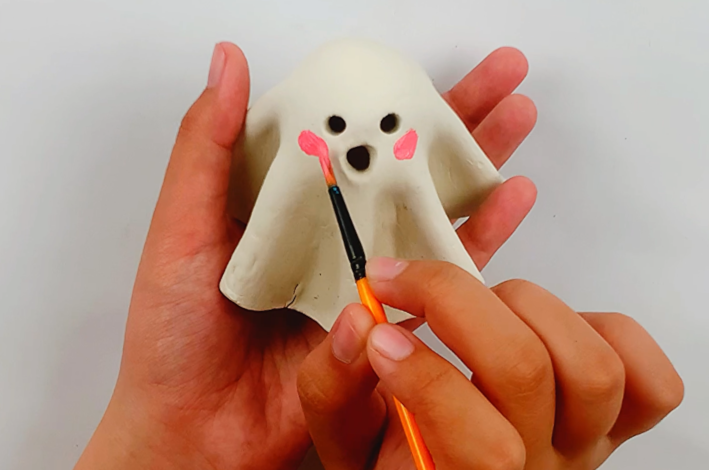
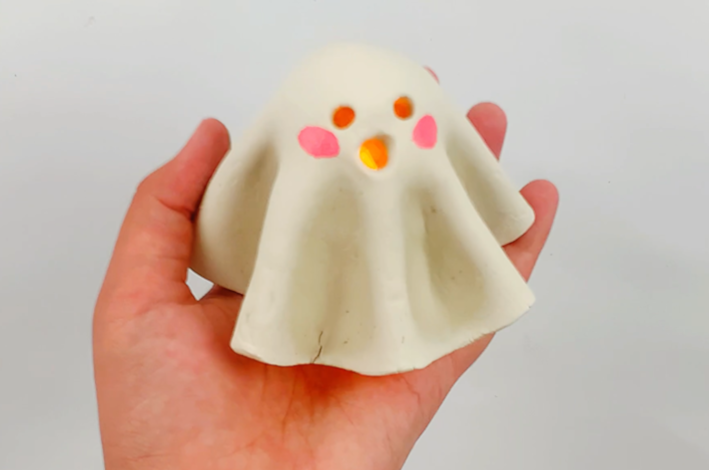
Step 7: Remove the modeling clay from the styrofoam cup. Hold the ghost form and make a hole for its nose, as well as two holes for its eyes. Don’t forget to paint on some pink cheeks!
Step 8: Take the battery-powered candle light and place it inside the ghost.
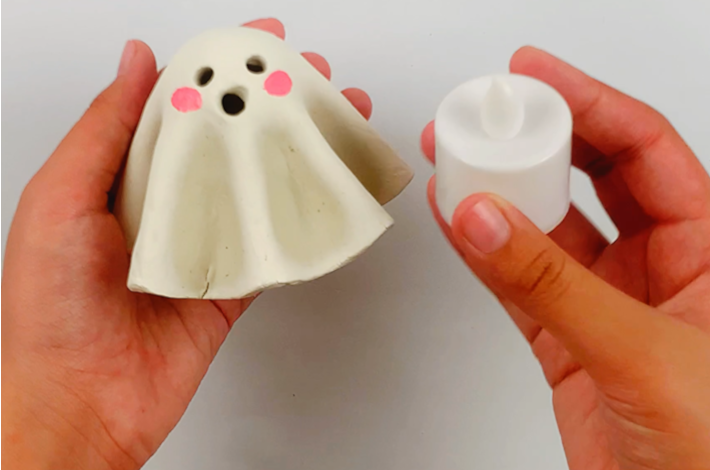
Your ghost is done and it’s a cutey!
Related: Ready for more ghost fun? Checkout Adorable Paper Ghost Crafts, Paper Ghost Garland and Ghost Jokes.
More Family Fun
Here are some more fun crafts and activities for kids.
- Learn How to Make a Cat Puppet.
- What about Making Shrinky Dinks?
- These Juice Box Sailboats are loads of fun!
- Or get your kids to make this Paper Plate Crab Craft.
- Here are Three easy ways to make PERFECT pom poms!
- Why not try these DIY Giant Bubbles Kid’s Activities.
I would love to keep you fully stocked with creative ideas, yummy recipes, fun crafts, and loads of free printables. Subscribe to Skip to my Lou to get new ideas delivered to your inbox. Follow me on social media on Facebook, Pinterest, Twitter, and Instagram for all my latest updates.


