Hello, pom pom makers! If you want to learn two easy ways to make pom poms from wool, well, we’ve got the perfect tutorials for you.
This is one of the easier ways to make DIY pom poms of different sizes, from regular-sized to a mini pom pom. Plus, you can do it without the need to buy any fancy plastic pom pom makers, because, as with all our other craft projects, we use materials that you have at home as inspiration to make your own pom pom making device.
Pom pom making is an excellent craft for kids to try too, and it will bring them hours of fun as they make their own pom poms.
This really is the best method for making pom poms from wool without the need for any tricks or a tapestry needle, but if you’d like to make yarn pom poms, our methods will work too. However, that will make far more dense pom poms. Just make sure you have enough yarn for the project.
Supplies For Making Pom Poms
These are the supplies you will need to make pom poms. Not all of them will be used in the three methods, however.
- A bundle of knitting wool or yarn
- Pieces of cardboard (or more, if you want to make different sizes)
- Sharp scissors
- A fork
Pom Pom Making Video
Making a Pom Pom Without Any Extras
The first method is perhaps the easiest, as all you need is wool and a pair of scissors and to follow these simple instructions.
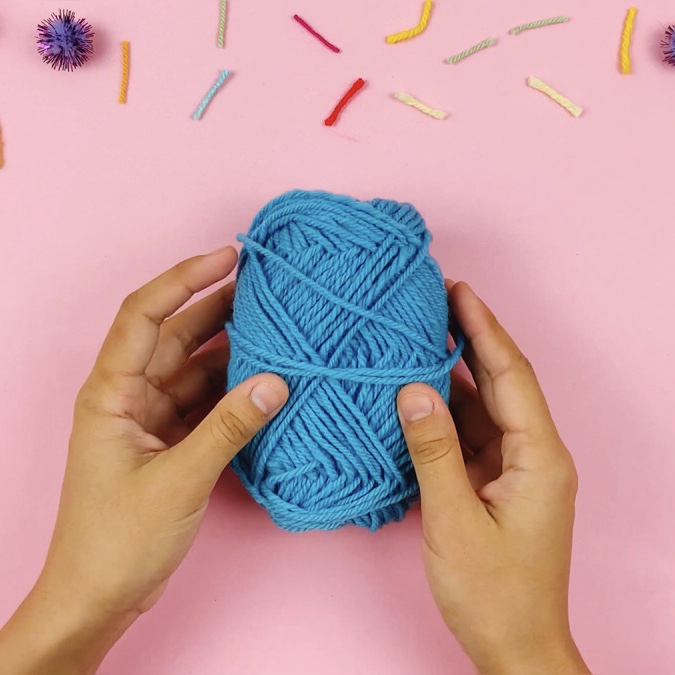
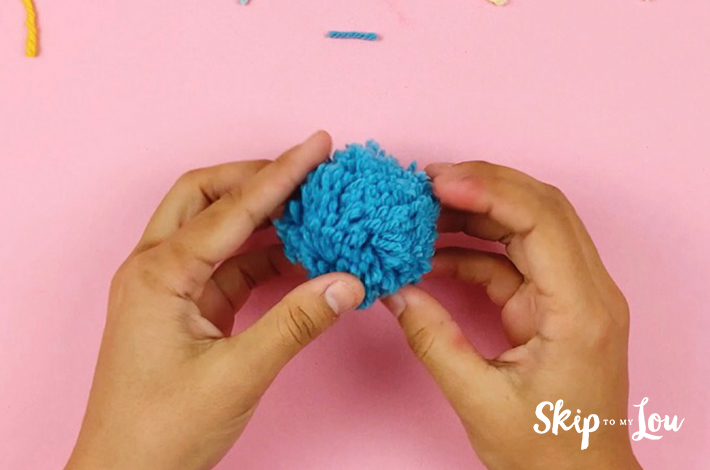
Step 1: You’ll need a ball of wool. Start to wrap it around your hand in loops, as shown in the images below.
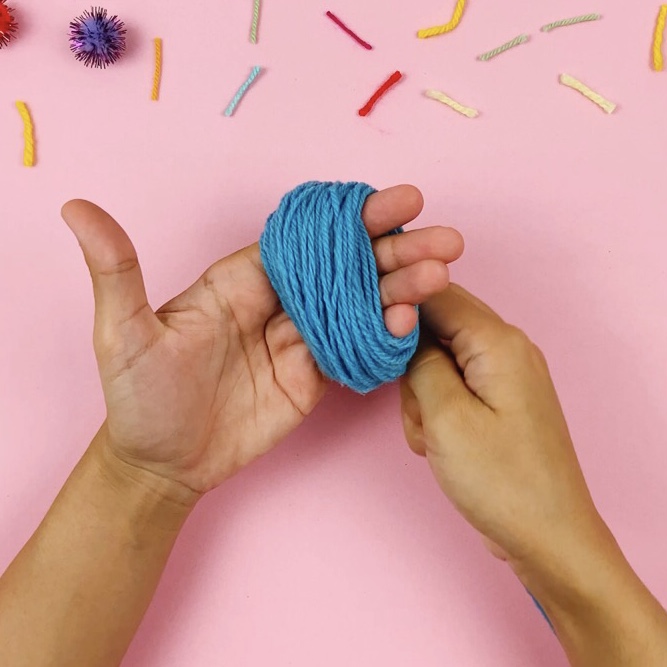
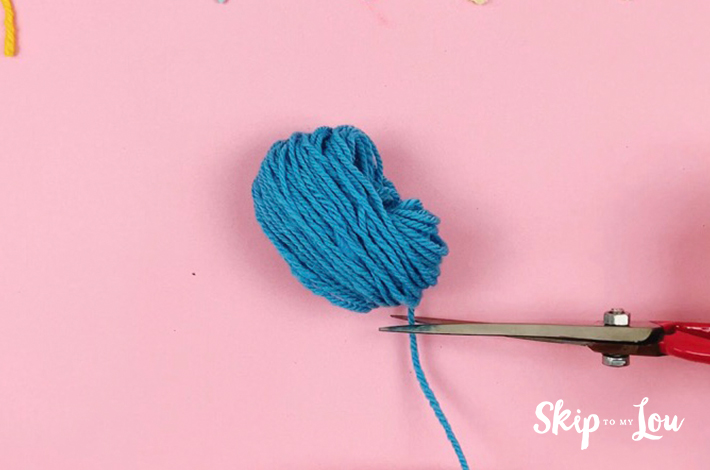
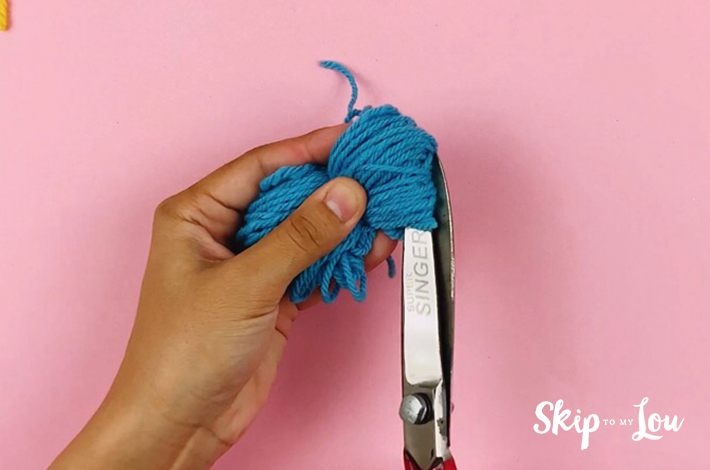
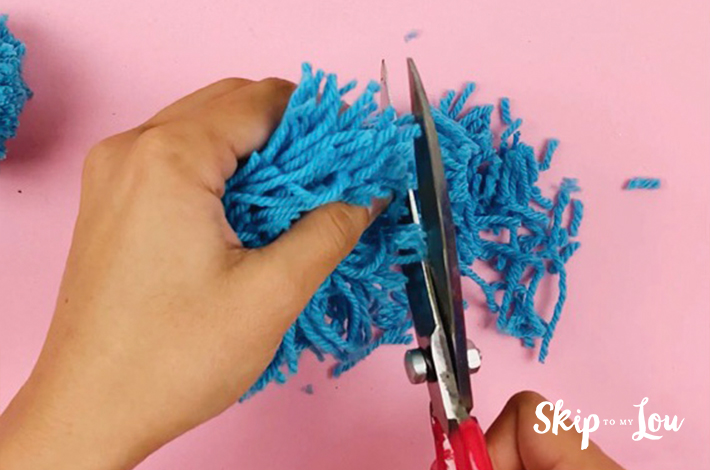
Step 2: Pull your hand out of the wool and cut with a pair of scissors, as shown in the image below.
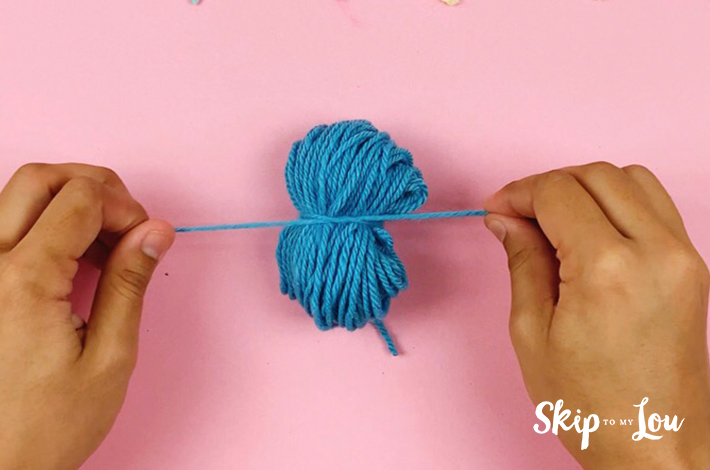
Step 3: Tie a piece of string into a knot around the center of the pom pom, as shown in the image below.
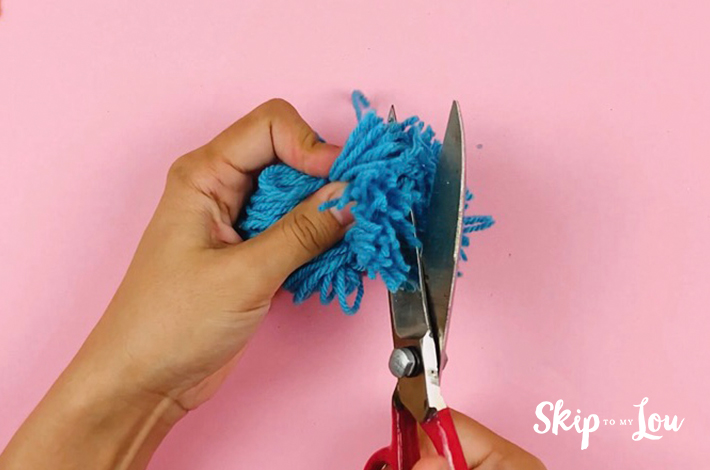
Step 4: Cut through both ends of the pom pom as shown in the images below.
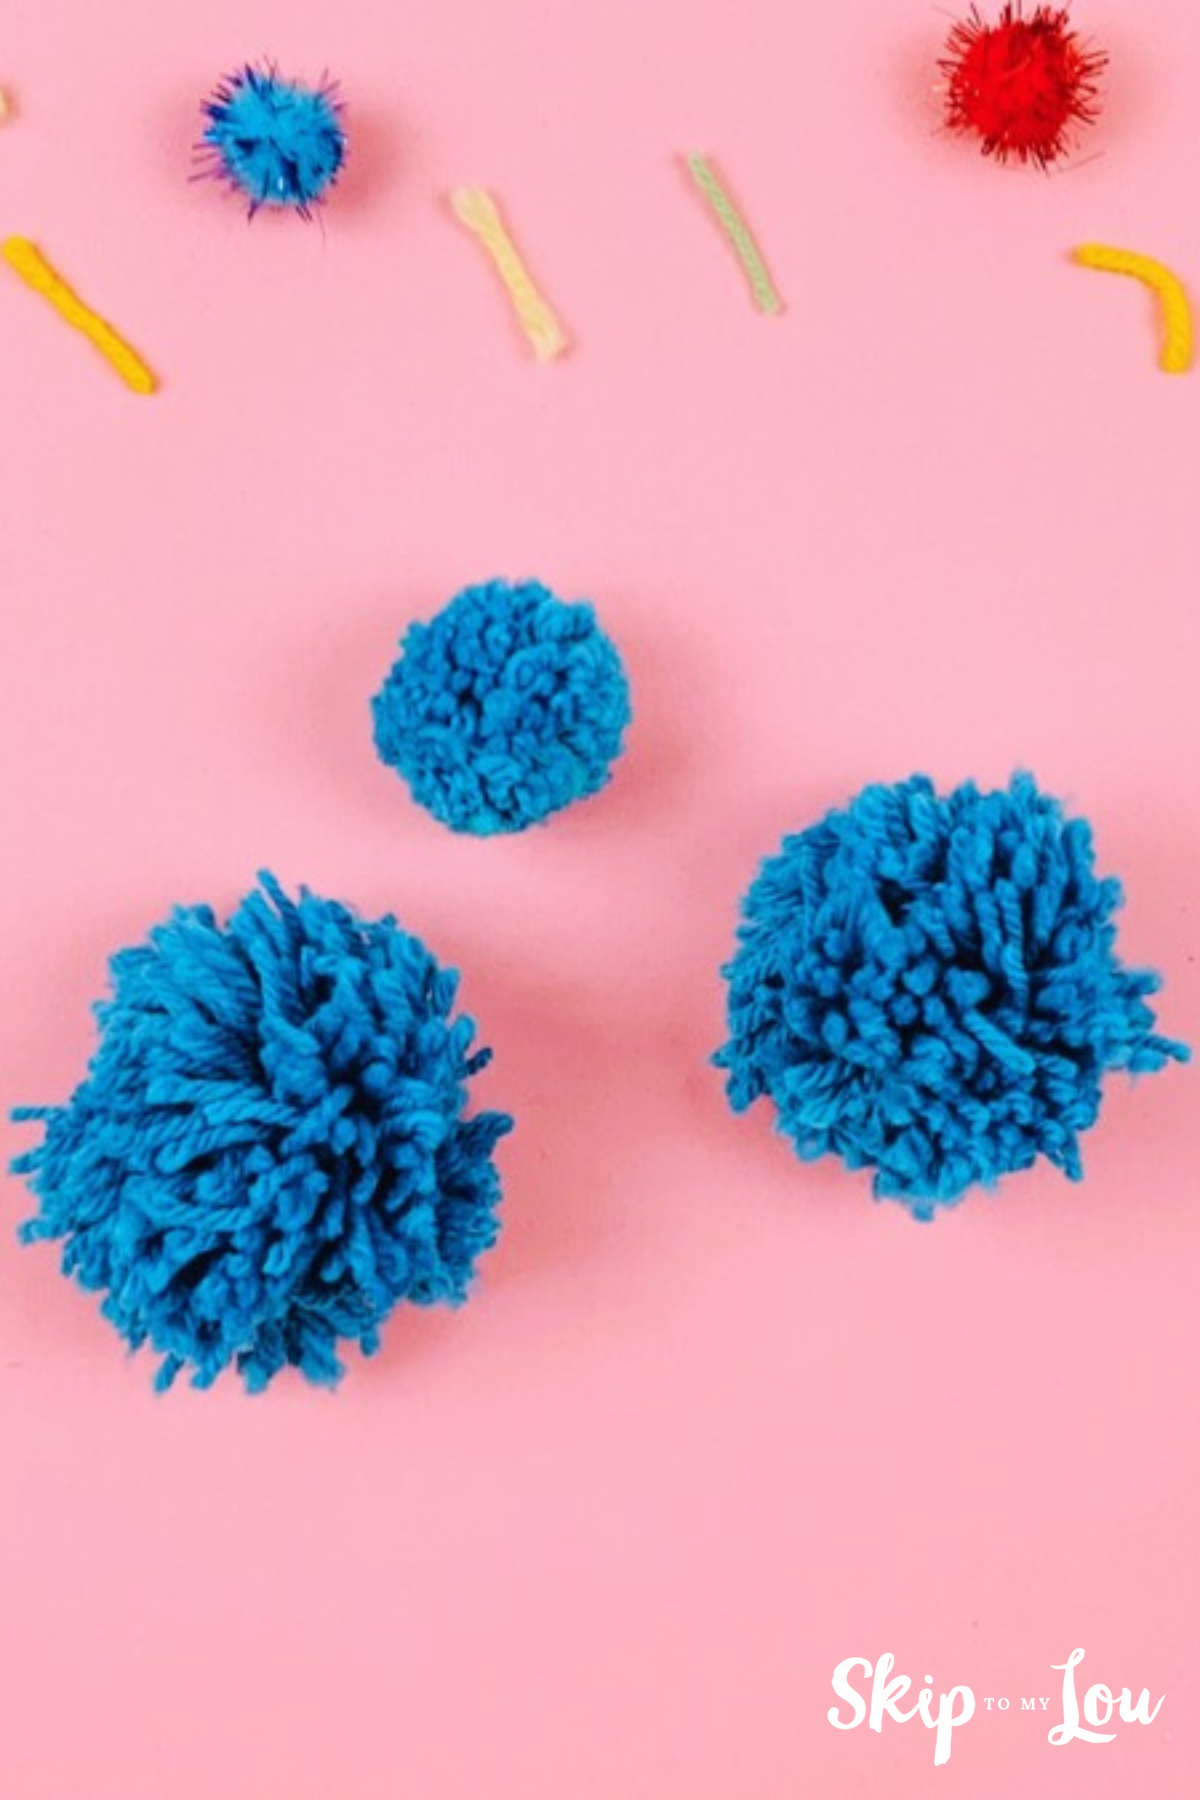
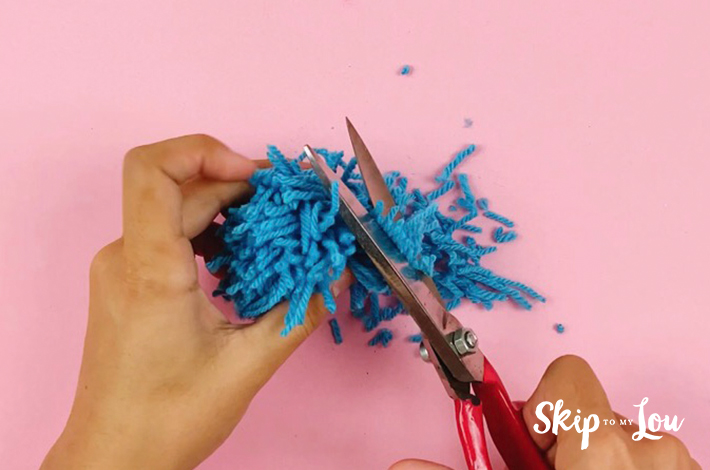
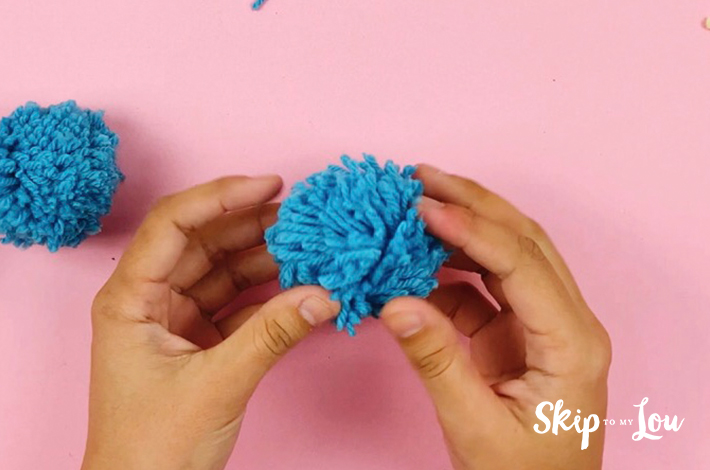
Step 5: Trimming the wool so that it is all one length is necessary. Then fluff out the fibers of knitting wool to form a finished product, as shown in the images below.
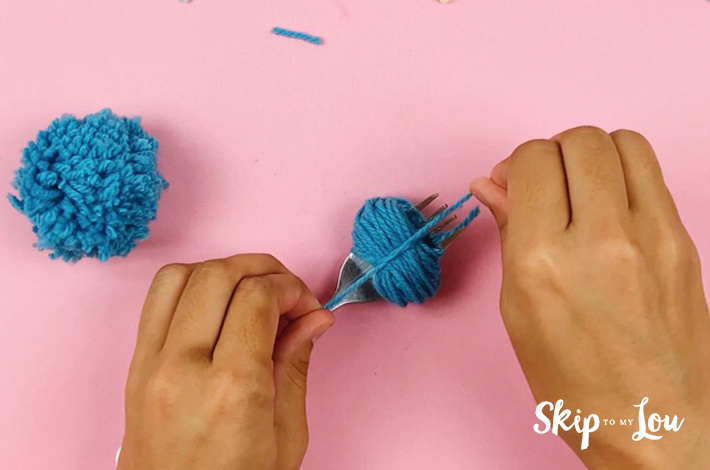
Making a Pom Pom Using a Fork
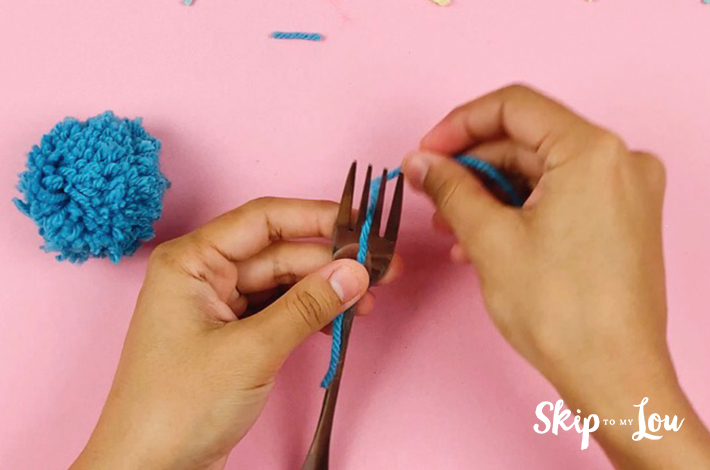
For this method, you will need a fork, some wool, and a pair of scissors.
Step 1: Start by threading the wool through the fork as shown in the images below.
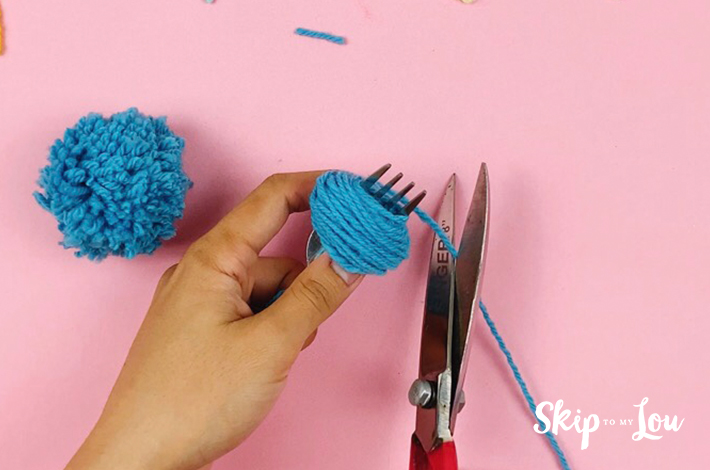
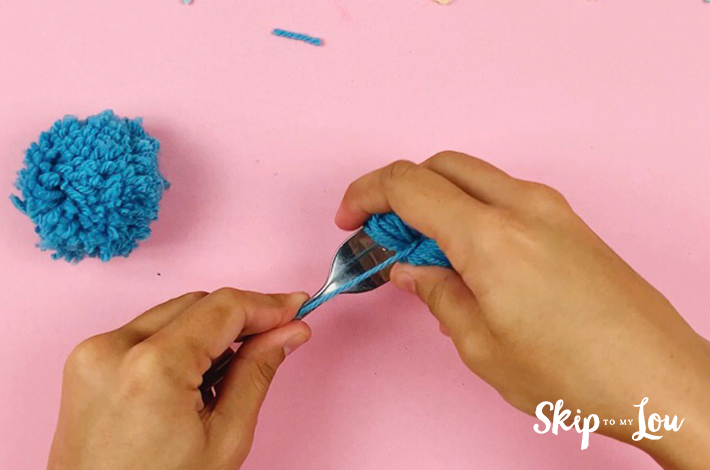
Step 2: Once you’ve wrapped the wool around the fork to form a ball, you can cut it with a pair of scissors, as shown in the image below.
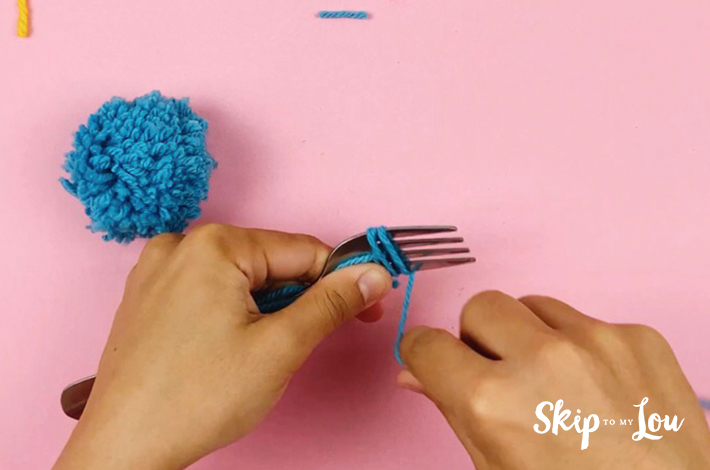
Step 3: Tie a piece of wool to secure the pom pom and slide it off the fork as shown in the images below.
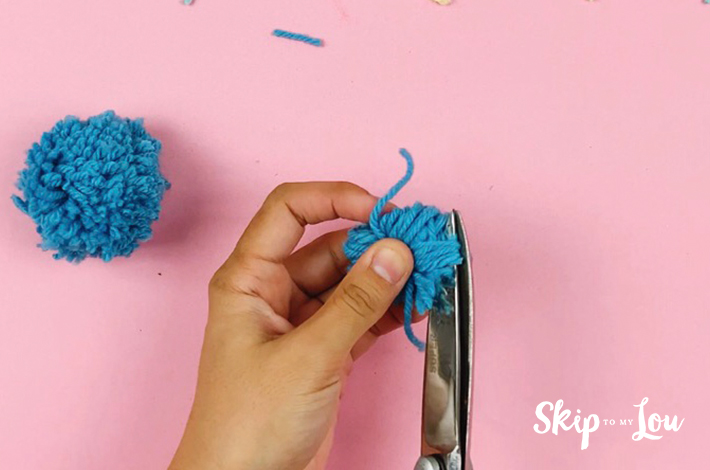
Step 4: Cut through both ends of the pom pom as shown in the images below.
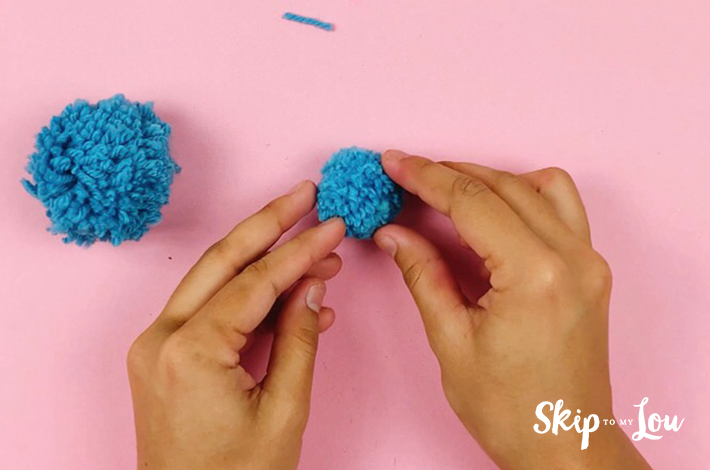
Step 5: Trim the wool so that it is all one length. Then fluff out the fibers of knitting wool to form a finished product, as shown in the images below.

Making a Pom Pom Using a Cardboard Template
Our final method requires a piece of cardboard, wool and a sharp pair of scissors. Here, you will use cardboard rings to form the pom pom.
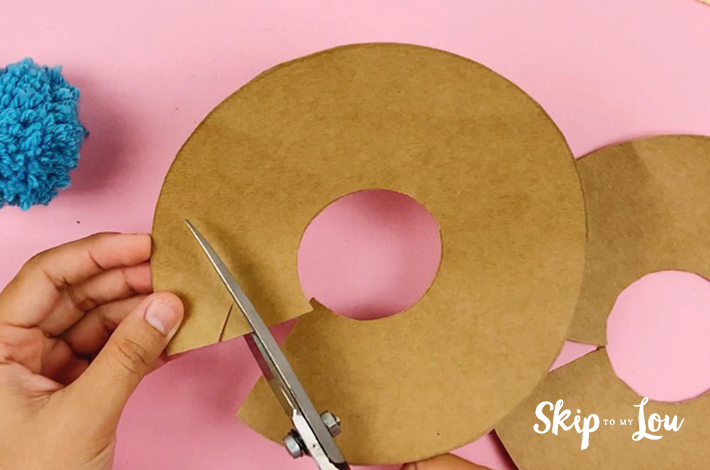
Step 1: You will need two cardboard rings with a slit cut in them, as well as a smaller circle cut in the center, as shown in the images below.

Step 2: Take one of the rings and cut two triangles on the side of the slit, as shown in the images below.

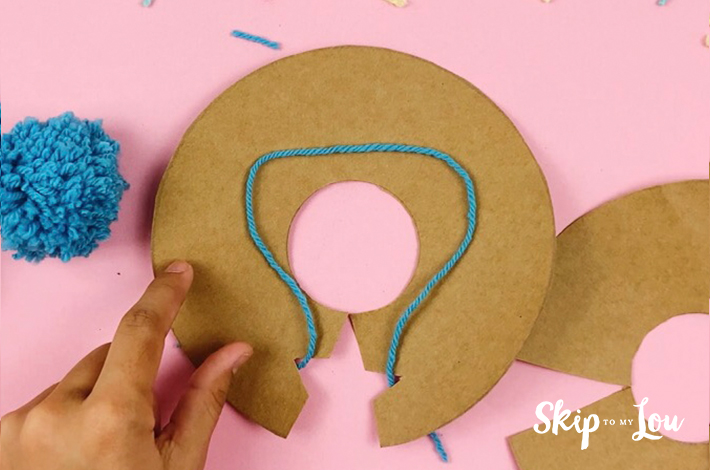
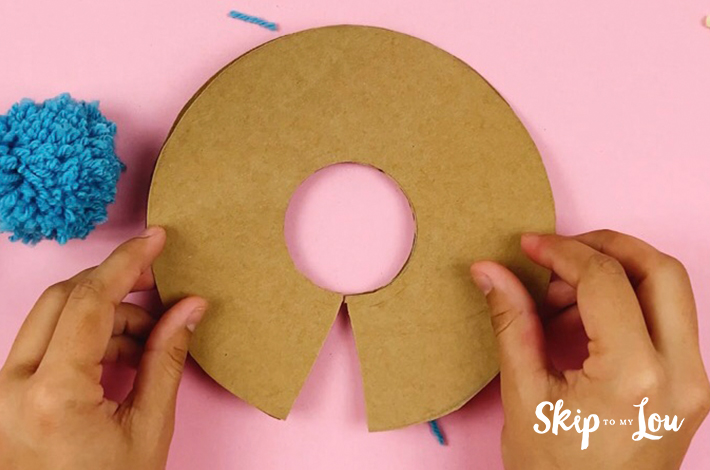
Step 3: Wrap the wool around the star shape to secure it, and place the other template over the first one, as shown in the image below.
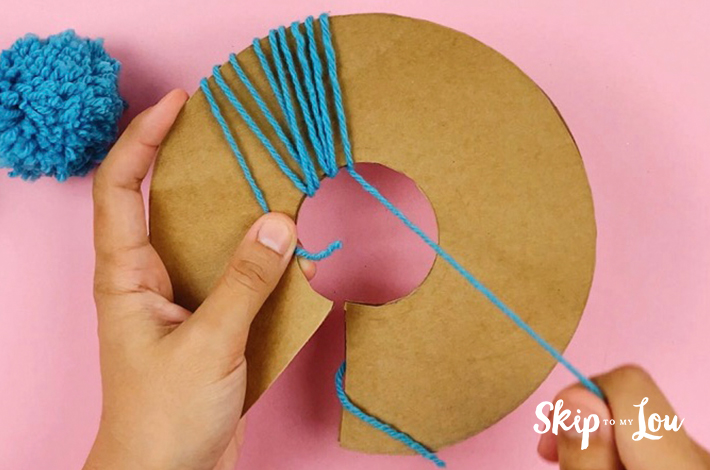
Step 3: Begin to wind the wool around the template as shown in the images below.
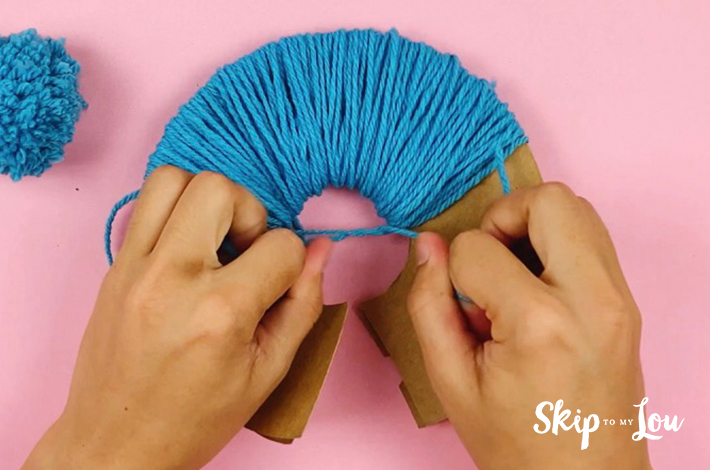
Step 4: Once you have enough wool around the template, cut and then tie the two ends together, as shown in the images below.
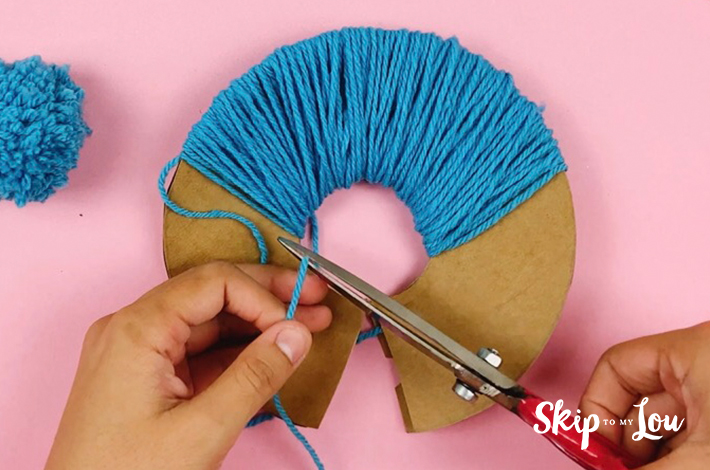
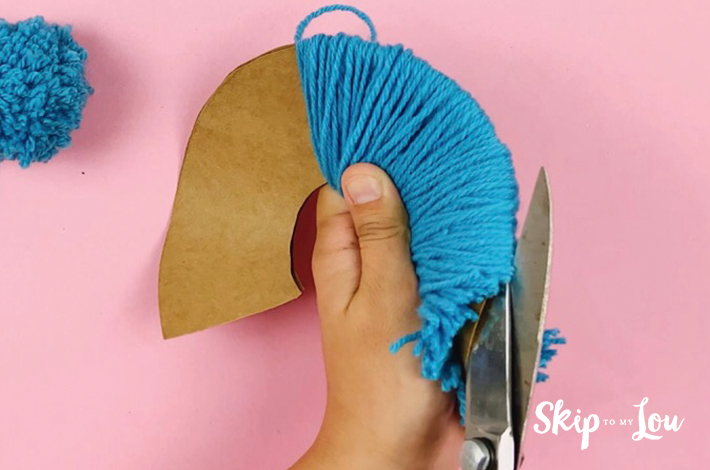
Step 5: Cut through the wool and remove the pom pom from the template, as shown in the images below.
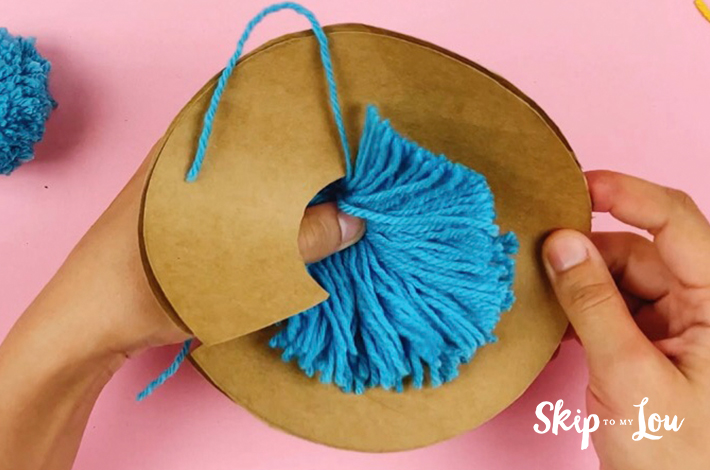
Step 6: Trim the wool so that it is all one length. Then fluff out the fibers of knitting wool to form a finished product, as shown in the images below.
And there you have it, three different ways for you to make pom poms!
Make Sure You Check Out Our Other Fun Crafts
- DIY Easter Chick Card
- Create The Perfect Ribbon
- Cute Cat Bookmark
- Pom-Pom Ornaments Craft
- How To Make Zakka Gift Bags
- Preschool Chick Craft
- Chick Sucker Holders
I would love to keep you fully stocked with creative ideas, yummy recipes, fun crafts, and loads of free printables. Subscribe to Skip to my Lou to get new ideas delivered to your inbox. Follow me on Facebook, Pinterest, Twitter, and Instagram for all my latest updates.


