This No Sew Frozen Cape can be made in about 15 mins! Lets say thirty minutes if you have to run to the store for the felt. Bella was invited to a Frozen Birthday party and was asked to go in character. She decided to go as Olaf and I made a nose. After she saw the nose she said, “I would rather be Anna!” Oh No! I looked at the clock and had 45 mins before the party started. I went to the fabric store and grabbed some felt and came home and cut and glued and she arrived as Anna right on time for the party!

Supplies for No Sew Frozen Cape
2 yards 72 inch wide craft felt
2 – 28 inch long pieces of ribbon
2 yards decorative trim (pom pom fringe or fur trim)
glue gun
sharp scissors
How to make a Frozen Cape
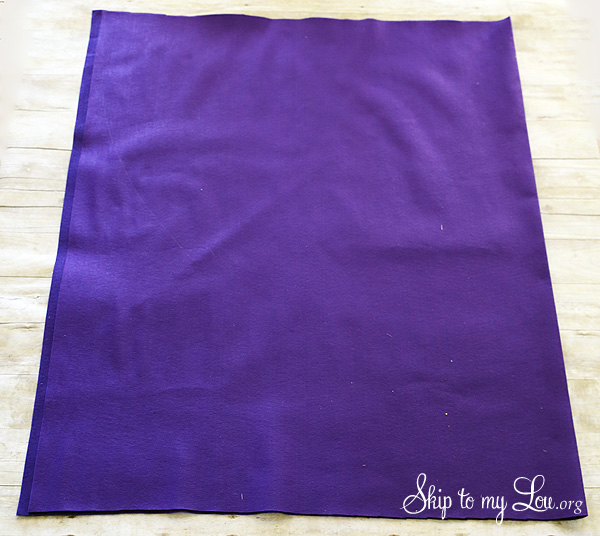
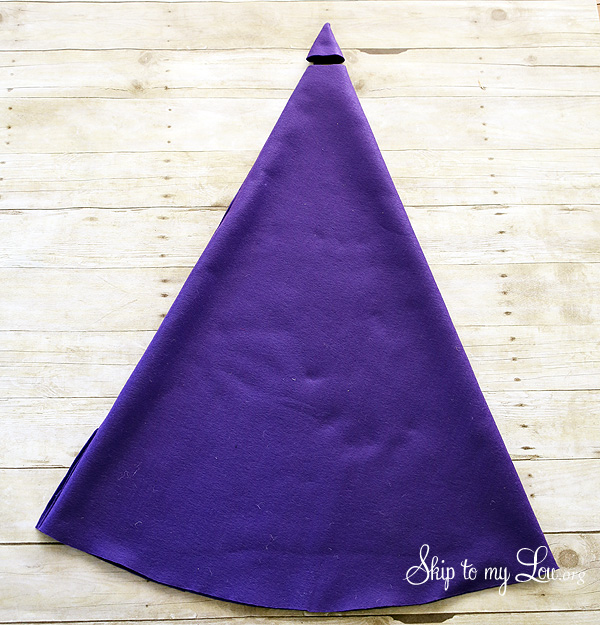
Lay out felt with fold on the right side..
Fold over the top left corner to right side.
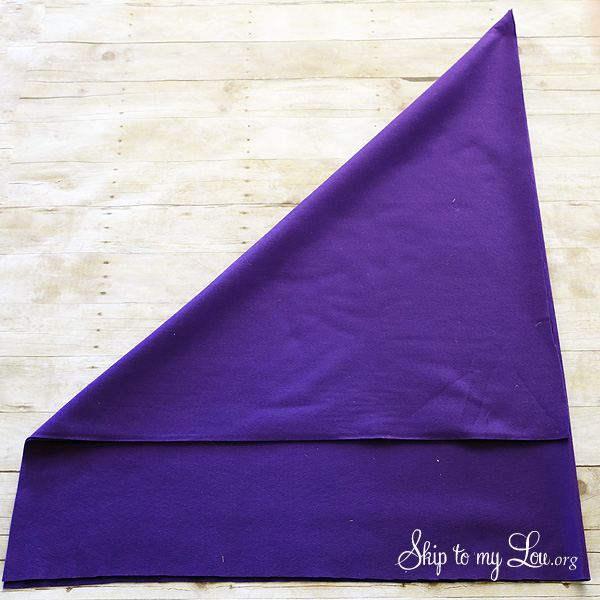
Carefully flip felt over and fold again.
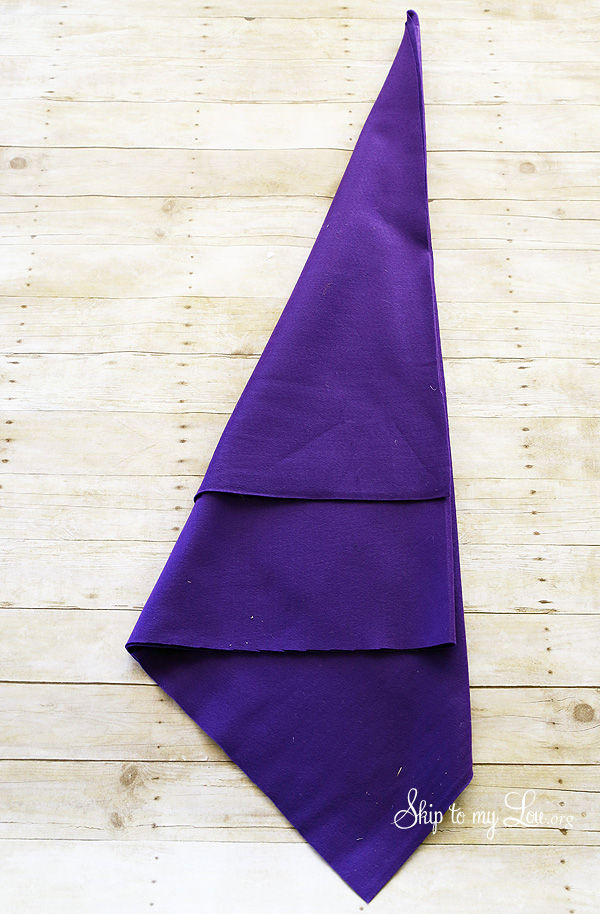 With sharp scissors cut an arc through all layers of felt. If it is too difficult open felt up one fold and cut the arc.
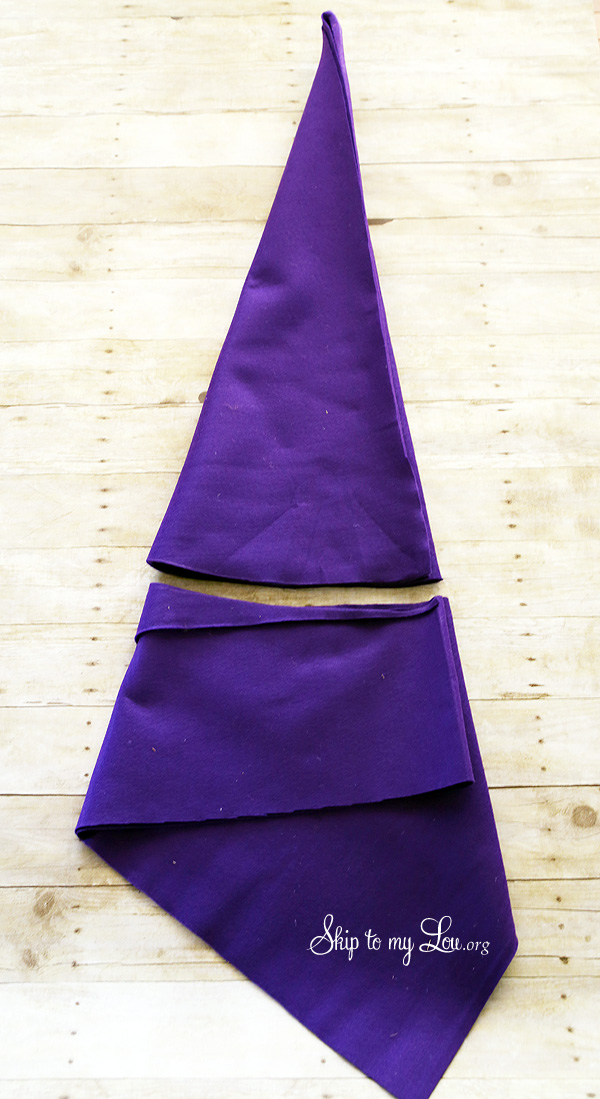
Open up felt one fold and cut an arc at the top for the neck hole. Main part of cape is now finished!
How to make the capelet
Lay out extra felt.
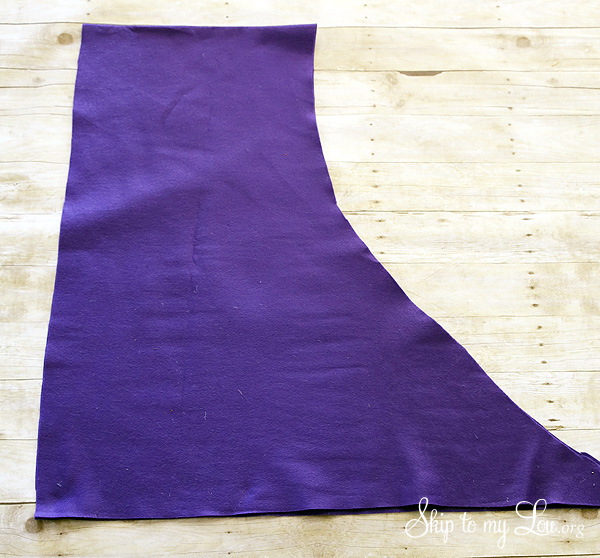
Fold felt over and cut an arc.
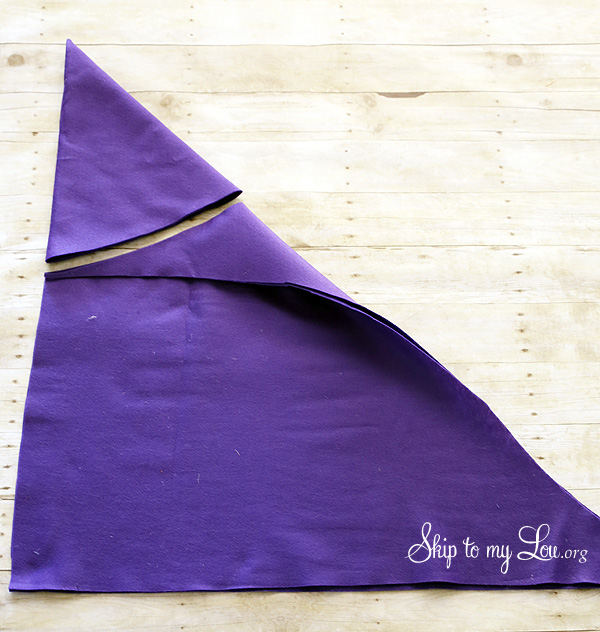
Cut an arc at the top for the neck. Try to make it the same arc as the main cape so the neck areas will match up.

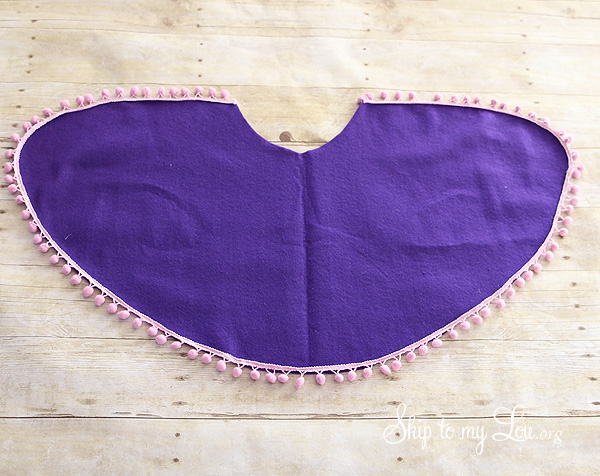
With scissors round off non folded edge of capelet.
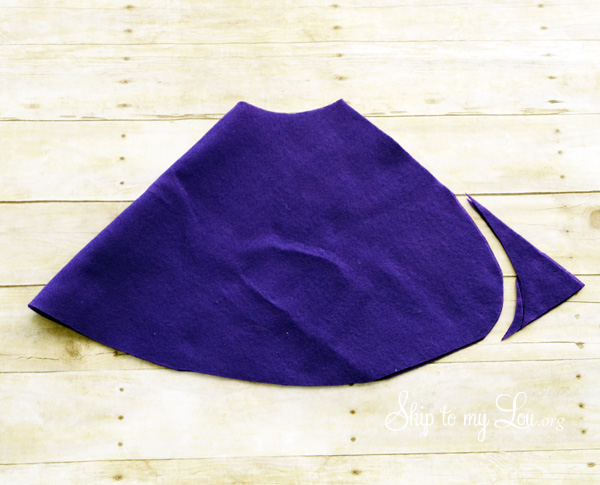
Hot glue decorative trim along the outside edge of the capelet. This can also be sewn.
Lay capelet on top of large cape. Sandwich a length of ribbon on each side of the neck. Place hot glue in between the layers of felt along neck, making sure to to secure the ribbon ties with glue.

Finished! Let it go!
Looking for another new sew project? This no sew witch costume is so easy.
Family costumes are a fun way to dress up for Halloween!


Was the video every posted? Hava hard time with the flip step
I cannot understand how to make the second fold. When I flip it over is the folded edge now on the left? If so what do I do next?
Hi,
This looks just fantastic and I am dying to make it – but can you please clarify exactly how much material you used? It says 2 yards by 72 inches which would be a square, which it clearly isn’t in your pictures, whether you begin folded or not. Thanks so much for any advice!
Looks so easy! I want to make this as part of a family costume, do you know how much it would be for an adult cape?
Thanks so much!
so sorry Brenda, I am going to show a video to make it easier to understand. The flip is confusing, I only do this so you can see the edge of the fabric. As long as you make and arc and include all layers is should be fine.
It is ridiculously frustrating when measurements, as well as details, are omitted. Had to return fabric because as everyone pointed out, your fabric is much smaller than what you advised to purchase .
I’m making this for my daughter, ran out and got all the materials, and now I’m stuck at the flip over and fold second step. I don’t understand. I’ve read all the comments and even read your explanation and don’t get it either. A video would be wonderful!!!!!
Thanks sooo much for the Frozen “no sew” cape pattern. I have 15 grandchildren, 6 are girls ages 2 to 9. This will make a great Christmas gift. Happy Holiday to you and yours. cathy
You just saved my life!!! My little girl has to be a frozen character in the parade on Sunday and we have the Anna dress, but it is supposed to be cold! I have not conquered the sewing machine yet so this is absolutely up my alley! Thank you so much for the detailed tutorial. Looks simple enough!
Thanks so much. This really saved the day. Only 40 degrees here last night. You are super mom!
Figured out #16 (my own question)……I just layed the fabric out flat (no folds and shorter sides on the top and bottom). I picked up the top right corner and folded it down toward the bottom left. Then flip the fabric over and fold the left side over to the right (almost like a paper airplane fold). Flip the fabric back over again and you will see the shortest triangle ….cut an arch in the bottom of that triangle. This way gives you less material in front (more like a cape). Can practice with an 8 ½ x 11″ piece of paper.
Does anyone know how to make a longer cape? It seems like you are limited by the length of the first fold.
So very cute! But I am also confused with the “flip over” instructions. Any insight would be much appreciated!! Thanks!
That still didn’t make sense at step two. It might be easier to think: flip it over so the original fold is on the left then fold to the right again. That part is not hard to do, just hard to explain!
Thanks for the idea of using felt. Here are a few things I learned while making it:
No matter what I did with my felt it didn’t look like your pictures at step one and two. So I got some paper and tried folding it to make sure I wasn’t going to ruin my fabric. I think you must not have had a full two yards of fabric. I could make it work with paper but the proportions were shorter than 2 yards. In reality, it’s a much longer rectangle than you have pictured. In the end I decided it didn’t matter since you only cut to the top fold. I have some extra fabric left but I will use it to make some little mittens and a headband/cap.
Next, step two where you flip it over and fold again: it’s helpful to know that your original fold is now on the left.
When cutting the smaller part it would be helpful to point out that in your photo the fold is now at the top of he photo. Also, useful to know the finished length of both pieces. My long cape turned out to be about 30 inches from neck to bottom after I cut the neck. That is measuring the front edge. The smaller cape on mine is about 11 inches long measuring the same way. Also I will point out that the smaller cape is only folded in half when you trim the curved edges.
Hope that helps anyone else. Great idea and I’m sure your daughter loved it! Way to get it done in time!