This No Sew Frozen Cape can be made in about 15 mins! Lets say thirty minutes if you have to run to the store for the felt. Bella was invited to a Frozen Birthday party and was asked to go in character. She decided to go as Olaf and I made a nose. After she saw the nose she said, “I would rather be Anna!” Oh No! I looked at the clock and had 45 mins before the party started. I went to the fabric store and grabbed some felt and came home and cut and glued and she arrived as Anna right on time for the party!

Supplies for No Sew Frozen Cape
2 yards 72 inch wide craft felt
2 – 28 inch long pieces of ribbon
2 yards decorative trim (pom pom fringe or fur trim)
glue gun
sharp scissors
How to make a Frozen Cape
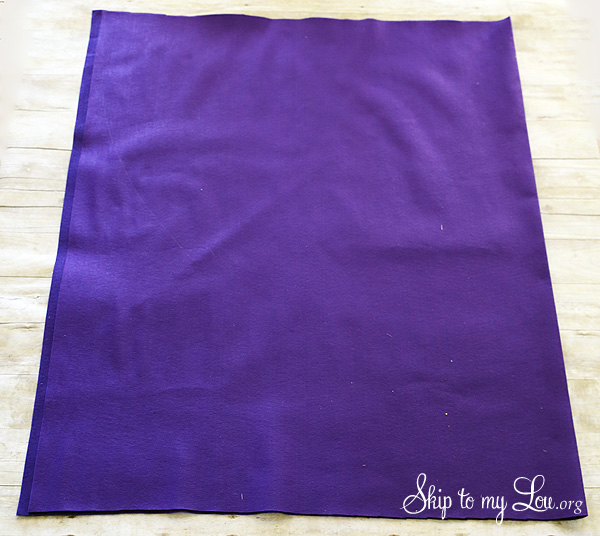
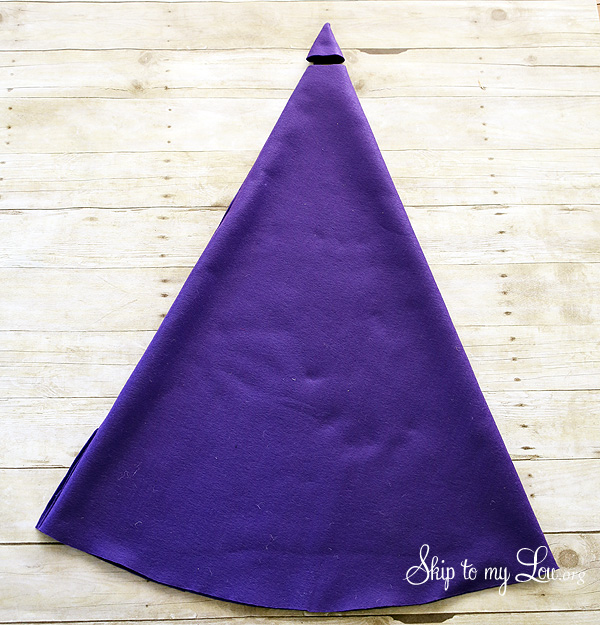
Lay out felt with fold on the right side..
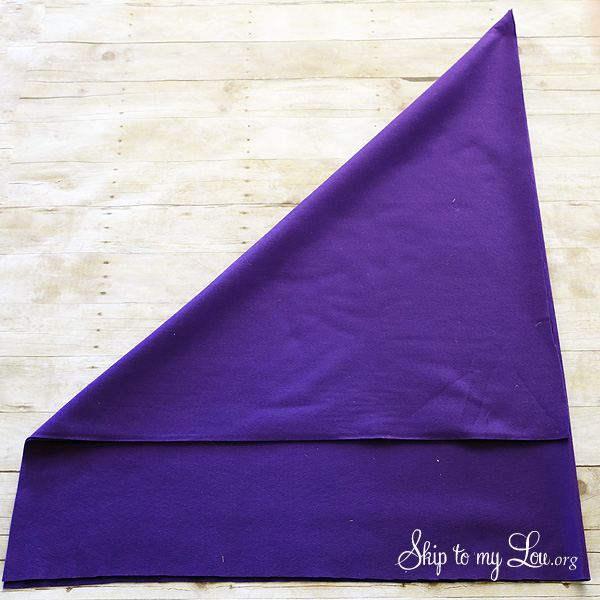
Fold over the top left corner to right side.
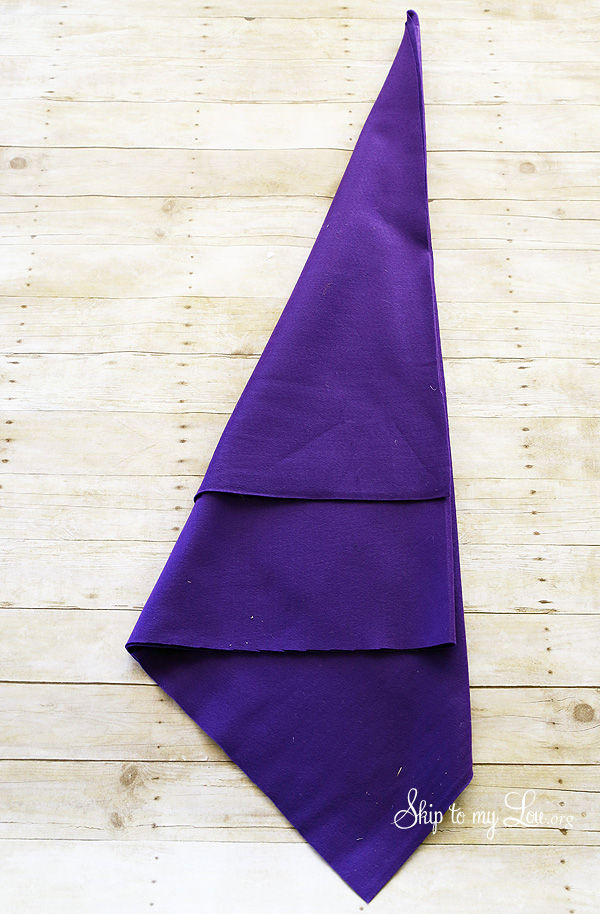
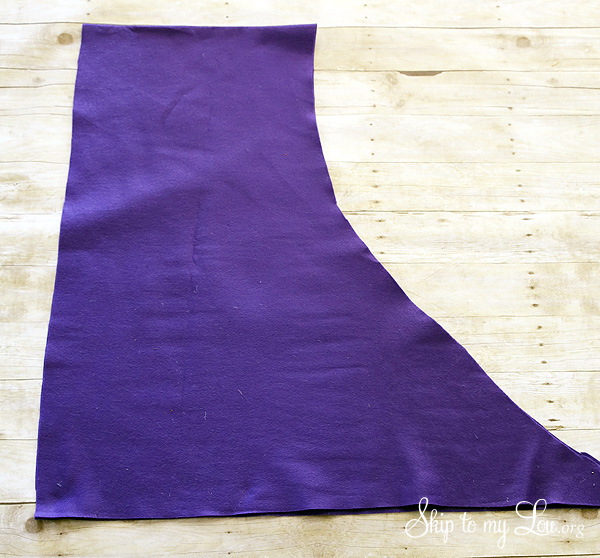
Carefully flip felt over and fold again.
 With sharp scissors cut an arc through all layers of felt. If it is too difficult open felt up one fold and cut the arc.
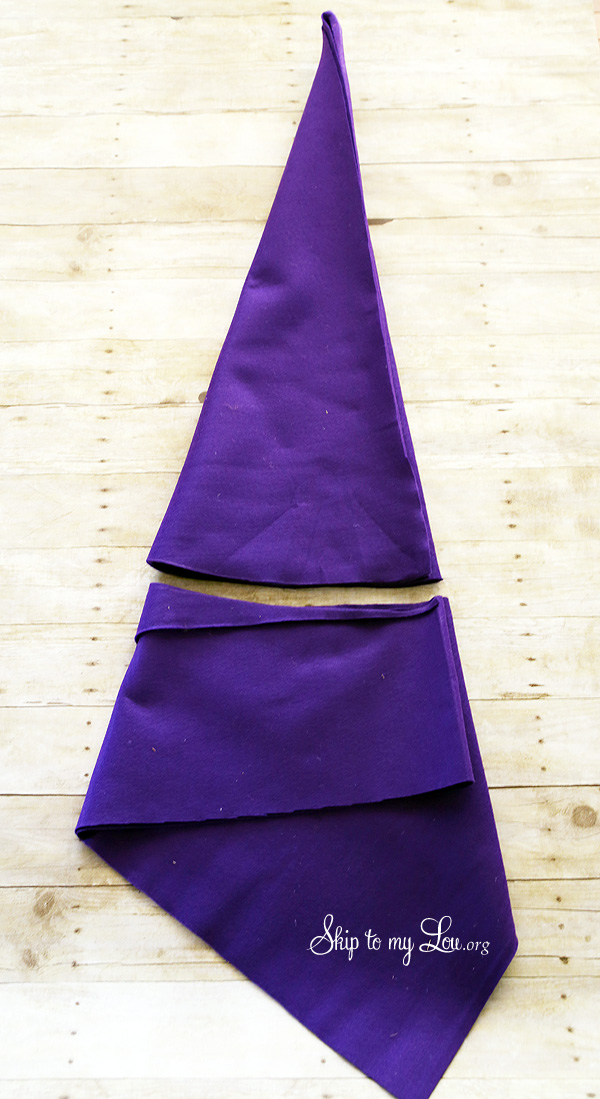
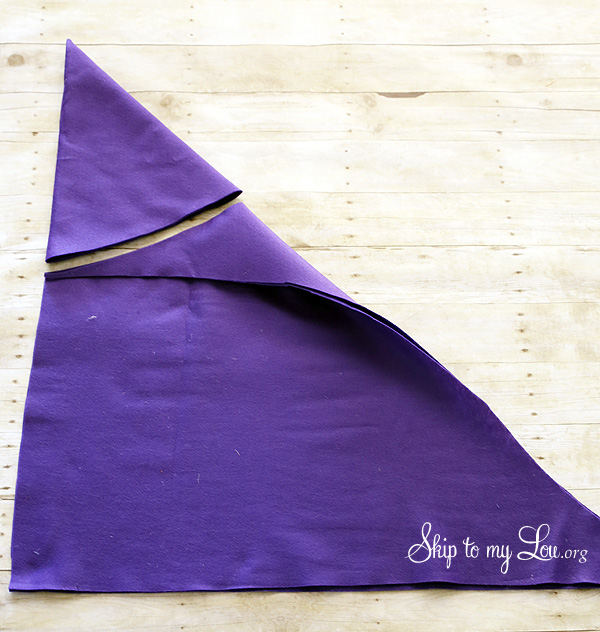
Open up felt one fold and cut an arc at the top for the neck hole. Main part of cape is now finished!
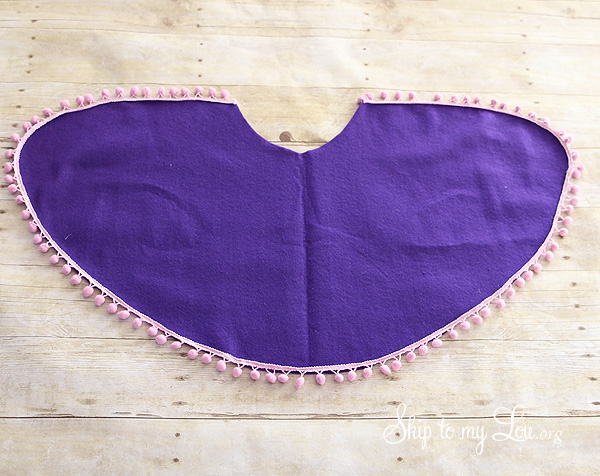
How to make the capelet
Lay out extra felt.
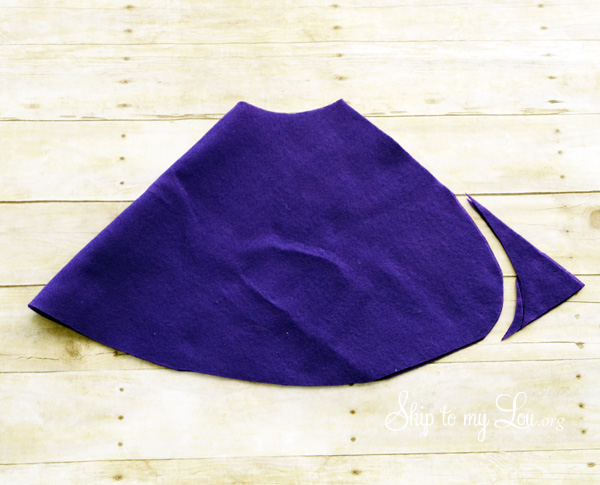
Fold felt over and cut an arc.
Cut an arc at the top for the neck. Try to make it the same arc as the main cape so the neck areas will match up.

With scissors round off non folded edge of capelet.
Hot glue decorative trim along the outside edge of the capelet. This can also be sewn.
Lay capelet on top of large cape. Sandwich a length of ribbon on each side of the neck. Place hot glue in between the layers of felt along neck, making sure to to secure the ribbon ties with glue.

Finished! Let it go!
Looking for another new sew project? This no sew witch costume is so easy.
Family costumes are a fun way to dress up for Halloween!

Help!!! I am trying to make this in the few minutes that I have and am confused. 2 yards of 72″ felt would be a 72X72 square…but this is a rectangle, and leaves the space when folded over. my square (obviously) becomes a triangle. Clarify please?
THANK YOU!!
Tiffany
Also…I’m wanting to make an adult sized one…is there a similar way to do this while having the main cape part be longer?
I’m having the same issue as Meghan Hughes….I can’t figure out the first flip over step… could you explain it more?
I am also having trouble laying the felt out. Mine does not look like yours. Any help would be appreciated. Thank you in advance. It looks so cute.
Thank you so much for this! We made two of these (Anna and Elsa) for Halloween in just a few hours. My sister-in-law took the extra step of actually stitching on the trim. It took a while to wrap our heads around how to do the folds too (we had extra fabric so it didn’t exactly look like what’s shown in the photo). They turned out amazing and oh so cute! They’ll be perfect for keeping them warm while out trick or treating.
I am lost on the flipping over part, too. I also feel like even though I purchased the recommended amount of felt, that I have too much. When I lay mine out on the table it looks like I have considerably more fabric than it appears in the pictures here.
If I hadn’t already cut my fabric I totally would’ve made this! Well done!
I’m with Meghan … I’m a total novice, which is why I was going to try to do no sew … my fabric, at 2 yards, looks almost twice as big as yours in the picture, and we cannot figure out the “flipping over” step. Could you provide a bit more instruction for us newbies, please? Making this for Halloween photos on Saturday … Thank you!!
I’m with Meghan Hughes, I am lost on the flipping over step as well. Any further explanation would be greatly appreciated!(:
I can also use some help with the flipping over step. It’s probably really simple, but for some reason I can’t seem to figure it out!
I love this cape! Especially the easy no sew part!! My daughter was also invited to a frozen birthday party but can’t wear store bought costume because she has SPD . So I always have to make hers so they don’t irritate her skin. I wish I could have seen this post because I didn’t make her a cape because everything I found either they are to hard for my limited skills or the were made using tulle which to my girl is the equivalent of sand paper! I will have to make this cape using your tutorial! Here is the Ana Costume I was able to come up with 🙂 http://isabellasspectrumdesigns.com/2014/10/12/sensory-approved-frozen-inspired-ana-costume/
So cute! This is the best tutorial I’ve found..easy, and looks awesome! Thank you!
I am making an Anna costume for my daughter and I am totally lost on the flipping over step for the cape…I can’t figure out how to do it…I cannot get it to look even close…lol. Could you maybe explain it a little bit more? Thanks
it turned out lovely, kids would really love this and I’m going to make one for my daughter, halloween is near she needs to have it for their party 🙂
Fantastic!!! Love love love