If you love giving handmade gifts, this Curved Top Zip Pouch is such a fun one to sew—and it’s perfect for everyone on your list, from teens to teachers to girlfriends who appreciate something cute and useful. With its soft curved shape, smooth zipper top, and endless fabric options, this little bag turns out polished and gift-ready every time. I can never get enough small pouches—they’re quick to make, practical to use, and such a thoughtful way to share something handmade.
In this easy step-by-step tutorial, learn how to sew the curved top, add the lining, and install the zipper so your pouch looks beautifully finished. Whether you fill it with makeup, travel essentials, art supplies, or little treats, it’s a sweet sewn gift that feels special without taking all day to make.
Let’s get sewing!
If you love to sew—and especially if you’ve got teens who have outgrown the days of handmade clothes—you might be feeling that little tug of “What do I make now?” I’ve been there. Instead of giving up sewing for them, I realized I just needed to shift what I was making. And honestly, I feel pretty strongly about it now… why should only newborns get the handmade love? Our teenagers need it just as much.
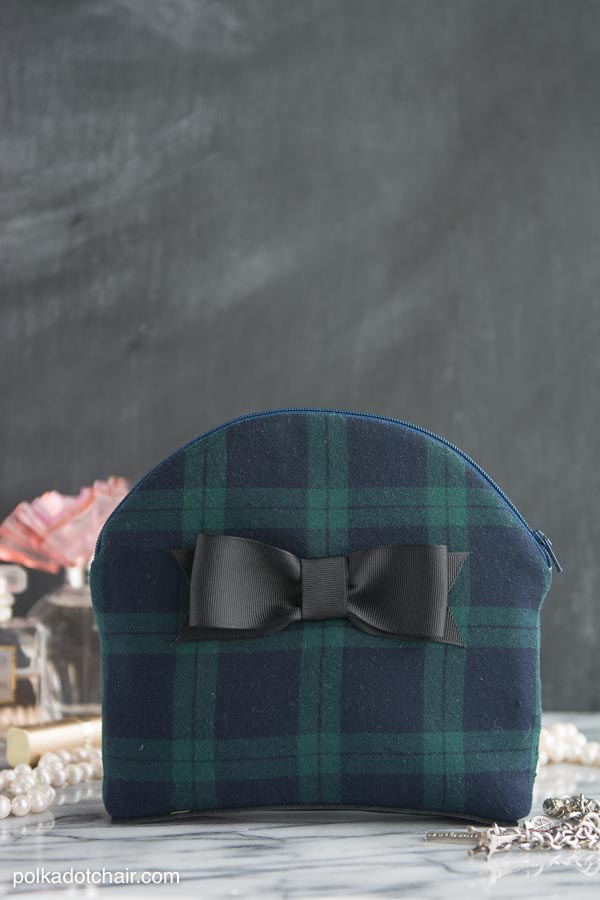
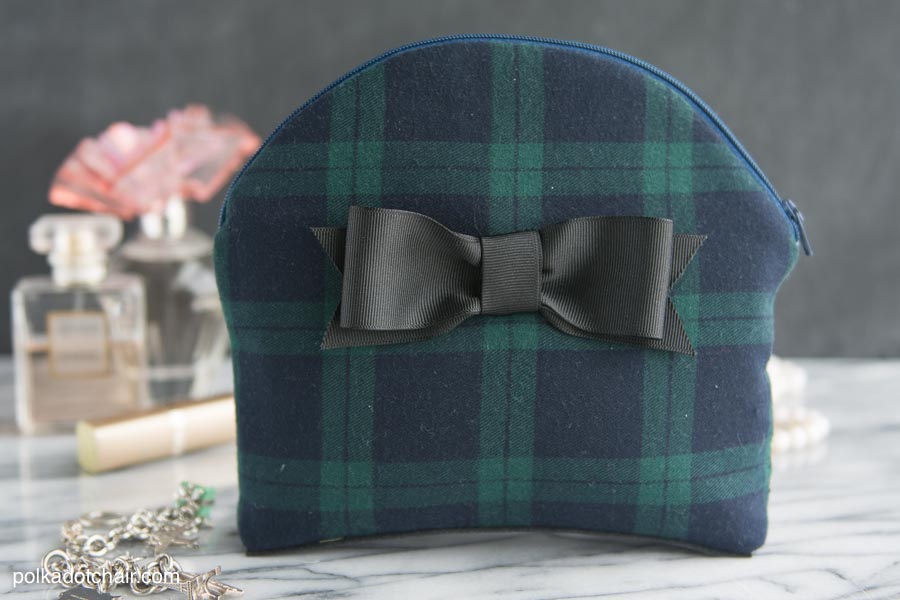
That’s why I adore projects like this. Today I’m sharing a step-by-step tutorial for a Curved Top Zip Pouch that makes a wonderful Christmas gift for a teen on your list. (And truthfully—it’s just as fun to make for adults!) It’s cute, useful, and a simple way to sew a little love into something they’ll use every day.
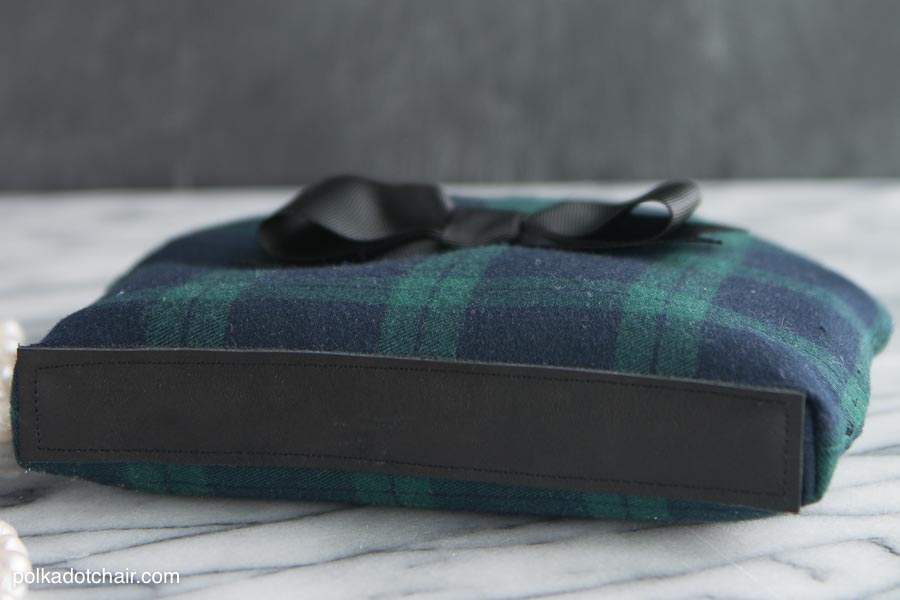
The pouch is made from wool, but you can also use cotton, if you use wool just make sure it’s lightweight. For an extra bit of detail I added a simple black bow to the front, and a touch of leather to the bottom.
Supplies for Handmade Pouch
If you’d like to make one too, here’s what you’ll need:
- 1/2 yard of fabric for the pouch outside
- 1/2 yard of fabric for the pouch lining
- 14″ zipper
- 1/2 yard of Pellon Flex Foam
- 1/2 yard of Pellon Shape Flex
- Scrap of Leather 1″ x 7″ (this step is optional)
- Leather Needle
- Glue Stick
- 1 yard of 1″ wide ribbon
- Pattern piece for pouch (you can download it for free here)
All seam allowances are 1/2″ unless other wise noted.
Step-by-Step Curved Top Zippered Pouch Tutorial
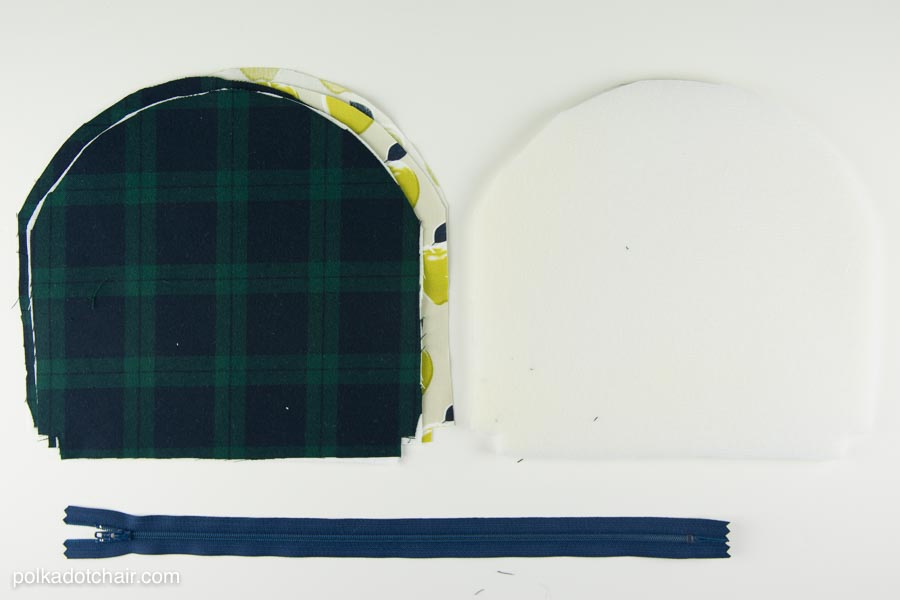
From the pattern piece cut:
2 pieces for pouch front
2 pieces for pouch lining
2 pieces of flex foam
2 pieces of shape flex
Press the shape flex onto the wrong side of the pouch outside pieces. If you’re using wool this will help keep the pouch from stretching out of shape as you sew it.
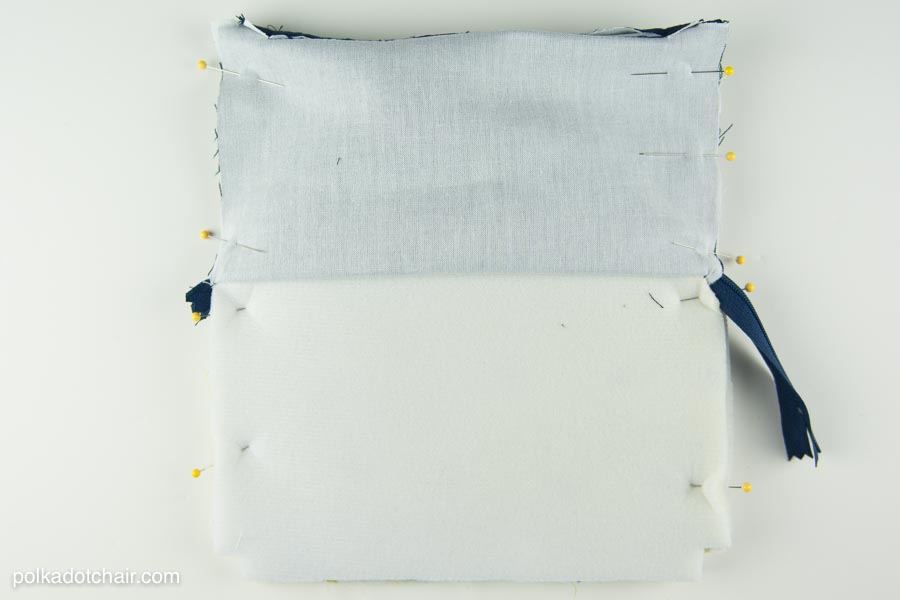
Place the cut foam piece behind the cut pouch outside piece. Pin the right side of the zipper to the right side of the pouch along the top arch. The zipper is longer than the pouch, that is okay.
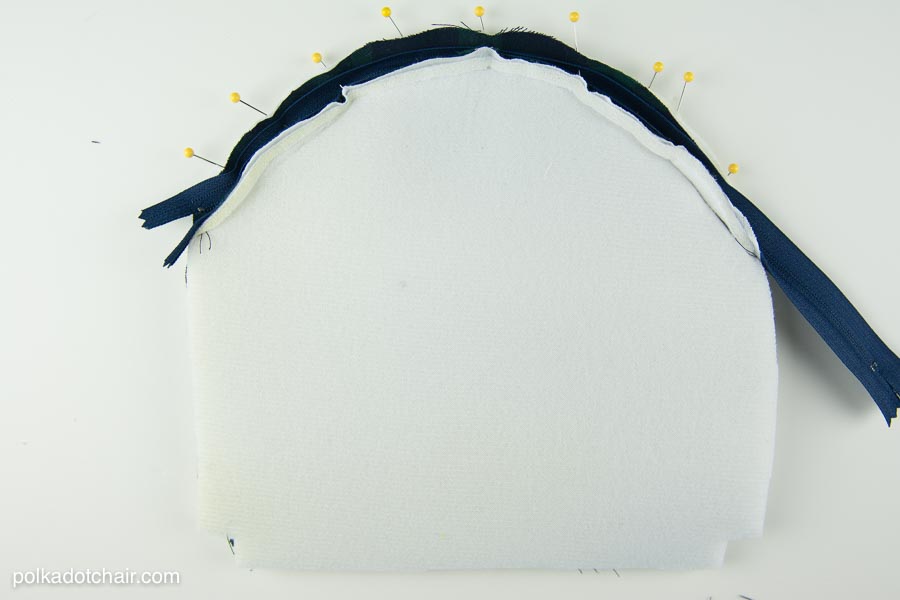
Next place the pouch lining piece on top so that the right side of the lining is facing the wrong side of the zipper. Pin in place. (You’ll have lots of pins).
Next, stitch through all the layers using your zipper foot, use the width of your zipper foot as a guide, your seam allowance should be between 1/4″ – 3/8″. Stitch with the foam side up so that the feed dogs on your machine will help to feed the lining piece through evenly.
Clip the curve.
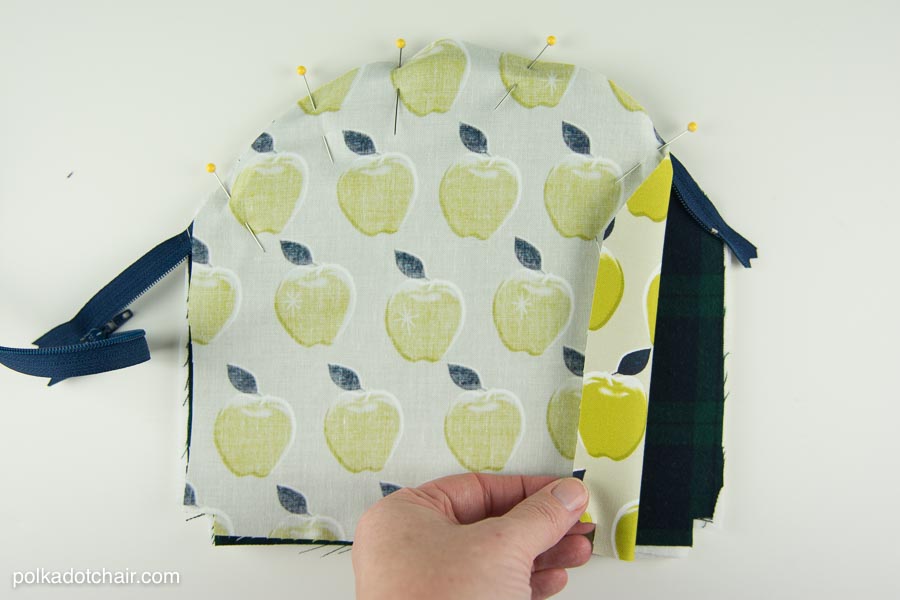
Repeat for the other side of the zipper.
When you’re done you’ll have a piece that looks like this.
Take a second and zip it up to make sure that you’ve inserted the zipper correctly.
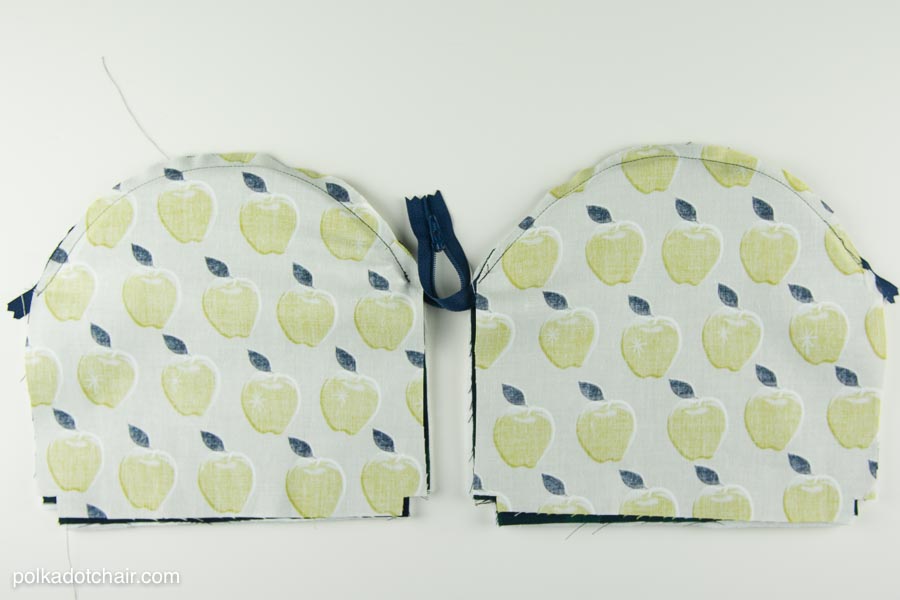
Unzip the zipper half way.
Bring the pouch outside pieces together right sides facing and stitch along the bottom seam only. Press seam open
Note: this next step is optional.
Take the leather piece and apply a bit of glue to the wrong side of it. Stick it onto the bottom seam of the pouch centered and covering the bottom seam. Secure it in place with binding clips if you have them.
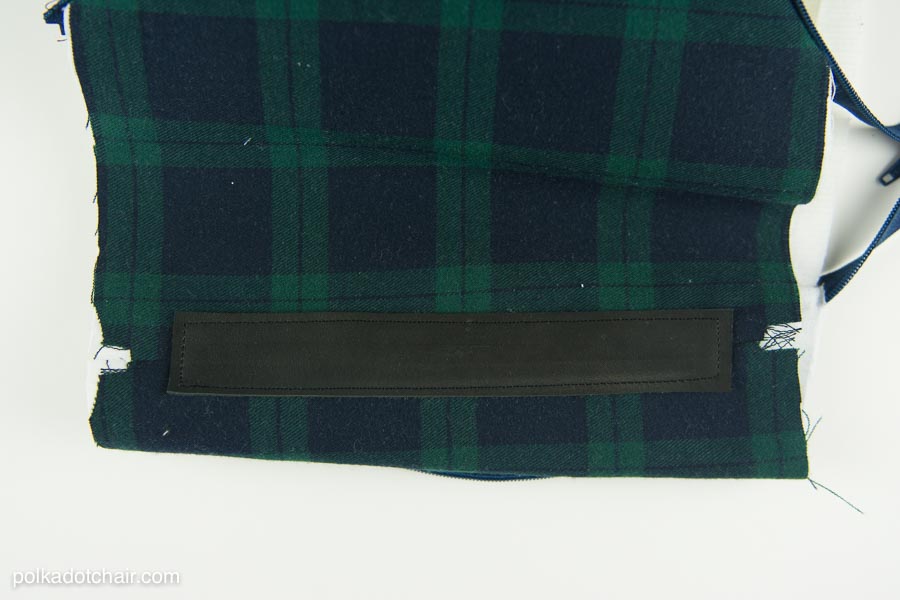
Insert the leather needle into your machine. Very slowly stitch around the perimeter of the leather piece. Remove the leather needle from your machine and insert a standard needle.
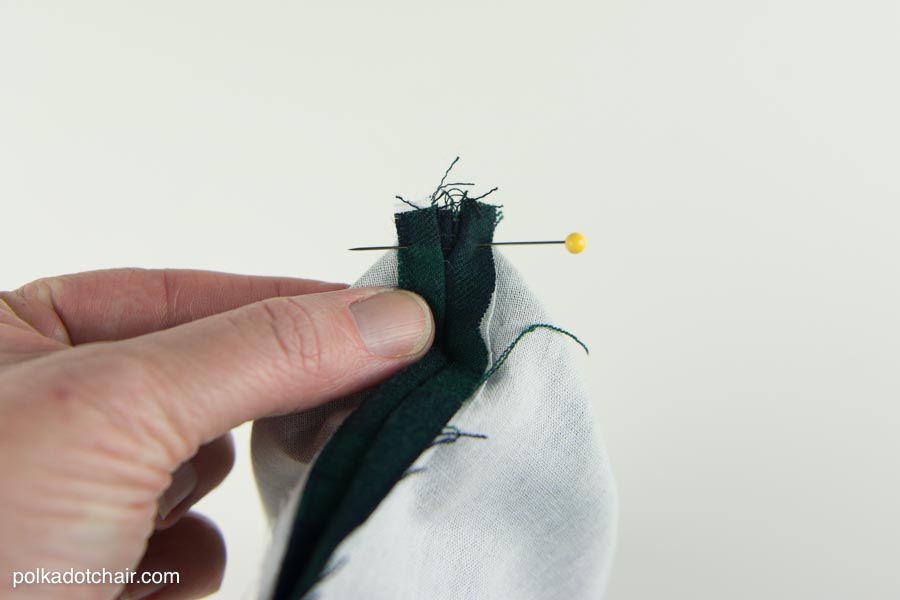
Pin the right sides of the pouch outside piece together (including the foam) and pin the right sides of the pouch lining together.
Stitch around the perimeter of the pouch leaving a 3″ opening in the lining piece so that you can turn the pouch right side out. Leave the cut out square shapes in the corners unstitched. Be careful not to “catch” any of the pouch in the seam as you sew. You’ll have to stitch inward and pivot when you get to the point with the zipper.
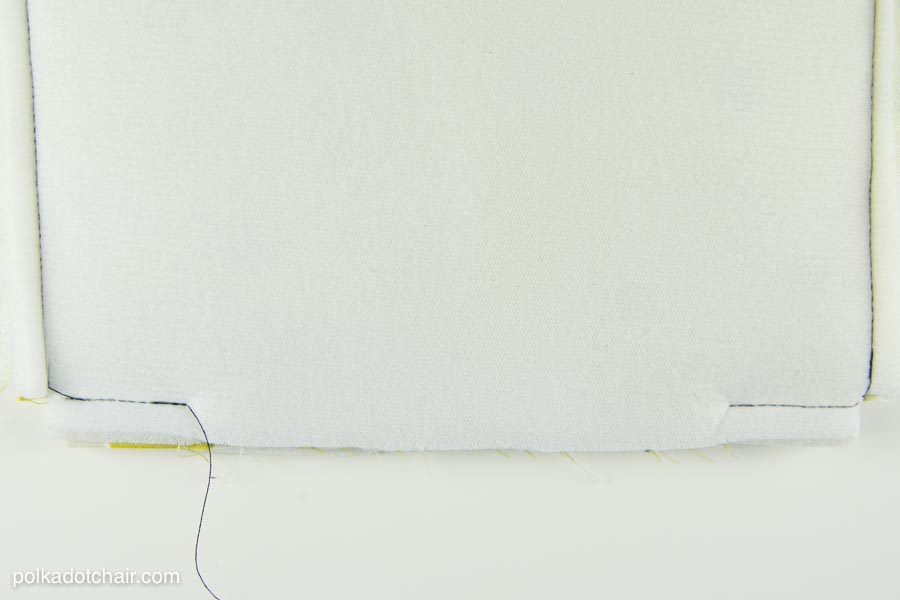
Pinch all 4 corners of the pouch and stitch 1″ up from the cut raw edges. Cut off the extra part of the zipper. Turn the pouch right side out. Stitch the opening in the lining closed.
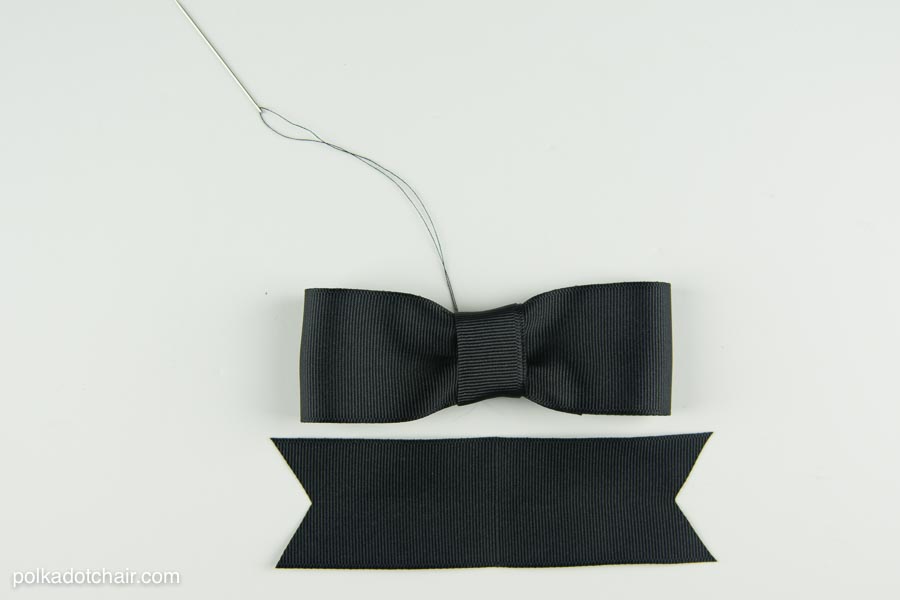
“Guesstimate” how large you’d like the bow on the front of your pouch. Cut a piece of ribbon twice that length. Fold raw ends of ribbon to the center and using a needle and thread stitch together pulling slightly on the thread as you go. Fold a piece of ribbon in half and wrap it around the bow at the center point. Whip stitch in place. Cut a piece of ribbon slightly longer than your finished bow. Clip the edges. Stitch to the wrong side of the bow you made and then sew it to the front of the pouch.
and you’re DONE!

More Zippered Pouches to Sew
If you love sewing cute little bags as much as I do, here are more zipper pouch tutorials you might enjoy—each one makes a wonderful handmade gift:
- Pleated Pouch – A darling pouch with soft pleats on the front that adds texture and visual interest. Perfect for gifting!
- Lined Zipper Pouch – A classic, beginner-friendly zip pouch with a fully lined interior. Great for everyday essentials.
- First Aid Pouch – A sturdy little zippered bag sized just right for bandages, medicine, and on-the-go essentials.
- Theme Print Zipper Pouch – Choose a fun novelty fabric and turn it into an adorable pouch for kids, teens, or anyone who loves personalized gifts.
- Leather Trimmed Zipper Pouch – A more polished look with leather accents—perfect for gifting to men or anyone who appreciates a modern style.
- Quick Coin Pouch – A super-fast little project that’s great for using up scraps and makes an adorable stocking stuffer.
- Jungle Jalopy Zippered Pouch Pattern – A playful pouch featuring a cute appliqué design—great for kids and whimsical gifts.
- Dictation Pouch (perfect for teachers!) – A practical and thoughtful pouch teachers can use for task cards, supplies, or classroom organization.
My Favorite Sewing Tools
I would love to keep you fully stocked with creative ideas, yummy recipes, fun crafts, and loads of free printables. Subscribe to Skip to my Lou to get new ideas delivered to your inbox. Follow me on Facebook, Pinterest, Twitter, and Instagram for all my latest updates.


Skip too my Lou