Got a spare five minutes and some fabric scraps lying around? You’re in luck! I’ve got the best shortcut for making scrunchies that will save you time and effort. With this quick and easy trick, you can whip up stylish scrunchies in no time, using just a couple of simple materials. Say goodbye to complicated sewing processes. Let me show you the easiest way to make a scrunchie!
At Skip to My Lou, we have a range of sewing patterns, even for kids. Once you have finished making your scrunchie, you can try a few of these: Teddy Bear Pattern, Fabric Coffee Sleeve Tutorial, Reusable Grocery Bag Patterns, and Easy Pattern for a Tote Bag {Kids Sewing Project}.
Scrunchie Supplies
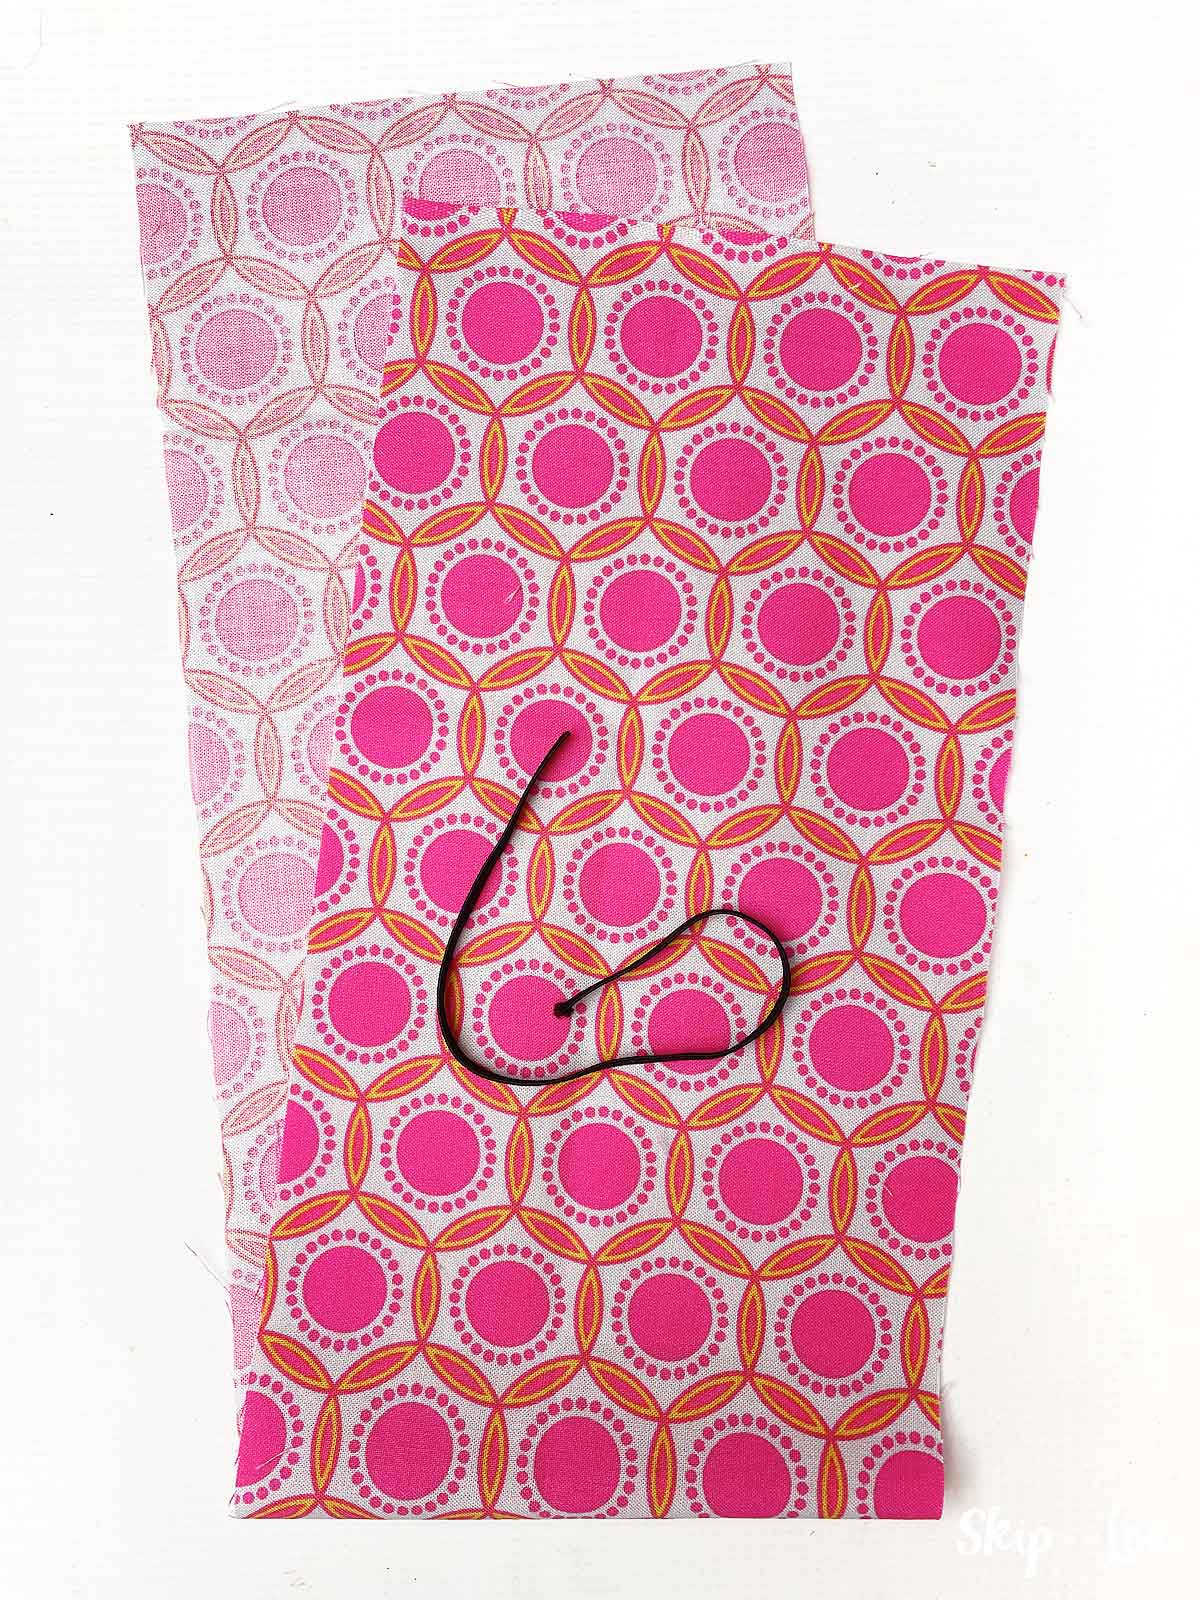
- piece of fabric 24″ x 6″ for a large scrunchie or 24″ x 5″ for a more narrow scrunchie
- elastic 9 inches or 13 inches (if you want to wrap twice around hair) of 1/4 inch elastic
- sewing machine
- thread for the sewing machine
- cutting mat and rotary cutter (optional)
- scissors
How to Make a Scrunchie
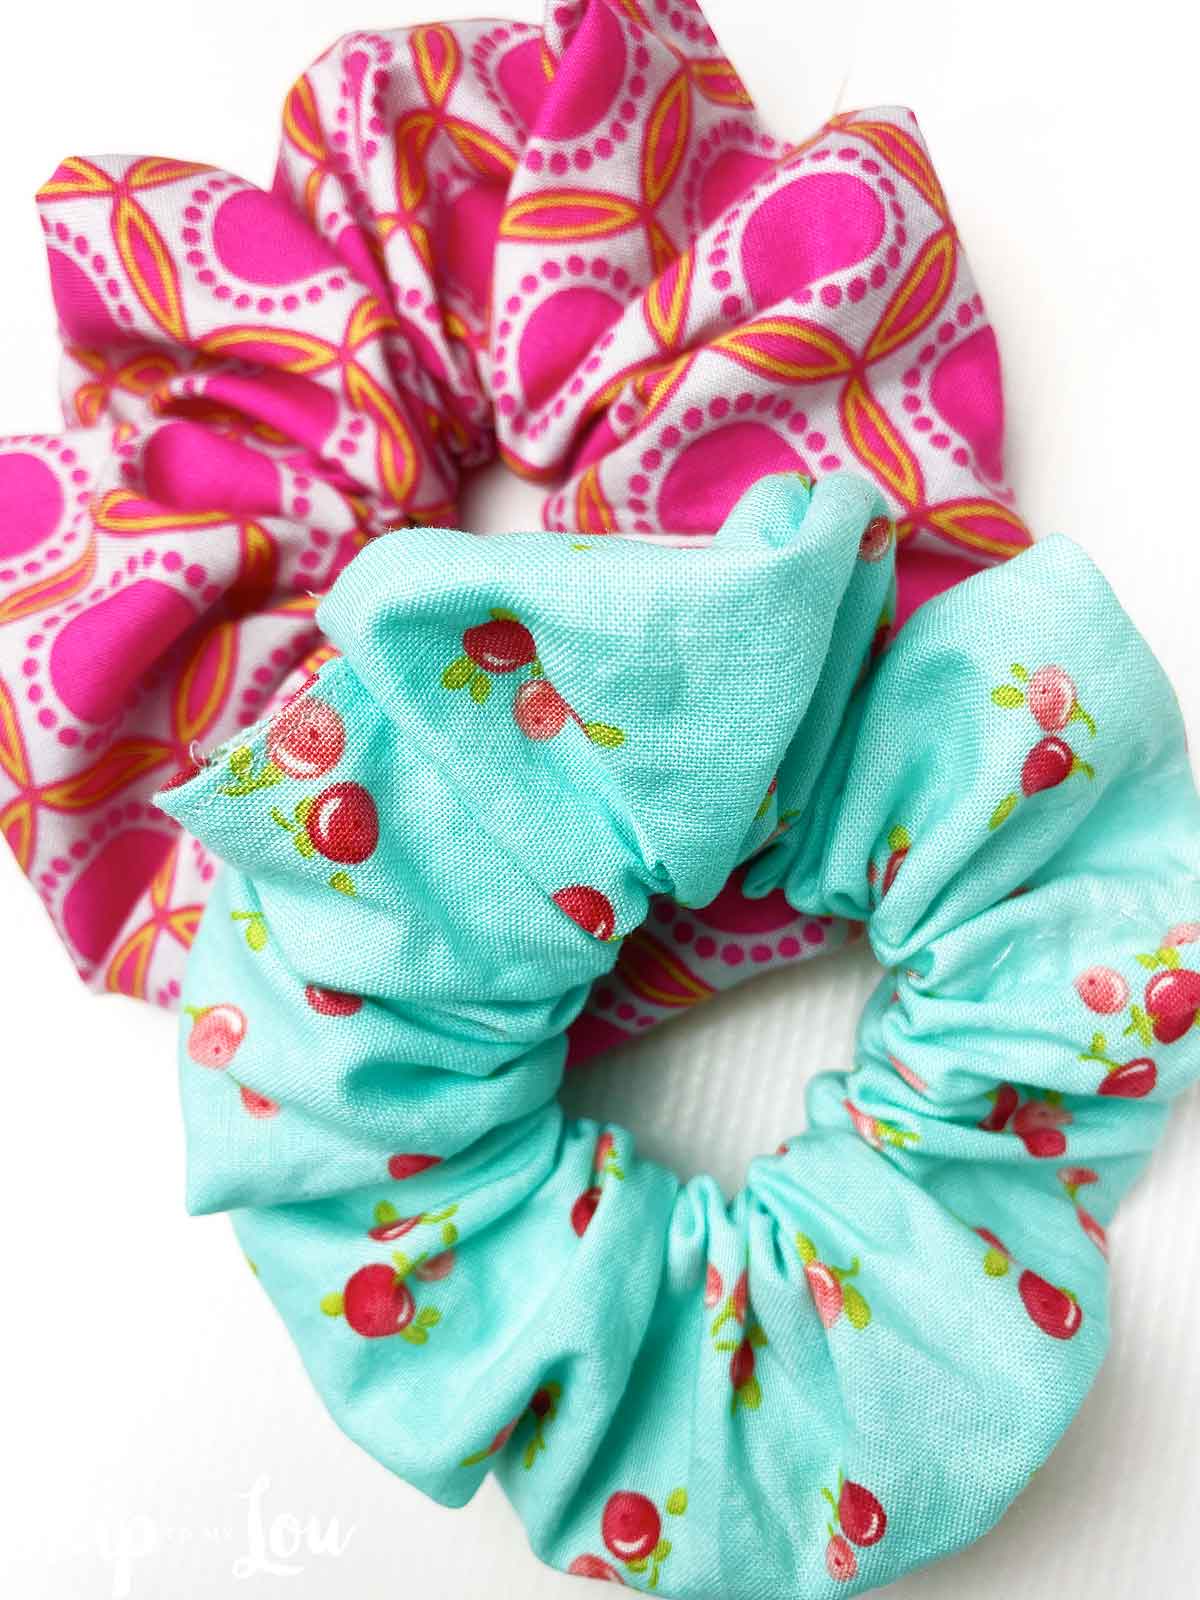
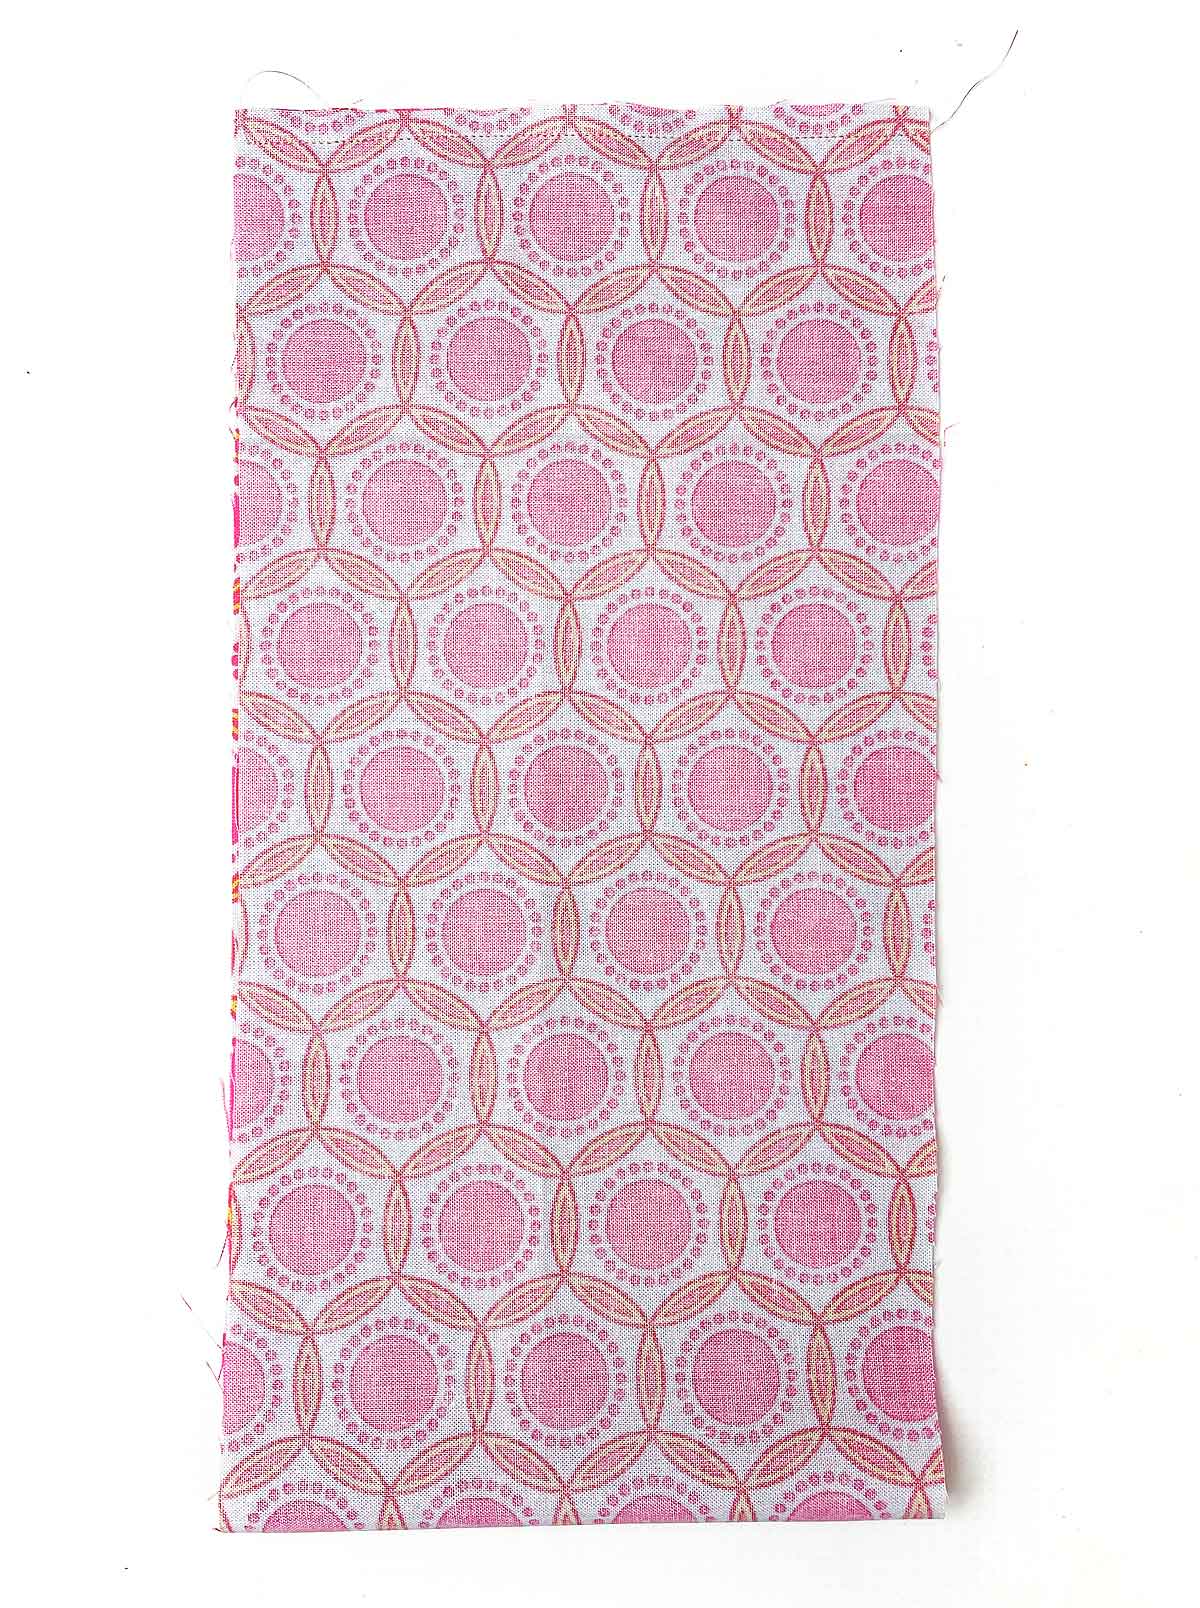
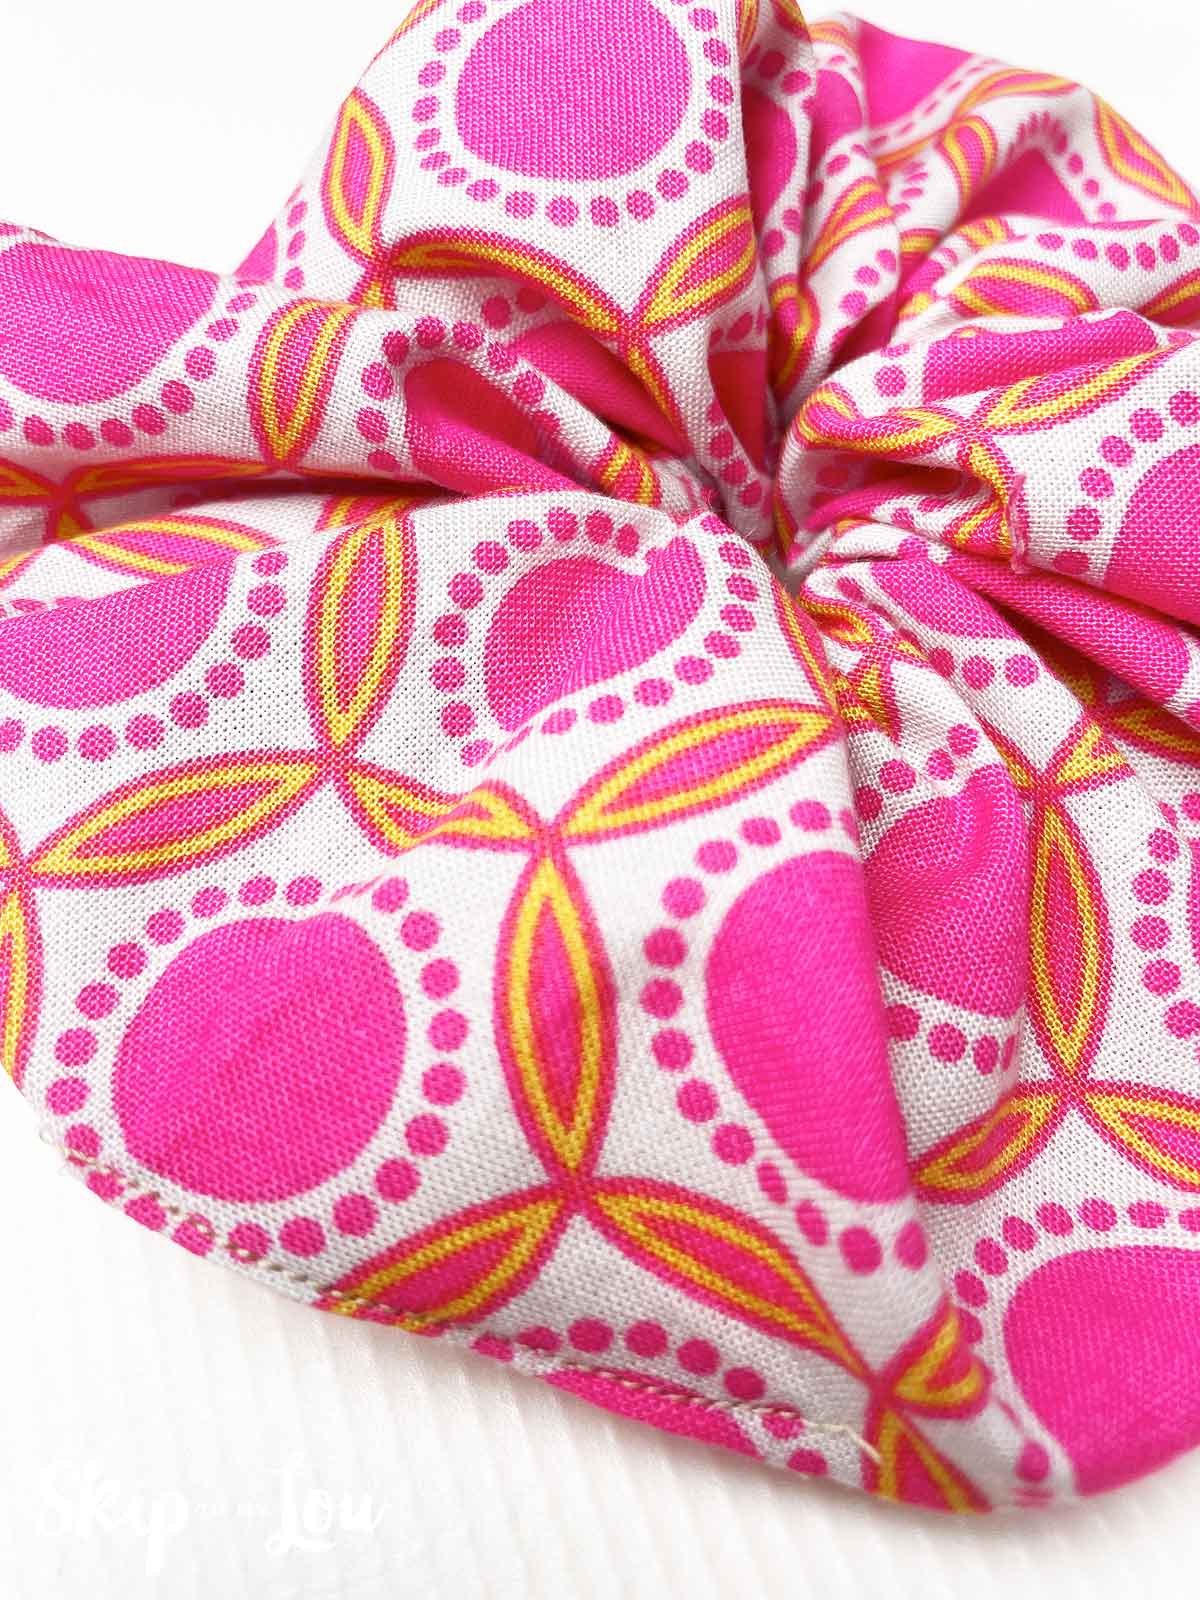
- Begin by cutting a piece of fabric into a rectangle. The dimensions can vary depending on how big you want your scrunchie to be, but for a larger scrunchie (the pink one above), cut fabric 24 inches long and 6 inches wide. For a more narrow scrunchie (blue one above), cut fabric 24 inches long by 5 inches wide.
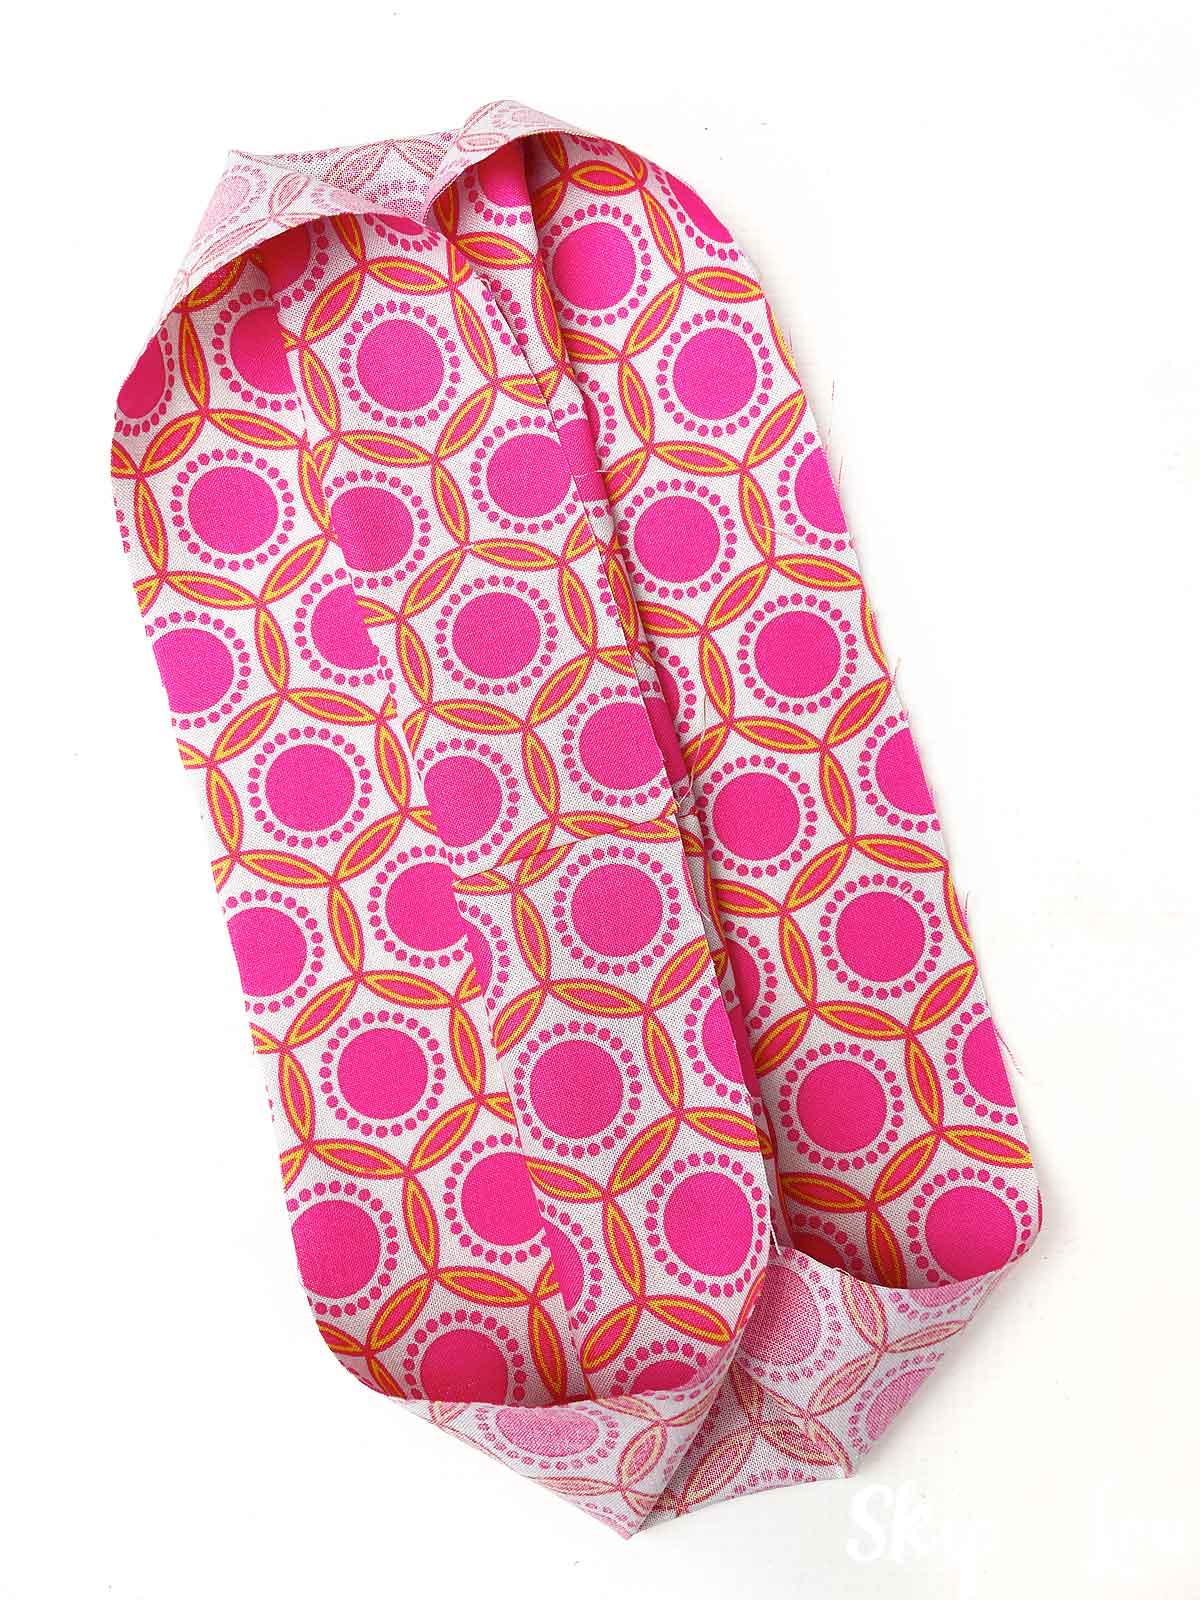
- Fold the fabric in half and sew the ends together.

- Fold the fabric in half and sew the ends together.
- Fold each side of the top layer to the middle.

- Fold the outside edge of the bottom layer over to the other side.
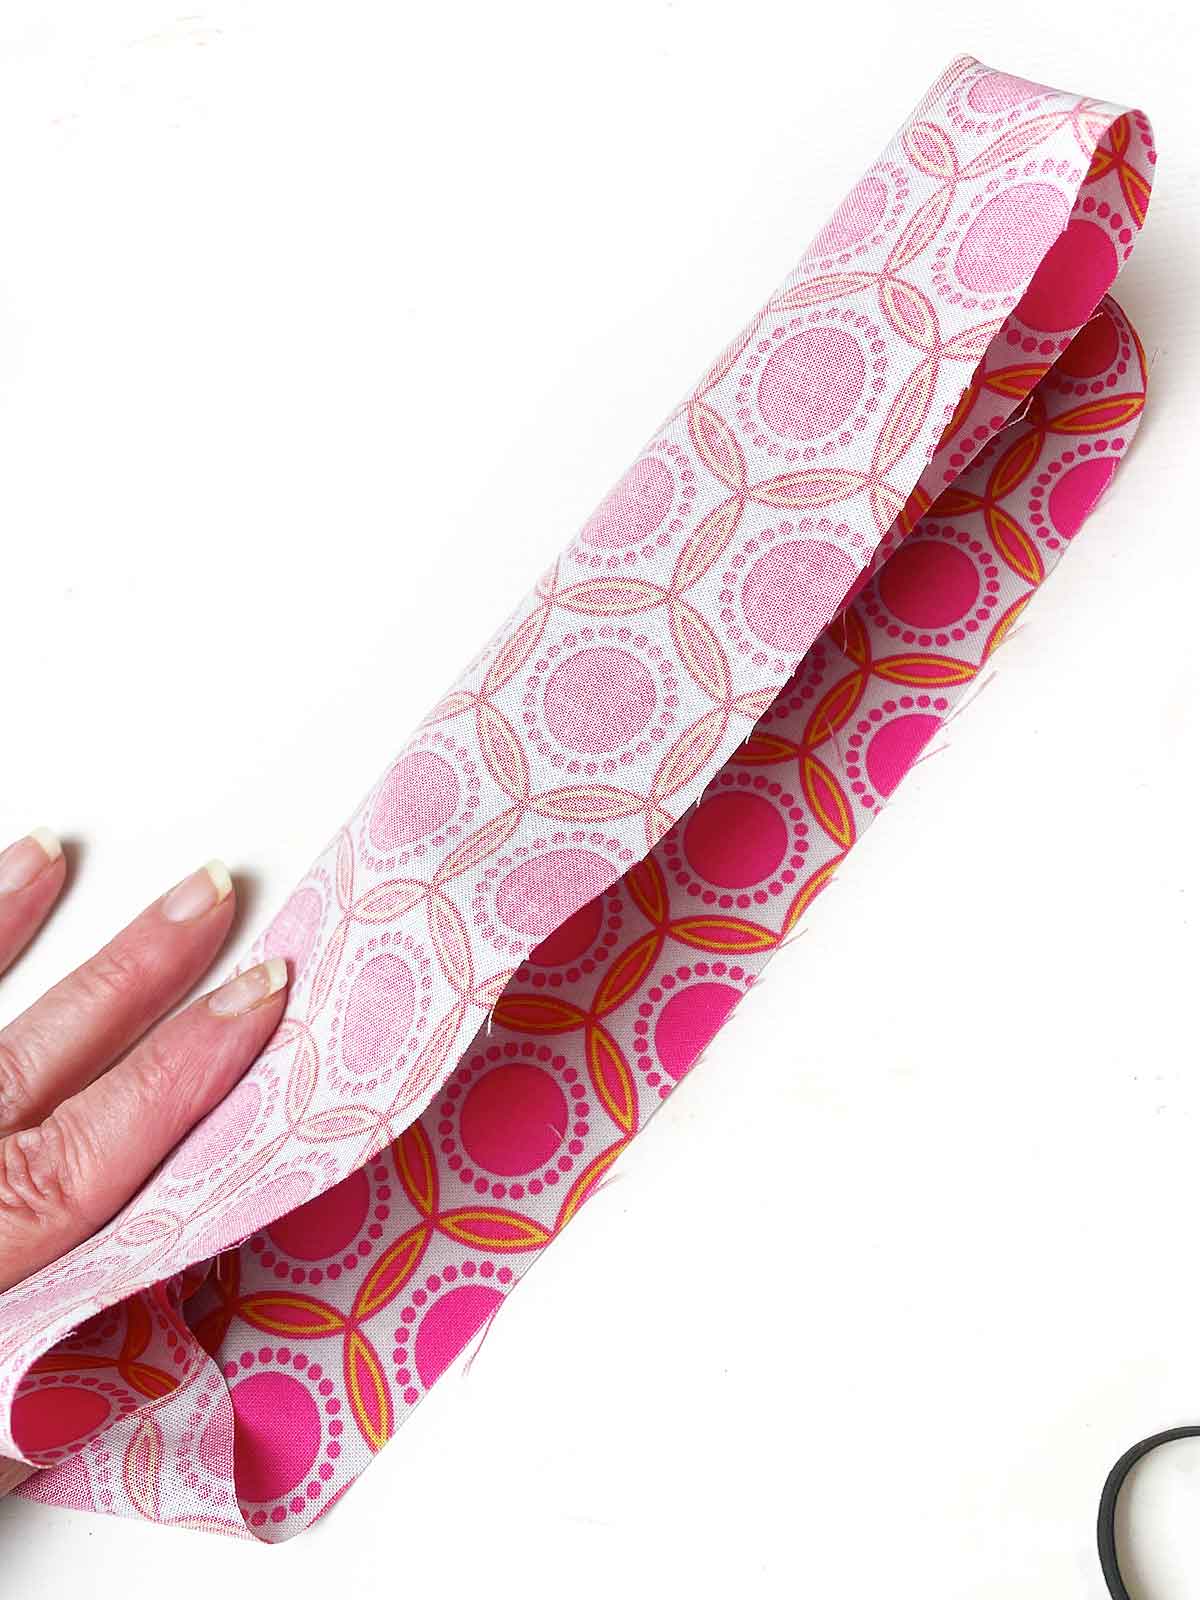
- Sew the sides together, pulling the folded fabric in the middle out as you sew. Leave about a 1 – 1.5 inch opening at the end.
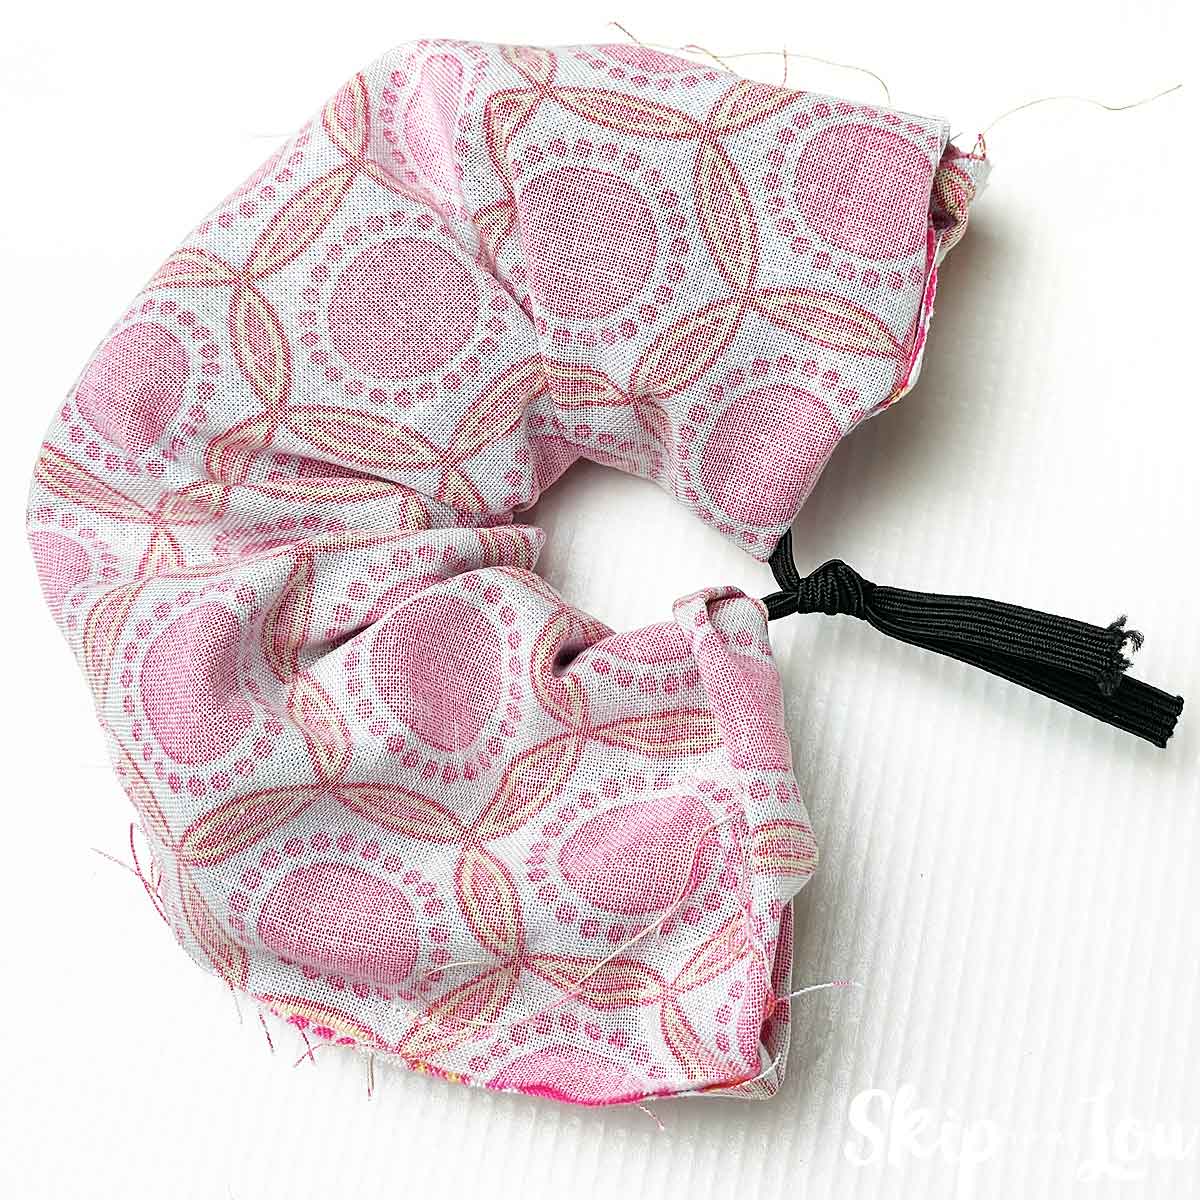
- Cut a piece of 1/4 inch elastic that is 9 inches or 13 inches long. The longer elastic allows you to wrap the scrunchie twice around your hair. However, everyone’s hair is different, so adjust to what works for you. You could even try the elastic alone first to determine the perfect length for you.
- Feed the piece of elastic through the center of the sewn piece and tie a knot in the elastic. I tie the knot like how you would tie a balloon.

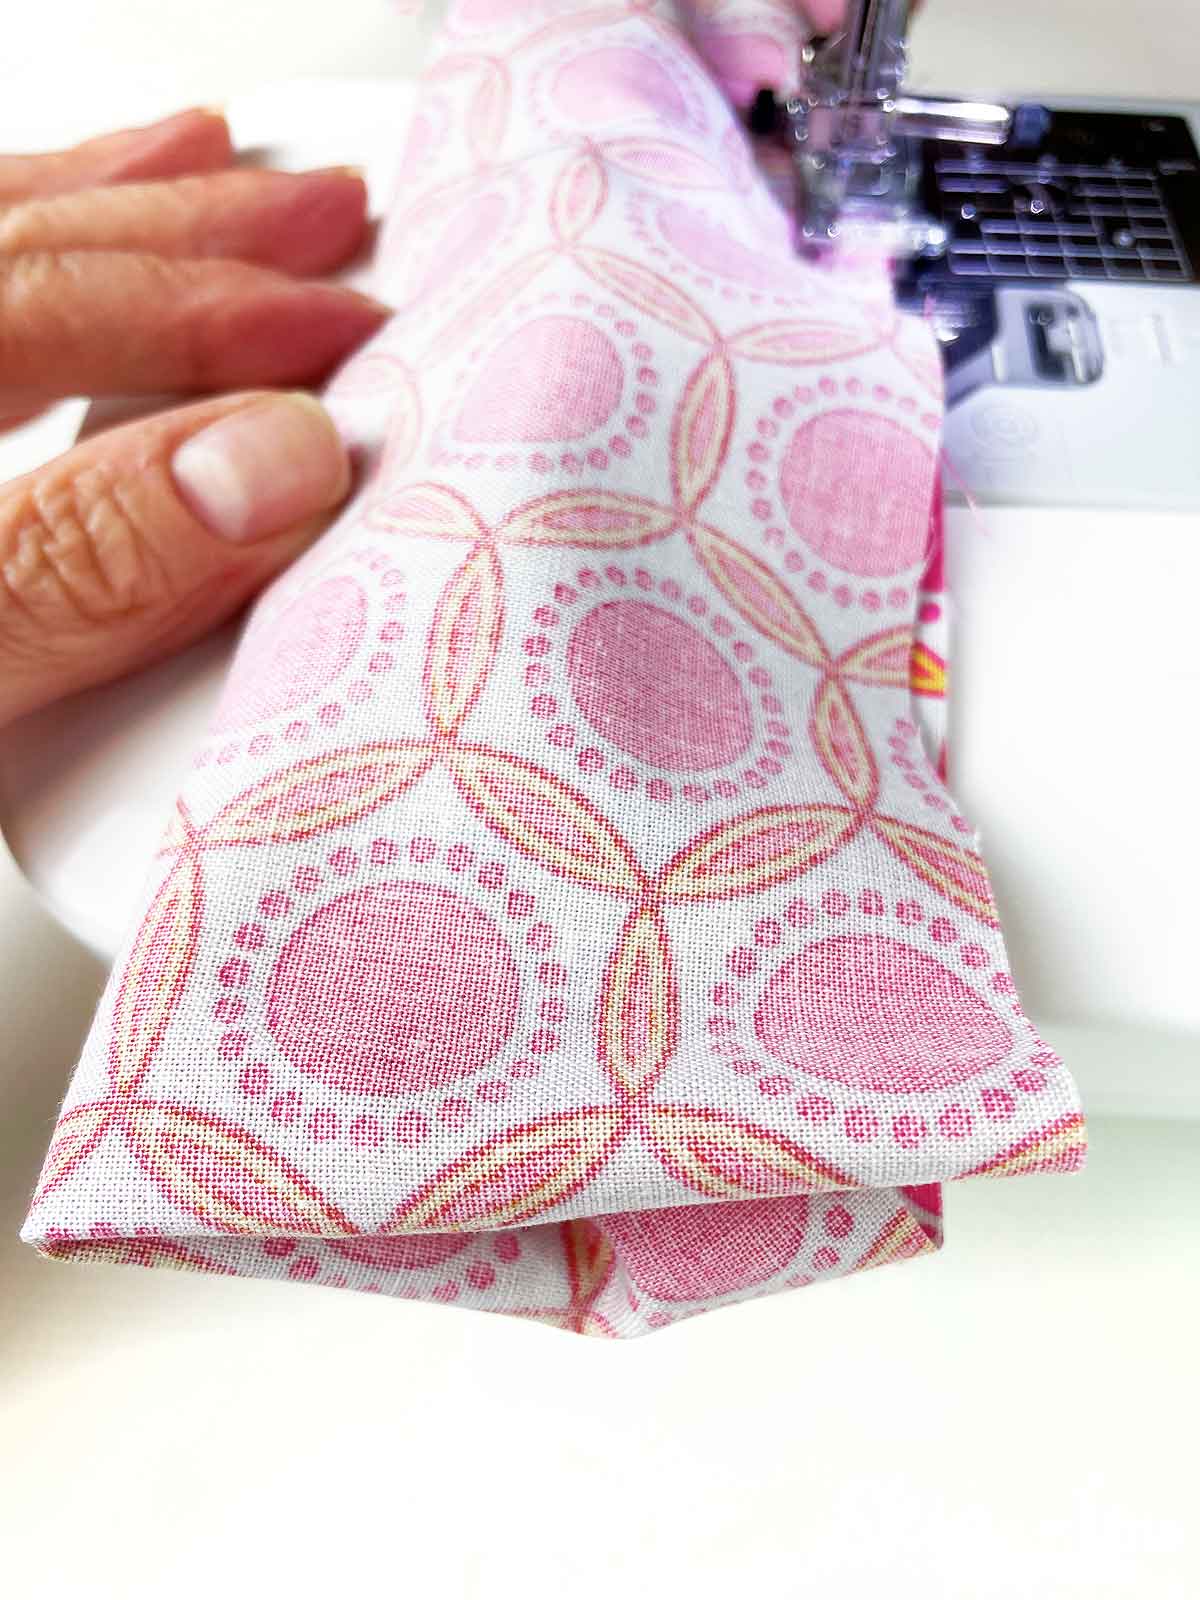
- Turn the scrunchie right side out through the hole that was left open.
- Sew the opening shut with the sewing machine or by hand.
How easy was that!?!
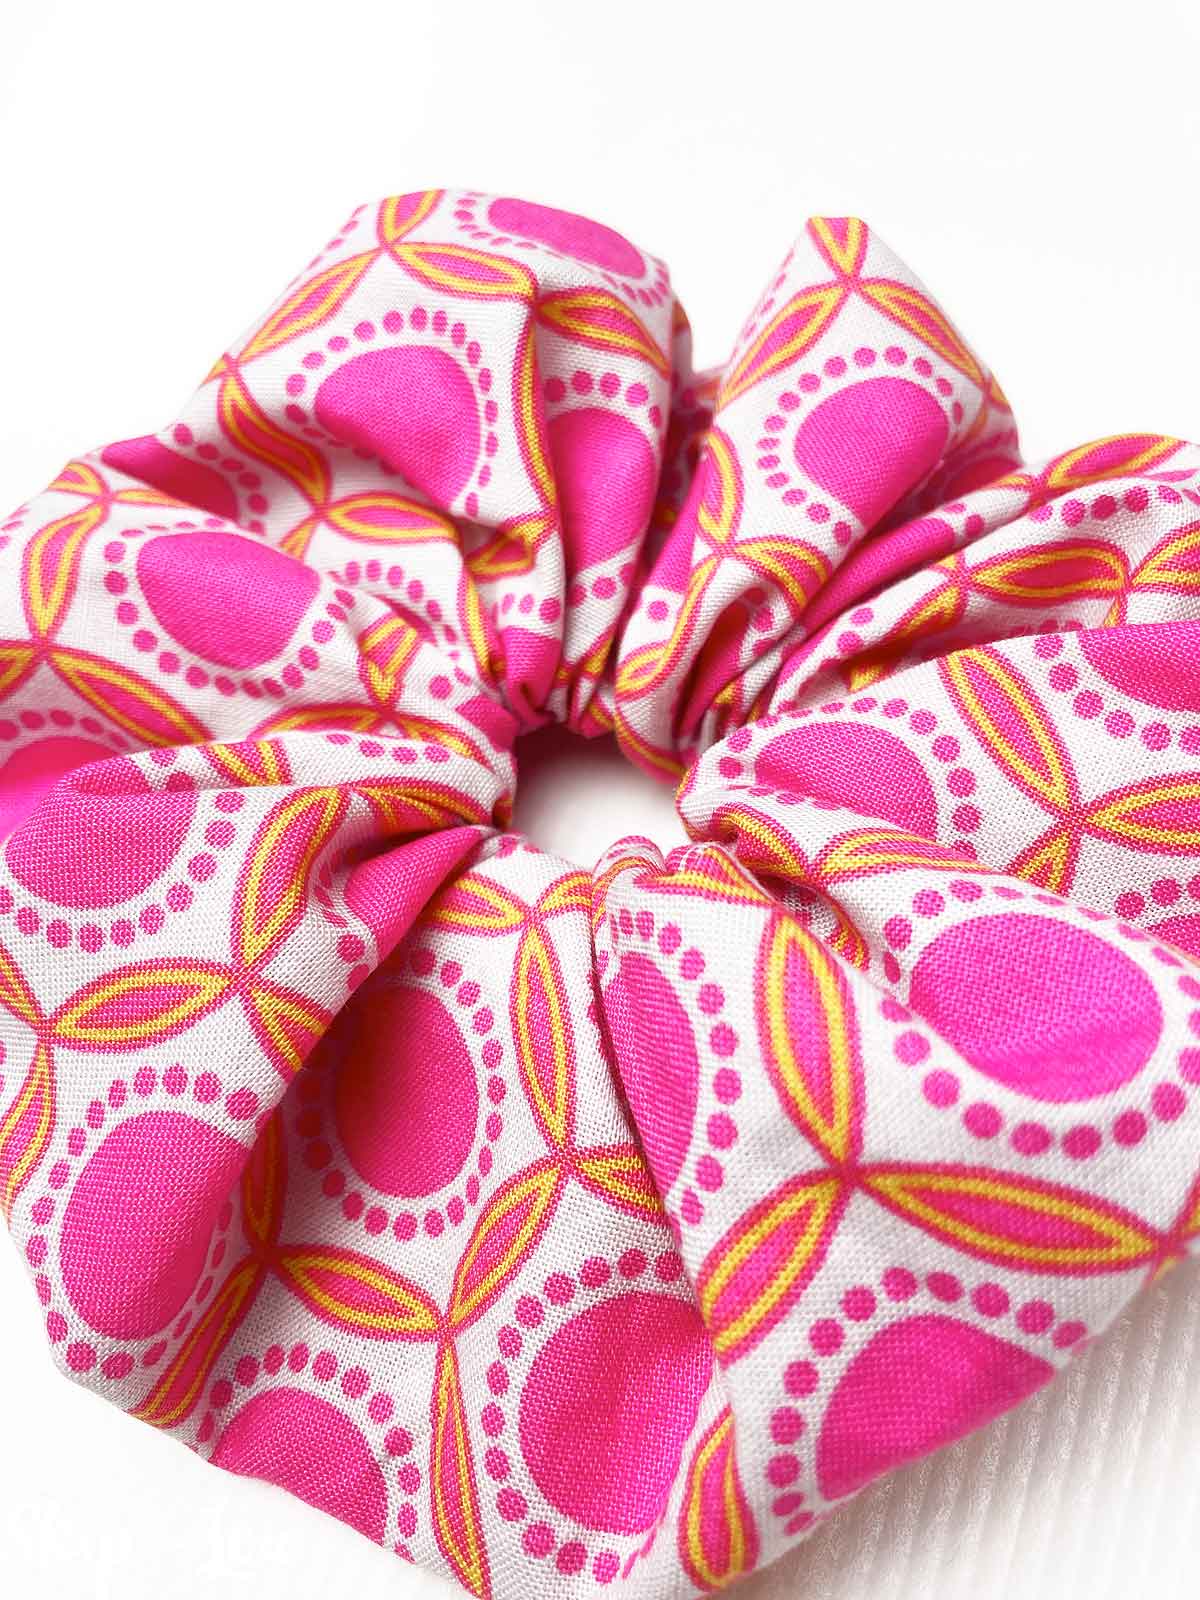
Keep in mind that the width of your fabric will determine the size of your scrunchie. For a narrower scrunchie, opt for a piece of fabric around 5 inches in width. This technique works best with fabric pieces of this size or larger, ensuring that you can create the perfect scrunchie without any hassle.
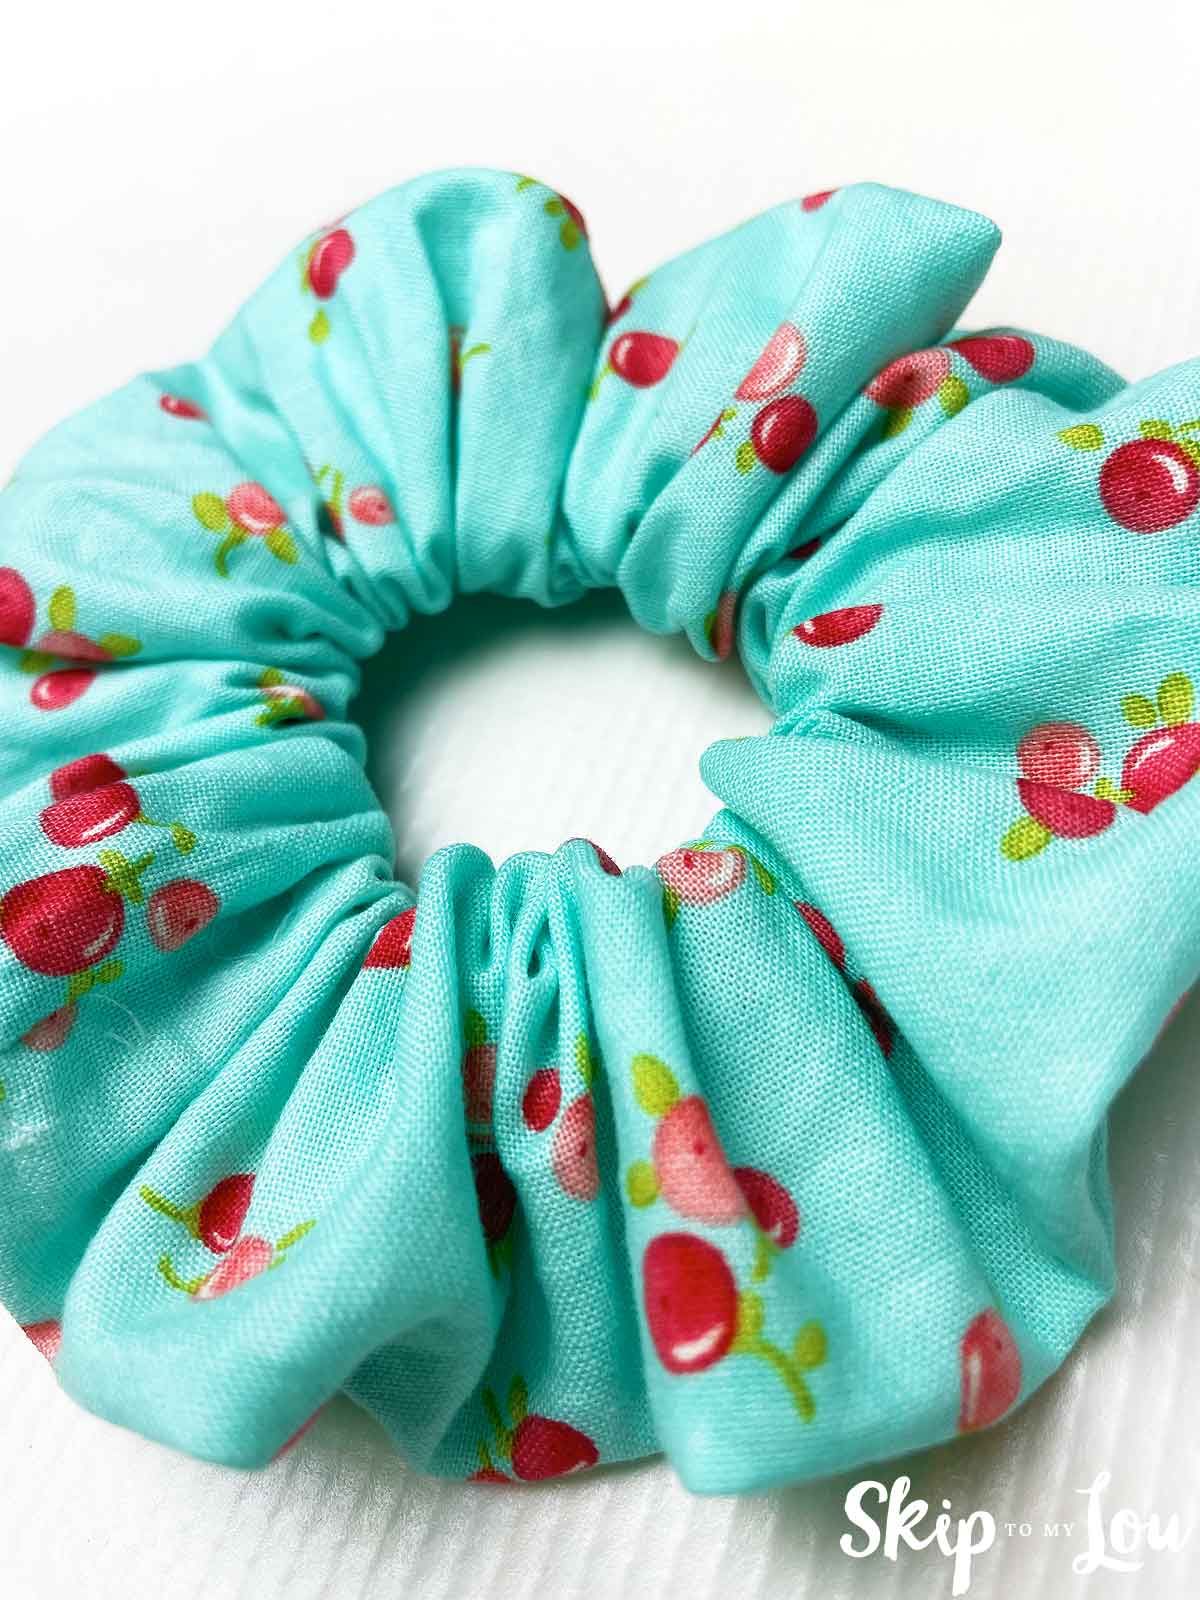
With just a few simple materials and basic sewing skills, you can create stylish scrunchies. Whether you’re crafting them for yourself or as gifts for friends, this DIY project is sure to add a personal touch to your accessory collection or make a great handmade gift. So, grab your supplies and get ready to sew a scrunchie! It’s quick, easy, and lots of fun!
Happy sewing!
Easy Sewing Patterns for Kids
We have several easy sewing patterns just for kids. They include:
- Felt Carrot Pencil Holders
- Drawstring Backpack
- Hanging Rainbow Cloud
- How to sew a bookmark
- Felt Hedgehog Ornament
I would love to keep you fully stocked with creative ideas, yummy recipes, fun crafts, and loads of free printables. Subscribe to Skip to my Lou to get new ideas delivered to your inbox. Follow me on Facebook, Pinterest, Twitter, and Instagram for all my latest updates.