This darling Felt Hedgehog Ornament Tutorial is so easy to make you can even have your child make one. Teach them to sew and let them make this sweet handmade gift. For more handmade gift ideas check out the other posts here on Skip to my Lou. All month long I have been featuring my favorite bloggers with great new gift ideas every single day. Don’t miss a day. These Christmas potholder towels are a useful and practical gift idea.
Hi! It’s Maggie from Smashed Peas and Carrots and I am so excited to be here today to share with you a super fun and super cute ornament that you can sew up in no time! If you have ever been to my blog, you know that we love crafting in our house.

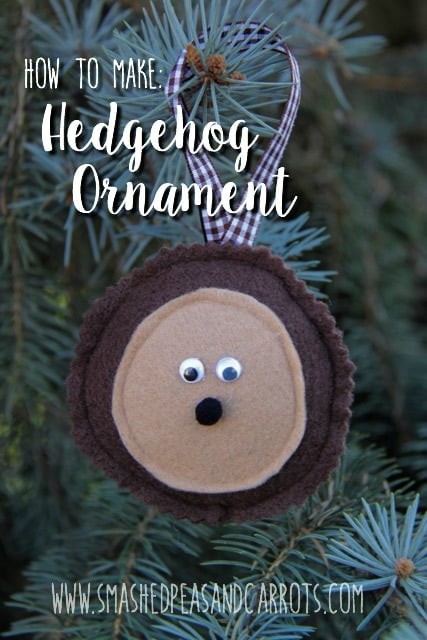
My kids are always excited to create with me and this holiday season I thought it would be fun if they each made an ornament for our tree. I was thinking we could add a new one each year, handmade by them, how fun is that! 🙂 My daughter Eloise loves hedgehogs so together we came up with this adorable Felt Hedgehog Ornament, isn’t it sweet!!!
To make a Felt Hedgehog Ornament
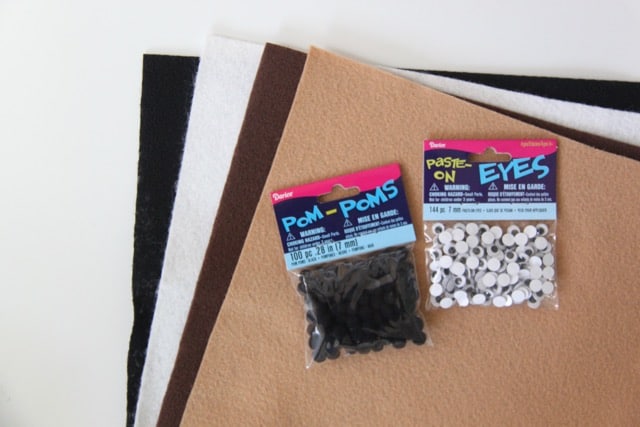
- One sheet of dark brown felt
- One sheet of light tan felt
- Poly-fil stuffing
- One small (7mm) pom pom in black
- Two small (7mm) googly eyes
- 1/4″ ribbon
- Pinking shears
- Sewing machine and thread
- Hot glue gun
*Black and White felt are optional (for the eyes and nose) only if you chose not to use the pom poms and googly eyes!
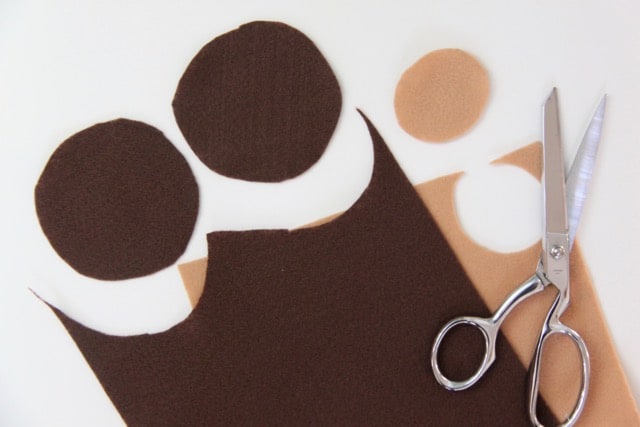 First thing you will need to do is trace and cut two 4-inch wide circles on the dark brown felt, these will be the body of the hedgehog. Next, trace and cut one 2-inch wide circle from the light tan felt.
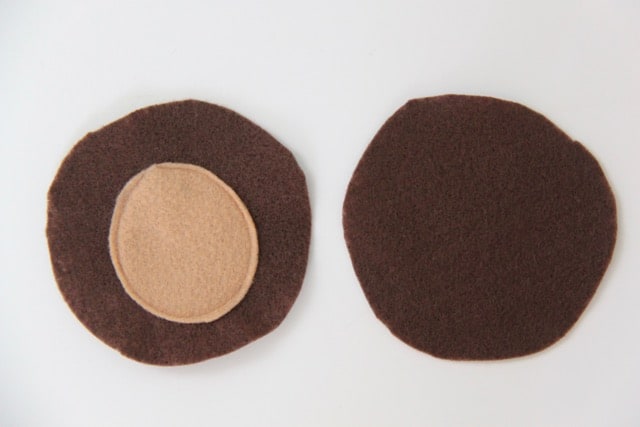 Place the smaller circle in the middle of one of the larger dark brown circles and carefully sew it into place using a 1/4 inch seam allowance.
 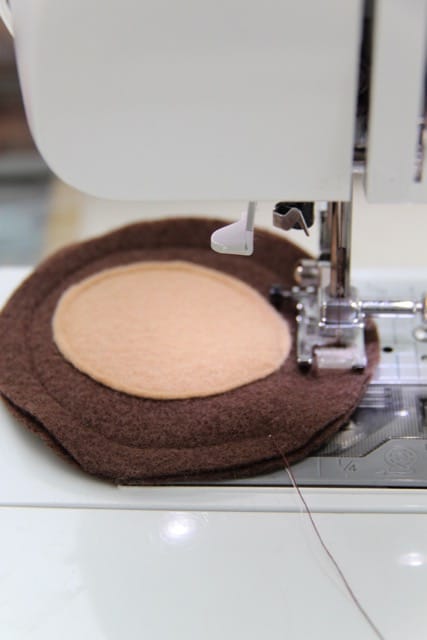 Next, place the the sewn dark brown felt circle on top of the unsewn circle and sew them together carefully using a 1/2 inch seam allowance. Leave a small 1.5 inch opening so you can add the stuffing.
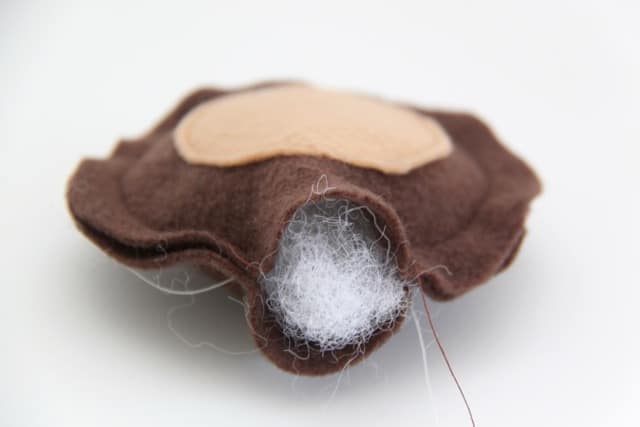 Lightly stuff the body of the hedgehog and then sew the gap closed.
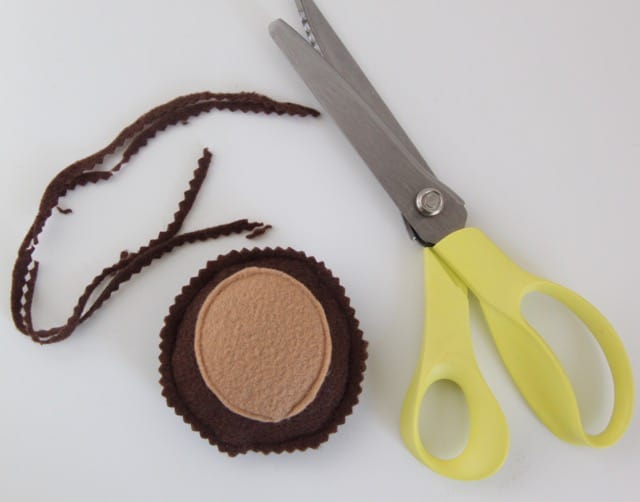 Using a pair of pinking shears, trim along the outer edge of the hedgehog to give it those cute little spikes.
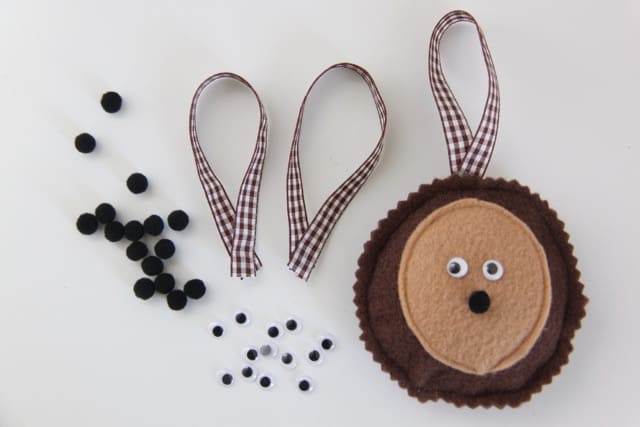 Lastly, using a hot glue gun (always with supervision when working with a child!) attach the eyes and nose. You may also attach a small piece of ribbon to the back of the hedgehog to hang the ornament.
*If you would prefer, you can cut out the eyes and the nose from black and white felt and sew or hot glue those into place.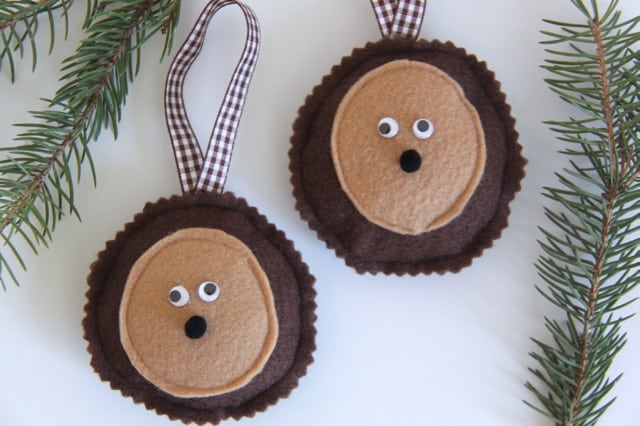 Super cute, right! I can’t wait until later this month when we pick out our tree so we can place one of these little cuties in their spot! (The other one is going in her bedroom, ha!)
Thanks so much having me here today! If you’d like to see more easy sewing tutorial, DIY crafts, delicious family friendly recipes, and fun educational kids projects come and stop by Smashed Peas and Carrots!
Love,
Maggie

Maggie Brereton shares her love of DIY and all things pretty at Smashed Peas and Carrots. She inspires others to live their life creatively by sharing DIY sewing and craft tutorials, family friendly recipes, and educational crafts for kids. Follow Maggie via her social media channels here: Facebook, Pinterest, Instagram, Twitter, and Google+


