This Midnight Christmas Village is the perfect DIY Advent activity calendar to count down the days to Christmas! You will love doing this with your family. The best part is that we have included all the free advent calendar printable. You only need to print, cut, sew!
Looking for a handmade gift idea for a little girl? This DIY Doll Blanket is quick and easy to sew up. This month we are sharing a new handmade gift idea every single day, stop in and check them out! You will love these great ideas.

Hello Skip to my Lou readers! I’m Melissa Q. and I blog over at a happy stitch . I am currently in the midst of a two-years (and growing) mission to avoid buying new clothes so be sure to check out my adventures and misadventures in garment sewing, as they may be. When I am not stitching together the clothes on my back or teaching sewing classes, I love finding ways to create sustainable and beautiful items for my home and kids. Nothing beats the magic of holiday making, though. This year, I decided to design an advent calendar and created this Midnight Christmas Village and I’m so thrilled to debut it here, for you!
DIY Activity Advent Calendar
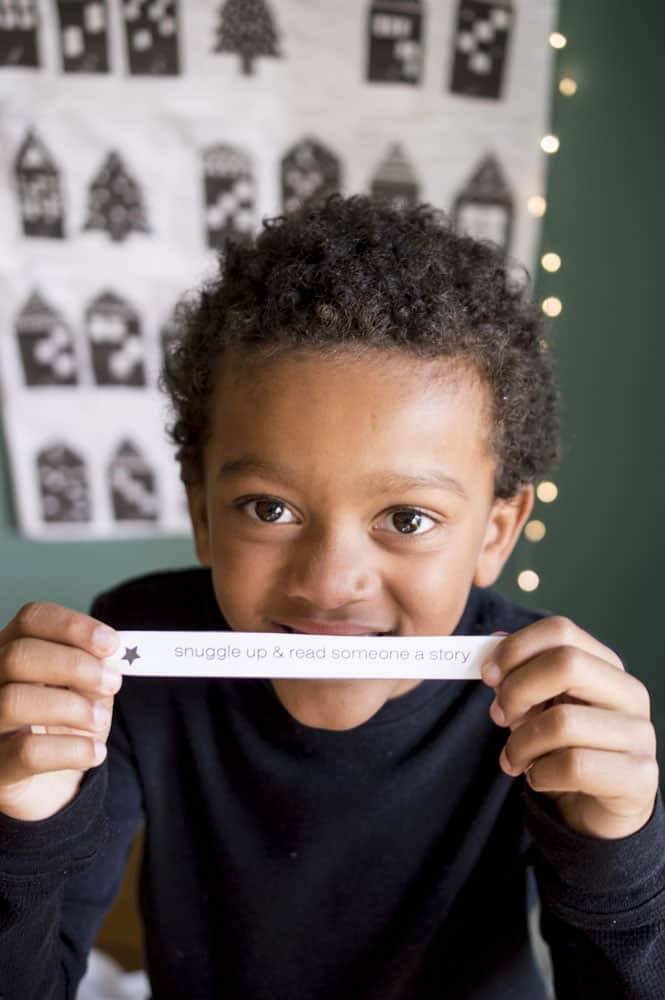
This advent is a little different from your standard advent calendar and not just in the circus-inspired design. I have included ‘activities’ for each day instead of a toy or piece of chocolate. I have discovered, through the years, that the magic of Christmas is enhanced so much when we make an effort to spend time together and do things for others. I designed each of the advent activities to encourage my family to spend time together, to reach out to neighbors or the community and to remind each other how much we love each other. A bit of chocolate or a toy just doesn’t have that lasting impact. In fact, most of the time the kids just bicker over it. Kids get so many toys and sweets around this time, anyway. (Of course, you are free to completely ignore me and fill this sucker with whatever you want! Nobody is judging, parent do what they need to do!)
Some of the activities I created are simple e.g. ‘give everyone a hug’ and others are more involved, “bake cookies to share”. So, be sure to pay attention to what days you slip these into so you aren’t rushing to finish an activity (and resenting it! Maybe that is just me. Ahem.). My kids looks forward to our activity advent so much every year, I hope yours will to. Let’s spread the love!

Supplies for DIY Advent Activity Calendar
- 8-10 pages of light fabric transfer paper such as this (affiliate link)
- 1 1/2 yard white cotton fabric
- 1 yard quilt batting
- standard sewing supplies including an iron
- printer
- exacto knife or scissors

How to make a DIY Activity Advent Calendar
Printing instructions:
Open the advent-village PDF and print in two phases.
First, print the first 7 pages of the document onto the FABRIC transfer paper (read the product instructions for how to best use this paper in your printer). BE SURE TO FLIP THE DOCUMENT HORIZONTALLY (see photo for example), this will ensure that when you iron on the images, the text and numbers will not appear backwards.

Second, print the final page of the document (the activity slips) on card stock or standard paper. In this case, do not flip the document.
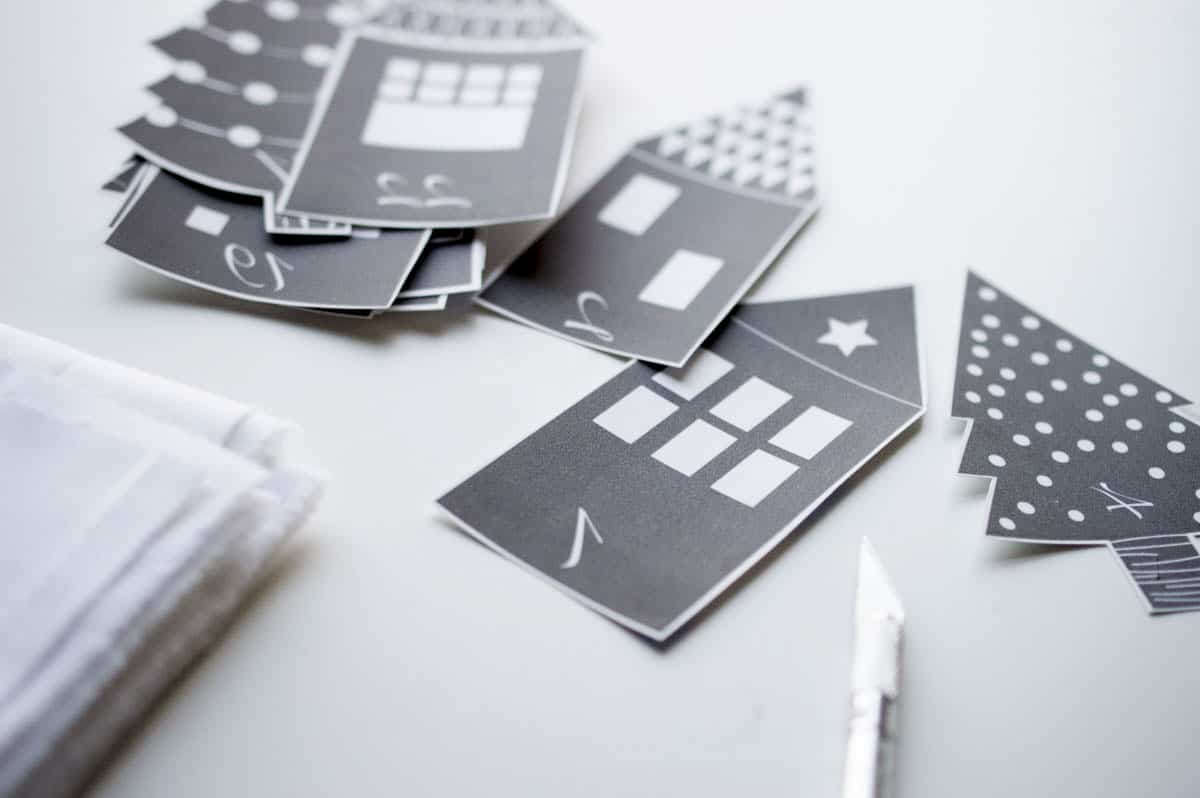
Cutting instructions:
Using an exacto knife or pair of scissors, clip closely around the edges of each printed image and the Merry Christmas banner (including any of the add-ons you would like for your banner).
Cut from the white fabric the following pieces: 1 rectangle 4″ x 16″ for the back casing; 2 rectangles 30″ x 20″ for the base and backing; 4 rectangles 20″ x 7.5″ for the pocket pieces.
Cut from the quilt batting 1 rectangle 30″ x 20″
Sewing instructions:
Iron one of the long sides of the pocket pieces over 1/2″ and then another 1/2″ to create a hem. Stitch the hem closed. Repeat for the remaining 3 pocket pieces.
Iron the bottom, long-side, on three of the pocket pieces up one 1/2″. Do not sew.
Ironing instructions:
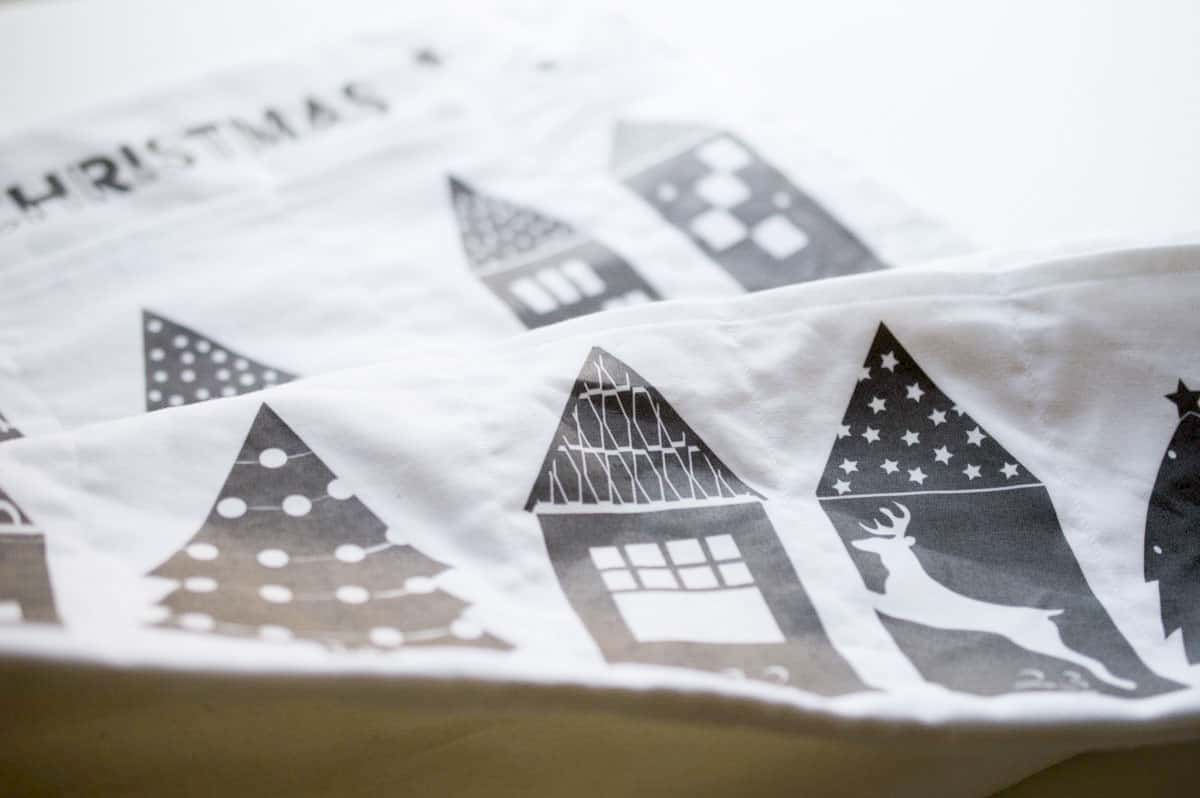
Take the village images you have cut and carefully place them on the pocket pieces in numerical order from left to right placing six images across each pocket piece. Leave room on the left and right side for seam allowances. Be sure to place images #19-24 on the pocket piece that doesn’t have a bottom fold. Remember to place images #19-24 at least a 1/2″ from the bottom to account for seam allowances.
Once they are arranged, evenly and spaced as you like best, flip the images over so you are looking at the paper backing. Following the fabric transfer paper instructions, IRON them in place. Take your time and go slow. It’s a little tedious but don’t skimp on this step. Once they are completely cooled, carefully peel off the transfer paper and admire your budding village!
Arrange the Merry Christmas banner on the base fabric, centered and about 1 1/2″ down from the top edge of the 20″ side. Add any of the decorative add-ons you like. Iron in place just as you did with the village.
Sewn DIY Activity Advent Calendar
To sew the pockets in place, you will work from the bottom up. Start by placing the pocket with images #19-24 along the bottom edge and sides of the backing fabric and baste stitch the bottom and sides to hold it in place.
Place the fold of the pocket with #13-18 one 1/2″ above the previous pocket. Pin in place and edge stitch along the bottom fold to secure in place. Repeat with remaining two pockets.
To create individual pockets for each advent day, stitch straight lines between each numbered image.
Prepare the back of the banner :
Place the backing fabric on the quilt batting, aligning all edges. Baste stitch along all four sides to secure the two together.
Make a casing so you can hang the banner, hem (folding 1/2″ and then 1/2″) the short sides of the casing fabric and stitch closed.
Iron each long side of the case up one 1/2″
Place this casing rectangle 2 1/2″ from the sides of the back portion you just prepared and 2″ from the top so it is centered.
Stitch along both long sides to create a tube.
Place the prepared backing fabric right-sides together with the decorated front piece (you will be looking at the quilt batting) and stitch around all four edges with a 3/8″ seam allowance leaving a 10-12″ opening at the bottom.
Gently turn the whole thing right sides out, pushing out the corners and VERY CAREFULLY ironing alone the edges. Be sure you don’t iron over any of the exposed images as they will melt to the iron.
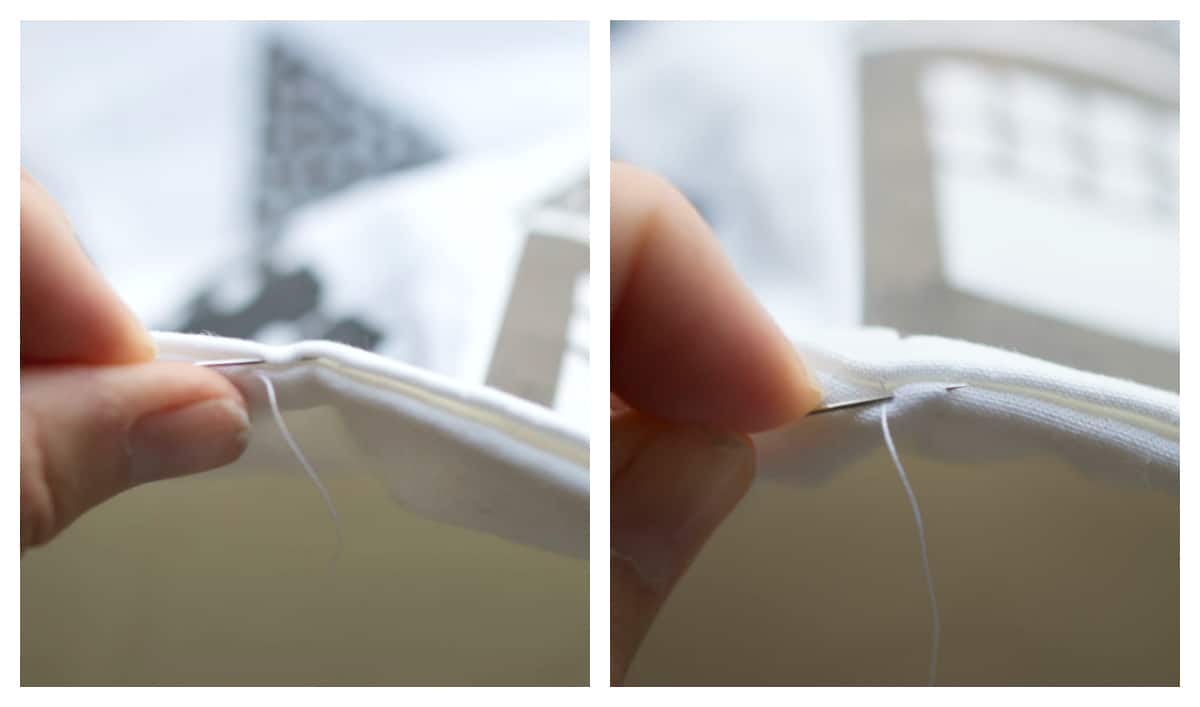
Slip stitch the opening closed, using a hand sewing needle. To do so, hold each side of the opening together with one hand and slip your stitches from one side to the other.
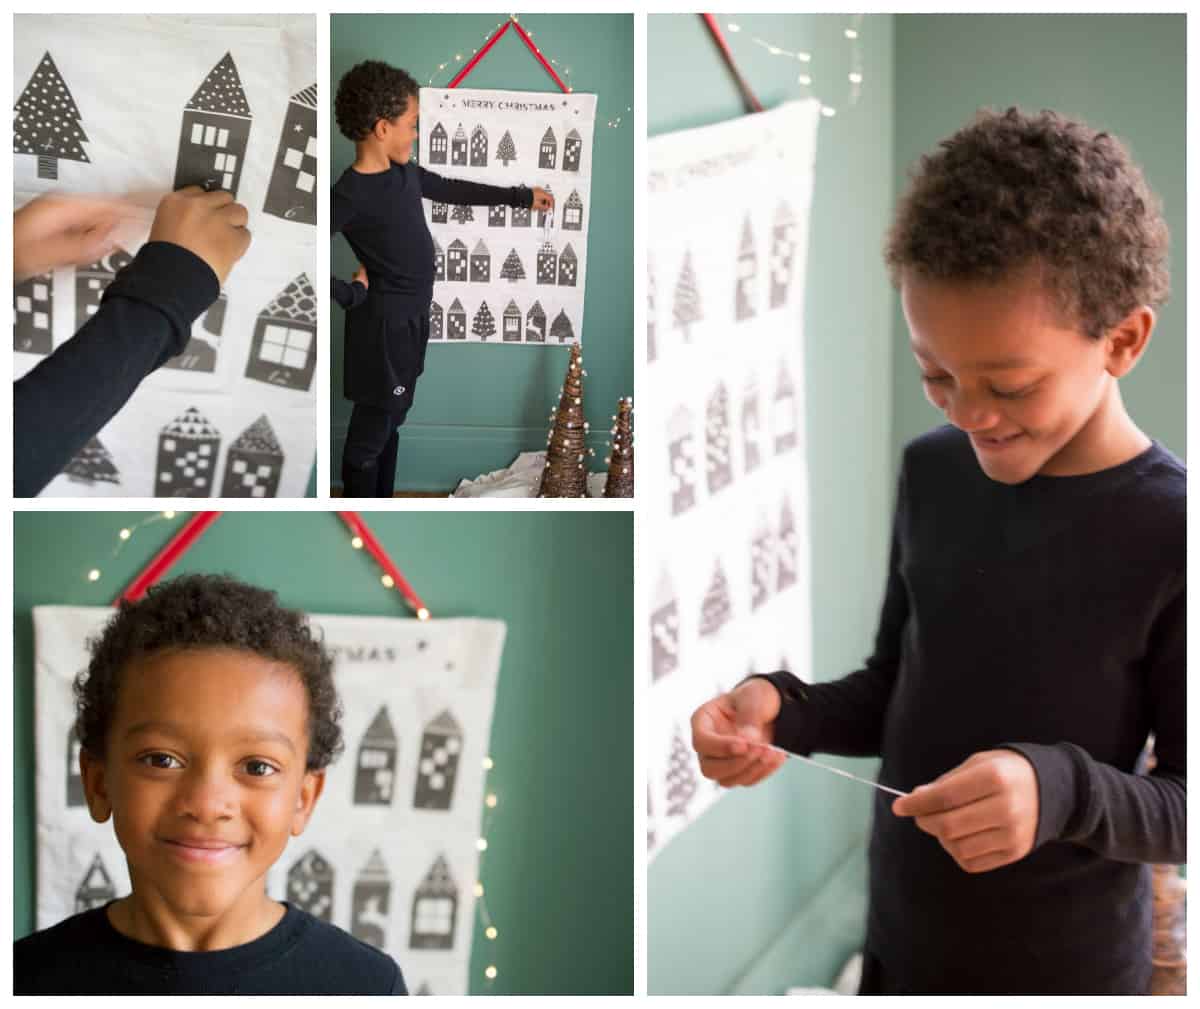
Place a yard stick or long dowel rod through the casing on the back, attach a ribbon to each end and hang it up.
Now, you can cut up the advent activities and slip them into the pockets of your choice!

Enjoy! Thanks so much for having me here today. I wish you many snuggles and lots of magic in the coming months. Be sure to check out my blog for more adventures in hand-making.

Melissa Q. is a blogger, sewist and sewing instructor in central New Jersey. She shares her love of textiles, the ups and downs of handmade clothing and sewing all the things on her blog, a happy stitch. Learn more about her teaching philosophy and love of sewing in her classroom video. She is also the lucky mama to two beautiful boys who, some days, refuse to be photographed. For that, she is thankful for playdates and friends whose children are natural models. 🙂 If you enjoy making handmade items, be sure to check out Melissa’s post on DIY handmade labels and Fabric Buckets. Find Melissa on Instagram, Facebook, and Google + . If you want to hear from her more often, sign up for her newsletter.
Advent Calendar Ideas
If you are looking for more ways to slow down and count down the days, check out these advent calendars.
Fabric Gift Tag Advent Calendar
DIY Felt Jesse Tree Advent Calendar
Recycled Tin Can Advent Calendar (this one has 50 fun activity ideas)
Whatever you do to count down till Christmas I hope it’s something that can bring your family together and helps you enjoy the spirit of the holiday’s together!