This Hand Sanitizer Cozy is a fun and useful gift to make for anyone this Christmas! I love giving handmade gifts. We are sharing some amazing sewn gift ideas! From ruffled bookmarks to zippered pouches some creative bloggers are sharing wonderful sewing tutorials so you can have the best handmade holiday ever! Get your sewing machine ready and lets get sewing. If you don’t sew don’t worry I am also sharing crochet gift ideas. Thirty Handmade days is sharing crafty tutorials and Your Homebased Mom has delicious edible gift recipes. We have over 100 tutorials so you will have the best homemade holiday ever! Each day be sure to visit the guest poster’s blog for a chance to win BIG! Up for grabs is a Cricut cutting machine, a Blendtec blender, a Baby Lock sewing machine and a $300 Michaels gift card! Grab a new entry every day! Visit Lemon Squeezy today to enter to win the Baby Lock Sewing Machine.

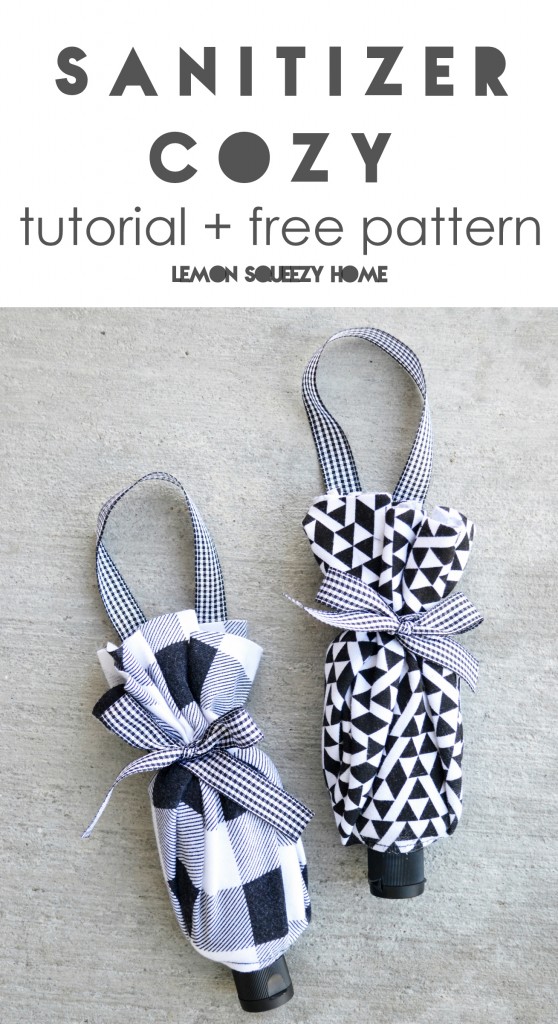
Hello! I’m Christie from Lemon Squeezy Home. Today I have a simple sewn gift for you that also includes a pattern so that it is even quicker. These seriously take about 20-30 minutes to make, which is exactly the type of handmade gift I need if I’m going to keep up with the many (many many) demands around the holidays.
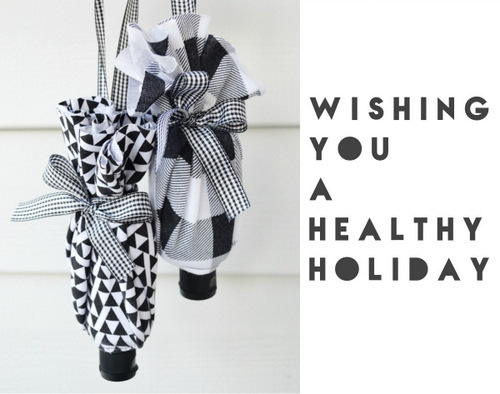
Hand Sanitizer Cozy
This is a spin-off on another hand sanitizer holder that I made–you can see them HERE. I still love those ones, but they aren’t as easy as these! Plus there are no buttonholes or Velcro on this version, making them a breeze to sew. Let’s get started!
How to make a hand sanitizer cozy
You will need:

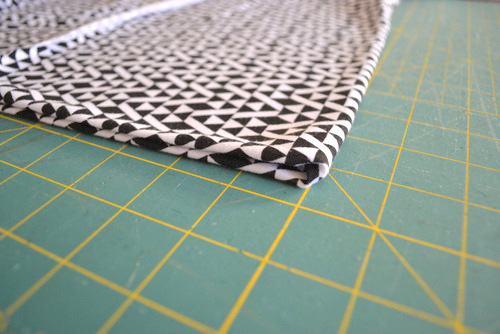
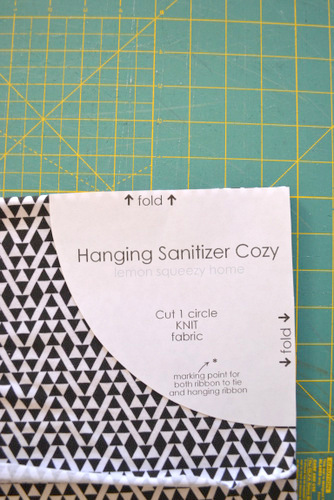
Cut your fabric circle by laying the quarter circle pattern so there is a fold in both places indicated on the pattern piece. You fold once in half, and then take the other side and fold that.
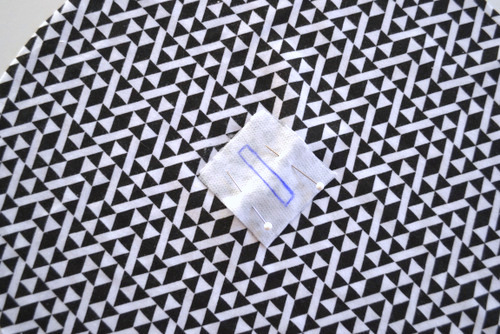
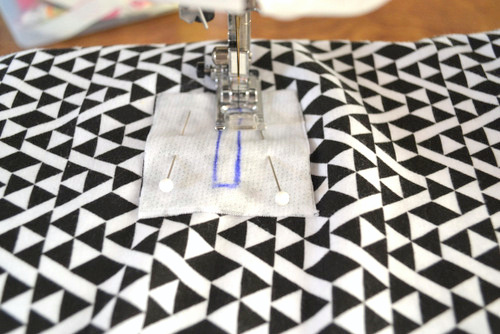
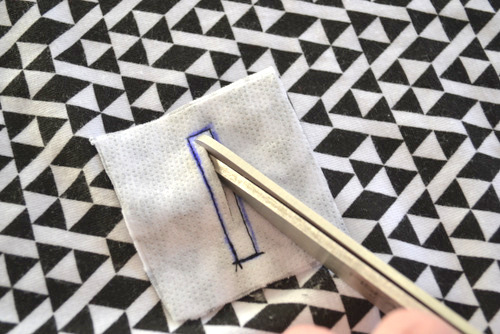
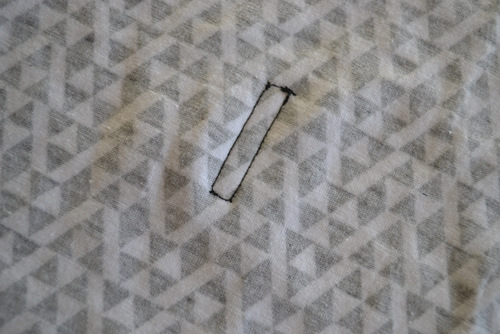
Cut the 2″ square of knit (woven would work for this step as well) and 2″ square and a 1″ square of iron on interfacing. Iron the interfacing onto the 2″ square. Hold tight with the other interfacing. Mark the rectangle on the interfacing side.
Pin the interfacing square onto the center of the circle. Sew all around the rectangle.
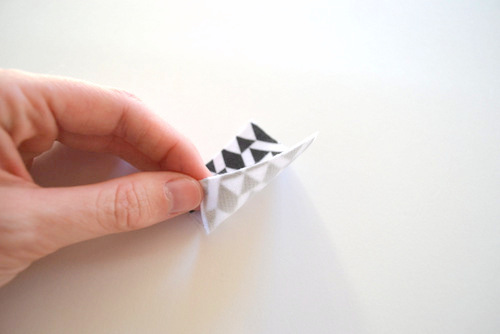
Use a seam ripper and cut a slit in the fabric, making sure to NOT cut through the threads of the rectangle. I like to fold it and then cut a slit with the scissors, but be careful if you do it this way.
Angle the scissors to the corners so it looks like the next two pictures.
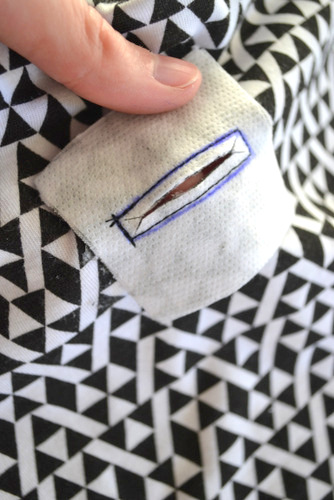
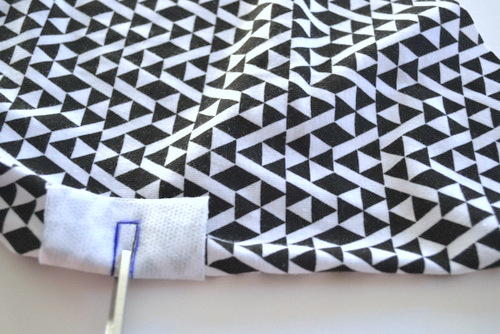
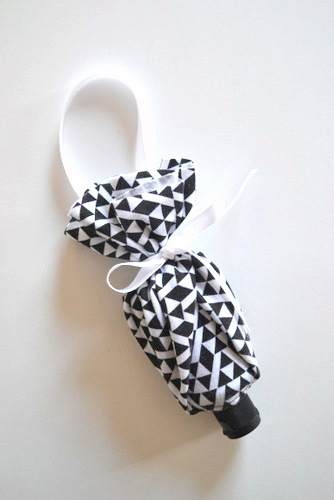
Pull the fabric on the square through the hole and to the other side so it looks like the picture below. Press well. Sew another rectangle around the rectangle opening, on the right side of the circle. You may cut off the longer sides of the rectangle if desired.
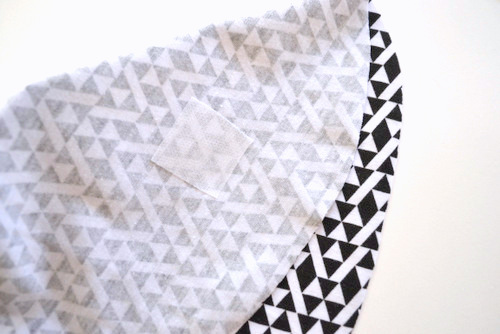
Iron on the interfacing centering it over the mark you made. You want it to be even with the hole you made in the middle, like it is shown in the picture (even, or just parallel I guess).
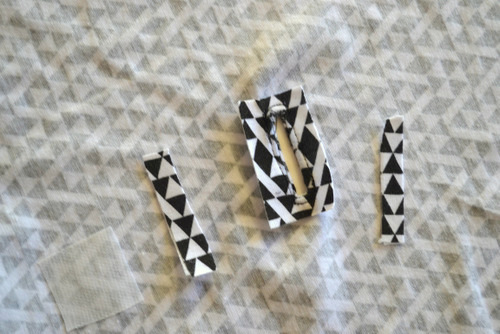
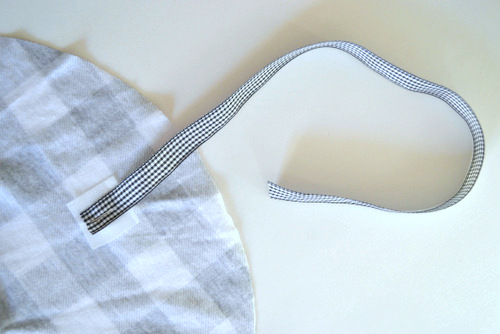
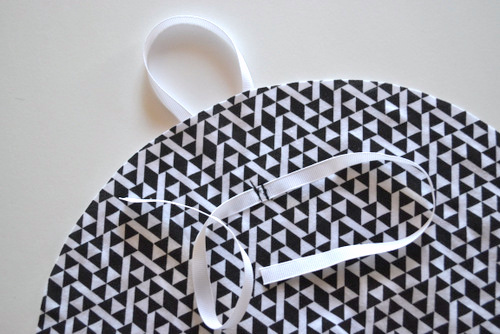
So you can make a loop with the 12″ of ribbon and sew onto the interfacing (careful–you don’t want it to look too messy on the outer right side of fabric.
Or you can make two strands so you can tie it over things.
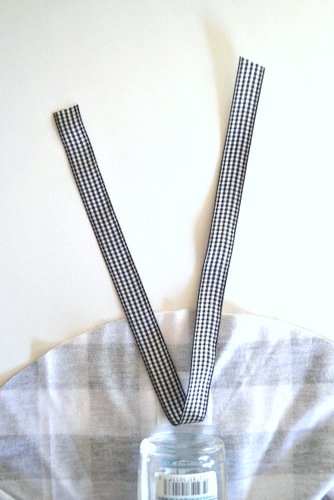
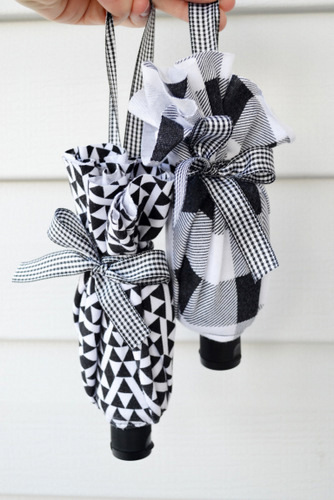
You could also use velcro or snaps or buttons. I chose to do one with a loop and one with a long ribbon so I could tie it on whatever I wanted to.
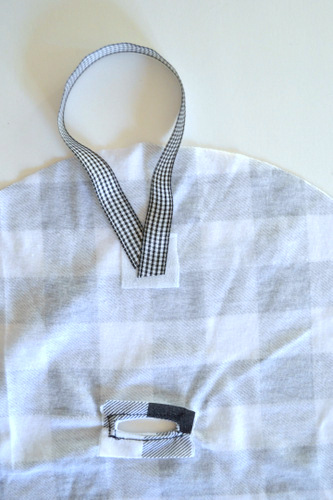
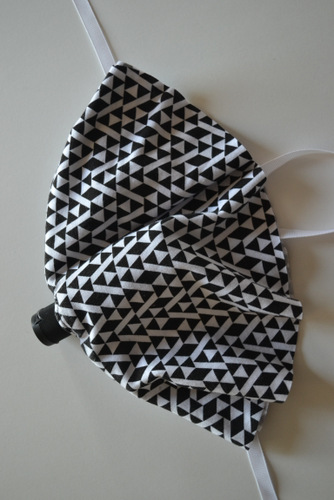
Take the 17″ ribbon and sew it onto the top of the circle so the 1″ piece of interfacing is below it.
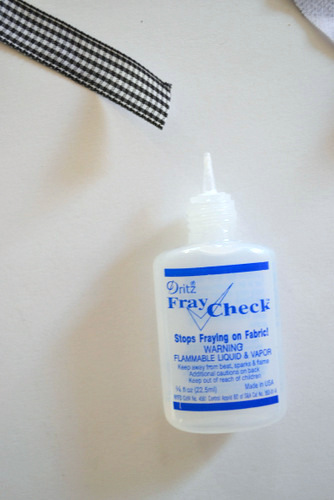
Treat your ribbon with fray check or something to prevent fraying.
Now stick the sanitizer lid through the rectangle opening! Wrap up and tie the sanitizer!
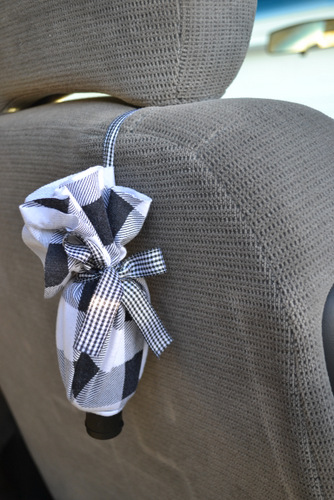
I took the cozy I could tie out to our vehicle and was able to tie it onto the seat. This way if we don’t head home first thing after school or church, they can still use some sanitizer. You could also tie it to the diaper bag or purse strap so you don’t have to dig for it.
Thank you so much for having me!
Check out some of my other tutorials!
![DSCF4476_thumb[2]](https://www.skiptomylou.org/wp-content/uploads/2014/11/DSCF4476_thumb2-300x300.jpg)
![Loyalty Card Holder Pattern (1)[4]](https://www.skiptomylou.org/wp-content/uploads/2014/11/Loyalty-Card-Holder-Pattern-14.jpg)
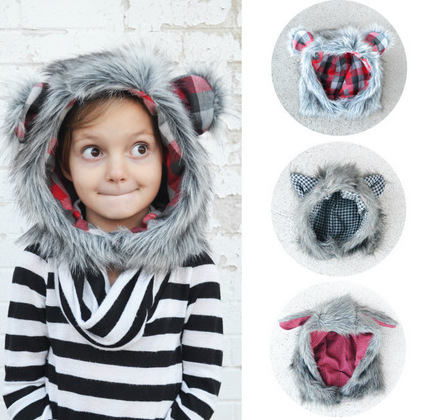
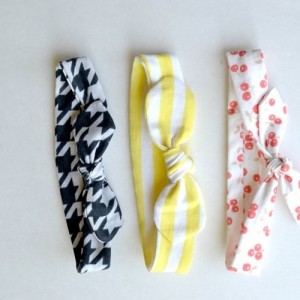
Fur Hood Tutorial + Pattern // Knotted Headbands Tutorial // Diaper Clutch Pattern // Loyalty Card Pattern

Christie enjoys connecting with those who share the same passion for sewing! She has met some amazing people through blogging. She mostly sews for her children but throws in a craft here or there or sewing for herself. Make sure to find her on instagram and facebook as well and say hello!


