Looking for a creative way to give Easter treats? This felt bunny treat bag would make the perfect little favor for Easter dinner or as a take-home party favor. It would also be cute tucked into an Easter Basket. Our free Easter bunny felt bag pattern makes this such a fun and easy sewing project.
These felt carrots pencil holders are another great Easter sewing craft. The carrots and bunnies are both easy sewing projects that go together quickly! If you want to keep the kids busy and entertained on Easter, be sure to print out a few of our Easter Coloring Pages. I also have loads of great ideas and tips for dying Easter eggs with food coloring.

I would love to keep you fully stocked with creative ideas, yummy recipes, fun crafts, and loads of free printables. Subscribe to Skip to my Lou to get new ideas delivered to your inbox. Follow me on Facebook, Pinterest, Twitter, and Instagram for all my latest updates.
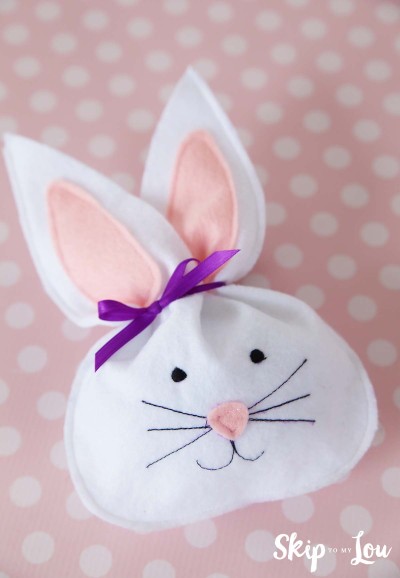
With Easter just around the corner, I wanted to make my daughter a treat bag she could reuse and play with. That’s how I created this Easter felt treat bag. Once I was finished sewing it and added the ribbon I couldn’t be more pleased with how it turned out.
This is a quick and easy sewing craft activity perfect for the beginner or experienced sewers. With the help of my Easter bunny template to trace around, you’ll be making Easter felt bags in no time.
Felt Bunny Treat Bag Supplies
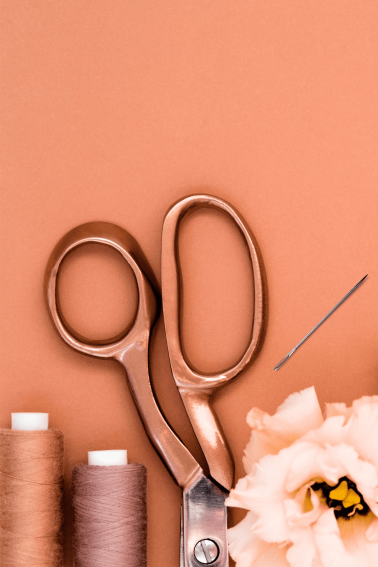
To make this sewing craft project you will need the following (affiliate links included in this section):
- 2 sheet of white craft felt
- 1 sheet of pink craft felt
- free printable bunny treat bag template
- white, black, and pink thread
- disappearing marking pen
- sewing machine
- scissors
- ribbon
- treats to fill the bag

How to make Easter Bunny Treat Bags
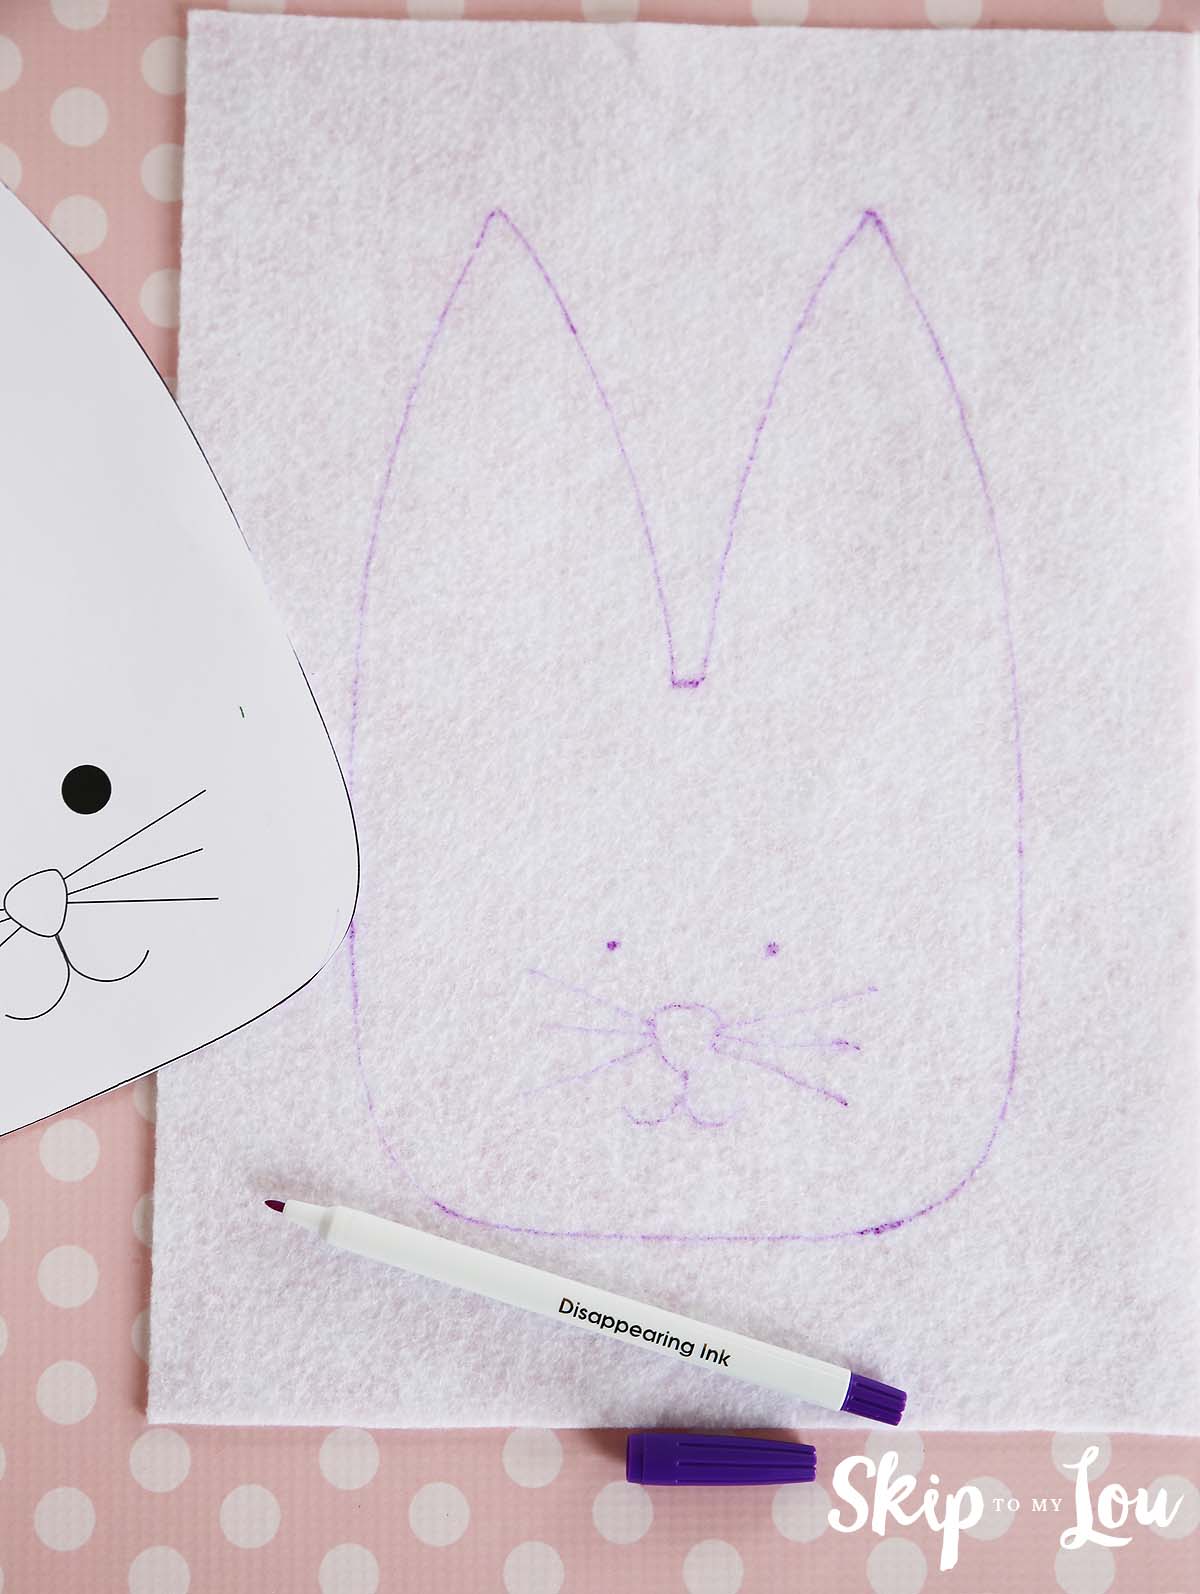
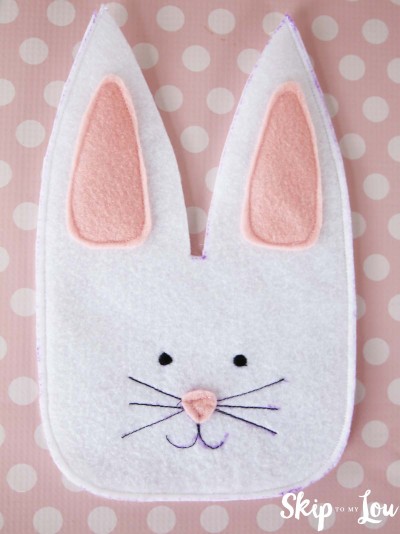
First, download the free bunny treat bag template. Cut it out, then trace around the bunny outline pattern onto one sheet of the white felt. Add the facial details as a sewing pattern guide, or free draw your own cute face. Next, trace around the inner ears and nose template onto the pink felt and cut them out.
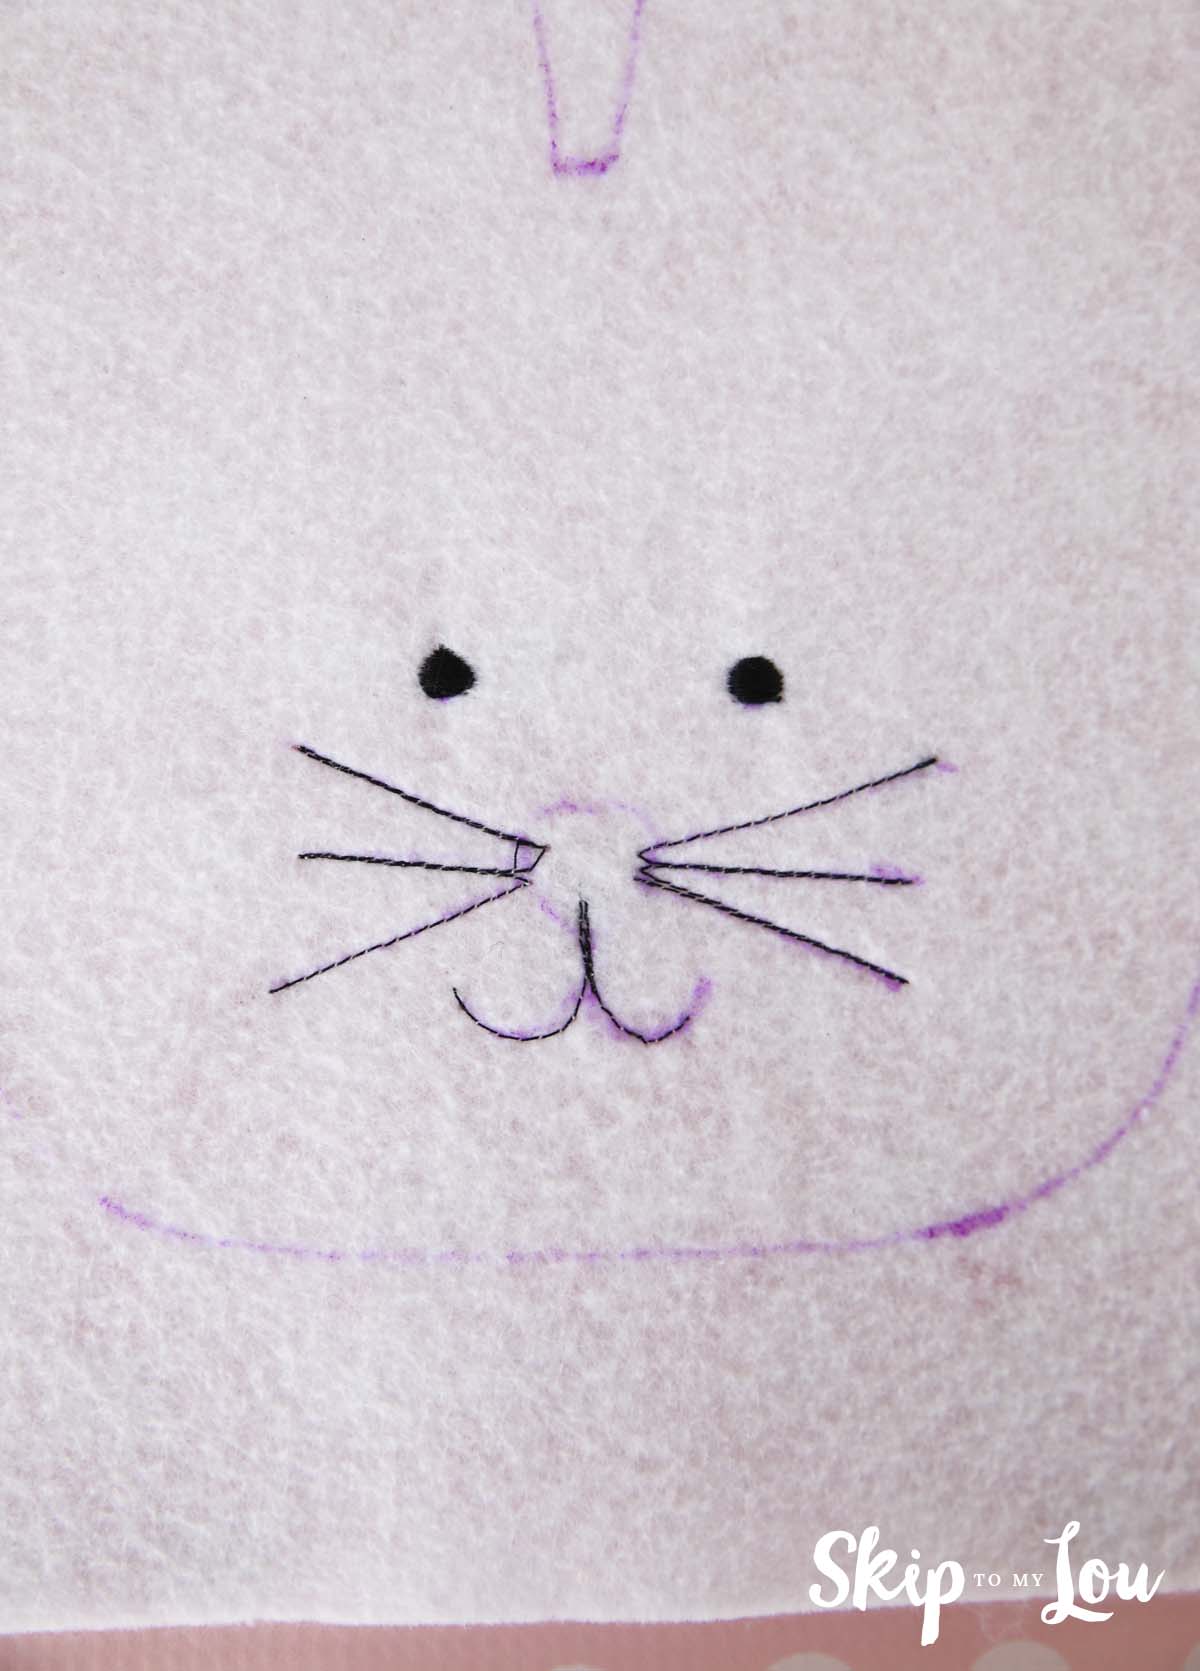
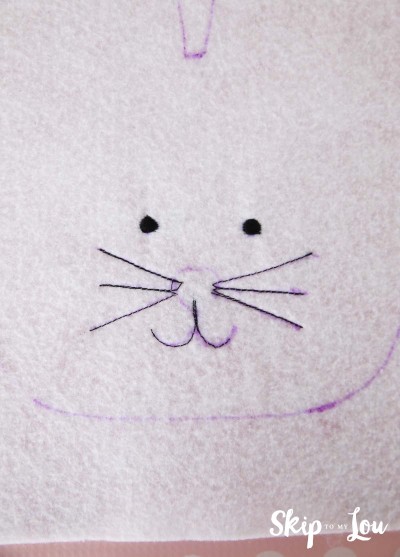
With the sewing machine, add the facial details. For the eyes, I used stitch 46 on my Babylock Rachel.
You might have something similar, but feel free to experiment if you have different settings on your sewing machine! This is a great time to use those fancy stitches. The facial stitches could also be hand-sewn, or simply drawn on with a fabric marker.
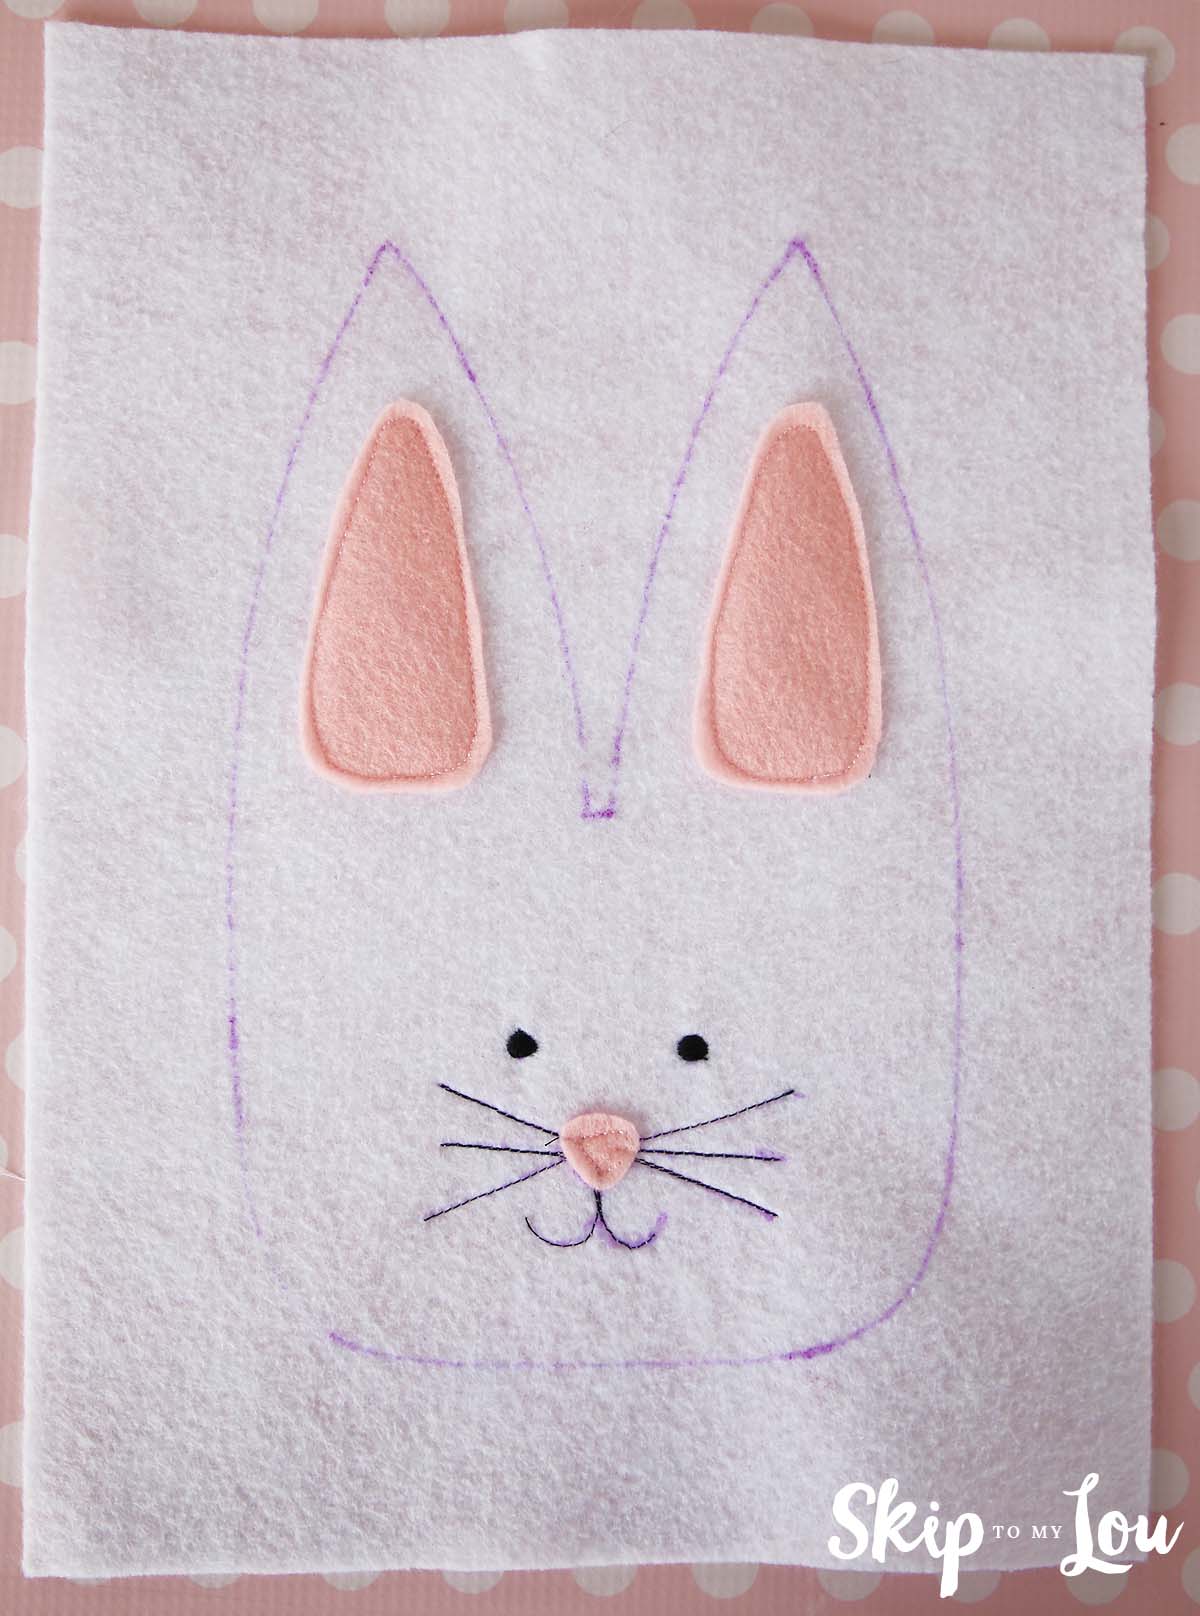
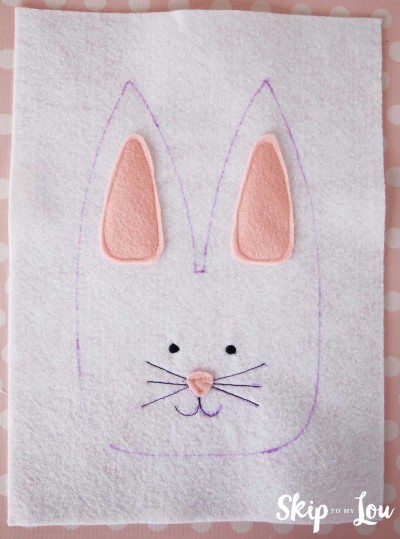
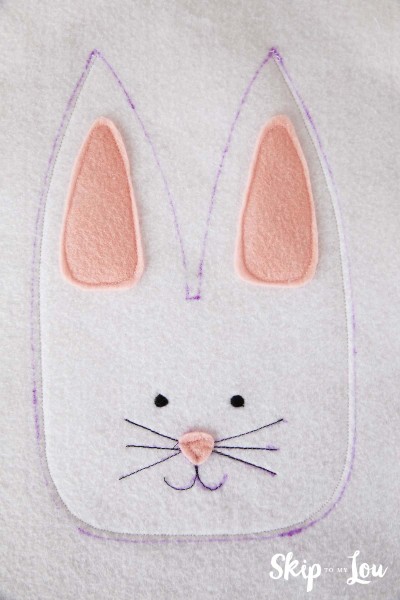
Next, sew on the pink bunny ears and nose.
Now you’re ready to stitch the outline of your bunny’s head to make the bag. Put the second piece of white felt behind the bunny, so you are stitching two pieces together.
Stitch, starting from the tip of one ear, all the way around to the tip of the other ear. Do not sew the inside part of each ear – that forms the opening of your bunny treat bag.

Now you can cut around your bunny close to the stitching, being careful to not cut into the stitching line. Lastly, cut out the inside of the ears on the marking line.

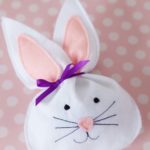
Now you’re ready to fill your bunny bag with treats and fasten the ears together with a ribbon. This is a great way to use little odds and ends of pretty ribbons and they look so inviting set out as Easter dinner place settings at the kids’ table.
All done! How easy is that for a little Easter sewing craft? These are so simple that once you get the hang of it, you can whip them out in no time to have one for each of your guests. They are kid-pleasers for sure – I mean, who could resist that cute little face?

Another Felt Bunny Sewing Craft
If you’re looking for other Easter sewing art and craft ideas, have even more fun with this cute felt Easter bunny puppet! This free pattern can be made with the same materials as our felt bunny treat bag. The kids will have a blast making these hand puppets and putting on a puppet show at your Easter get-together.
I would love to keep you fully stocked with creative ideas, yummy recipes, fun crafts, and loads of free printables. Subscribe to Skip to my Lou to get new ideas delivered to your inbox. Follow me on Facebook, Pinterest, Twitter, and Instagram for all my latest updates.
Felt Bunny Treat Bag {Free Easter Pattern}
Ingredients
- 1 each free printable bunny treat bag template
- 2 sheets white craft felt
- 1 sheet pink craft felt
- 1 spool white thread
- 1 spool black thread
- 1 spool pink thread
- 1 each disappearing marking pen
- ribbon 6 to 8 inches
- 1 sewing machine
- 1 pair fabric scissor
- treats to fill the bag
Instructions
- First, download the free bunny treat bag template.

- Cut it out, then trace around the bunny outline pattern onto one sheet of the white felt.
- With a disappearing ink fabric marker, add the facial details as a sewing pattern guide, or free draw your own cute face.
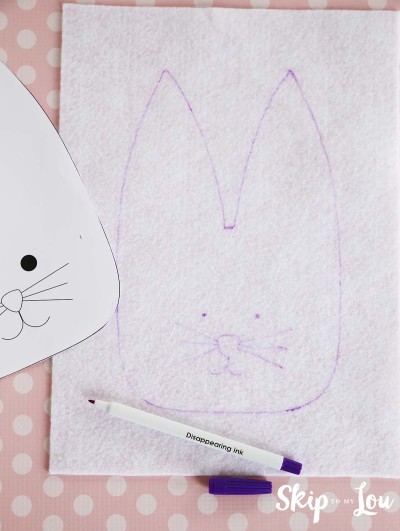
- Next, trace around the inner ears and nose template onto the pink felt and cut them out.
- With the sewing machine, add the facial details. For the eyes, I used stitch 46 on my Babylock Rachel.You might have something similar, but feel free to experiment if you have different settings on your sewing machine! This is a great time to use those fancy stitches. The facial stitches could also be hand-sewn, or simply drawn on with a fabric marker.
- Next, sew on the pink bunny ears and nose.
- Now you're ready to stitch the outline of your bunny's head to make the bag. Put the second piece of white felt behind the bunny, so you are stitching two pieces together.
- Stitch, starting from the tip of one ear, all the way around to the tip of the other ear. Do not sew the inside part of each ear – that forms the opening of your bunny treat bag.
- Now you can cut around your bunny close to the stitching (1/8 to 1/4 inch), being careful to not cut into the stitching line. Lastly, cut out the inside of the ears on the marking line.
- Now you're ready to fill your bunny bag with treats and fasten the ears together with a ribbon. This is a great way to use little odds and ends of pretty ribbons and they look so inviting set out as Easter dinner place settings at the kids' table.


Hi Linda, so you are just cutting around the entire bunny. The outside has the stitching line that you cut close to being careful not to clip the stitches. The area between the ears has no stitching, but you continue cutting on the line.
This is adorable but I don’t understand the last instruction to cut out the inside of the ears on the marking line. Help! Thanks!
Ahhh so happy you liked it Gay!
I love how easy these come together!!!! So cute too!!!! ❤️
These are adorable and so easy to make!