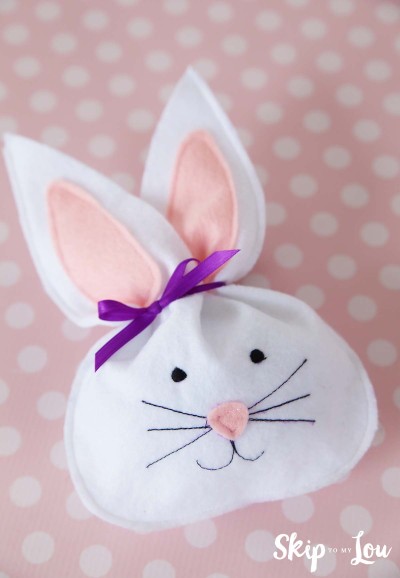
Felt Bunny Treat Bag {Free Easter Pattern}
Our free Easter bunny felt bag pattern makes this such a fun and easy sewing project. This felt bunny treat bag would make the perfect little favor for Easter dinner or as a take-home party favor. It would also be cute tucked into an Easter Basket.
Servings 1
Ingredients
- 1 each free printable bunny treat bag template
- 2 sheets white craft felt
- 1 sheet pink craft felt
- 1 spool white thread
- 1 spool black thread
- 1 spool pink thread
- 1 each disappearing marking pen
- ribbon 6 to 8 inches
- 1 sewing machine
- 1 pair fabric scissor
- treats to fill the bag
Instructions
- First, download the free bunny treat bag template.
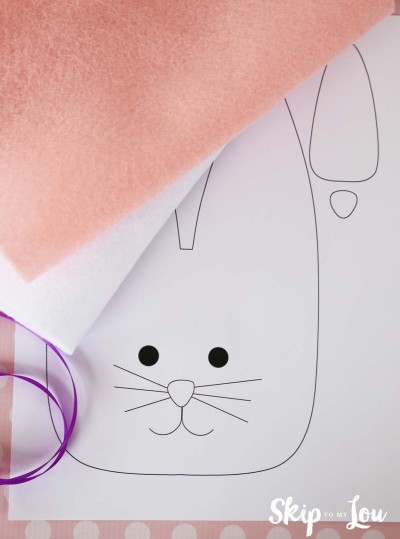
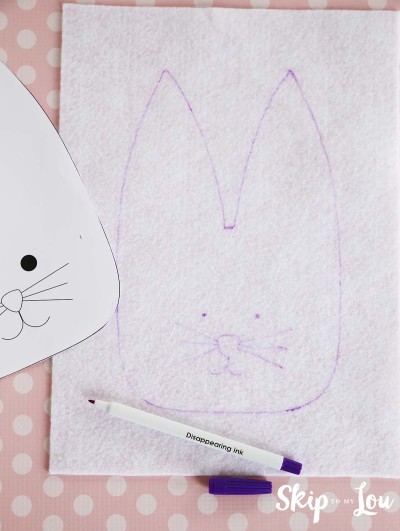
- Cut it out, then trace around the bunny outline pattern onto one sheet of the white felt.
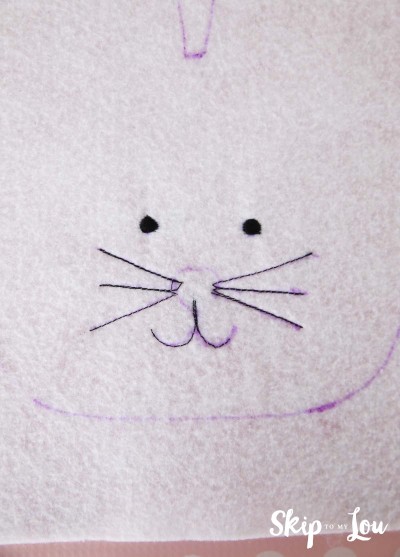
- With a disappearing ink fabric marker, add the facial details as a sewing pattern guide, or free draw your own cute face.
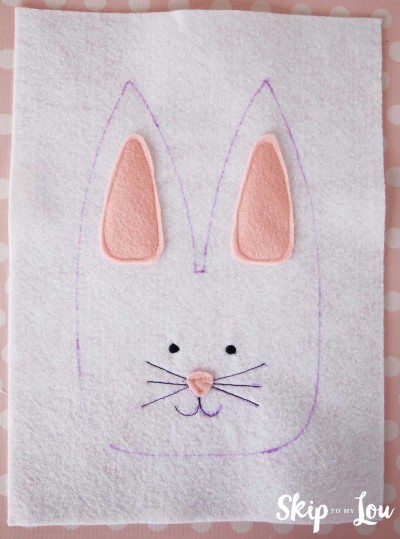
- Next, trace around the inner ears and nose template onto the pink felt and cut them out.
- With the sewing machine, add the facial details. For the eyes, I used stitch 46 on my Babylock Rachel.You might have something similar, but feel free to experiment if you have different settings on your sewing machine! This is a great time to use those fancy stitches. The facial stitches could also be hand-sewn, or simply drawn on with a fabric marker.
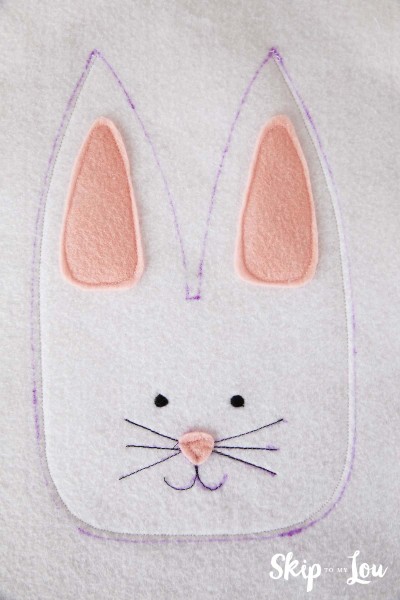
- Next, sew on the pink bunny ears and nose.
- Now you're ready to stitch the outline of your bunny's head to make the bag. Put the second piece of white felt behind the bunny, so you are stitching two pieces together.
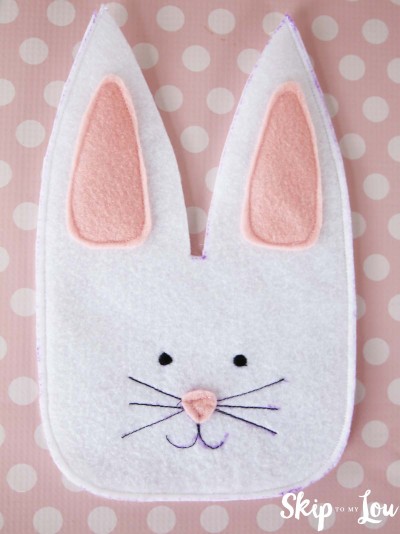
- Stitch, starting from the tip of one ear, all the way around to the tip of the other ear. Do not sew the inside part of each ear – that forms the opening of your bunny treat bag.
- Now you can cut around your bunny close to the stitching (1/8 to 1/4 inch), being careful to not cut into the stitching line. Lastly, cut out the inside of the ears on the marking line.
- Now you're ready to fill your bunny bag with treats and fasten the ears together with a ribbon. This is a great way to use little odds and ends of pretty ribbons and they look so inviting set out as Easter dinner place settings at the kids' table.