Looking for a beautiful Christmas decoration that’s fun and easy to make? This 3D Paper Snowflake is the perfect DIY craft project to add a little magic to your home this winter season! The fun part? You only need a few supplies, and before you know it, you’ll have stunning snowflakes ready to hang from the ceiling or display in windows. Whether you’re creating a cozy winter decoration or adding a festive touch to your holiday decor, this project will have you crafting in no time!

Related: Looking to craft some other snowflake designs? Try these three paper snowflake templates or try these paper bag snowflakes and add some festive fun to your holiday decorations.
3D Paper Snowflake Supplies
Here are the supplies you will need:
- White copy paper
- Scissors
- Pencil
- Glue stick
- Stapler
Watch How to Make a 3D Paper Snowflake
To make it even easier, I’ve included ideo to help you create these eye-catching winter decorations!
How to Make a 3D Paper Snowflake Tutorial
Here’s how you make a paper snowflake with step by step instructions. Remember to watch the video if you get stuck on any of these steps.
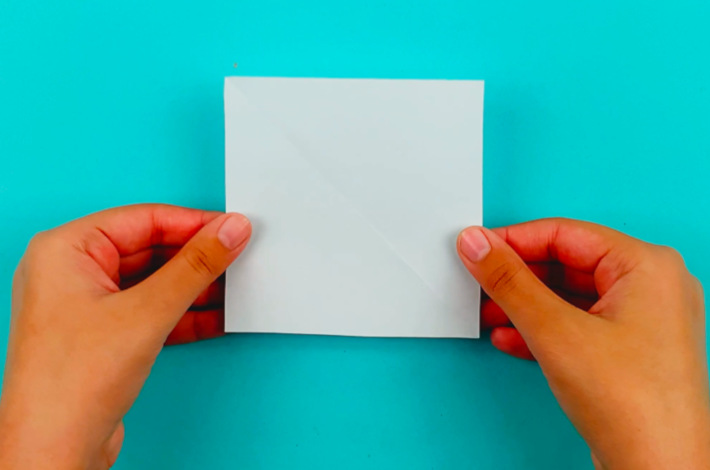
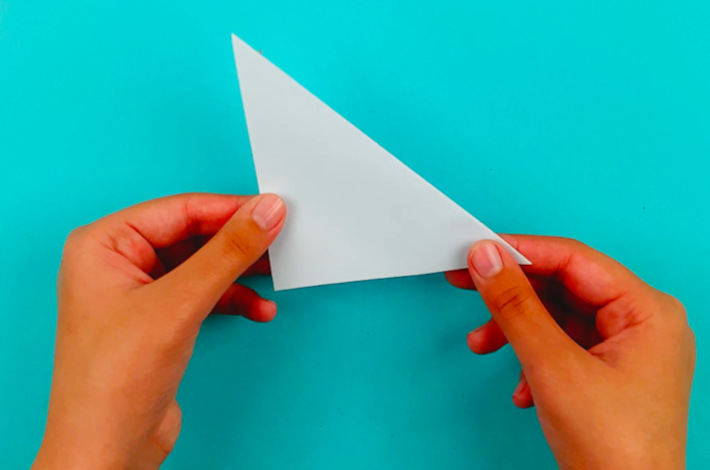
Step 1: Start with a square sheet of paper and fold it in half to form a triangle.
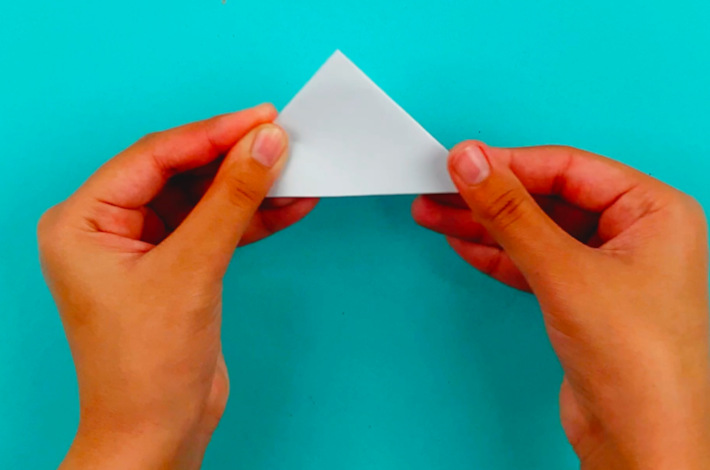
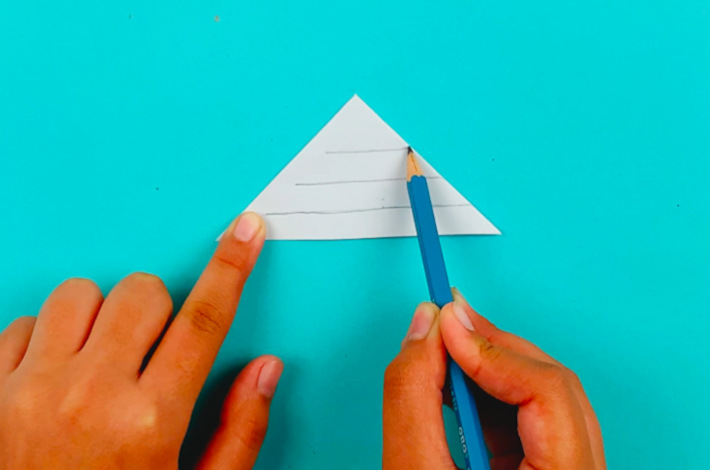
Step 2: Now fold that triangle in half to form another smaller triangle. Using a pencil, draw lines on the paper as shown in the images below.
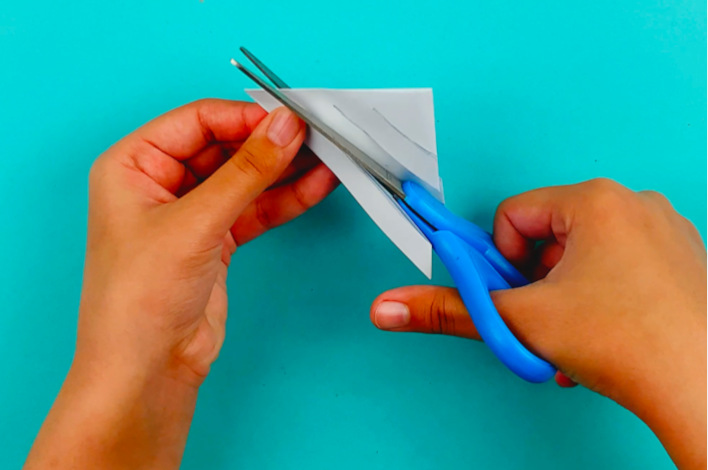
Step 4: Using a pair of scissors, carefully cut along the lines you’ve drawn to create strips, stopping just before the edge so the paper stays intact.
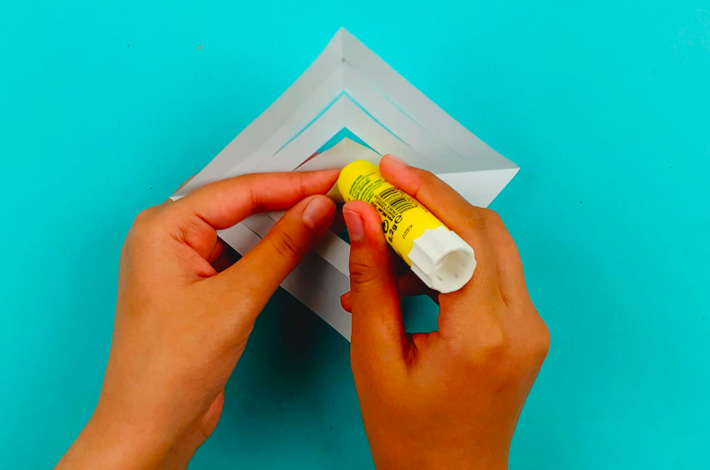
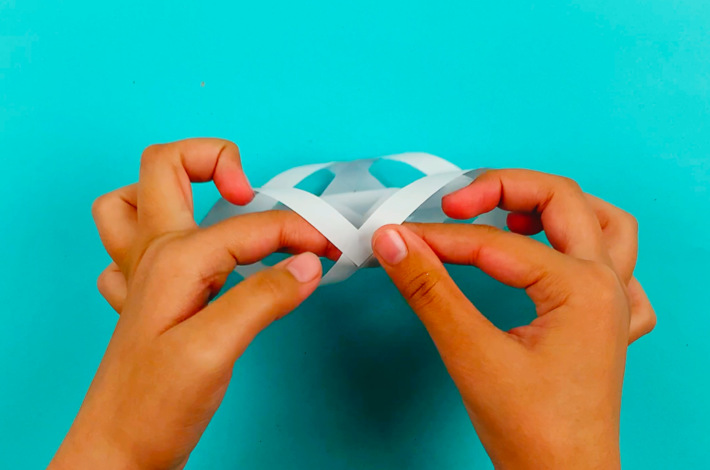
Step 5: Open up the triangle and add some glue to the center triangles. Now stick them together to form a cylindrical shape.
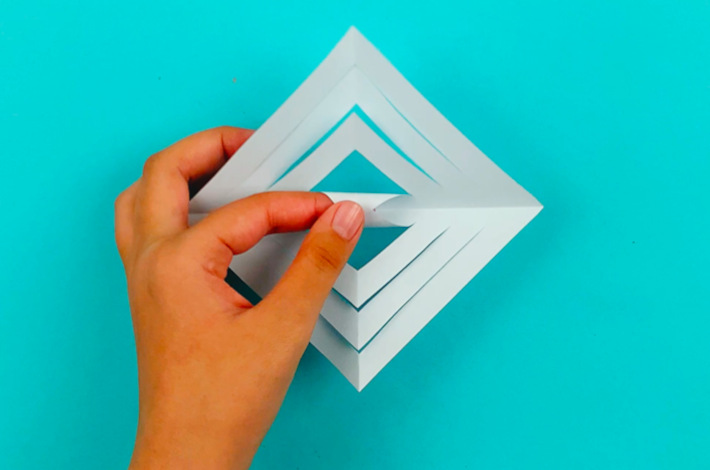
Step 6: Flip the paper over and do the same with the second cut piece and glue. Flip the paper over and do the same with the third piece. Flip again, and glue the final piece.
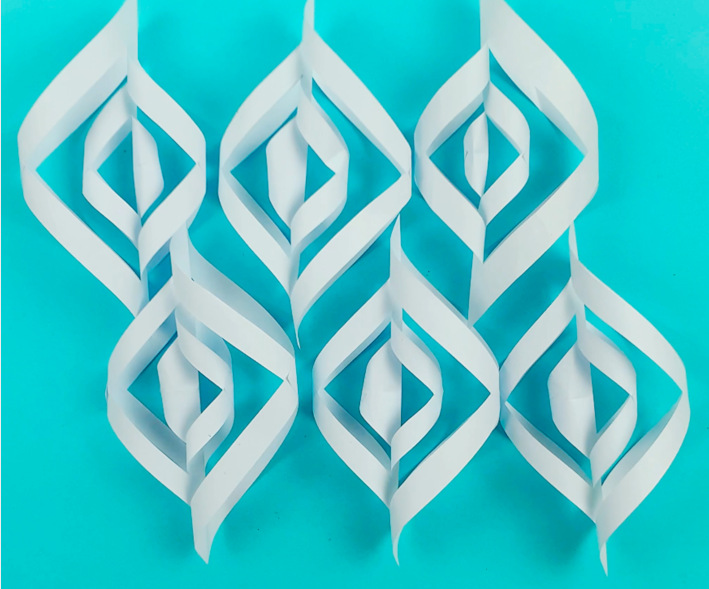
Step 7: Now that you’ve made the first piece of the 3D paper snowflake, make five more in the same way.
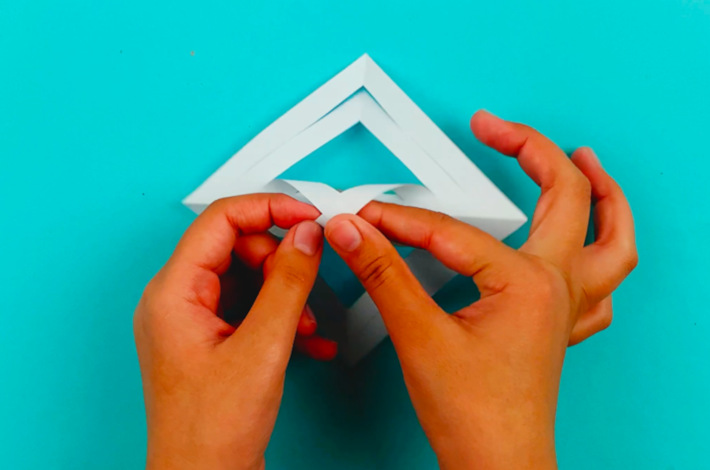
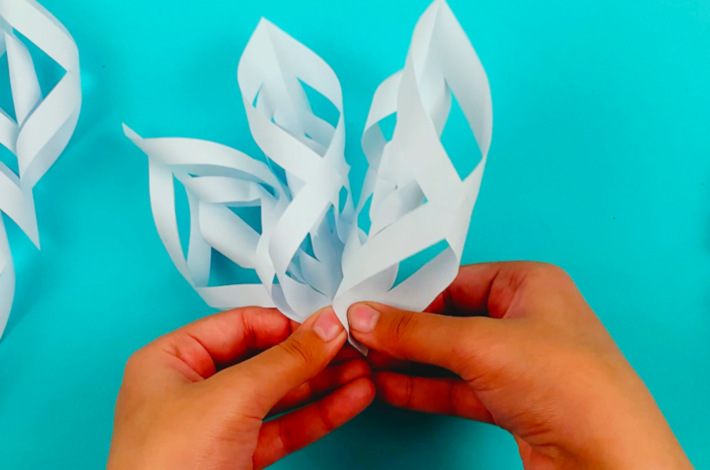
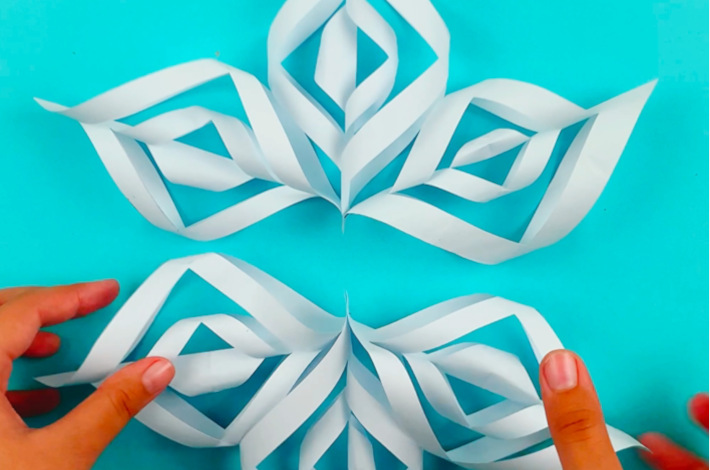
Step 8: It’s time to staple the sections together to form your 3D paper snowflake. To do this, secure two together using the bottom part of each of the individual sections. Add the third to form the top part of the snowflake.
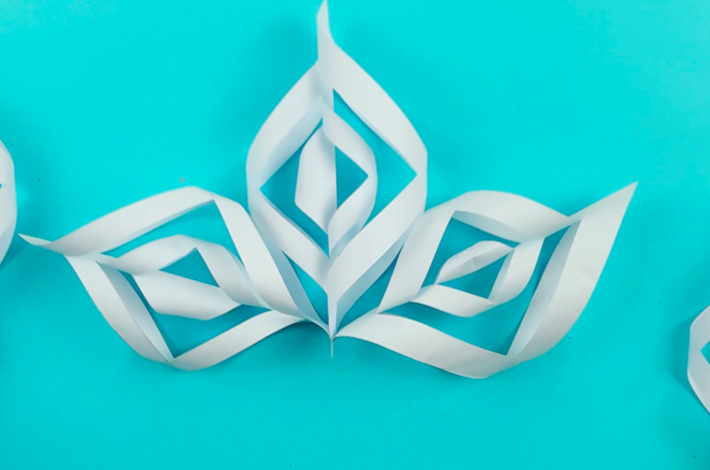
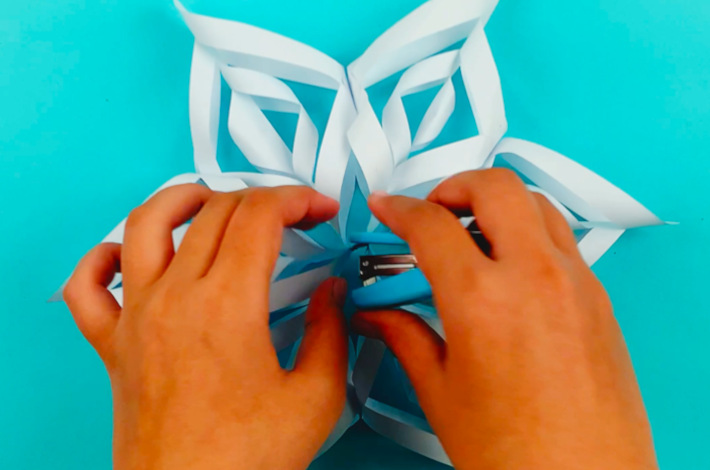
Step 9: Now staple the three remaining sections together in the same manner. It’s time to complete the 3D paper snowflake by now stapling the top and bottom sections together.
And there you go! A beautiful 3D paper snowflake!
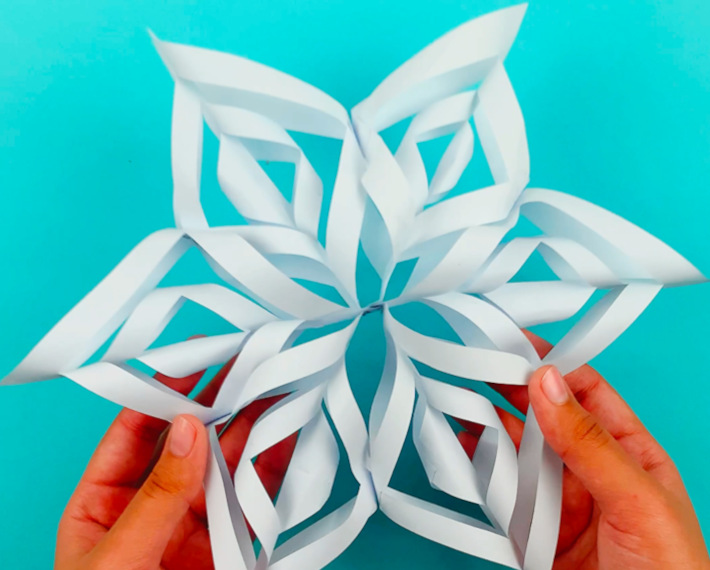
Making these 3D Paper Snowflakes is such a fun part of getting ready for the winter season. Not only are they a beautiful decoration, but they’re also a DIY craft project the whole family can enjoy. So grab your kids and supplies, get creative, and fill your home with these lovely winter decorations. They do make wonderful Christmas tree ornaments. Your snowflakes are sure to make the season merry and bright!
More Snowflake Crafts
Christmas is the perfect time for families to get creative together! Once you’ve finished your 3D Paper Snowflakes, keep the fun going with more of our festive snowflake crafts and Christmas activities—there’s something for everyone to enjoy!
- Snowflake Coloring Pages
- Shimmery DIY Snowflake Ornaments made from clothespins
- Snowflake Pillow Cover
- Simple and Stunning Christmas Decorations
- Christmas Worksheets
- Build a Snowman {Free Printable Activity}
- Snowflake Countdown Calendar
- Snowflake Infinity Scarf
- Snow Jokes
- Christmas Crafts
I would love to keep you fully stocked with creative ideas, yummy recipes, fun crafts, and loads of free printables. Subscribe to Skip to my Lou to get new ideas delivered to your inbox. Follow me on Facebook, Pinterest, Twitter, and Instagram for all my latest updates.


loved the paper snow flake!