Looking for a fun way to get the kids outside and enjoying nature? Grab some colorful fall leaves, clear sticky tape, and a cardboard frame to create a simple masterpiece! This Fall leaf craft is a perfect way to wrap up a nature walk and bring the beauty of the season indoors.
Related: Our family loves Fall, it’s an exciting time of the year with so many activities. Make sure you check out these holiday crafts including Pumpkin Coloring Pages, Fall Coloring Pages, Fall Jokes and Kids Fall Craft.
Fall Leaf Tree Supplies
- A piece of rectangular cardboard (you can use a piece of box, it will work perfectly)
- Pencil
- Black marker
- A pair of scissors
- Clear packing tape or scotch tape
- Fall leaves from your yard
Video: Watch How to Make a Fall Leaf Tree
Making this fall leaf tree is not hard at all, but we included a video that you can follow if you do get stuck on one of the steps.
Make a Fall Leaf Step-by-Step
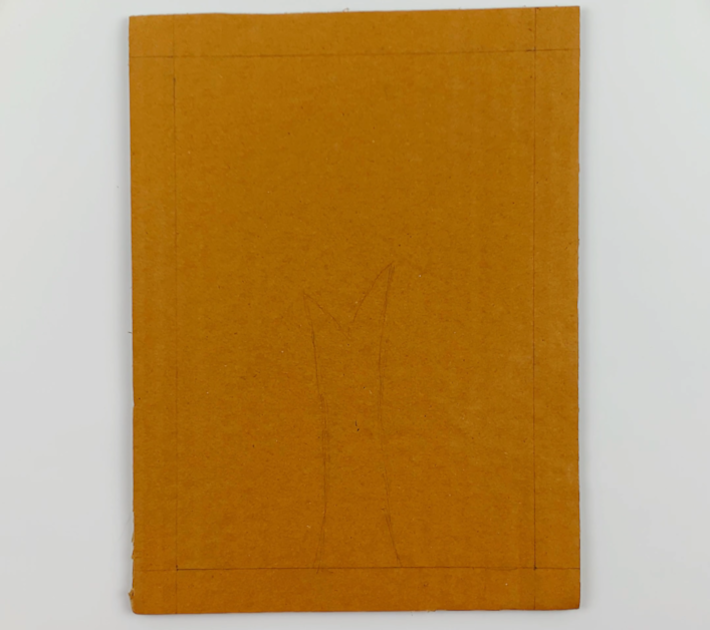
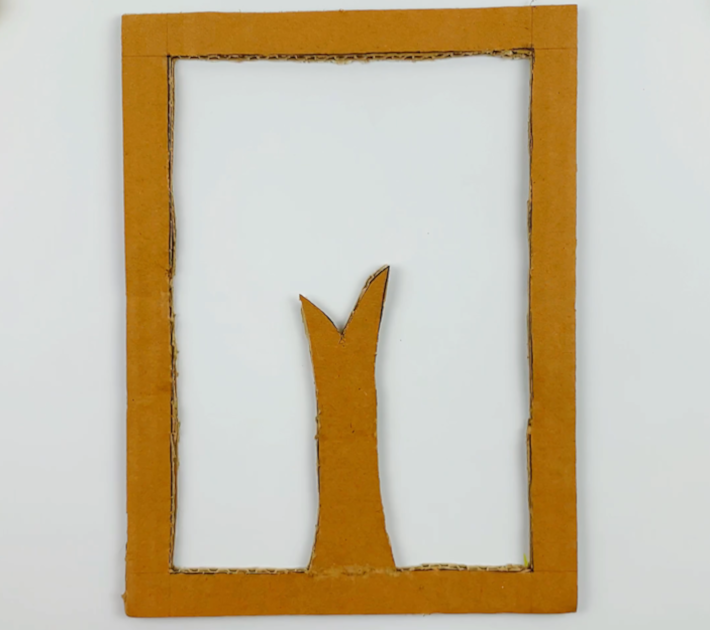
Step 1: Start with a piece of cardboard and using a ruler, draw lines about an inch in from all the edges using a pencil. Also, draw a tree stump shape as shown in the images below.
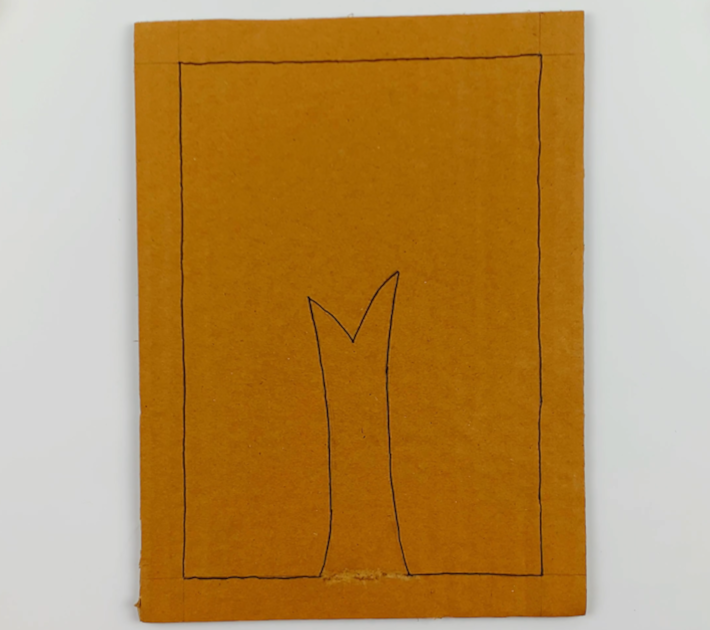
Step 2: Using a black marker, mark the lines to frame the tree stump. Also, mark out the shape of the stump.
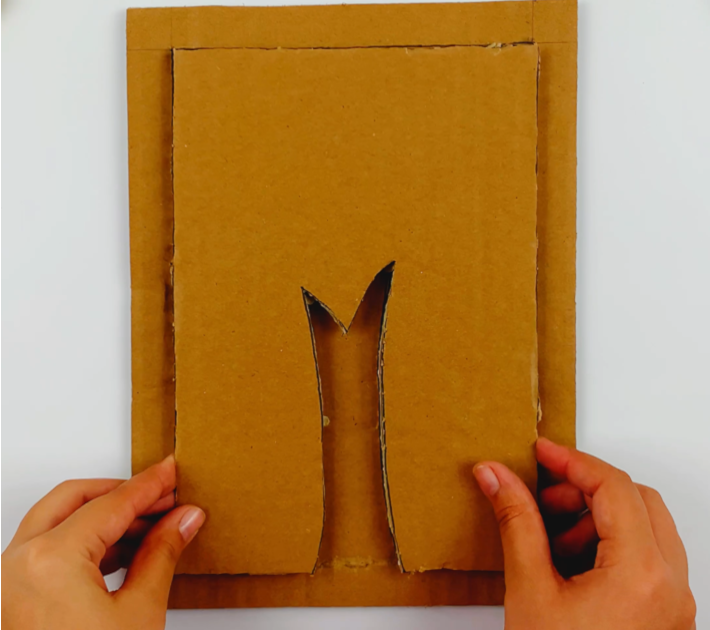
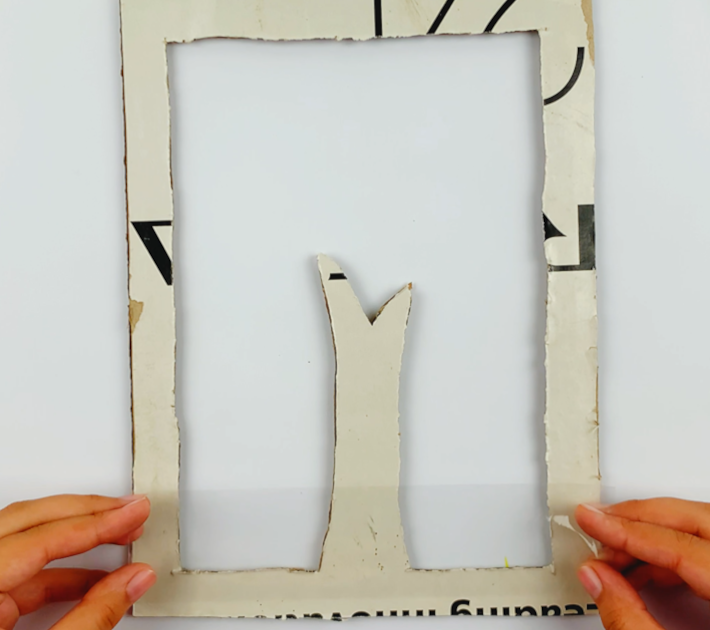
Step 3: Using a pair of scissors, cut out along the inside of the cardboard, and the inside of the tree stump.
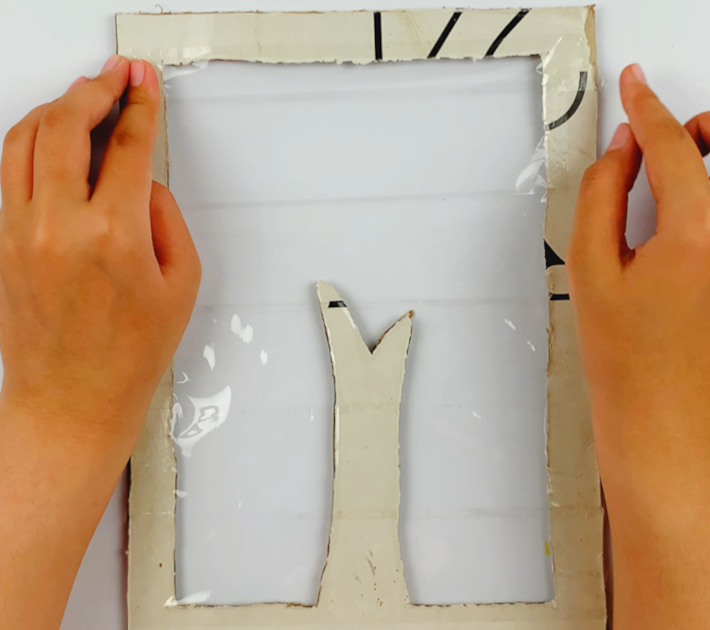
Step 4: Flip the frame over and start to stick Scotch tape all the way across, from top to bottom, with the sticky part facing inwards.
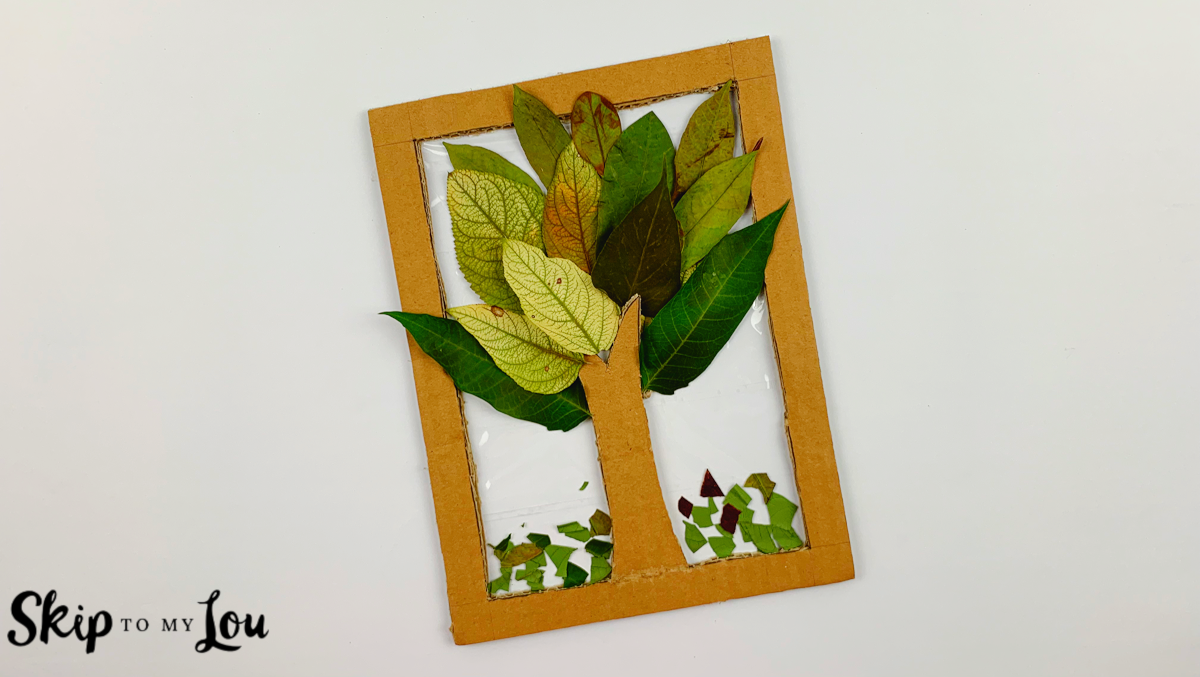
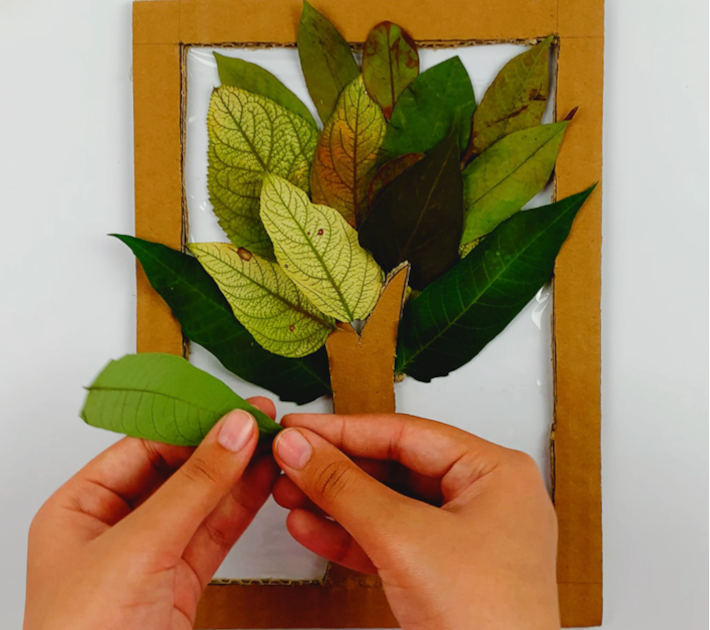
Step 5: Flip the frame over and begin placing your leaves on the sticky part of the scotch tape to create your fall tree.
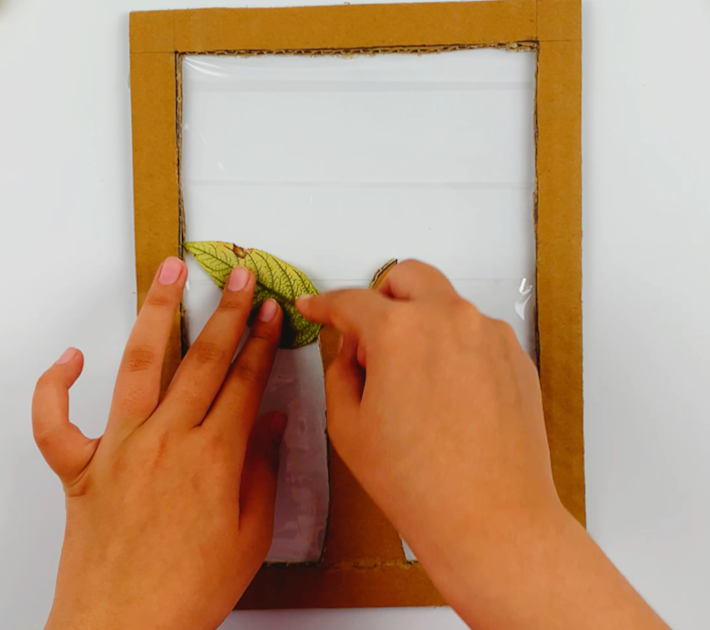
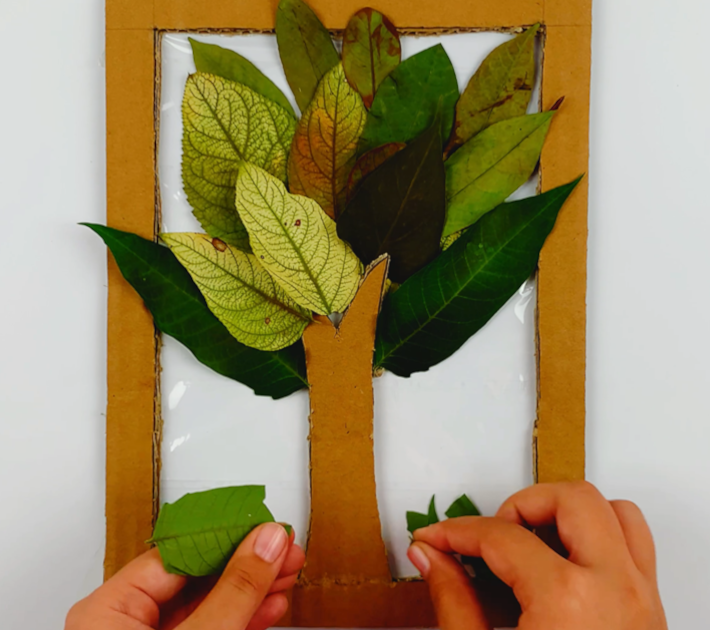
Step 6: Break a few smaller pieces from a leaf and stick them to the bottom of the frame.
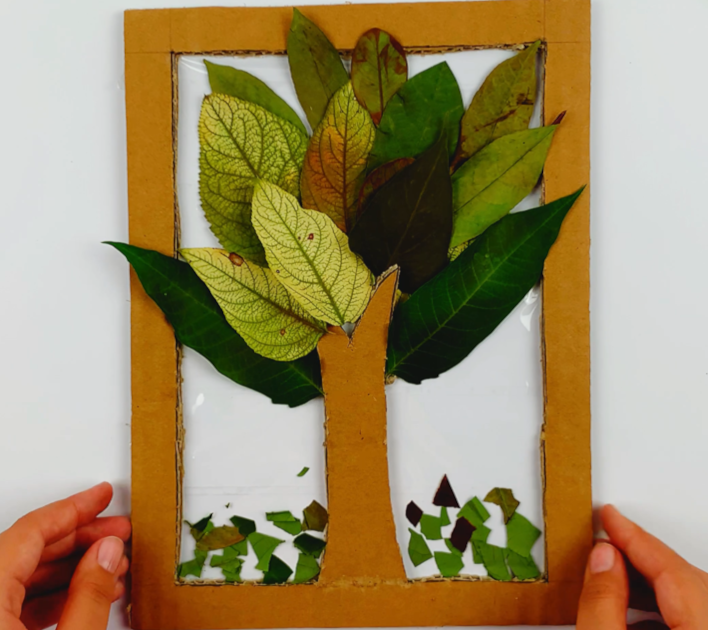
Step 7: Your beautiful Fall Leaf Tree is complete!
More Fall Family Fun!
Try some of these Fall and Thanksgiving Projects!
- Here are some Amazing Fall Gifts and Treats to Make
- Fall Mason Jar Crafts are always fun!
- Love making wreaths? Check out these 20 DIY Fall Wreaths
- Have some fun this Thanksgiving with this Trivia Game
- Get the kids to Fold A Paper Mayflower Ship
- Or try a Super Fun Thanksgiving Scavenger Hunt.
I would love to keep you fully stocked with creative ideas, yummy recipes, fun crafts, and loads of free printables. Subscribe to Skip to my Lou to get new ideas delivered to your inbox. Follow me on Facebook, Pinterest, Twitter, and Instagram for all my latest updates.


