Sharpie mugs that are dishwasher safe? Is this possible? You don’t want to go to all the time and effort to make a beautifully decorated mug and then have it wash off! Follow these steps to make sure your Sharpie designs last.
Make this chocolate mug cake mix with a free gift tag to make the personalized mug extra special.

Sharpie Mugs Supplies
- Oil Based Sharpie Paint Markers (affiliate link)
- Plain white ceramic mug
- Oven
- Alcohol
After trial and error, we found you can’t use regular Sharpies even after you bake the mug. Our design was completely washed away after only a couple times in the dishwasher! The dollar store can be a great place to find white ceramic mugs. We found an even better selection at Wal-Mart. Our mugs were .88 cents. This makes a great inexpensive group project. Everyone goes home with something they can use.
UPDATE: After two years of washing in the dishwasher the designs started to come off. This cup was used a lot and couldn’t withstand all the dishwashing. I am super interested to try these paint pens for our next mug. The reviews look great.

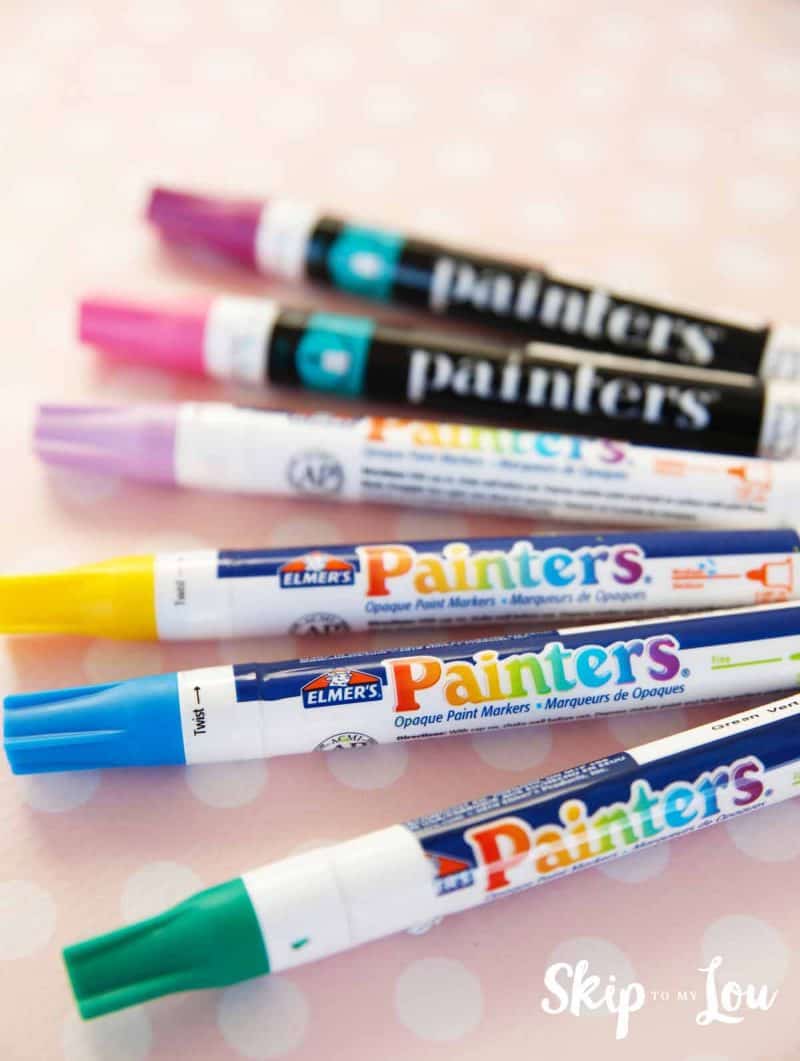
We also had good luck with these Elmer’s Painters. Just make sure they say they are for ceramic.
It really is super easy to jazz up a plain white mug. These DIY Sharpie mugs make the best homemade gifts! They can be personalized for any occasion. This one is for a very special DAD! In fact, he is #1.
Make Your Own Sharpie Mugs!
Step 1:
Clean the mug with a bit of rubbing alcohol.
Step 2:
Color a fabulous design on the mug. Allow drying for 24 hours for the most durable surface. We painted mugs for a birthday party activity and didn’t have time to let them sit for 24 hours. They seem to be holding up well… but letting the paint fully dry and cure is optimal for long lasting designs.
Step 3:
Bake the mug in the oven for 30 minutes at 400°F. Place the mug on a cookie sheet and put it in the cold oven before it heats up and leave it in until the oven cools completely so there won’t be any cracks. Putting the mugs in the oven seems to be the trick most paint pens need to make permanent.
Step 4:
Care for your mug! Our mugs have been fairing well in the dishwasher. If you want to be totally sure your design has super lasting power be sure to hand-wash the mug gently.

DIY Sharpie Mug Tips:
- Start with a clean mug. Rubbing alcohol and cotton balls will remove any traces of dirt and oil on the mug. After the mug is clean, try to not touch the area you plan to color. You want to make sure the paint really sticks on the mug. Don’t forget to remove all stickers, they might burn when you bake the mug.
- If you make a mistake a little bit of fingernail polish remover applied with a Q-Tip should remove any unwanted smudges.
- Remember regular Sharpie markers don’t work! Instead, choose oil-based pens.
- If you need a bit of inspiration check out these Sharpie mugs on Pinterest.
- Get creative! I have seen some mugs painted with nail polish. Have you seen the marbelized mugs?
- Masking tape can be used to create a design or letter then paint a fairly solid design on the mug. Remove the tape and the white mug shows through.


Sounds like a great project.
The best how to on Sharpie mugs I have yet to find. I was looking for the best way to do it when I came across your post.
You are very correct about the oil based sharpies. The kit my husband bought at Dunkins had oil-based pens and my cup has lasted wash after wash.
I wrote a blog post about cheap Valentines Day Ideas and have linked this how to. Thank you.