We are baking, sewing & crafting up a storm, preparing handmade gifts for this holiday season. I am sharing 30 wonderful sewn gifts from 30 amazing bloggers! Head on over to According to Kelly for 30 fabulous crafty gifts. A Southern Fairytale is spotlighting 30 edible yummies & holiday-inspired recipes.You definitely don’t want to miss a day! Check out ALL of our creative projects HERE.
Hey there! It’s Char from Crap I’ve Made.
I’m excited to be back for another year of the Holiday Bake, Craft, & Sew Along! (Guess that means I didn’t screw it up too badly last year, right?)
Last year, I shared a zippered laptop sleeve tutorial. I think the zipper going around corners scared some people away, so for this year’s project I’m going with something even a beginner sewist (don’t say sewer) can do. This is a great handmade gift for the tween and teen age girls on your list (and being the parent of one, I KNOW how hard they are to make stuff for).
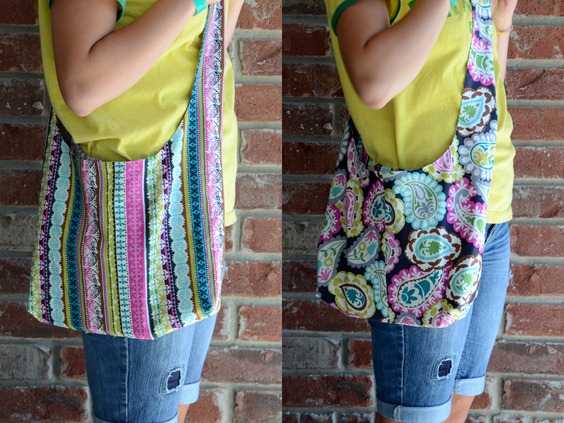
Reversible Sling Bag Tutorial
Supplies:
1 yard of exterior fabric
1 yard of interior fabric
Printed pattern pieces (printed with the page scaling turned OFF) + one piece of 8.5 X 11 paper
Scissors, pins, sewing machine, thread
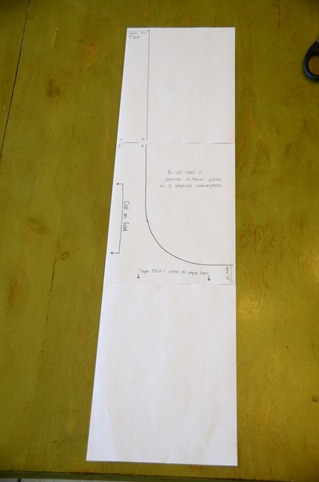
Print the 2 pattern pieces. Lay them and the extra piece of paper out like this:
Tape the pieces together without overlapping.
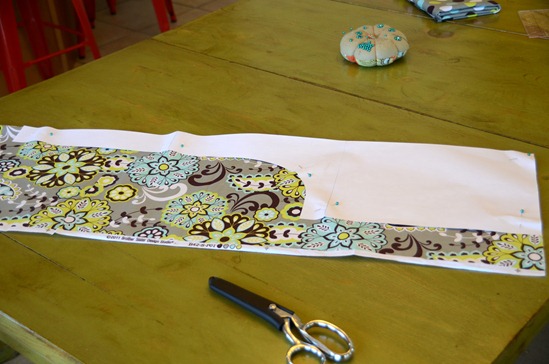
If you fold your yard of fabric in half again lengthwise, matching the fold from the bolt to the selvages, you can cut out both pieces at once. BE SURE TO PLACE THE LONG EDGE OF THE PATTERN PIECE ON THE FOLD!!!
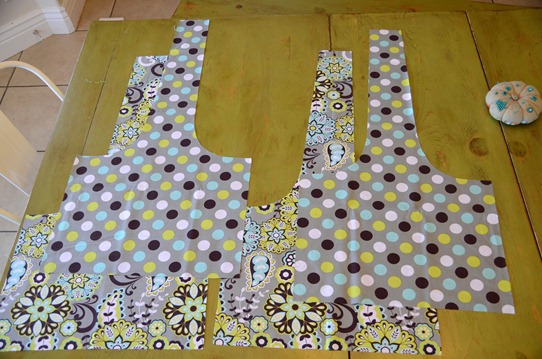
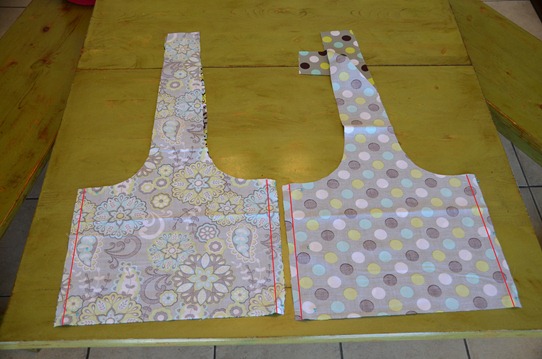
You’ll cut 2 pieces from your exterior fabric and 2 pieces from your interior fabric, so you’ll end up with 4 pieces that look like this:
The assembly instructions are the same for the exterior and the interior pieces. All seams are 1/2”, unless otherwise specified.
Place pieces right sides together and sew side seams (indicated by the red lines).
Press seams open.
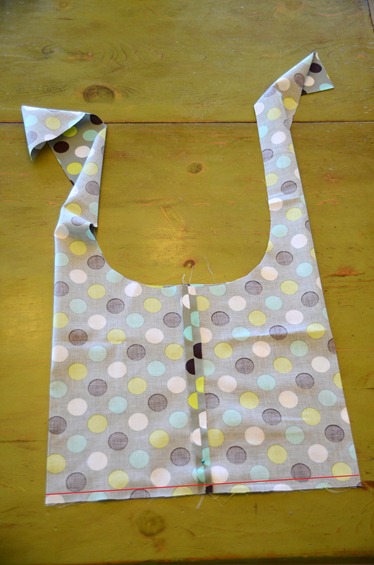
Line seams up (pin, if you want) and press flat. Sew bottom seam, as indicated by the red line.
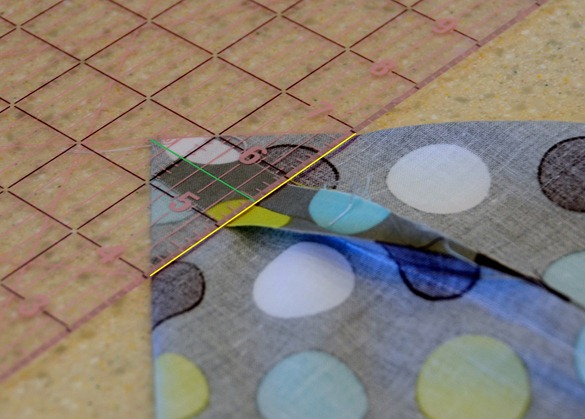
Next we’re going to box the corners. Fold/press/whatever your corners like this:
The measurement along the green line is about 1.5”. The measurement along the yellow line is about 3”. I drew a line with a disappearing ink pen to follow when I sewed.
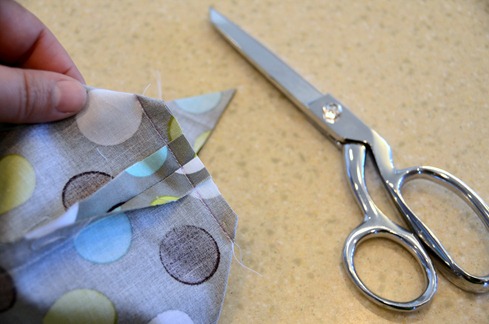
Sew along the line and then clip off the excess fabric.
Turn the exterior bag right side out and slip it inside the interior bag. Match up seams and ends and pin.
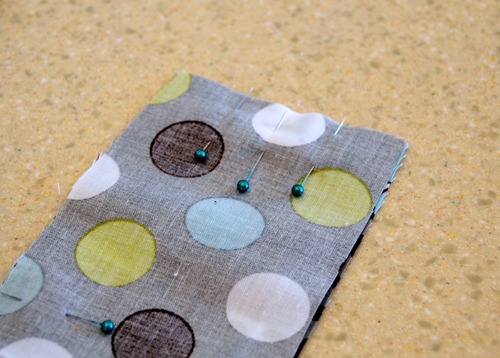
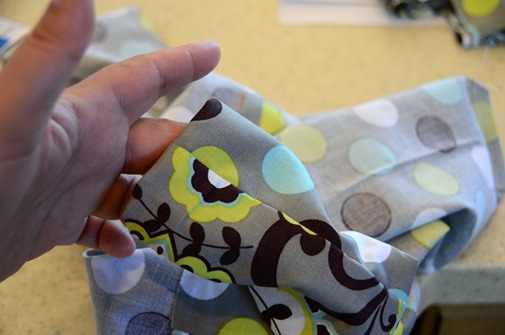
Decide which one of the ends of the strap is going to be the “big” one. You’re going to turn the entire bag right side out through this end. There will be a moment when you’re not sure how it’s going to work out, but trust me, it will…just like child birth. Mark it somehow. I used 3 pins.
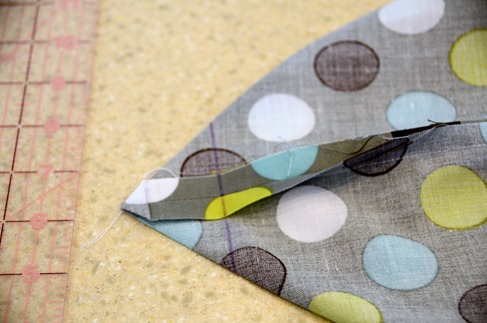
The other end of the strap will be the “small” one. When you sew this end, you’re going to want to taper it *just* slightly. The blue lines indicate the normal stitch line. The purple lines are how you’re going to sew this end.
I exaggerated the lines in this picture for illustration purposes. I’d start the taper about 1” from the end and taper in maybe 1/8” on each side.
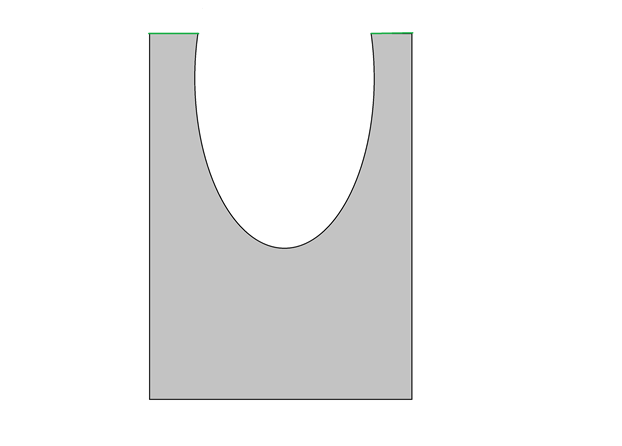
Sew from the end of the strap, around the curve and up the other strap. For some reason the picture or this step is missing, so I made you a super helpful illustration:
You’ll be sewing along the big U shape and leaving the green lines on the ends open. Be sure to taper the “small” end. Repeat on the other edge.
You can clip the curves a bit now if you want to. I did on one bag and I did not on the other. I found it didn’t make a whole lot of difference, so do whatever makes you happy.
Now you’re going to turn the whole thing right side out through the “big” end.
Go slowly and be sure things don’t get too bunched up. You might need a buddy, but I promise this WILL work.
Press along the seams.
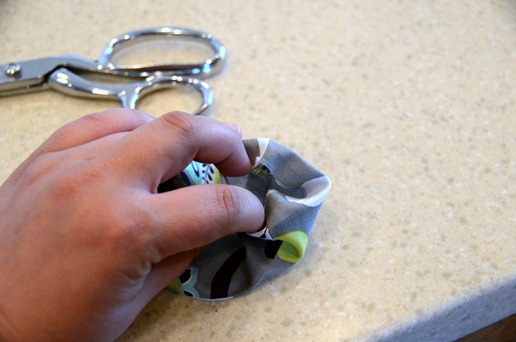
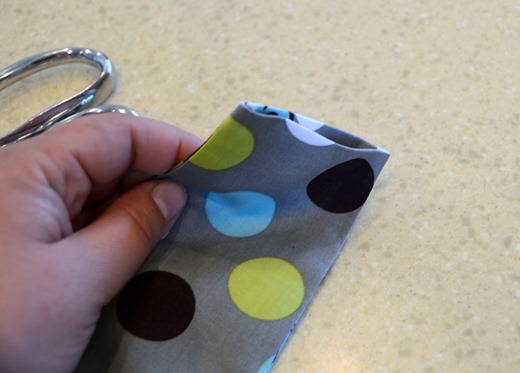
Take the “big” end and fold down approximately 1/2” to the inside.
Press.
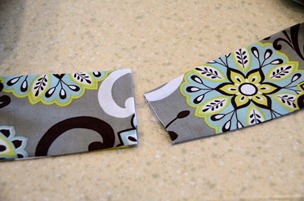
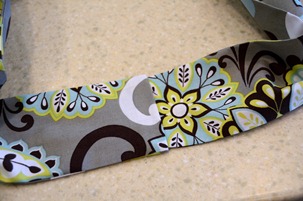
Slip the “small” end inside the “big” end.
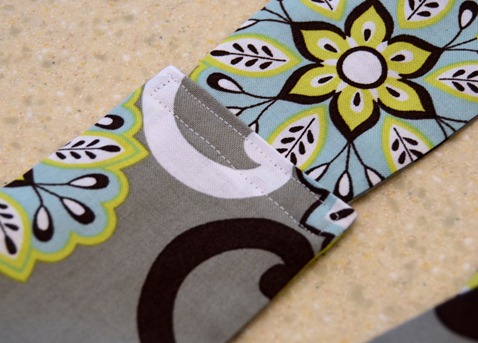
And stitch a cute little rectangle to hold everything in place.
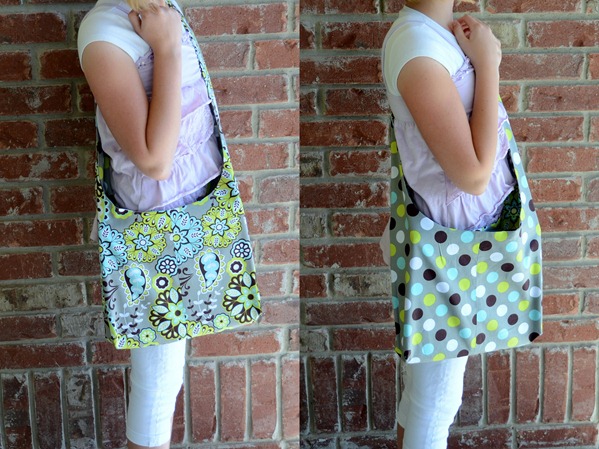
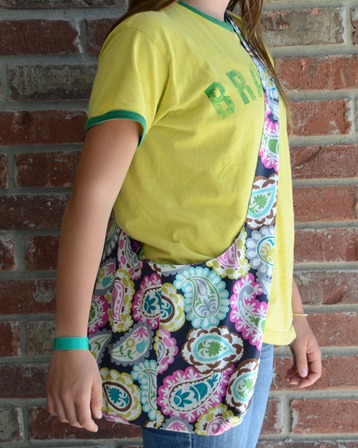
And you’re done!
Only 3.5 months until Christmas, so GET SEWING!


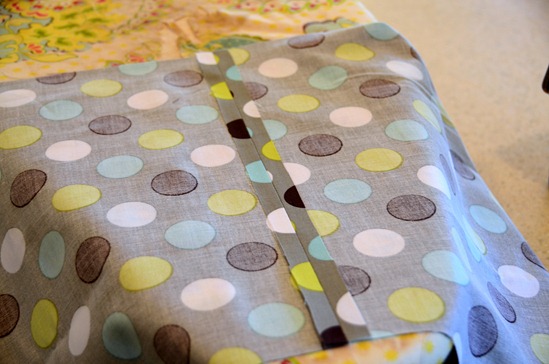



Can you show us how to put a cellphone pocket in the strap??
I was able to read the instructions for the bag but could not get the pictures. Can you please send me instructions with pictures?
Nice tutorial! thank you for sharing
I just finished this bag! I made it with a red with white polka dot fabric on one side and black/grey Waverly print on the other. It turned out so cute! Second sewing project since I was a little kid-so glad it was so easy!
They just outlawed plastic grocery bags here in Santa Fe and I think this pattern might be a good use for my 90’s rayon fabric stash that I found while spring cleaning. I think I will feel better giving these bags away than trying to find someone who wants my wonky scraps.
Oh Andrea you made my day!
Thank you for sharing such an AWESOME tutorial! Before I found your tutorial, I tried to use another one but found the directions weren’t clear enough for me to follow. Your tutorial allowed me to stitch a bag in just 1 hour! I’ve tweeted and pinned your post so others can try it too. Thanks again!
Hi! I wanted to thank you for posting this pattern and tutorial. I recently used them to make 3 bags for myself. I changed the pattern around a little bit, but used yours as the base. Below you’ll see a link to my blog where I have a couple photos and a link back to this page. Thanks so much! http://danandamyhess.blogspot.com/2013/01/silence-unbroken.html
Thank you some much for this pattern. My daughter couldn’t find “the bag” for her books (1st yr of college). So I am surprising her with this tote!!! thanks again. I bought the fabric before I found your site! Yeah Pinterest!!! <3 I bought a yard 1/2 of two prints.. left overs for ???. Will look deeper in your site for more ideas! 🙂
This was so easy , i have made one in an hour and with both sides i could use 2 bags in 1 – absolutely love it and the instructions are very easy to follow . Thank you very much !!! i am looking at your other posts as well 🙂
Your tutorials are amazing! I don’t sew and I’ve now made the sling bag and the reversible handbag. Thank you for your clarity, great photos, and easy to understand directions!
Thank you so much! Made it in one hour…sooooo cute! Thanks! 🙂
Hi!!
This was pinned in pinterest. I thought tour directions were so clear! I had to run to the fabric store and make one for my self!I just finished making it. Thanks for sharing. I’m going to check out your website.
Wow, that was so easy! Just made my first one with denim on one side for durability, a little difficult when it came to turning it right side out. Love this tutorial, such an easy one to follow. I can’t wait to make more.
was able to print the pattern but not able to print instructions? DO NOT SEE AN OPTION FOR A PRINT. CAN YOU E-MAIL BACK CUTE LOVE TO MAKE HATE TRY & WRITE ALL OUT!
THANKS JOY 9-15-11