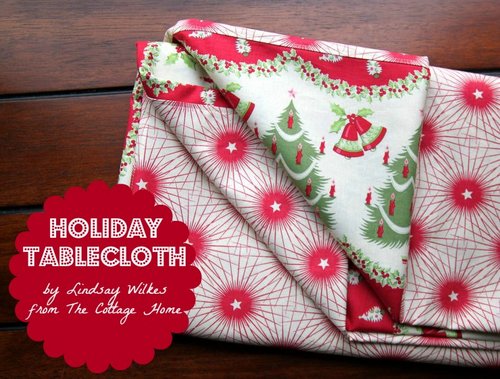
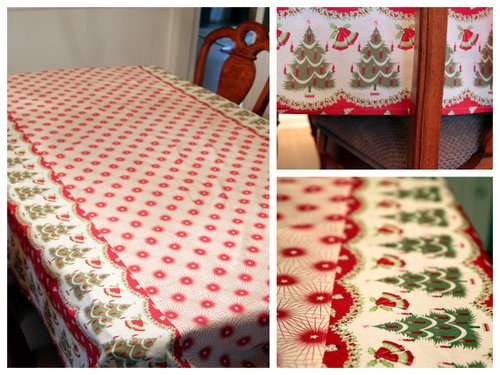
Nothing creates a holiday spirit like the perfect Holiday Tablecloth. Pick your holiday fabric and follow the Holiday Tablecloth Tutorial.
Over the holidays we tend to have a large number of visitors since a lot of our family lives out of state. For the last several years I have used a solid red tablecloth for our holiday entertaining, but this year I thought it would be fun to create a new tablecloth that we could pull out for holiday entertaining.
Related: Christmas Tree Napkin to complete the dining experience.
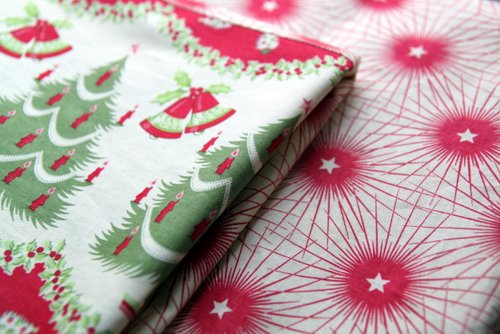
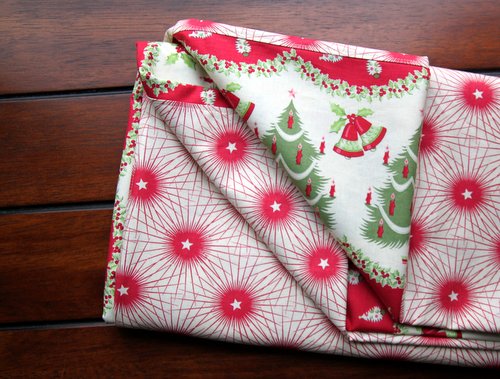
I adore prints with a vintage vibe and this one was just what I was hoping to find for this tablecloth. Find the fabric that speaks to you and create your own Holiday Tablecloth!
Holiday Tablecloth
approximately 106″ long and 65″ wide
Supplies
- 3 Yards center fabric (Cut 31″ wide x 108″ long)
- 3 Yards border fabric (Cut 2 pieces 18″ wide x 108″ long)
- Basic sewing supplies
- Iron
This post contains affiliate links.
My Favorite Sewing Tools
I would love to keep you fully stocked with creative ideas, yummy recipes, fun crafts, and loads of free printables. Subscribe to Skip to my Lou to get new ideas delivered to your inbox. Follow me on Facebook, Pinterest, Twitter, and Instagram for all my latest updates.
Let’s Get Sewing!
NOTE: You can definitely adjust the measurements and size to fit your own dining room table. Our table is rather large, so this was designed for a pretty long table. If you have a smaller table, just reduce the length measurements to fit.
Sewing Instructions for the Holiday Tablecloth
- Cut your tablecloth pieces. You should have one centerpiece and two pieces on either side of the centerpiece.
- Sew the side pieces to the centerpiece by lining up one raw edge of the side piece with one raw edge of the centerpiece (right sides together) and sew using a 1/2″ seam allowance.
- Do the same thing for the other side.
- Press the seams open.
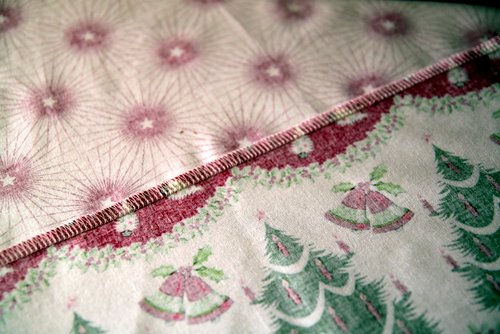
- Topstitch along the edge of the center piece of fabric on both sides in a coordinating thread. This just gives the tablecloth a more professional look. Make sure that if you are using a directional fabric your print is facing the right direction. As you can see in my tablecloth, it would have looked a little silly if my Christmas trees ended upside down!
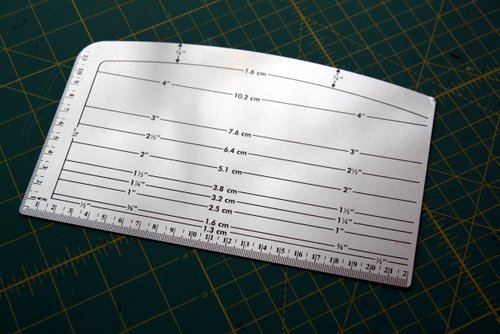
- Hem the tablecloth. The hem is very basic. You can use a basic hem gauge or this fancier Dritz Ezy-Hem for your measurements.
- Press up 1/2″ towards the wrong side of the fabric and up another 1/2″ towards the wrong side of the fabric all the way around. The only part that is a little tricky is the corners.

- To sew your corners, fold in one corner piece by 1/2″, then fold it over another 1/2″. Fold in both sides by 1/2″ and then fold them again by 1/2″. Do this on all four corners.
- Sew all the way around the hem using a 1/2″ seam allowance.
And that’s it! How easy was that? A pretty new tablecloth just in time for the holidays. I wish I had some of my Christmas decor out to show you how it will really look, but I guess you’ll just have to use your imagination.
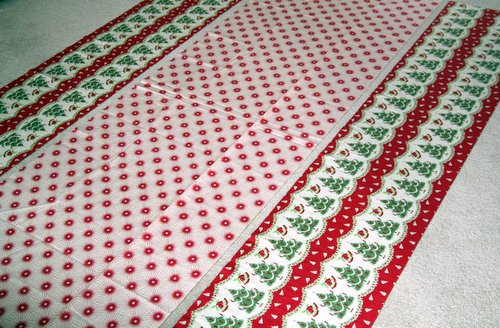
I designed this tablecloth to almost look like it has a table runner going down the center, however, it’s completely sewn into the tablecloth. This is a fun way to use to coordinating fabrics by combining them into one tablecloth (and you could definitely use this tutorial for any season or holiday).
Stop by The Cottage Mama for more sewing inspiration.
More Holiday Decorations
- Simple and Stunning Holiday Decorations you can do with simple supplies!
- DIY Christmas Decorations grab some tools and spend an afternoon building a few of these cute ideas.
- Holiday Wreath all the details were beautiful!
- Christmas Placemats are loaded with fun activities to keep kids busy and entertained during your holiday parties.
- Christmas Stocking Pattern is fully lined and super simple to sew!
- Homemade Holiday wrap up some AMAZING homemade Christmas gifts with these recipes & matching gift tags.
- Scrap Fabric Holiday Cards are a great way to use leftover fabric scraps.
- Holiday Dishtowel Apron Tutorial so easy to make and makes a darling handmade gift.
I would love to hear about the fabric you chose for your Holiday Tablecloth. Leave me a comment below.
I would love to keep you fully stocked with creative ideas, yummy recipes, fun crafts, and loads of free printables. Subscribe to Skip to my Lou to get new ideas delivered to your inbox. Follow me on Facebook, Pinterest, Twitter, and Instagram for all my latest updates.


Wow, why the mystery of mitered corners so clear now! Why did I think they were so hard before??? So eager to give it a whirl! 🙂
Thanks for the tutorial. I also love vintage inspired cloth…always on the look out!
Love it! Wish I could sew! but… the links don’t work 🙁 Thanks for the tutorial though 🙂 Going into my ‘someday’ file!
I hope you guys make one. It’s so easy and a great way to use your favorite holiday fabrics!
Thanks for the great tutorial. I think I’m going to make this in some coordinating superhero fabrics for my daughter’s birthday party. Love it!
links to cottage mama don’t work
It’s the details I miss. Top stitching and the corners. Thanks for the great tutorial!
Love the table cloth! Can’t wait to try this, thanks for sharing 🙂
Thanks for showing how to do those corners! As much sewing as I do, I never realized how to the corners this way!!
Love the tablecloth. Thanks for the tutorial. It’s always corner (on anything) that I have problems with.
Lovely table cloth, hope I can find a suitable fabric to try this .
Great tutorial, I think I may just have to do this for Christmas and maybe a couple of other holidays to add some cool factor to the table.
Now I need to go to the fabric store to make gifts for those new brides in my life who don’t own one! Oh yea, I’m going today! Yay!
What a lovely tablecloth!
Thanks for the tutorial!