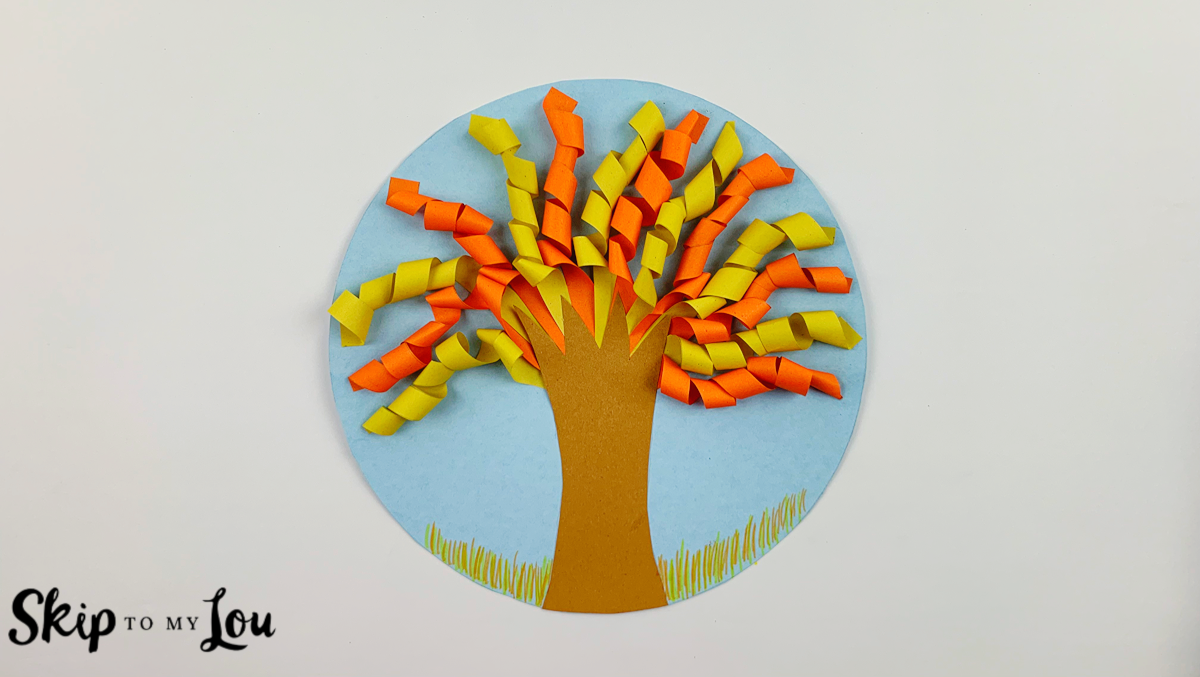
Bring the beauty of fall indoors with a simple Fall Tree Paper Craft fall tree! Fun to make and stunning when finished, this easy project captures the colors and charm of the season. It’s perfect for adding a cozy touch to your home or classroom—and kids will love joining in on the fun!
Related: If your family loves paper crafts, make sure you check out these fall craft activites including Fall Coloring Pages, Fall Decorating Ideas, and this Paper Pumpkin Craft.
Fall Tree Paper Craft Supplies
- Yellow, orange, and blue paper
- Brown cardboard
- Fiskars Kid ScissorsScissors
- Glue stick
- Pencil
- Green and brown markers
Video: Watch How to Make a Fall Tree
Watch the video to see all the steps in the process.
Easy Fall Tree Craft Step-by-Step
Here’s how to make an easy fall tree.
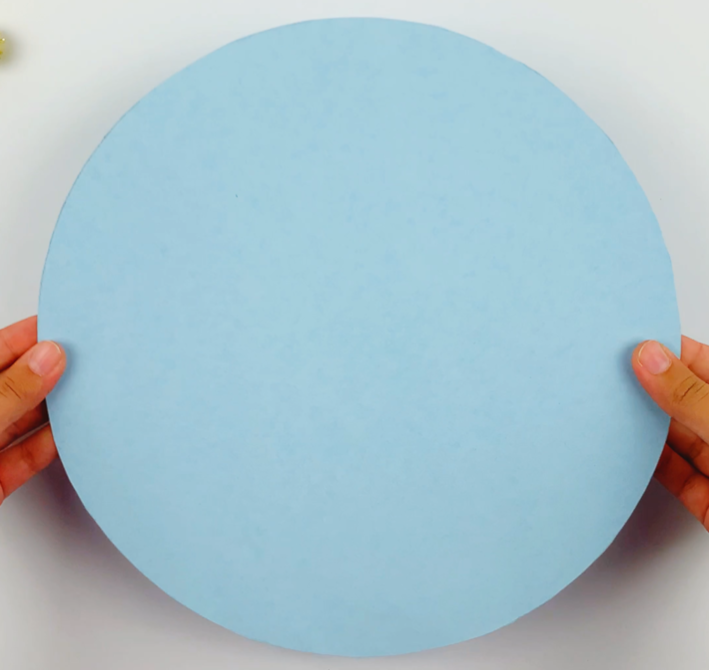
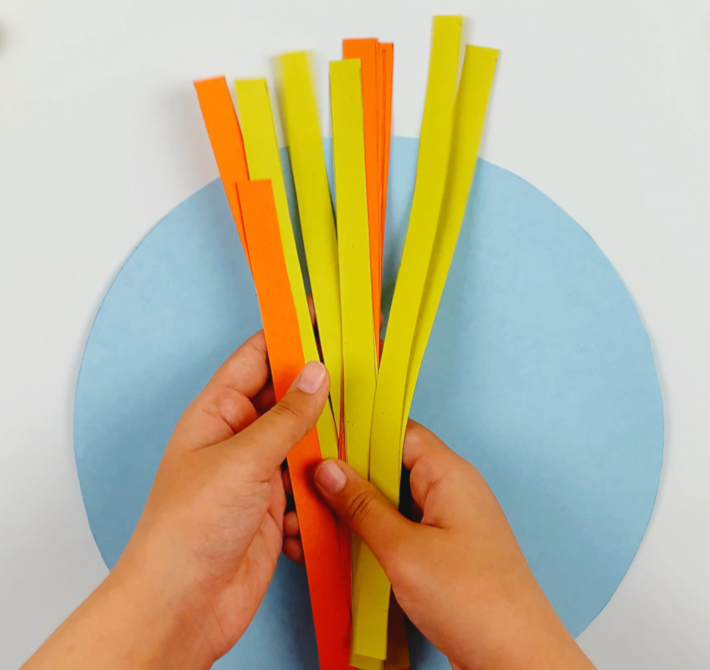
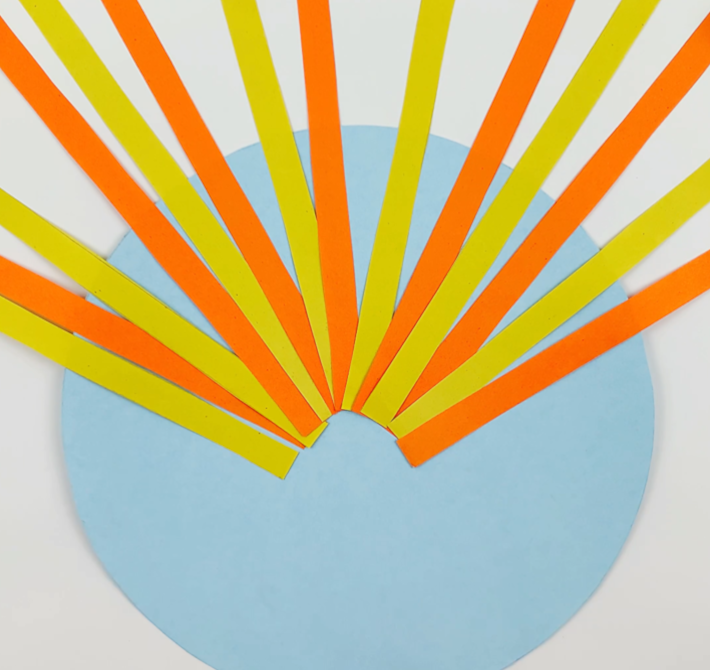
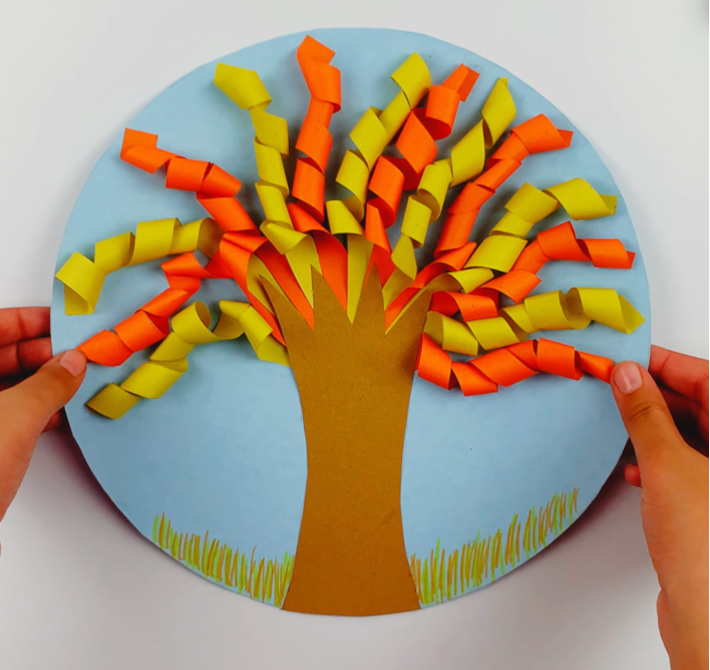
Step 1: Start with a round piece of paper, any color will do, but blue looks particularly good. Cut the orange and yellow paper into long strips.
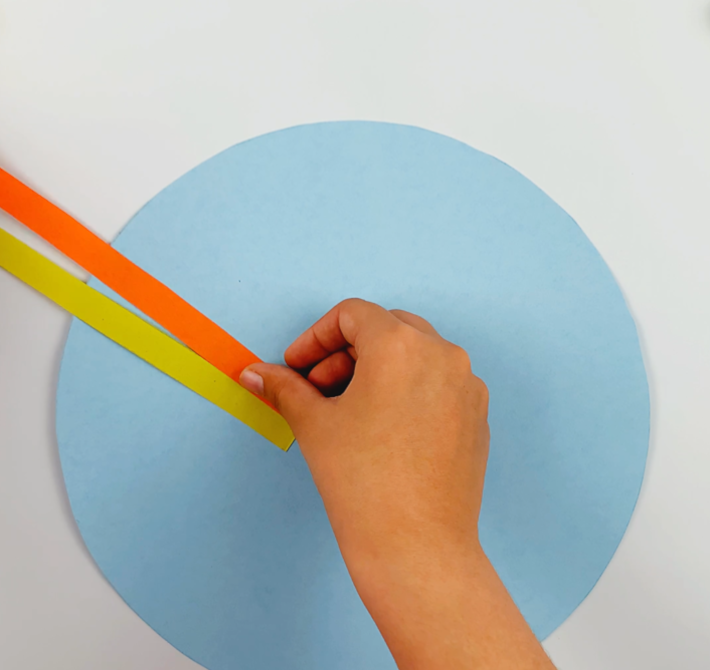
Step 2: Using a glue stick, secure the paper as shown in the images to form the leaves of the tree.
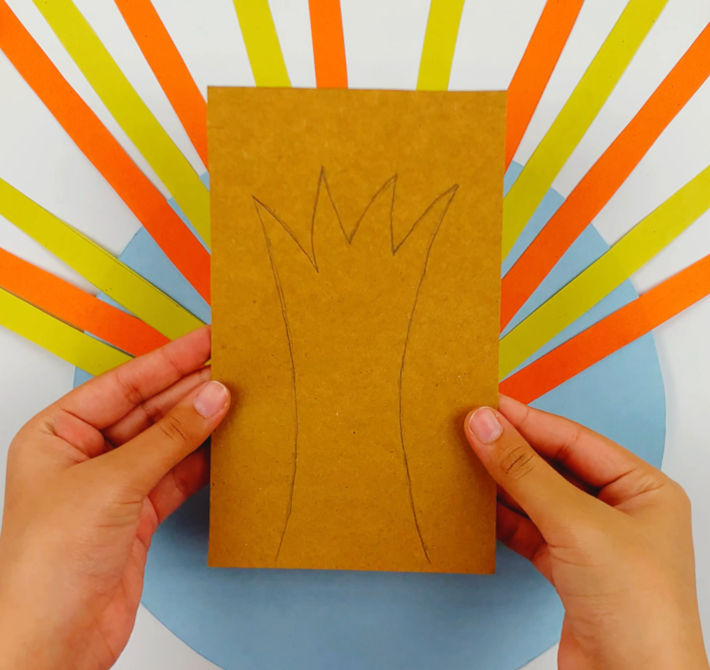
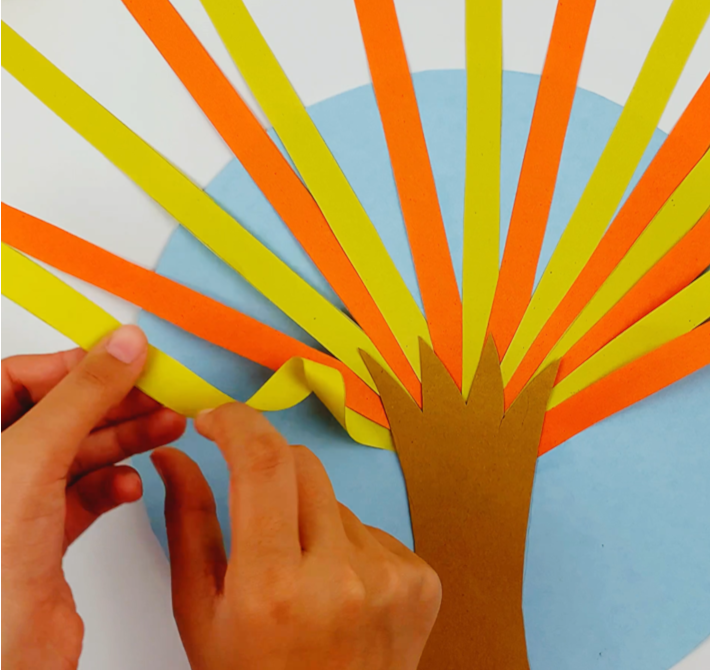
Step 3: Draw a tree trunk shape onto the cardboard. Cut out the shape and glue it underneath the yellow and orange leaves.

Step 4: Using your fingers, or a pencil, begin to twirl the yellow and orange paper leaves. Secure the ends using glue.

Step 5: Using green and brown markers, draw in some grass at the bottom of the blue circle, under the tree.
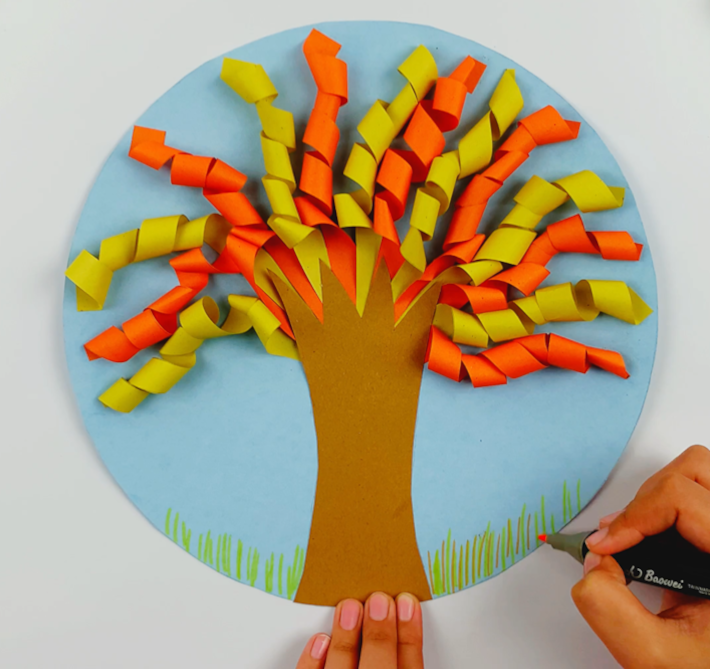
And there you have your beautiful fall tree craft!
Fall Fun for the Whole Family!
Here are some Fall and Thanksgiving projects to try!
- Make some Fall Mason Jar Crafts as gifts on Thanksgiving.
- These Amazing Fall Gifts and Treats are awesome!
- 100+ FUNNY Thanksgiving Jokes are sure to bring a laugh.
- Or play Thanksgiving Would You Rather.
- Here’s a Thanksgiving Word Search that’s lots of fun too.
- Have your kids color these Thanksgiving Placemats for your dining table.
I would love to keep you fully stocked with creative ideas, yummy recipes, fun crafts, and loads of free printables. Subscribe to Skip to my Lou to get new ideas delivered to your inbox. Follow me on Facebook, Pinterest, Twitter, and Instagram for all my latest updates.


