Making a fabric corner bookmark is a great way to use up scraps of fabric and it also makes a really cute gift. You can make them in any color or pattern you like, and they are really easy to sew. In this tutorial, I’ll show you how to create one.
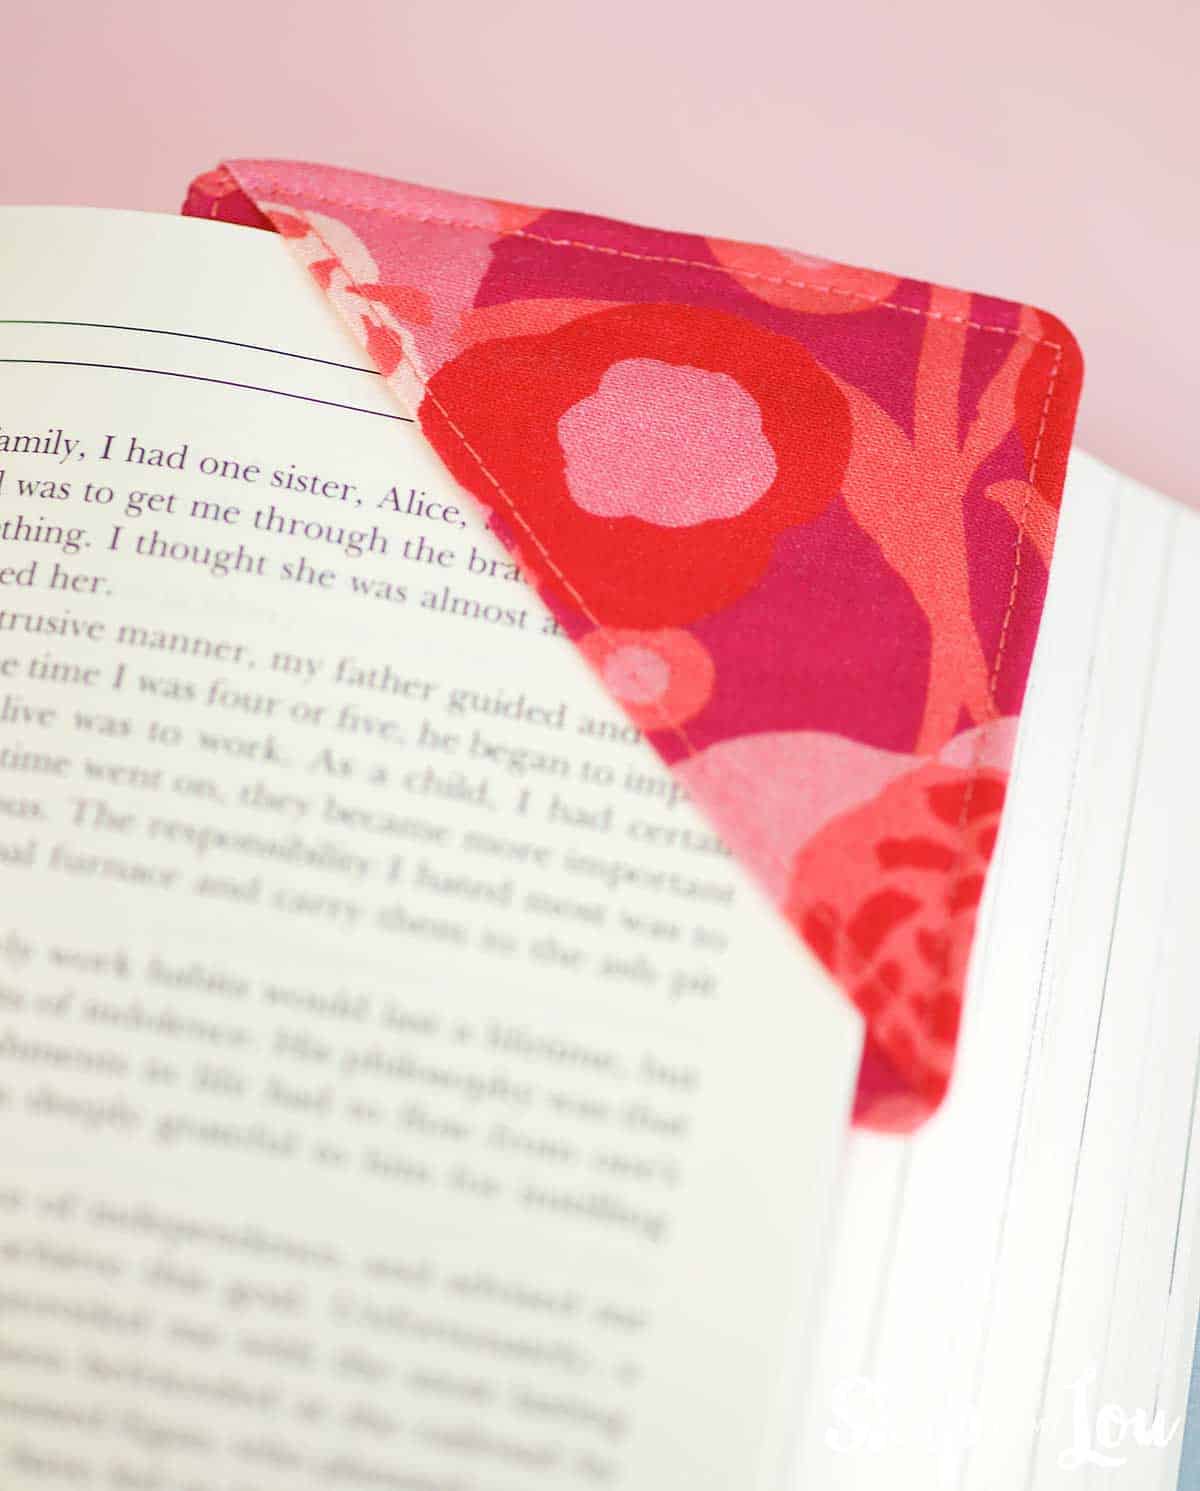
Do you like to sew and give gifts? If so, you’ll love this fabric corner bookmark tutorial! This is a quick and easy project you can complete in just a few minutes. Plus, it makes a great last-minute gift for any book lover. Best of all, you can customize with any fabric you choose to reflect the personality of the recipient.
Here’s What You Need
- 2 – 4 inch squares of lightweight fusible interfacing (I used featherweight)
- 3 – 4 inch squares of cotton fabric (in colors and patterns you like)
- sewing machine
- thread
- pins or magic clips
- scissors
- Cricut Maker with rotary blade and fabricgrip mat
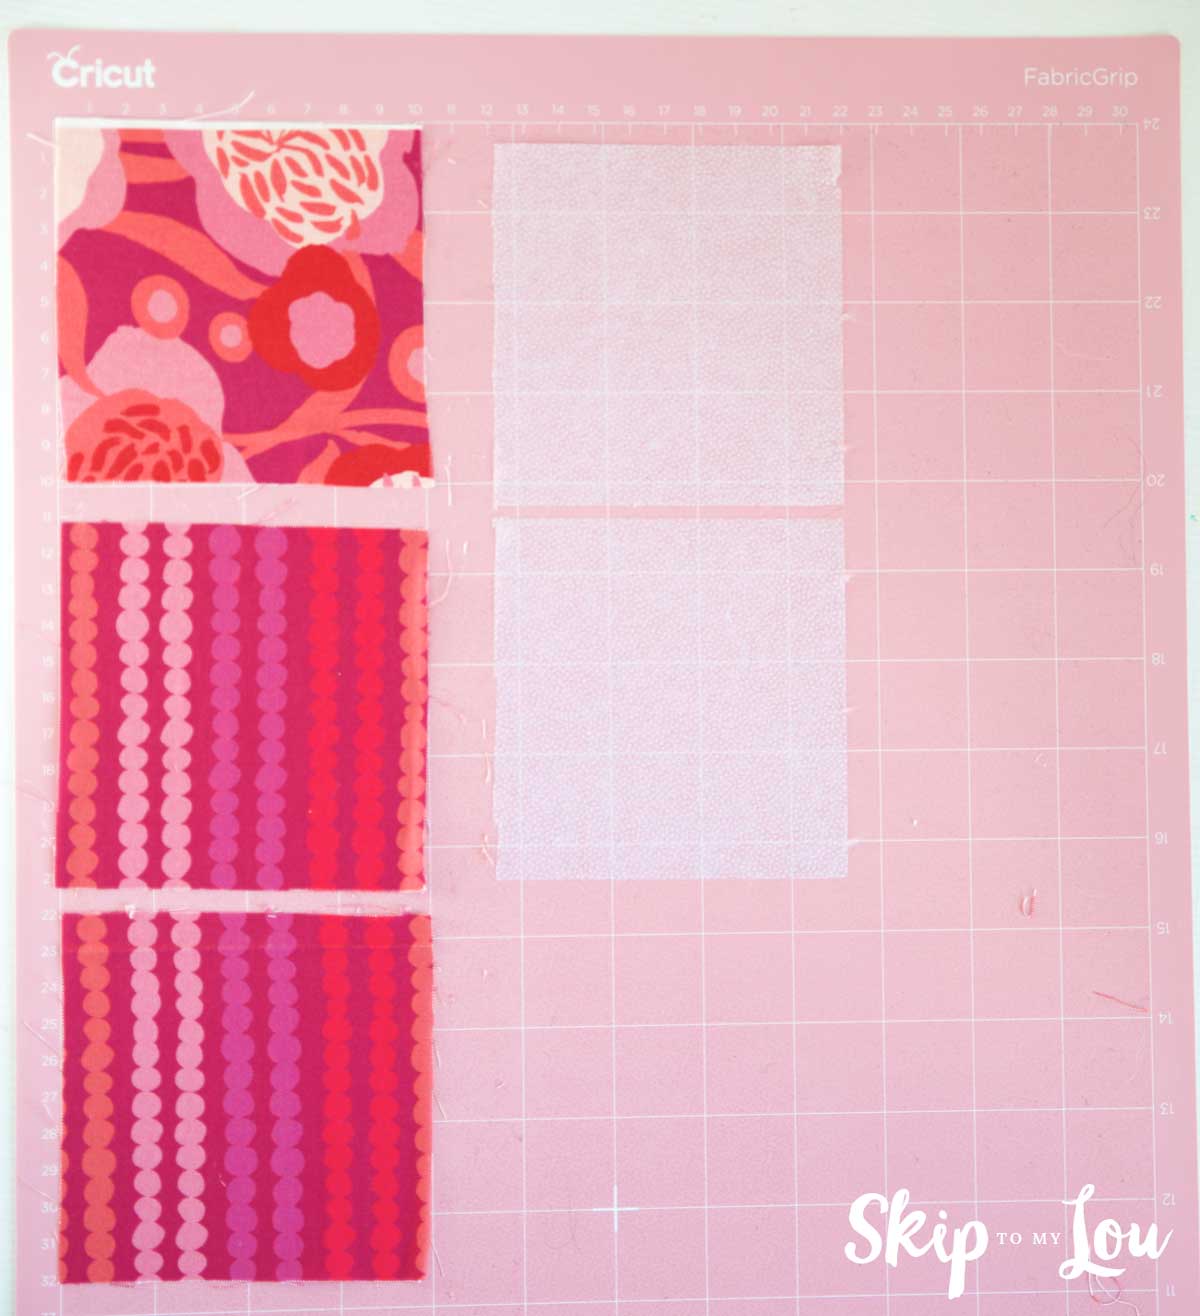
How to Easily Cut Fabric
This easy project uses small squares of fabric. Cutting squares can actually be a bit tricky if you don’t have a ruler, mat, and rotary cutter. I easily cut all my squares with the Cricut Maker. The special rotary blade cuts fabric like butter.
Start by opening Cricut Design Studio. Using the shape tool place 5 – 4 inch squares on the canvas. I strategically placed the squares about where I had the fabric placed on the mat. I did weld the squares together so they didn’t move around since I was placing different patterns of fabric and also interfacing on my mat in different areas. If this seems difficult, no worries just cut each type of fabric separately.
Next, choose the correct settings and hit cut. About a minute later I had five perfectly cut squares.
How to Make a Fabric Corner Bookmark
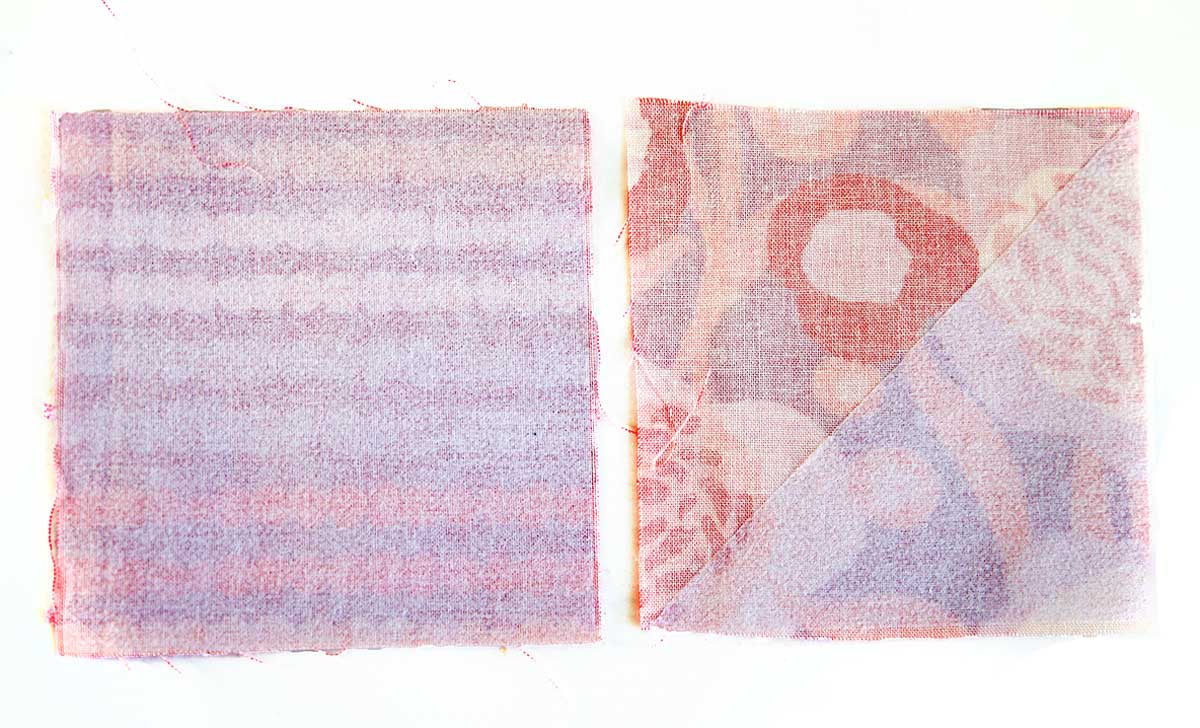
- Cut one square of interfacing in half to make a triangle.
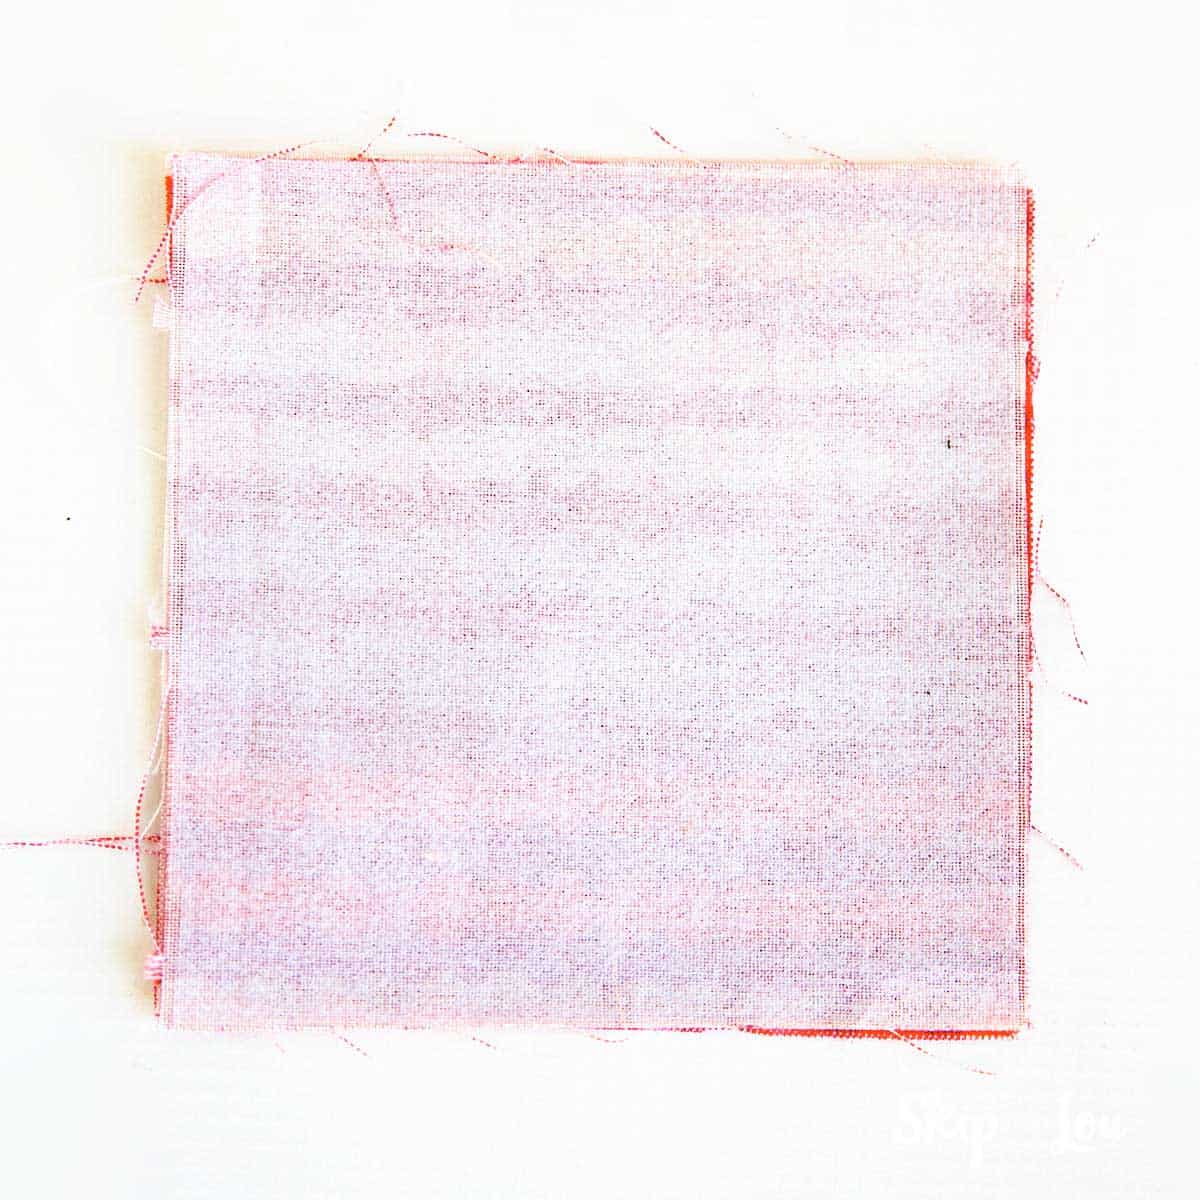
- Iron the triangle to the wrong side of one of the squares of fabric. This will be the fabric you want for the top of the bookmark.
- Iron the second square to the wrong side of one of the other squares.

- Next, Place one fabric square right side up, layer the triangle next, then on top, the other fabric square face down.

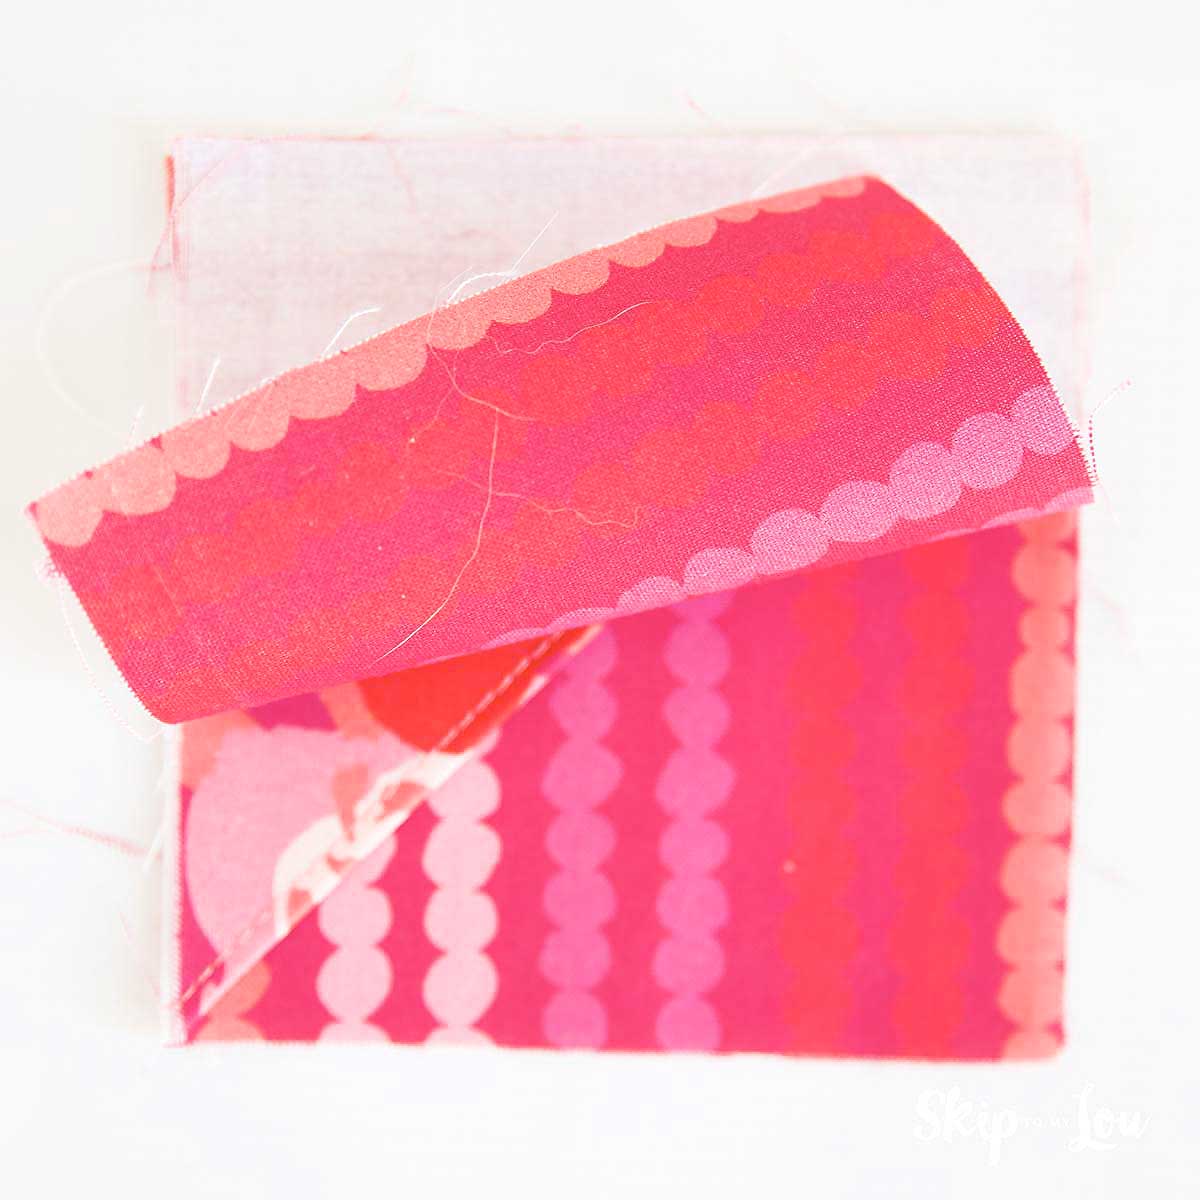
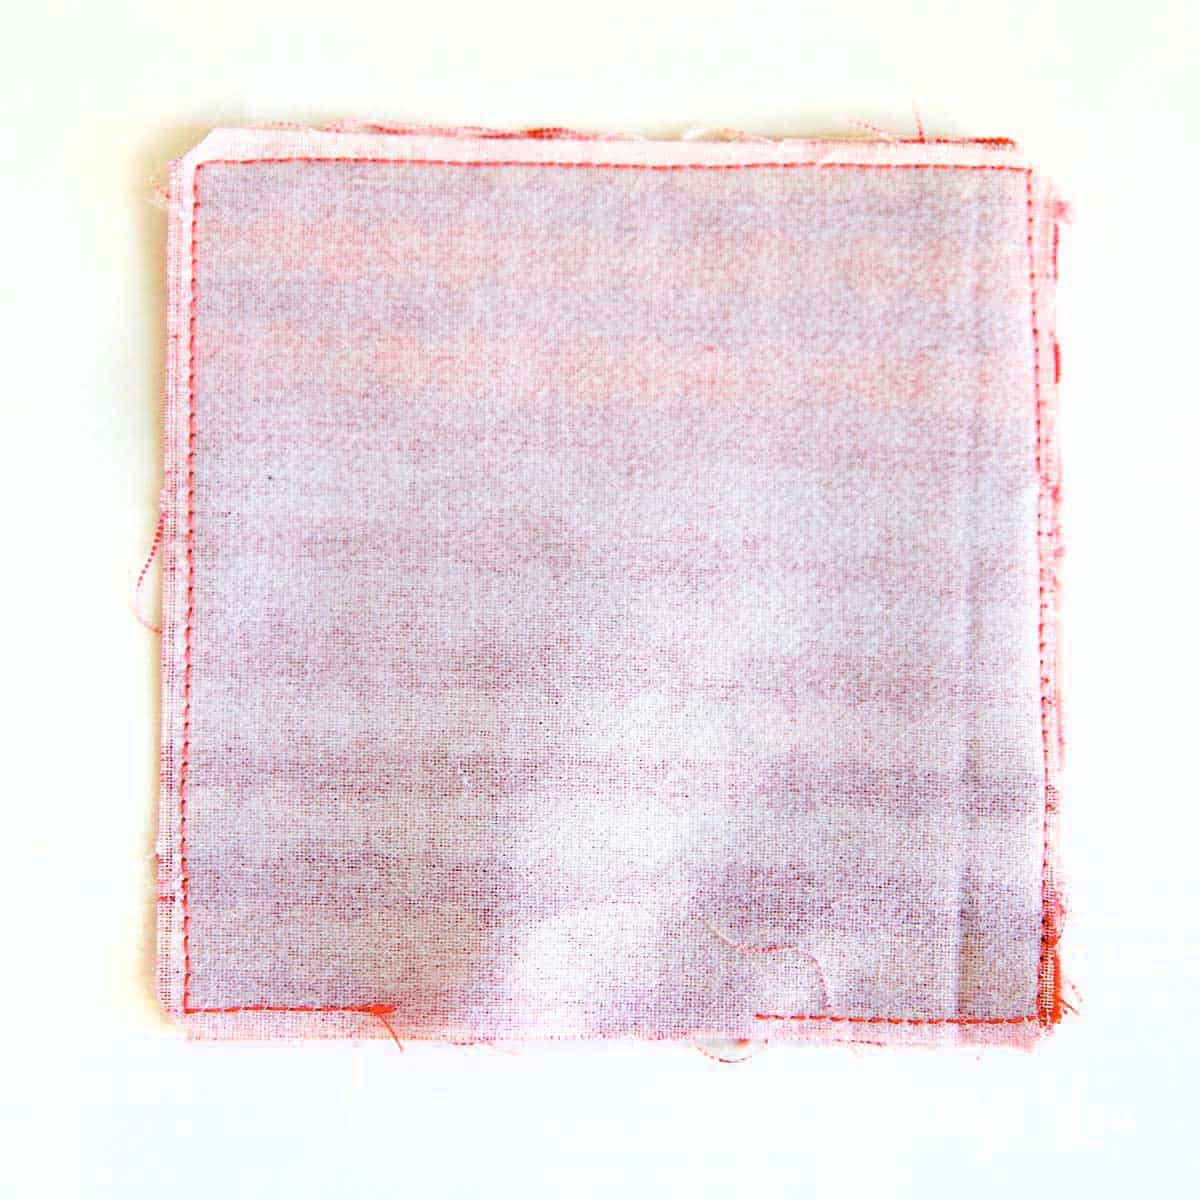
- Using a 1/4 inch seam sew all the way around the edge leaving about a 2-inch opening for turning fabric inside out. Make sure to catch all layers.
- Trim close to stitching and clip corners.
- Turn right side out and press. Using about a 1/8 inch seam stitch all the way around the edge. This will close the opening and give the bookmark a finished touch.

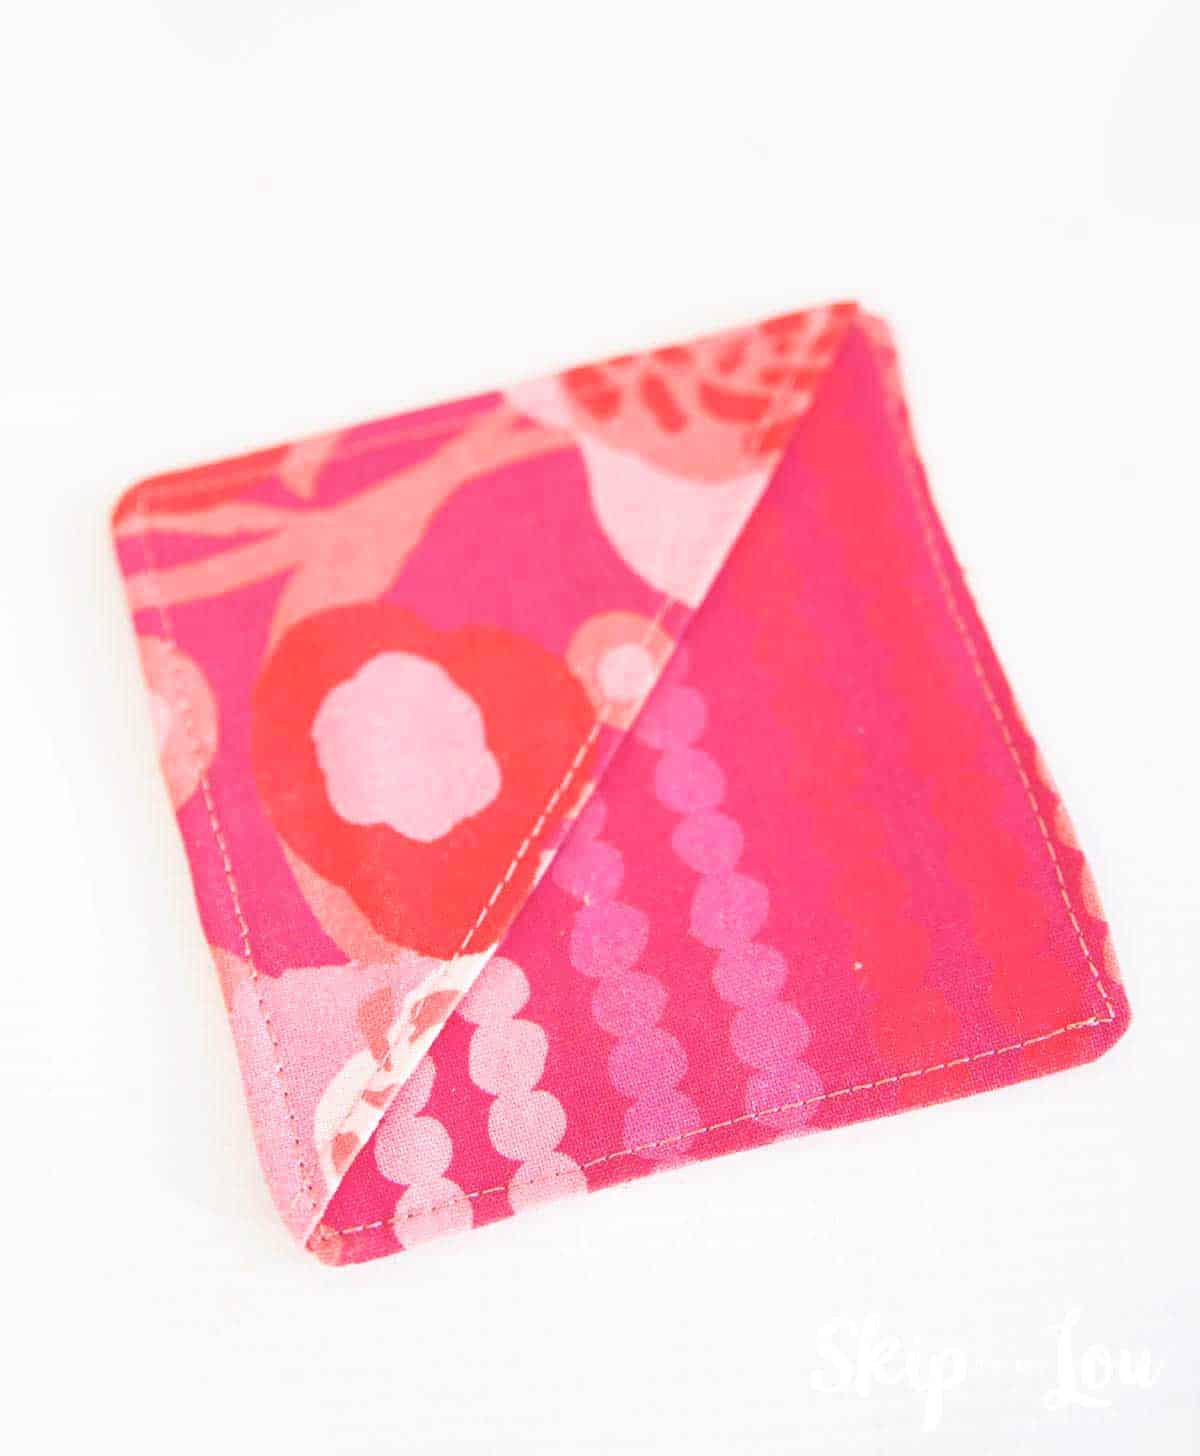
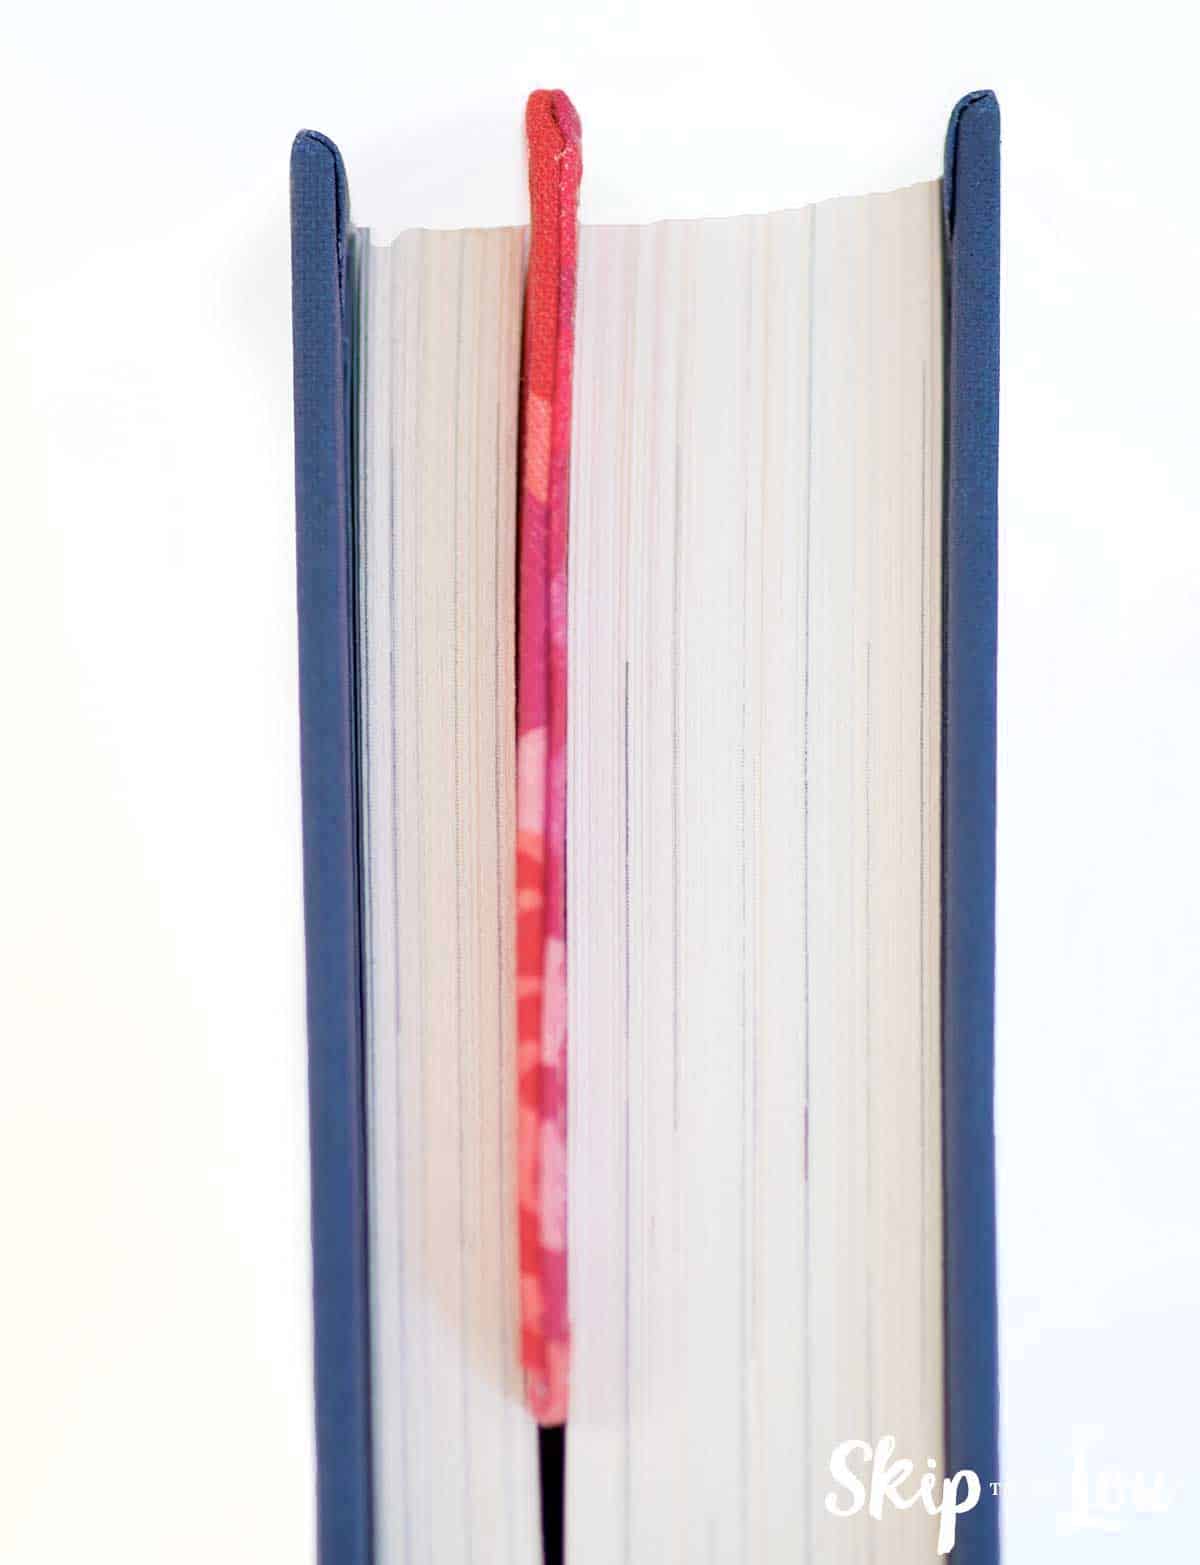
How easy was that! In minutes you were able to make a super useful bookmark.
The Cricut makes whipping up fun and useful gifts easy. You might like to make this darling gift card holder. It might be fun to also give a gift card to a local bookstore with your homemade bookmark. These zippered pouches are also a wonderful handmade gift.
More Ideas for Booklovers
If you’re a book lover, then you know that there’s nothing better than finding a new bookmark to keep your place. Not only do bookmarks add a bit of personality to your reading experience, but they can also be a fun way to show your love for books. Here are some of our favorite bookmarks.
I would love to keep you fully stocked with creative ideas, yummy recipes, fun crafts, and loads of free printables. Subscribe to Skip to my Lou to get new ideas delivered to your inbox. Follow me on Facebook, Pinterest, Twitter, and Instagram for all my latest updates.


