Looking for a fun way to share Halloween treats? These origami Halloween gift bags are the cutest little paper creations! With just a few folds, you can turn colorful paper into tiny treat bags shaped like pumpkins, bats, or any spooky character you like. They’re simple, budget-friendly, and perfect for holding small candies or party favors.

Related: If you love Halloween paper crafts, be sure to try making an Origami Pumpkin with a Witch Hat Origami—they make adorable decorations to pair with these treat bags.
Halloween Origami Supplies
To make this fun craft, use the following supplies.
- Orange, black, white, and green paper pieces of paper
- Glue stick
- Scissors or paper trimmer
- Markers
- Candies and treats to fill the bags
Video: Watch How to Make an Origami Pumpkin Gift Bag
Watch the video tutorial below and follow along step by step to see exactly how to fold your gift bags. It’s quick, fun, and a great project for kids and adults.
Easy Halloween Origami Gift Bag Step-by-Step
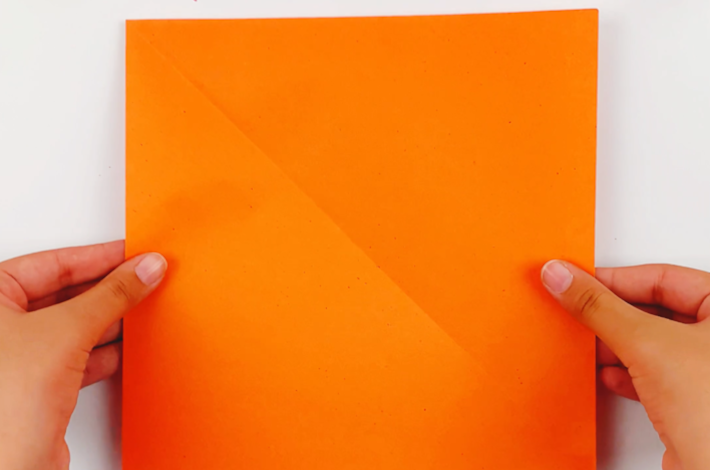
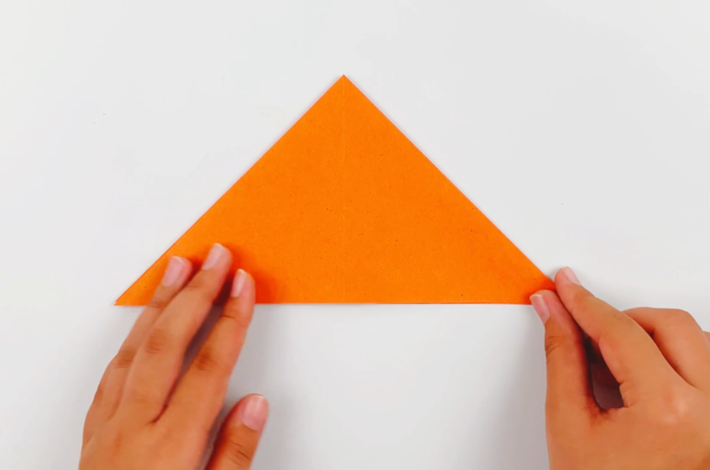
Step 1: Take the piece of square paper. Fold it in half by taking the top right corner and folding it to the bottom edge of the paper on the left-hand side at a 45-degree angle. Now do the same with the top left-hand corner. This will leave you with an X-fold line running through the paper when you open it up.
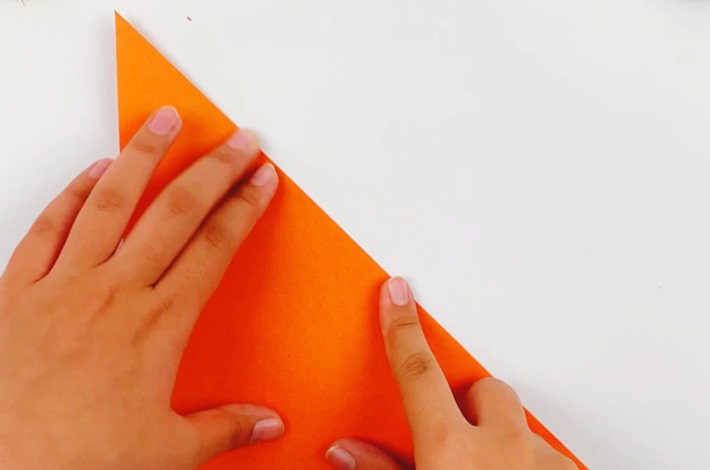
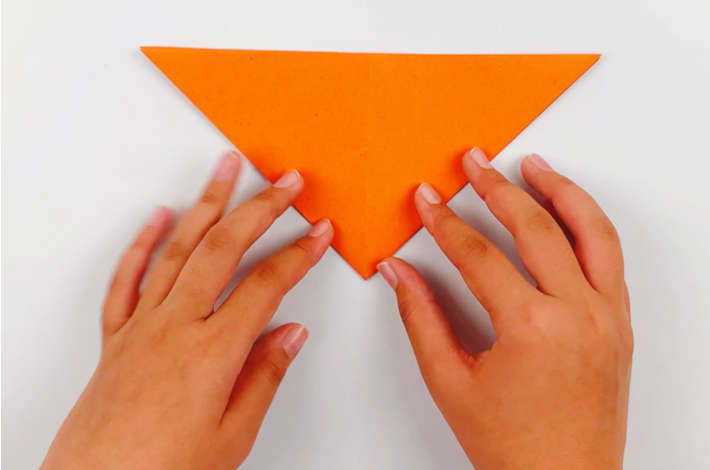
Step 2: Fold the paper in half. Now unfold, turn the paper 90 degrees to the right, and fold it in half again.

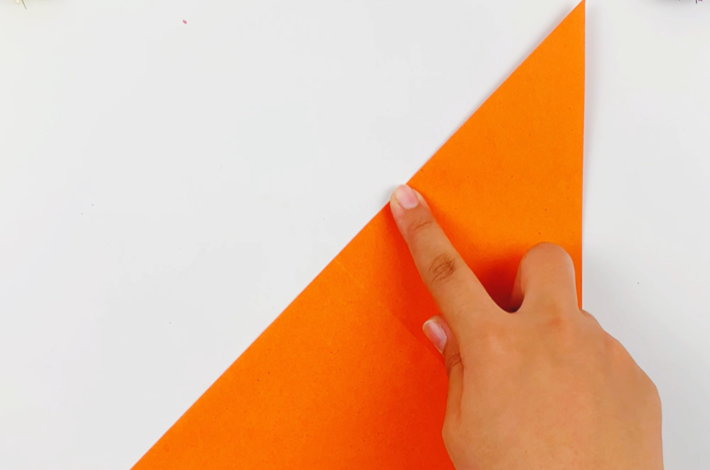
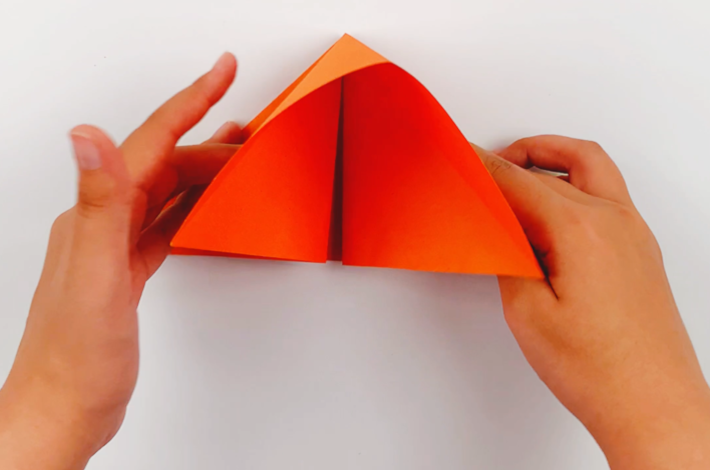
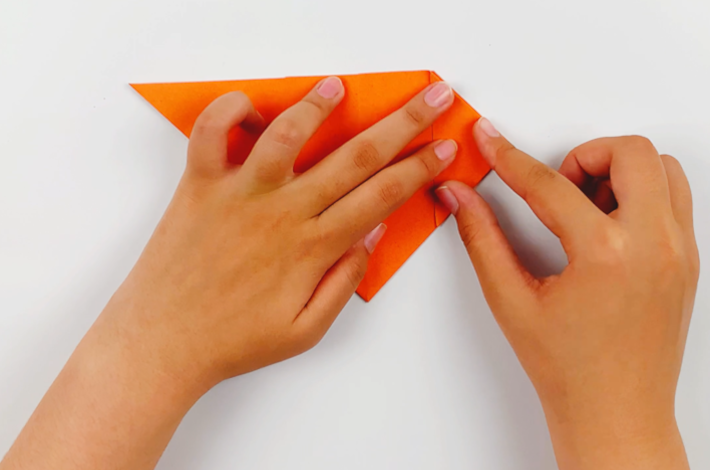
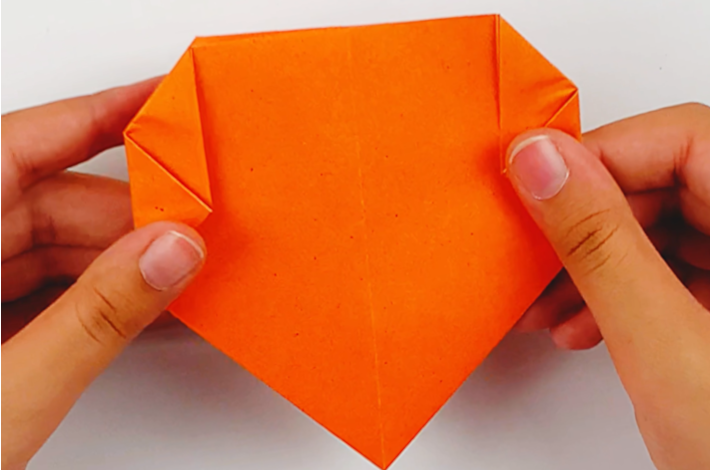
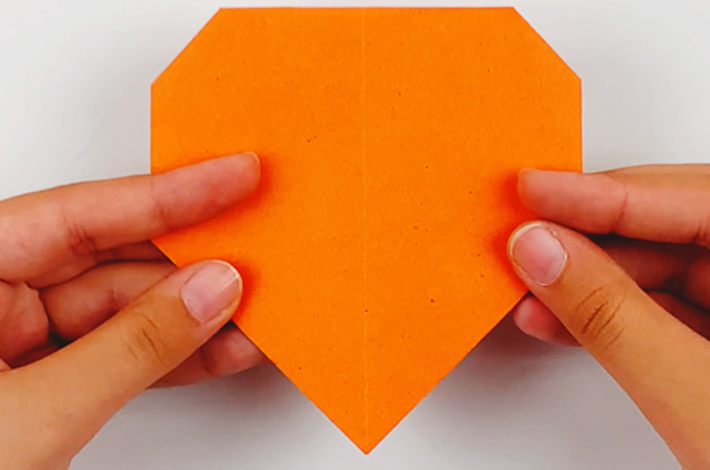
Step 3: Now tuck the middle section inwards so the top folds down towards the bottom to form a triangle as shown in the images below.
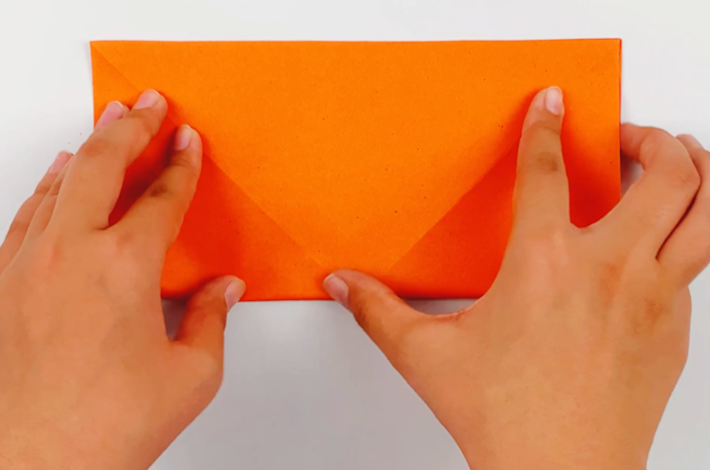
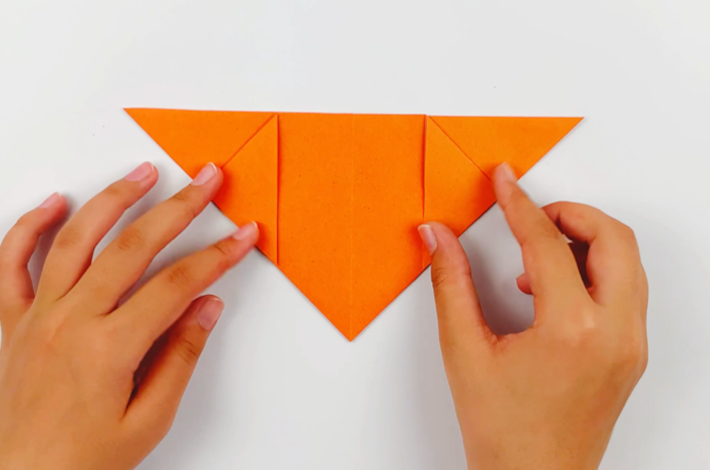
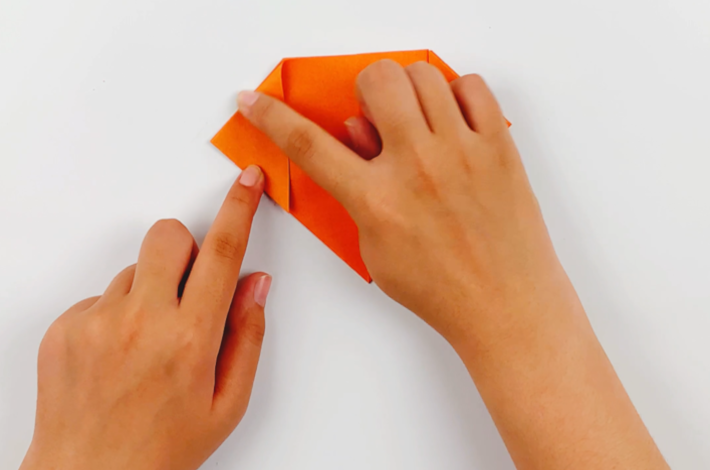
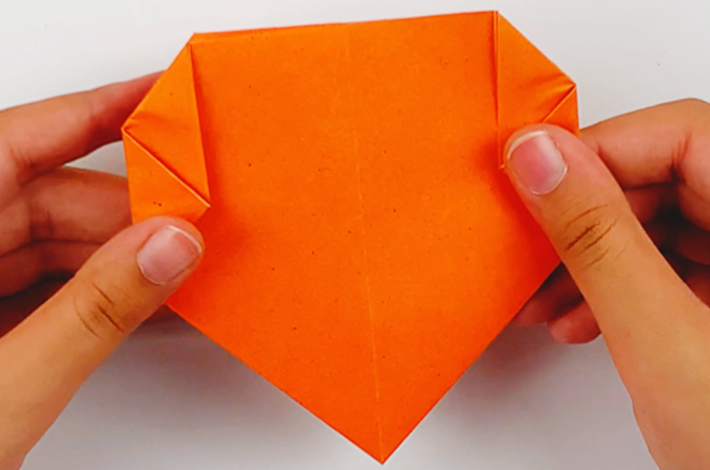
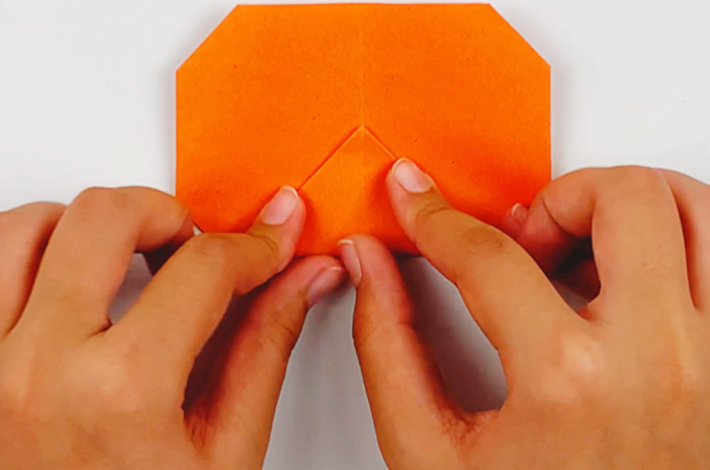
Step 4: Turn the paper 180 degrees. Now fold the top flap on the right over as shown in the images. Do the same with the left flap.

Step 5: Flip the paper over and make the same folds on the left and right sides, using the previous folds as guidelines.
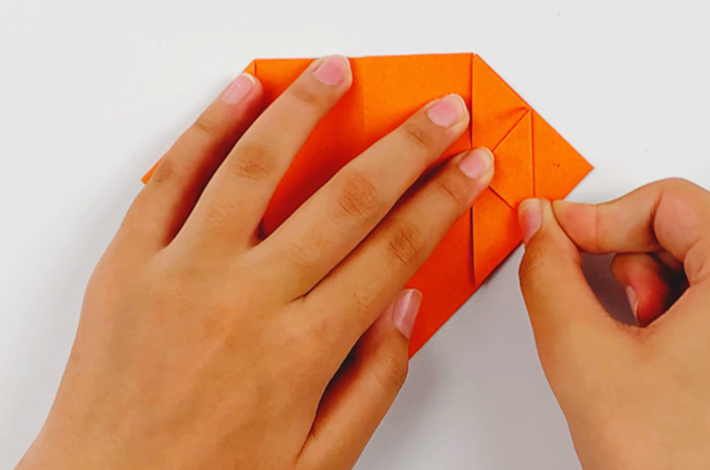
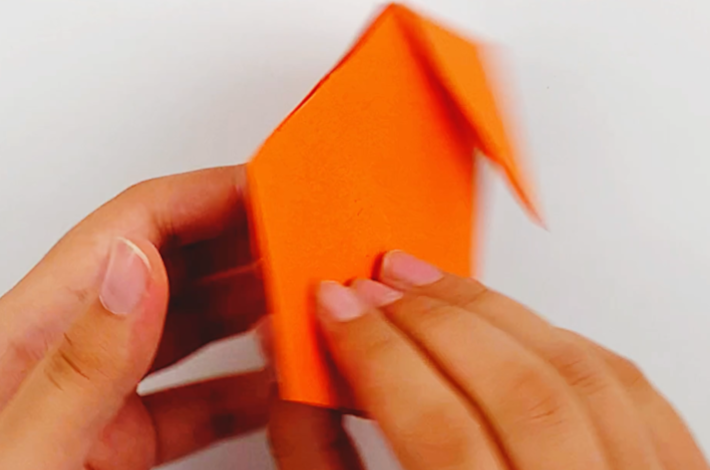
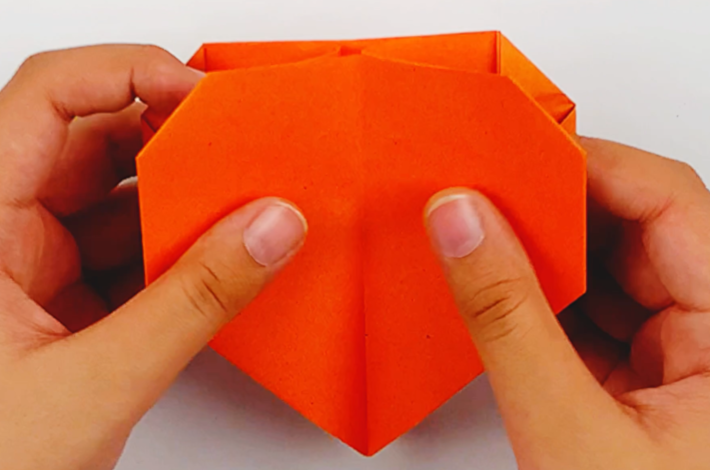
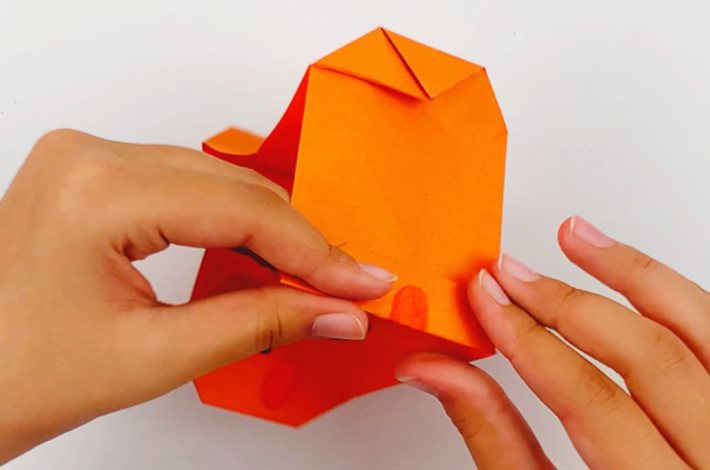
Step 6: Fold the top section on the right-hand side inwards. Now fold the small triangular part of the paper below that upwards towards the triangle you just made. Now fold and tuck that into the gap in the first fold you made in this step. If you are unsure, watch the video as it shows this clearly.


Step 7: Flip the paper over 180 degrees and make exactly the same folds on the left and right sides again.
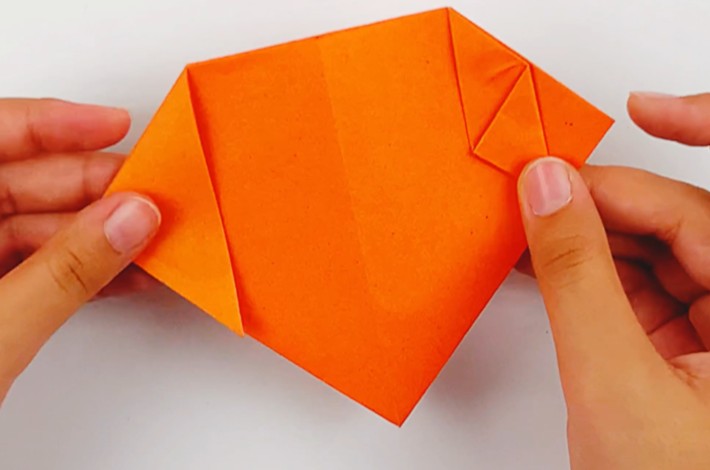
Step 8: Open the paper up and tuck the folds inwards. The video shows this clearly if you aren’t sure.
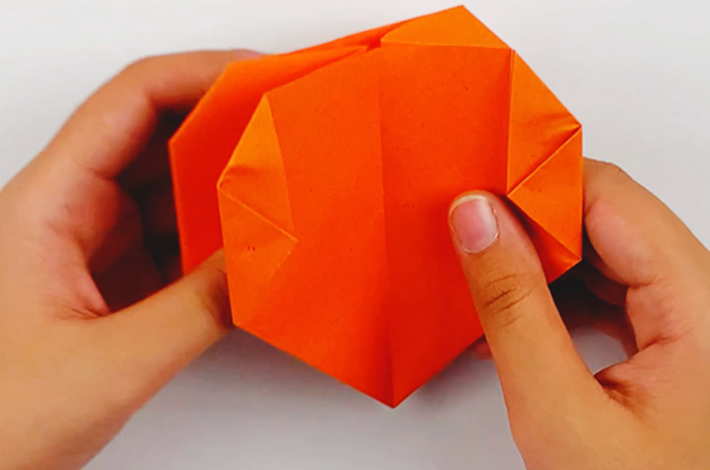
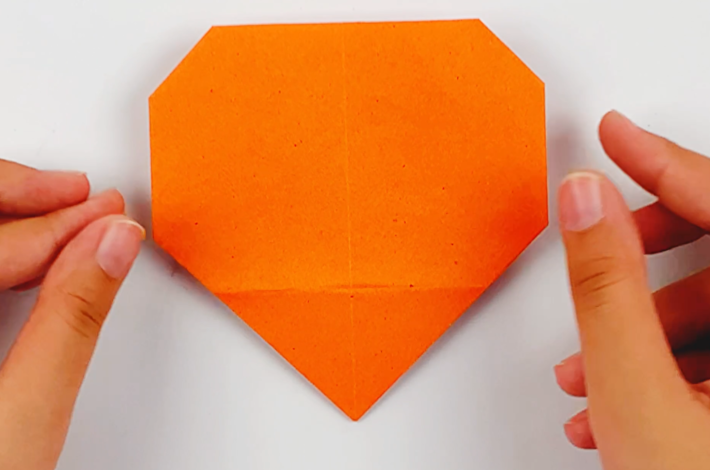
Step 9: Now fold the bottom triangle upwards and then fold it back underneath the paper as well before returning it to the original position it was in before this step started.
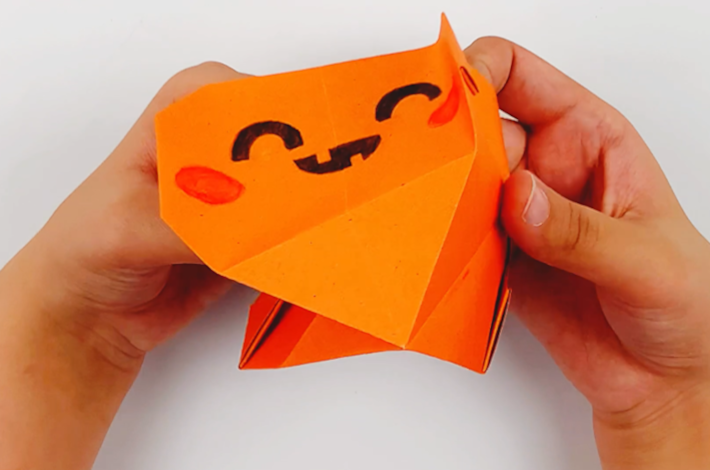
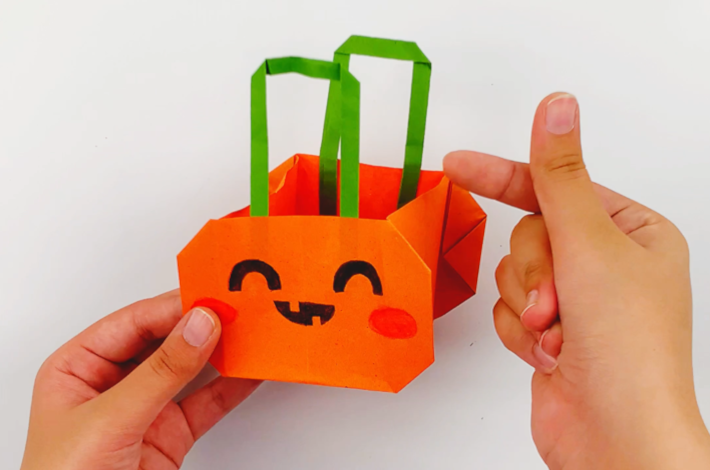
Step 10: Time to decorate your Halloween origami gift bag! Draw some eyes, a mouth, and some pink cheeks.

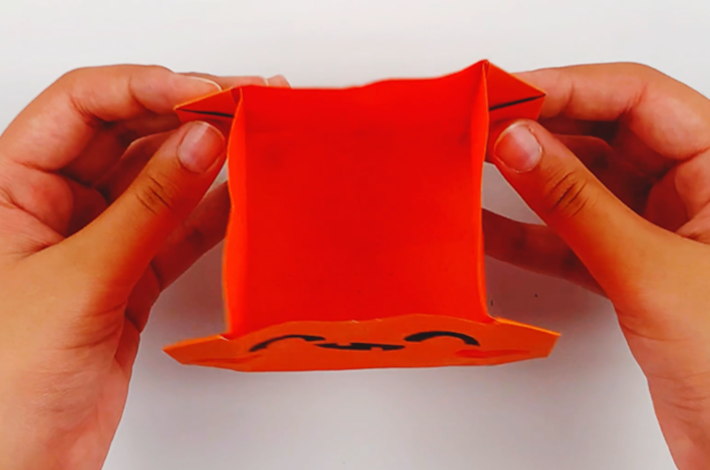
Step 11: Now open the bag and crimp the bottom edge and corners over. The video shows how to do this clearly if you aren’t sure.

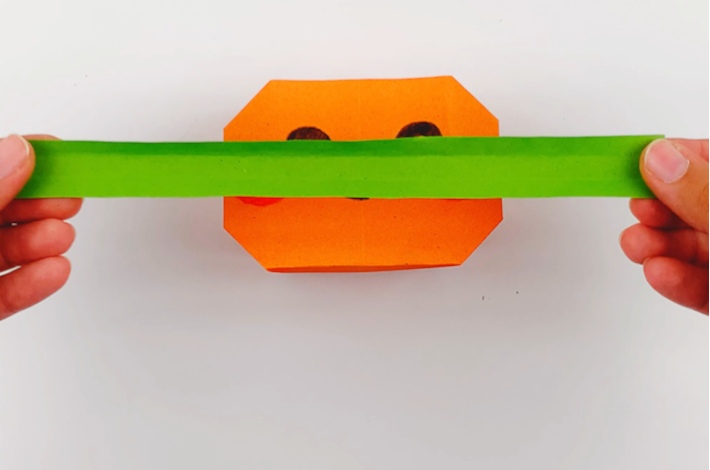
Step 12: Cut two long strips of green paper. Bend them to form the gift bag handles.

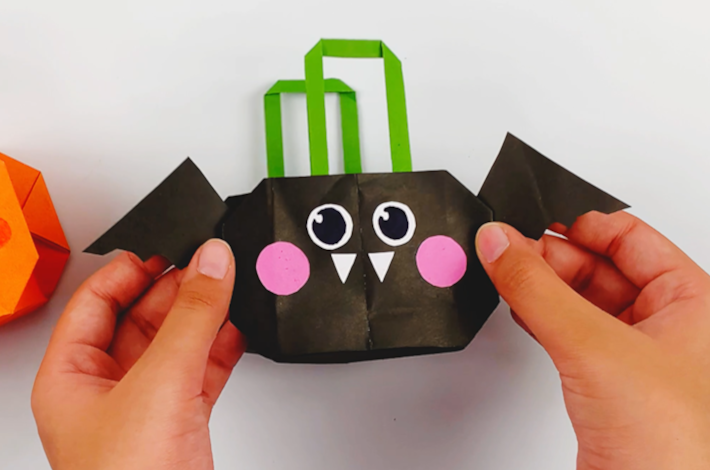
What will you make next? Maybe spooky monsters or mischievous black cats? And don’t forget, with different colors of paper, you can transform these origami gift bags into fun creations for year-round gift-giving! Try a bunny for Easter, a turkey for Thanksgiving, or any other animal to fit the season. These little bags make adorable, versatile gift bags for all sorts of seasonal celebrations.
These origami Halloween gift bags are just the right size for candy, trinkets, or little surprises. Try making a batch for trick-or-treaters, classmates, or party guests—they’re guaranteed to bring smiles! I’d love to see how you decorate and use yours, so share your creations with me.
More Easy Halloween Origami Projects
Looking for more Halloween fun? Don’t miss these popular crafts, printables, and treat ideas:
- Pom Pom Spider – A cute spider craft that hangs from a paper plate spider web.
- Custom Chip Bag – A fun way to turn chips into a creative Halloween favor.
- Halloween String Art – Make spooky and festive string art cards.
- Halloween Cup Lanterns – Light up the night with these glowing cup lanterns.
- Free Printable Halloween Treat Boxes – Printable boxes perfect for holding sweets.
- Halloween Placemats – Free printable placemats with activities for kids.
- Halloween Coloring Pages – Cute and spooky coloring pages to keep little hands busy.
- Hanging Ghost Decoration – Print, cut, and hang this adorable ghost that twirls in the wind.
I would love to keep you fully stocked with creative ideas, yummy recipes, fun crafts, and loads of free printables. Subscribe to Skip to my Lou to get new ideas delivered to your inbox. Follow me on Facebook, Pinterest, Twitter, and Instagram for all my latest updates.