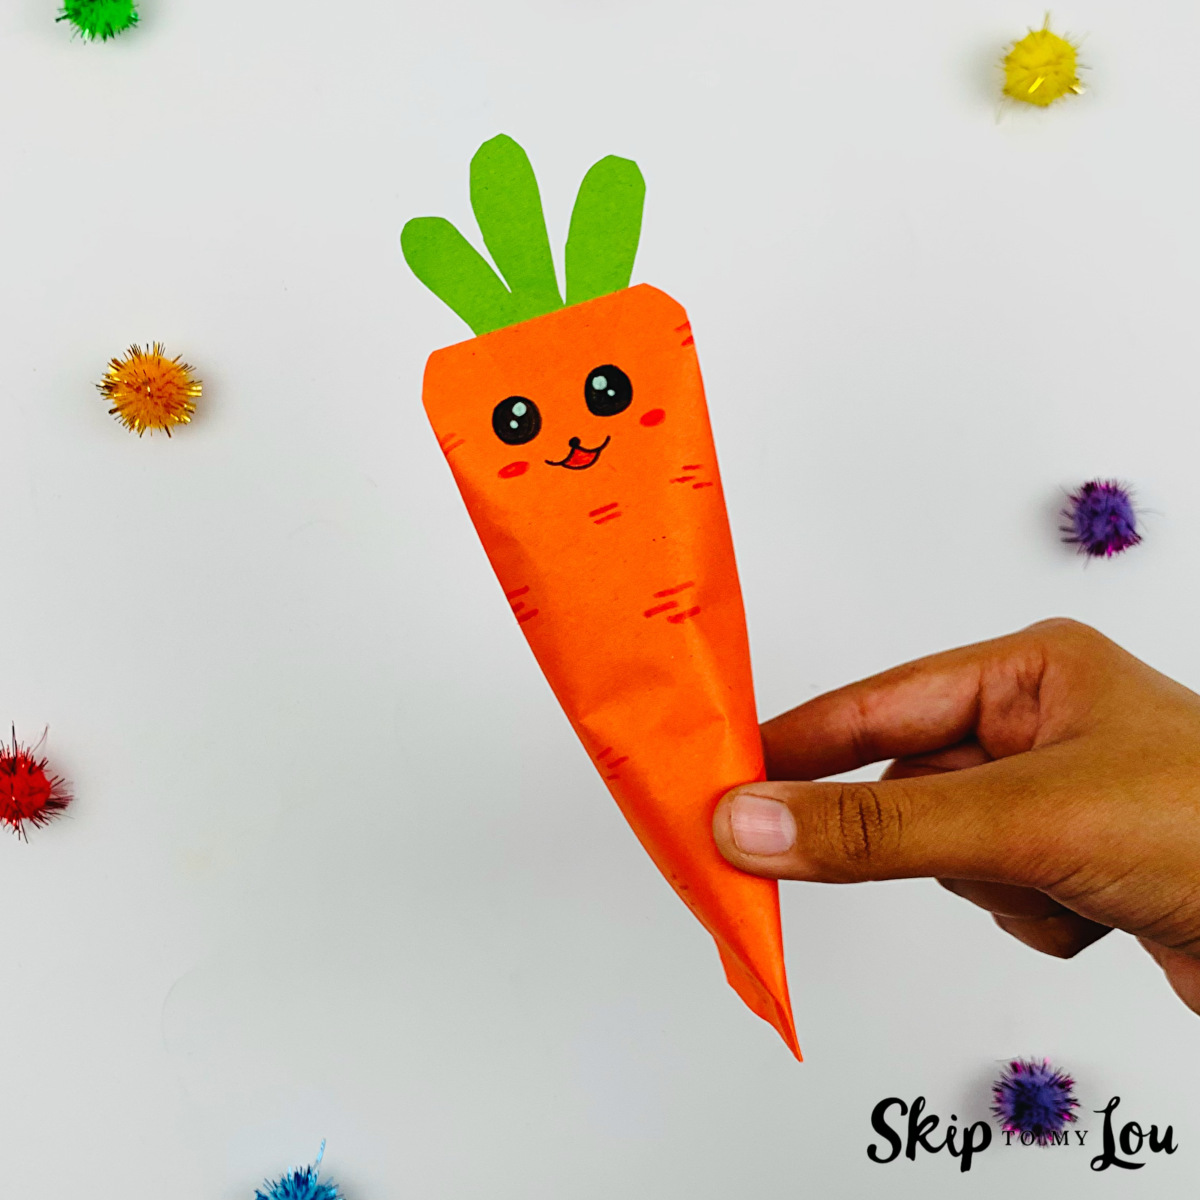
Looking for a fun and simple Easter craft that doubles as a treat holder? This easy carrot paper craft is perfect for both kids and adults! With just a square of orange and green paper and a few quick folds, you’ll create the cutest carrot-shaped treat container—perfect for filling with jelly beans, chocolate eggs, or little surprises. It’s a great craft for Easter baskets, springtime party favors, classroom activities, or adding a handmade touch to your holiday table. Best of all, it’s mess-free, budget-friendly, and makes a big impact with minimal effort!
Related: Want to show you carrot a lot? 🥕 Grab these cute “I Carrot for You” gift tags and attach them to your paper carrot holder for a punny little treat. These are great for teachers, classmates, coworkers, or anyone who could use a smile.
These cute carrot treat holders also make adorable Easter dinner plate favors and festive decorations for the kids’ table. Just set one at each place setting to add a cheerful pop of color and a sweet surprise! They’re a charming way to make guests feel special. You might also love these felt bunny treat bags—another simple Easter idea that’s easy to make, fun to fill, and sure to delight!
What You Need to Make Easter Carrot Treat Holders
You’ll need:
- A square sheet of orange origami paper (about 6×6 inches)
- A small strip of green paper for the carrot top (you can also use green ribbon or washi tape)
- Glue
- Pencil
- A pair of scissors
- Colored pens
- Treats
Watch How to Make These Adorable Carrot Treat Holders
Easy DIY Instructions for Carrot-Shaped Easter Treat Holders
This project only takes a few minutes, making it perfect for classroom or group activities. Plus, the final result is adorable!
Step 1: Start with a piece of orange paper. 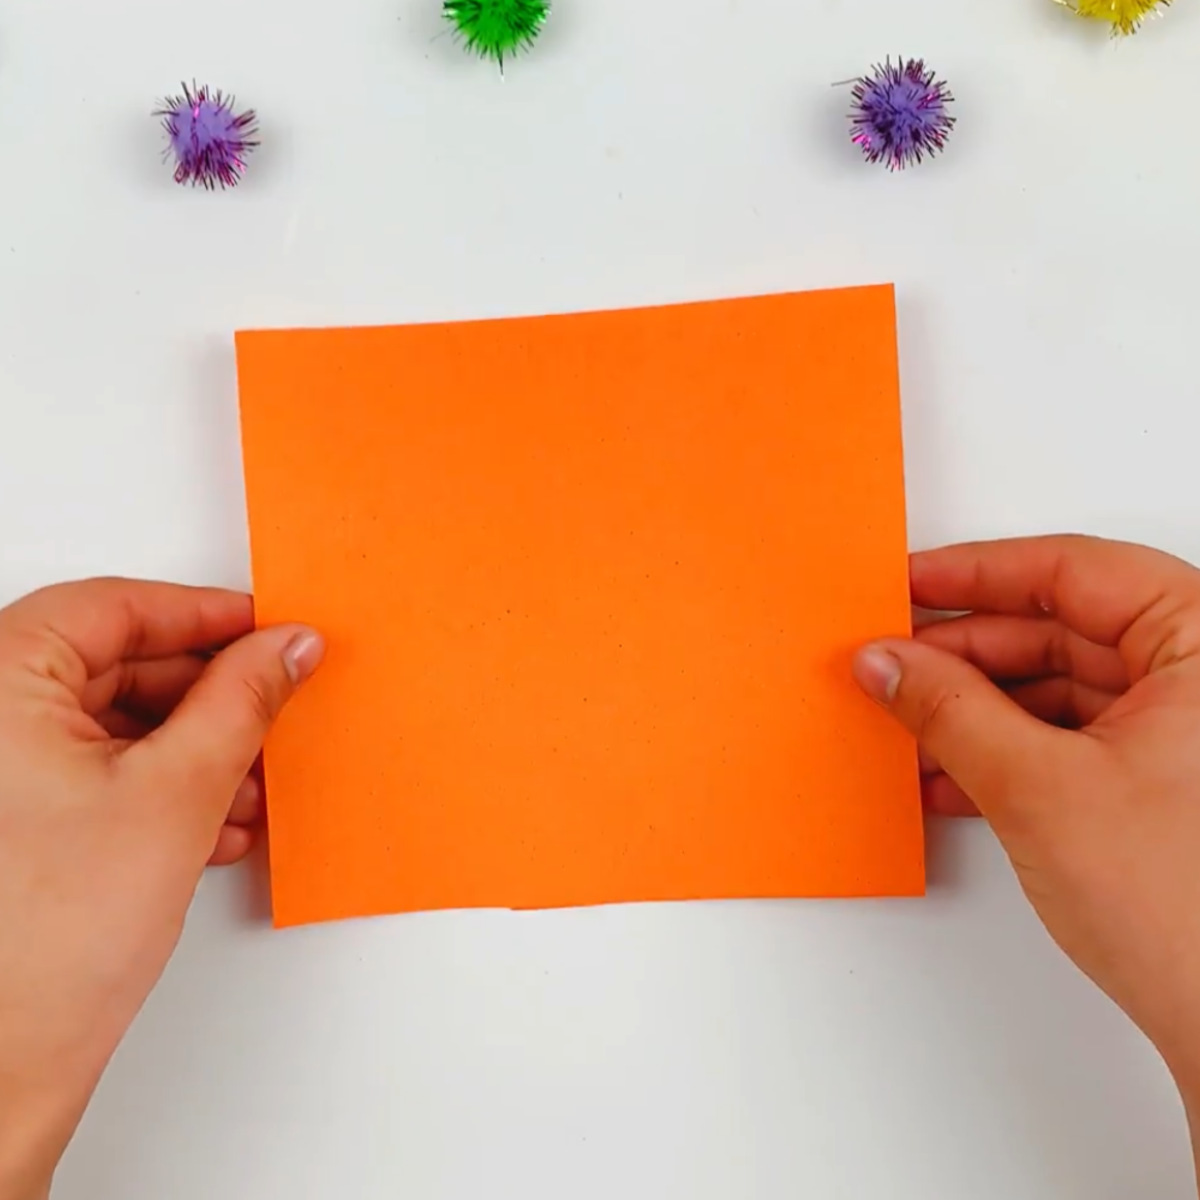
Step 2: Fold the right-hand side over, and apply some glue.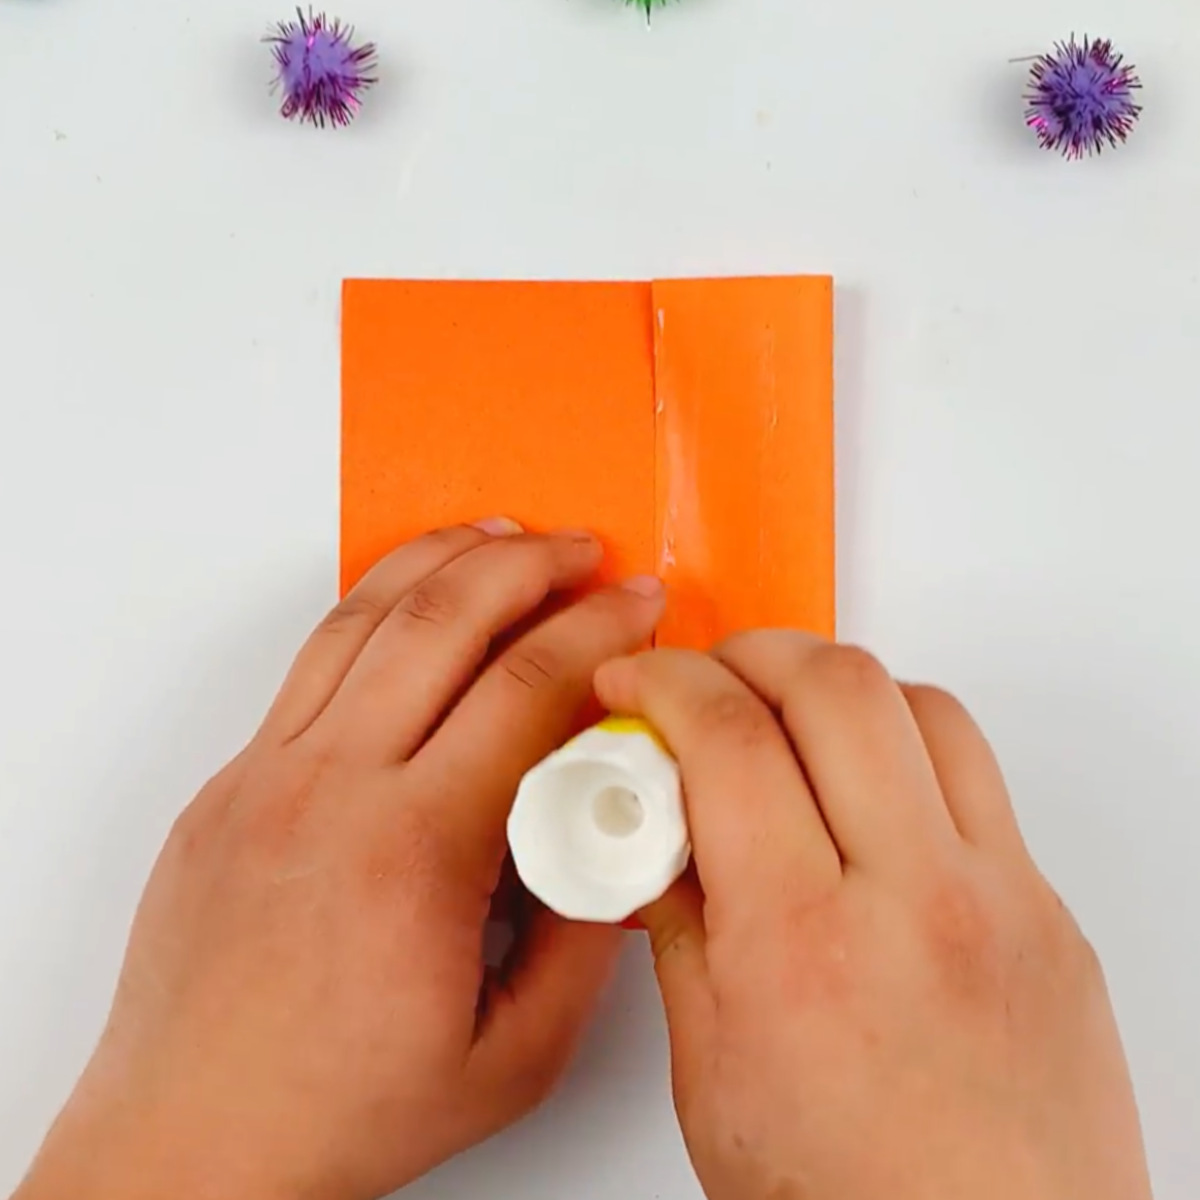
Step 3: Now stick the left-hand side to form a cylinder and set aside. 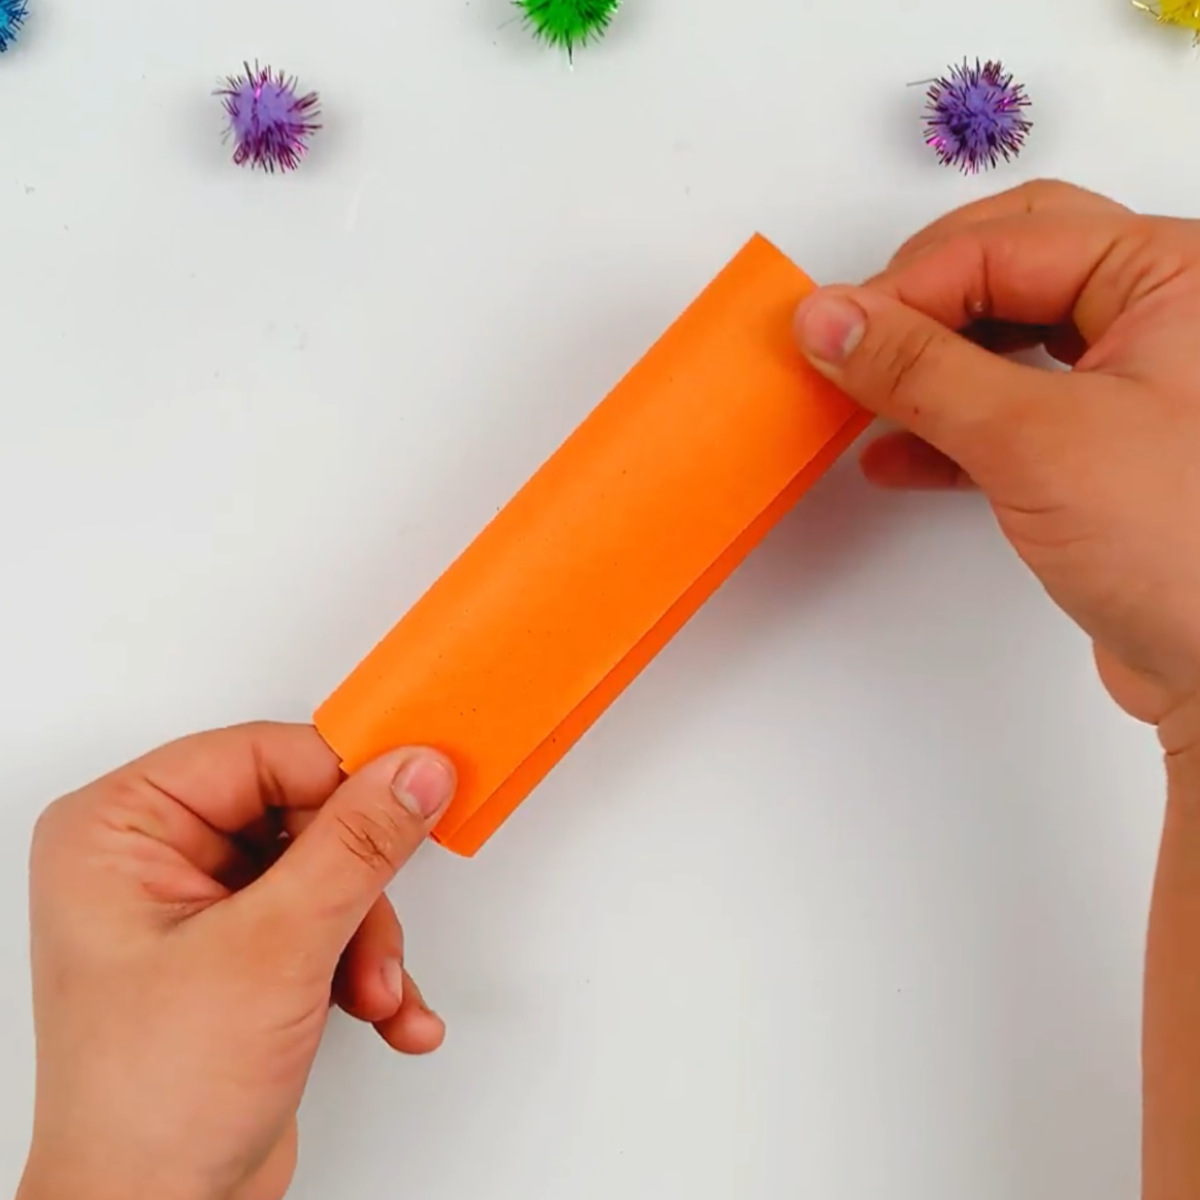
Step 4: Take the green paper, and using a pencil, draw the outline of the top of the carrot.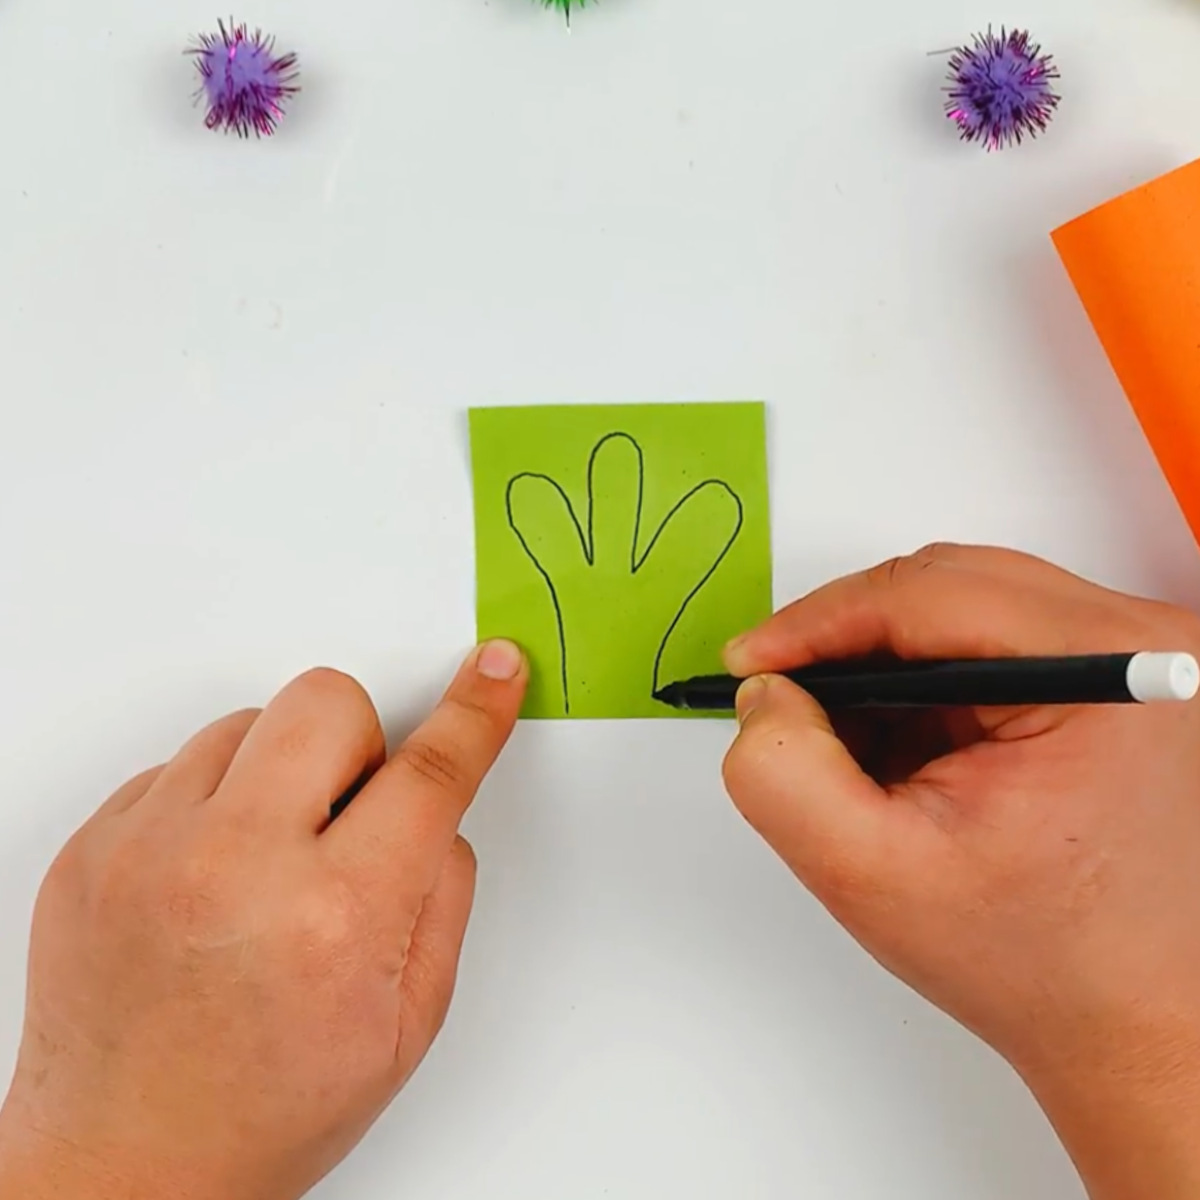
Step 5: Cut out the top section of the carrot using a pair of scissors. 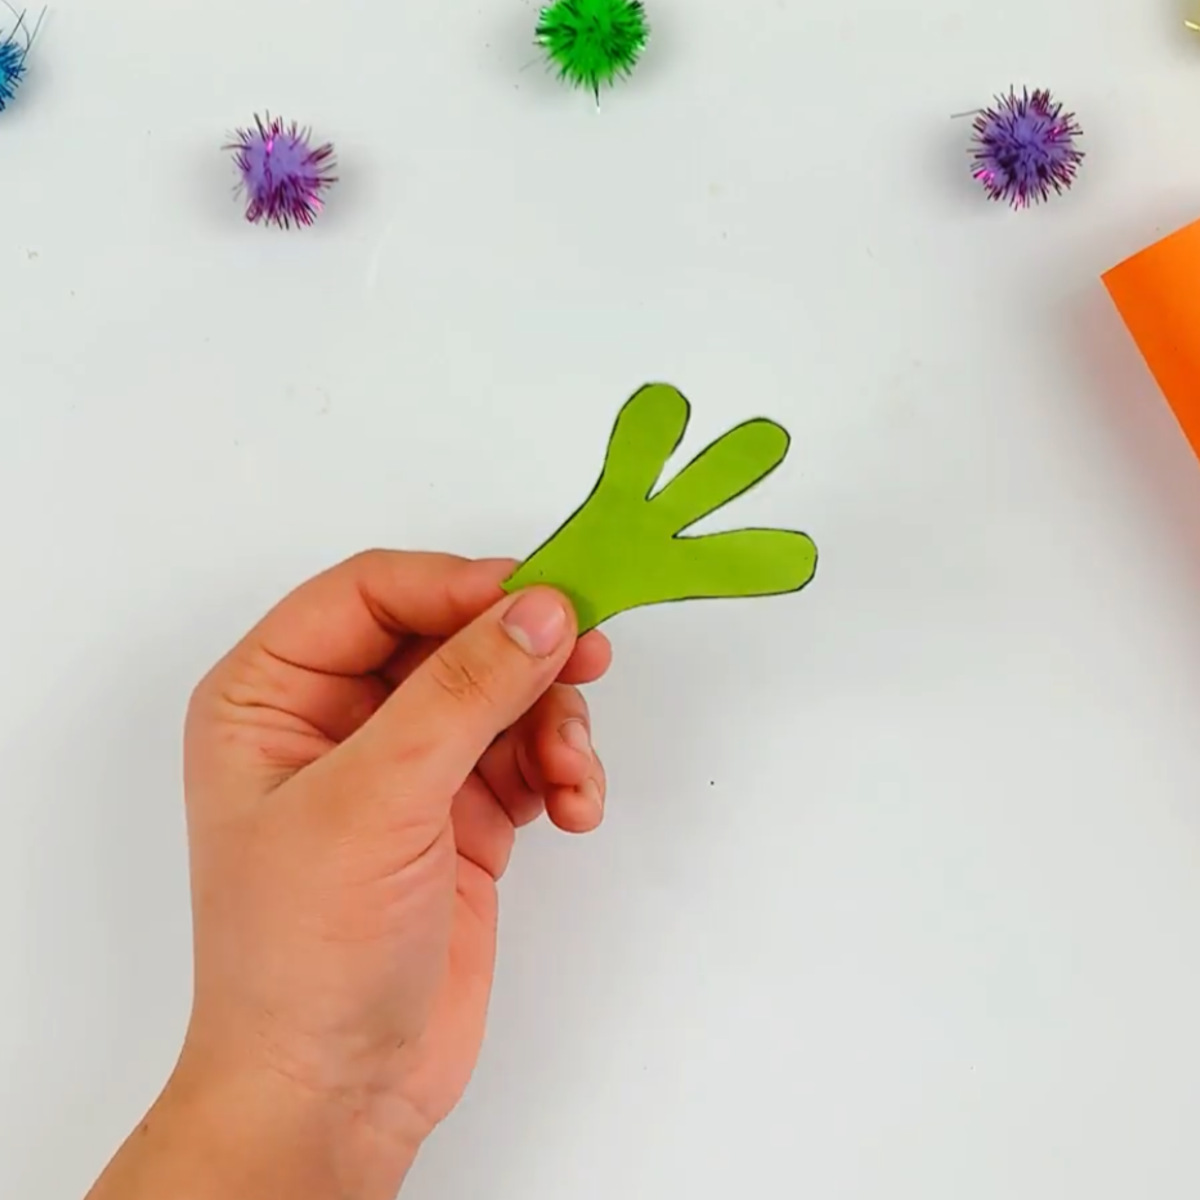
Step 6: Apply some glue to the top section and stick it on the inside of the orange cylinder at the top.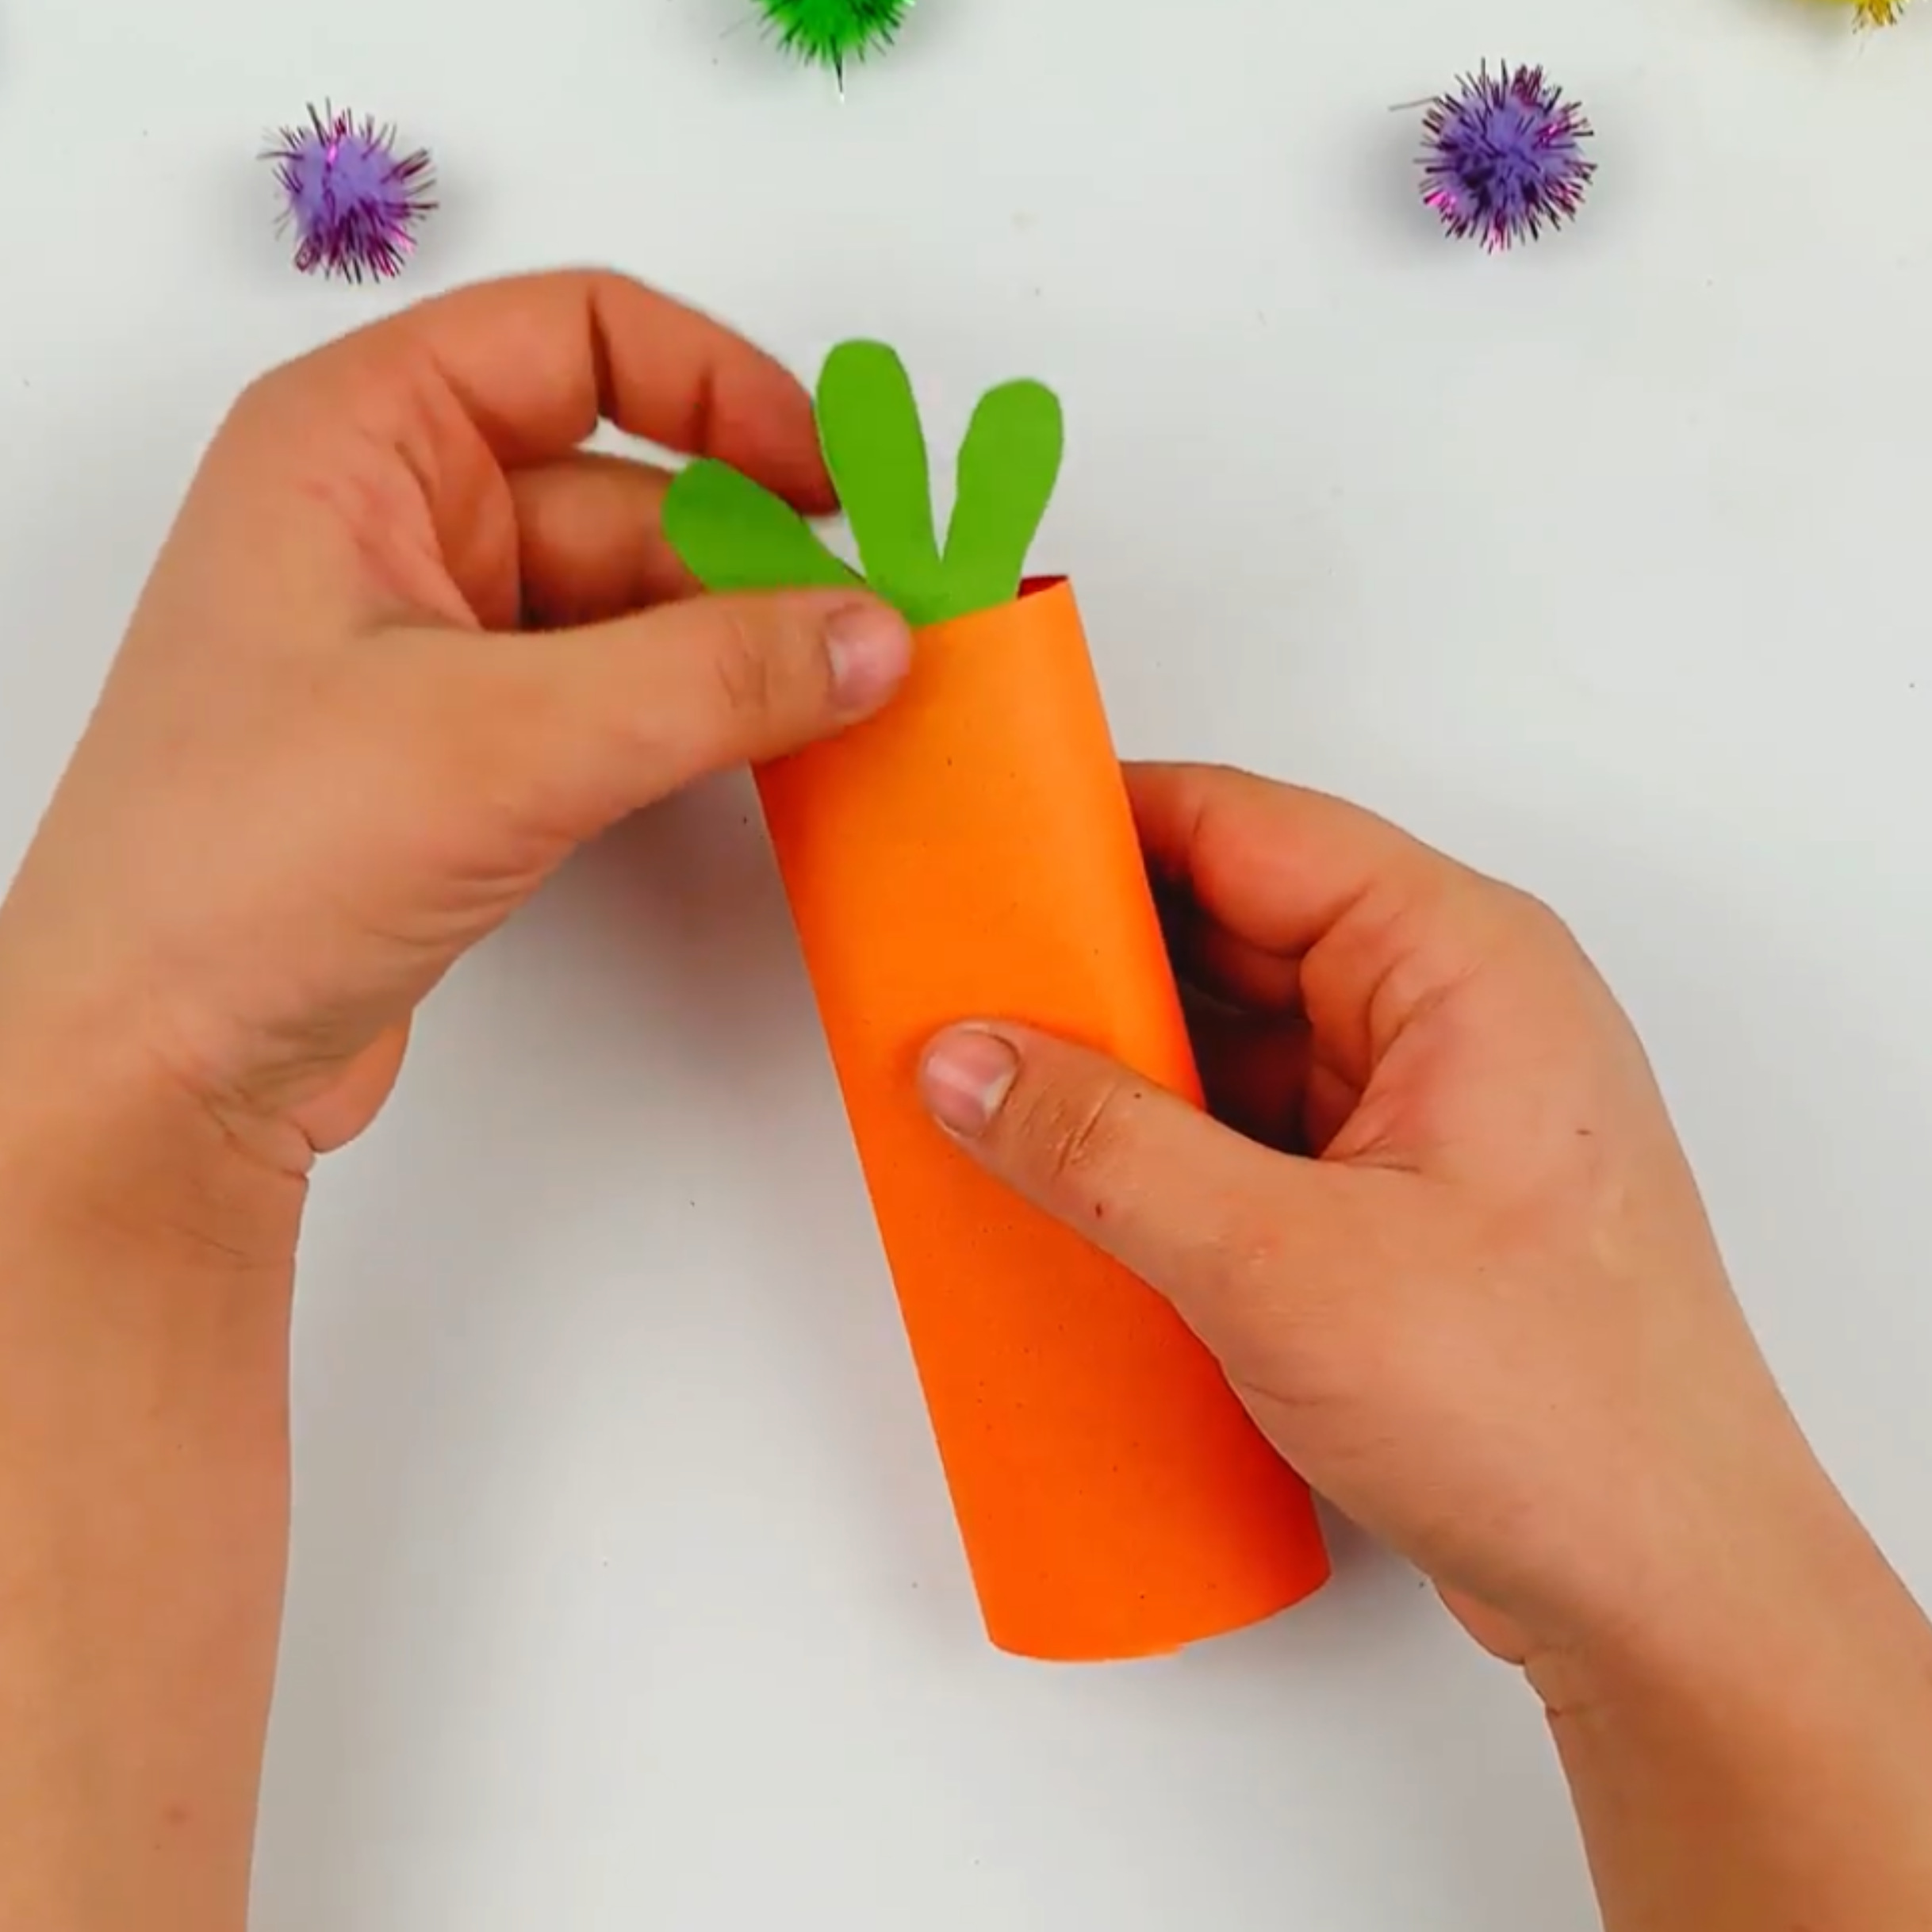
Step 7: Flatten the top section of the carrot and, using a black marker, draw on the face. 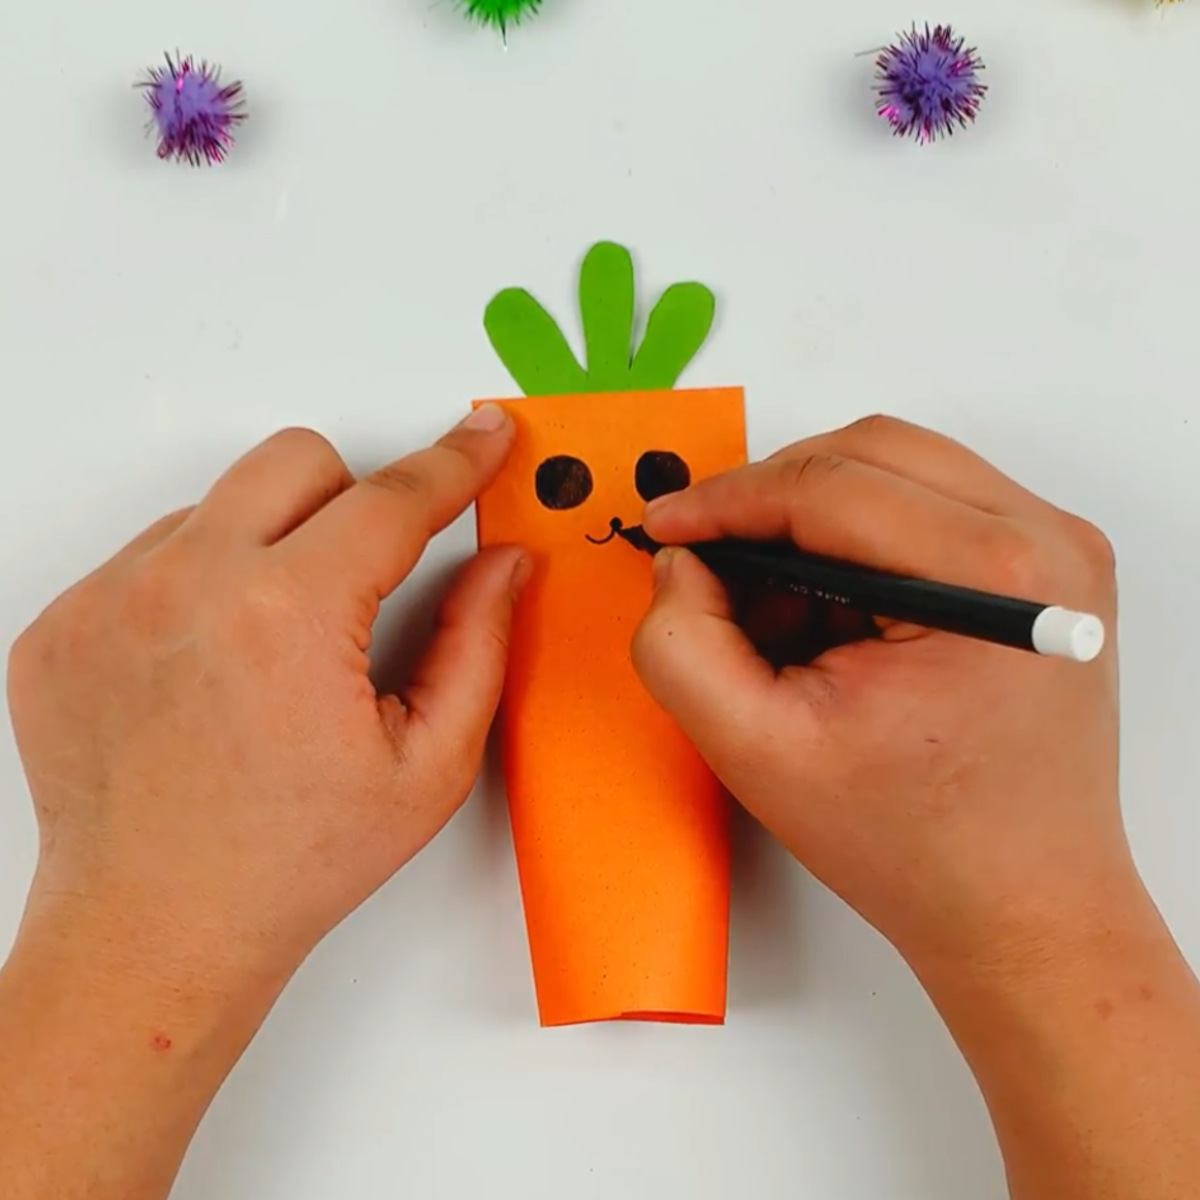
Step 8: Continue to decorate the carrot using colored pens. 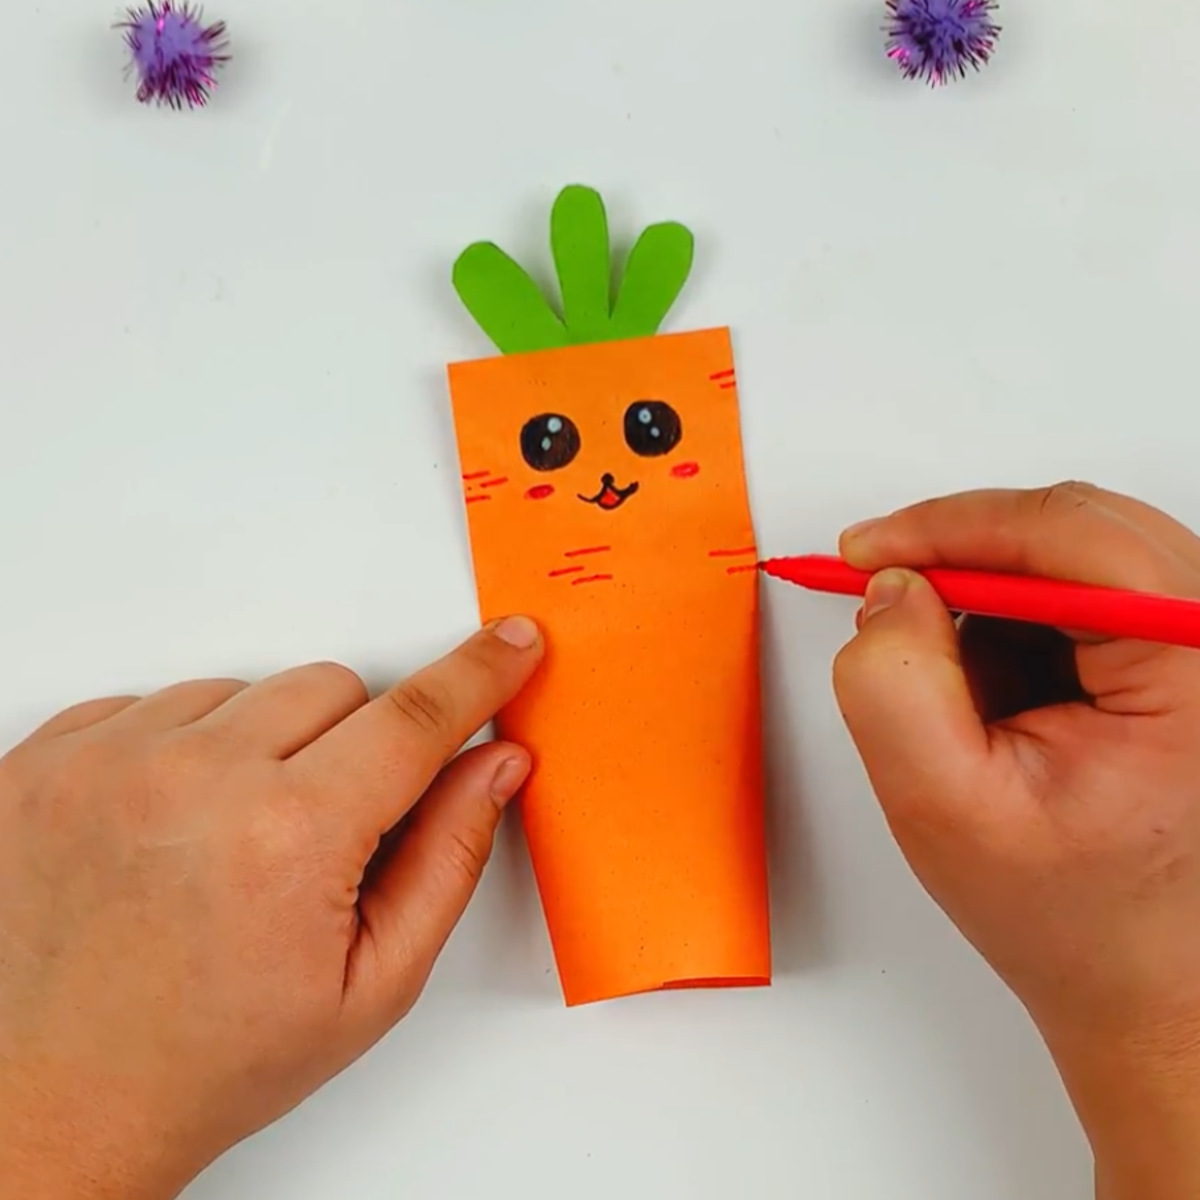
Step 9: Fill the carrot. We have used these colored balls, but you’ll want to add small treats and sweets. 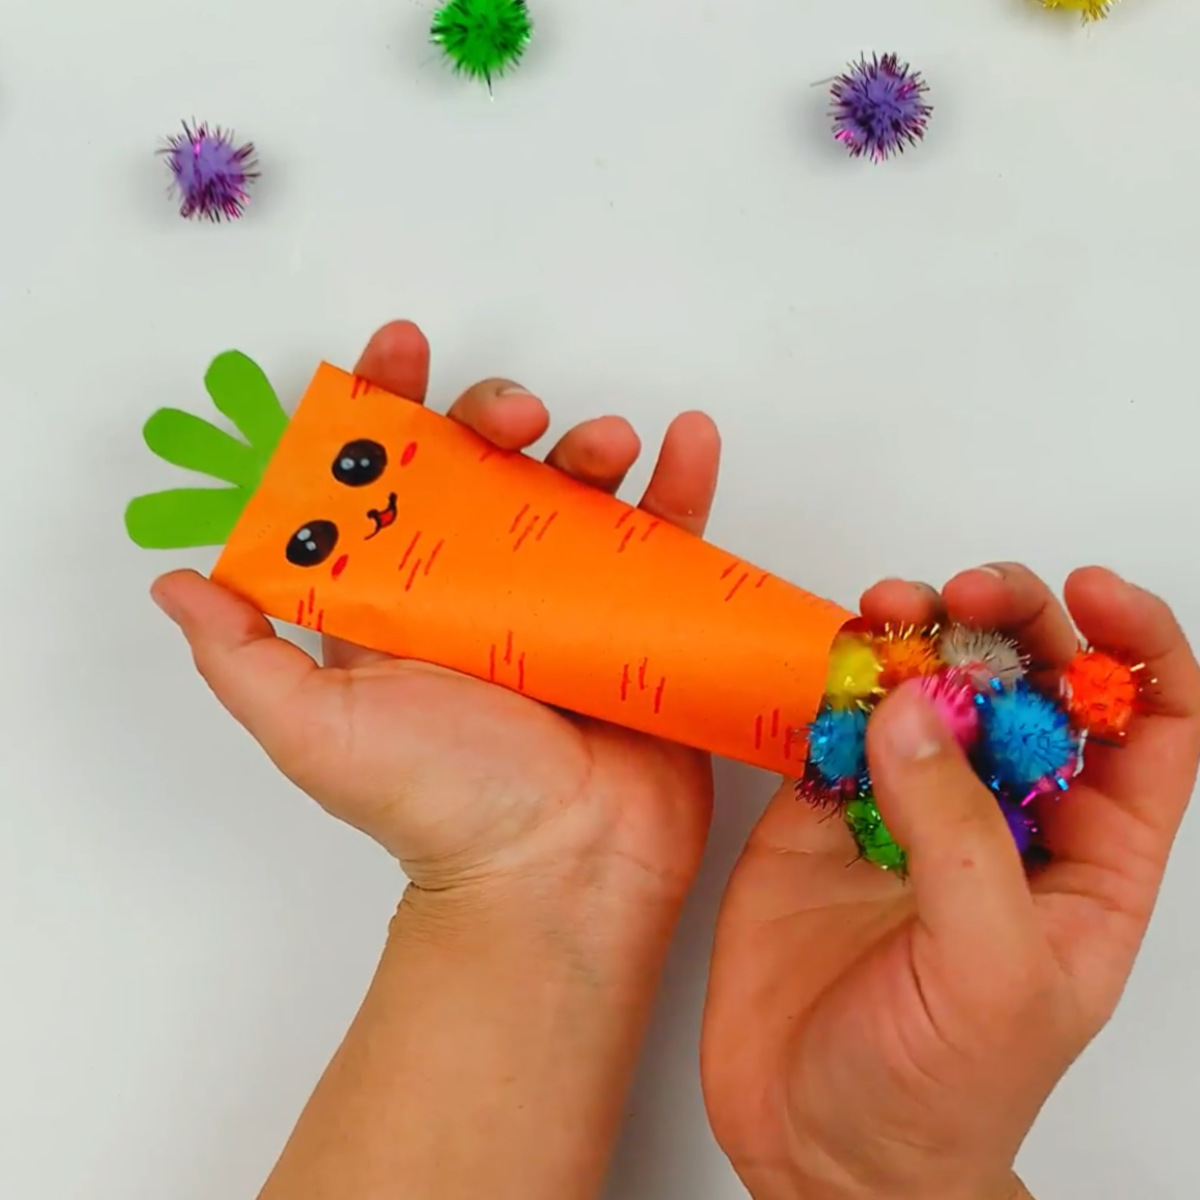
Step 10: Now, glue the bottom of the carrot closed.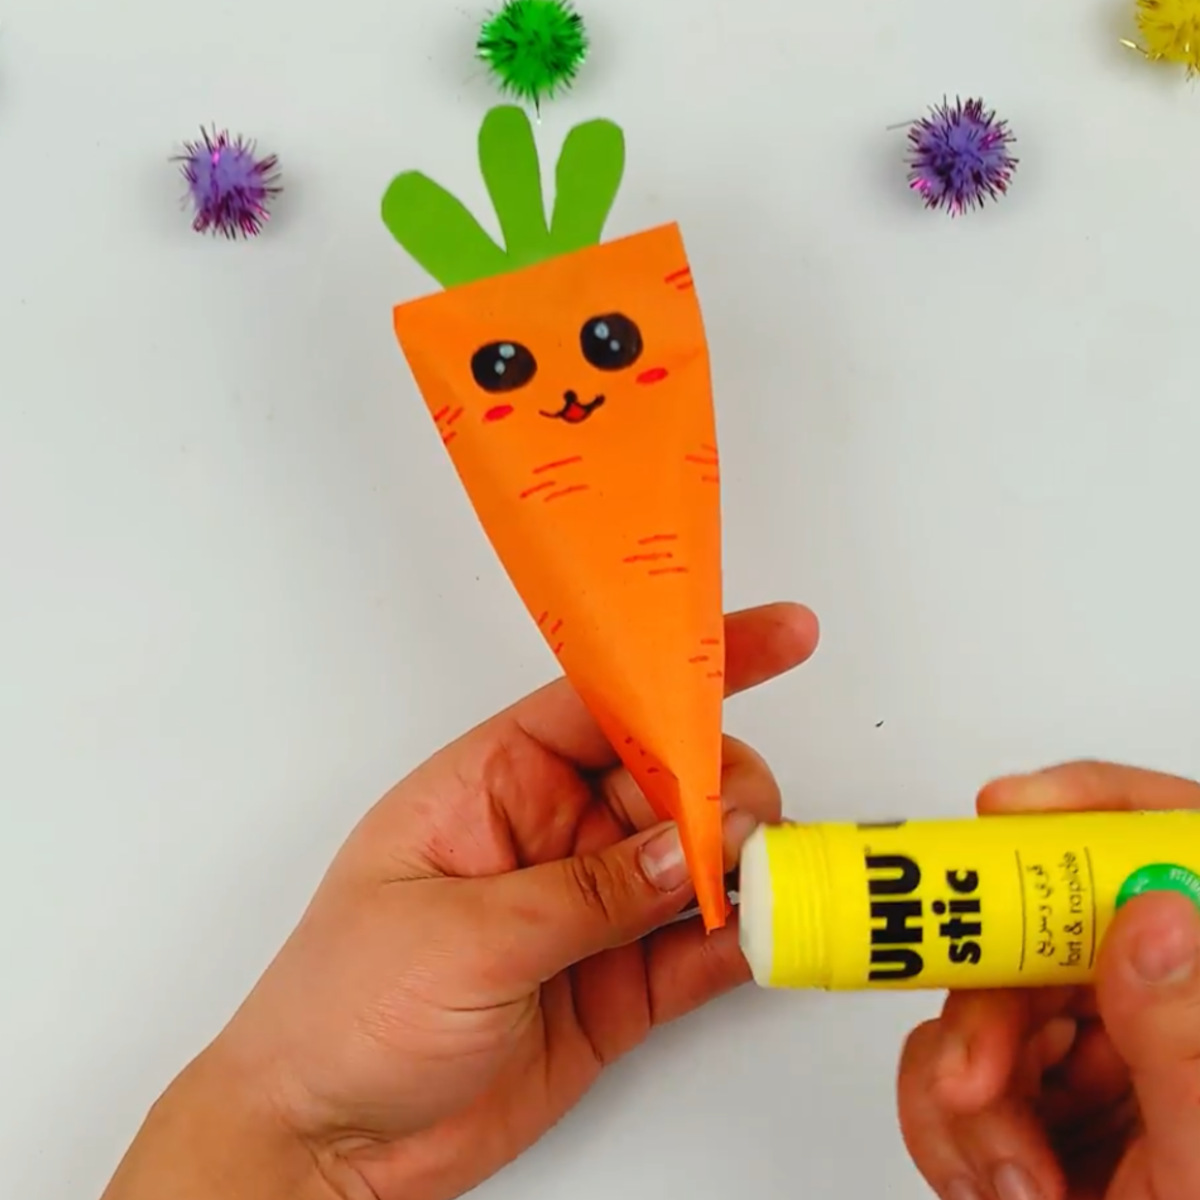
Your origami carrot is complete!

More Fun Spring & Easter Crafts
- Crochet Carrot Basket: Just a few bits of yarn and this free pattern helps you stitch up the cutest carrot-shaped basket.
- Felt Carrot Pencil Holder: Make your kids’ Easter table extra fun with these easy holders. Pair them with bunny coloring pages and Easter Placemats for the ultimate setup.
- Share a Laugh with These Food Jokes: Add a giggle to your celebration with kid-friendly, carrot-inspired puns and more!
- Make this cute Paper Plate Bunny Basket!
- Or try this “I Carrot About You” Planter with Chocolate Surprise!
I would love to keep you fully stocked with creative ideas, yummy recipes, fun crafts, and loads of free printables. Subscribe to Skip to my Lou to get new ideas delivered to your inbox. Follow me on Facebook, Pinterest, Twitter, and Instagram for all my latest updates.


