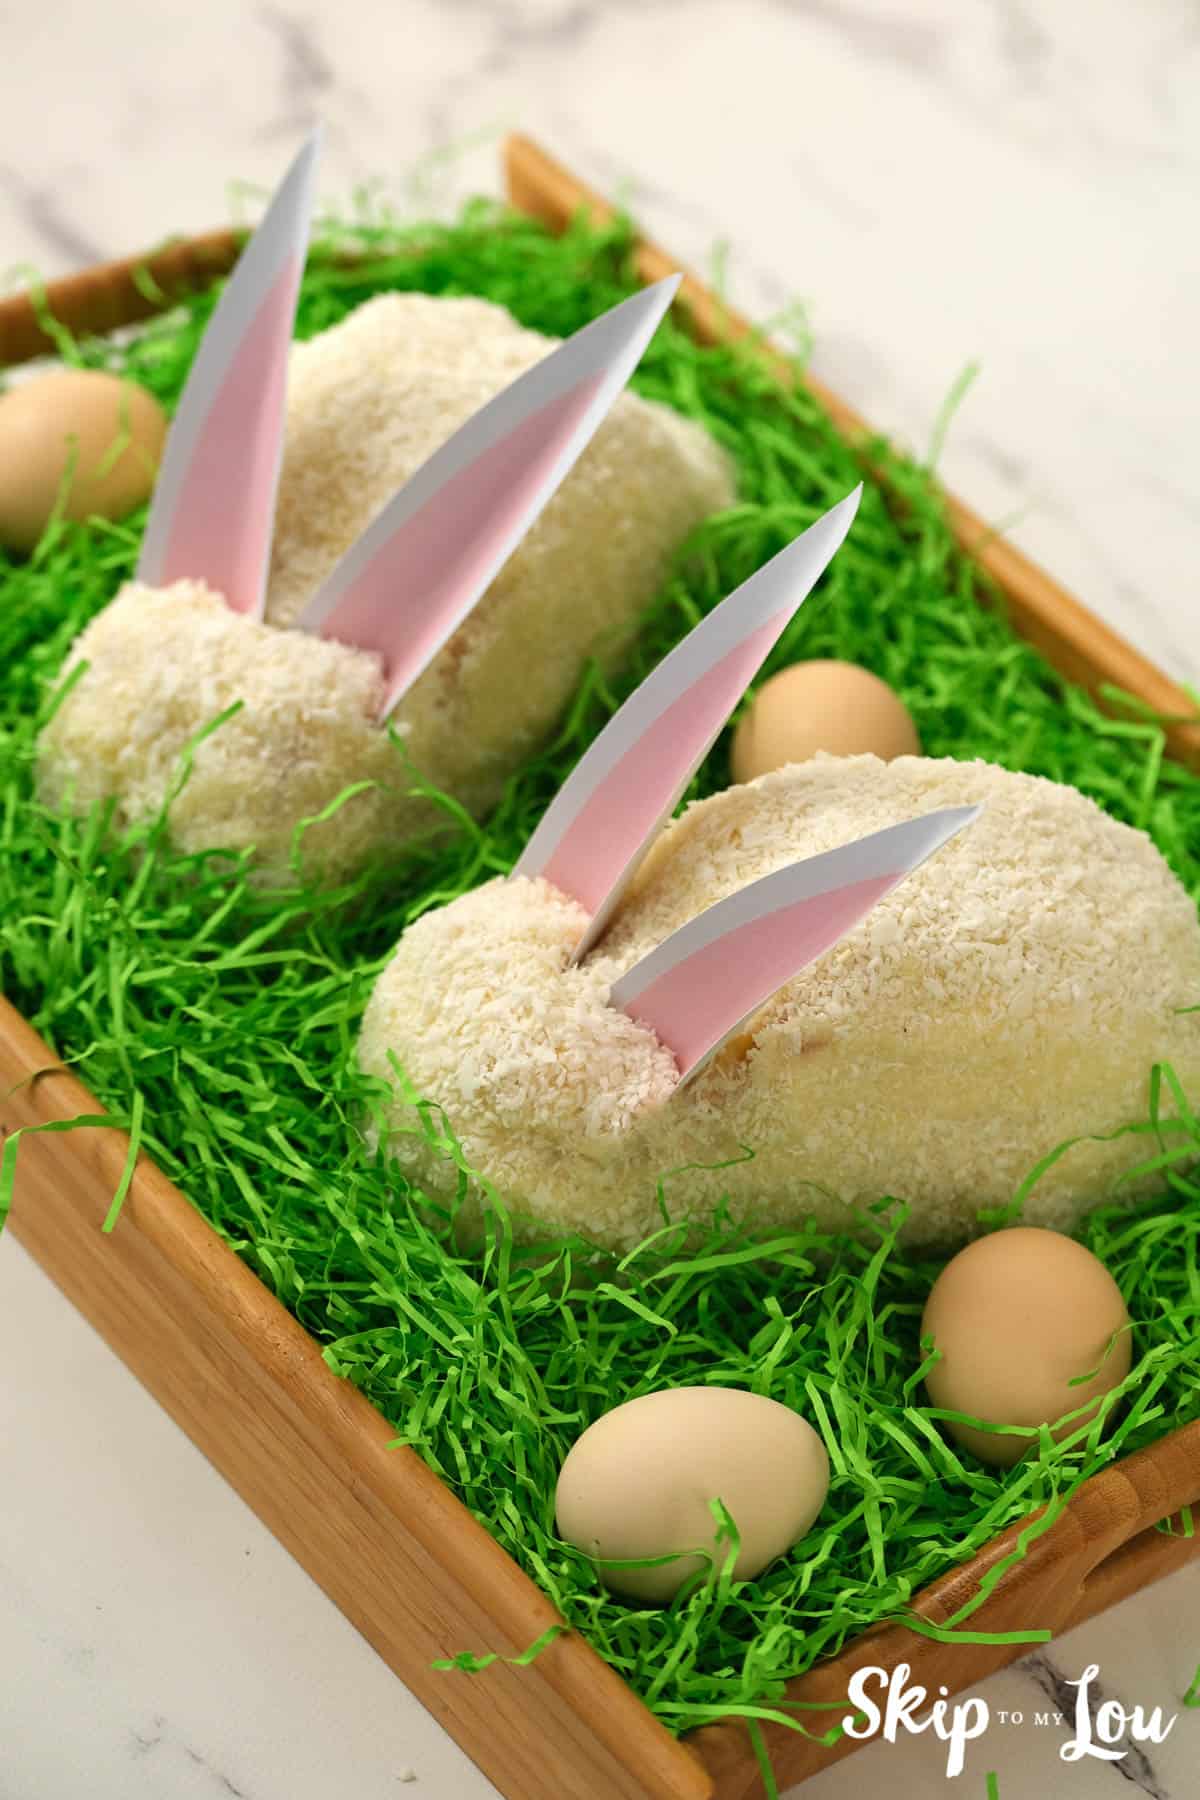
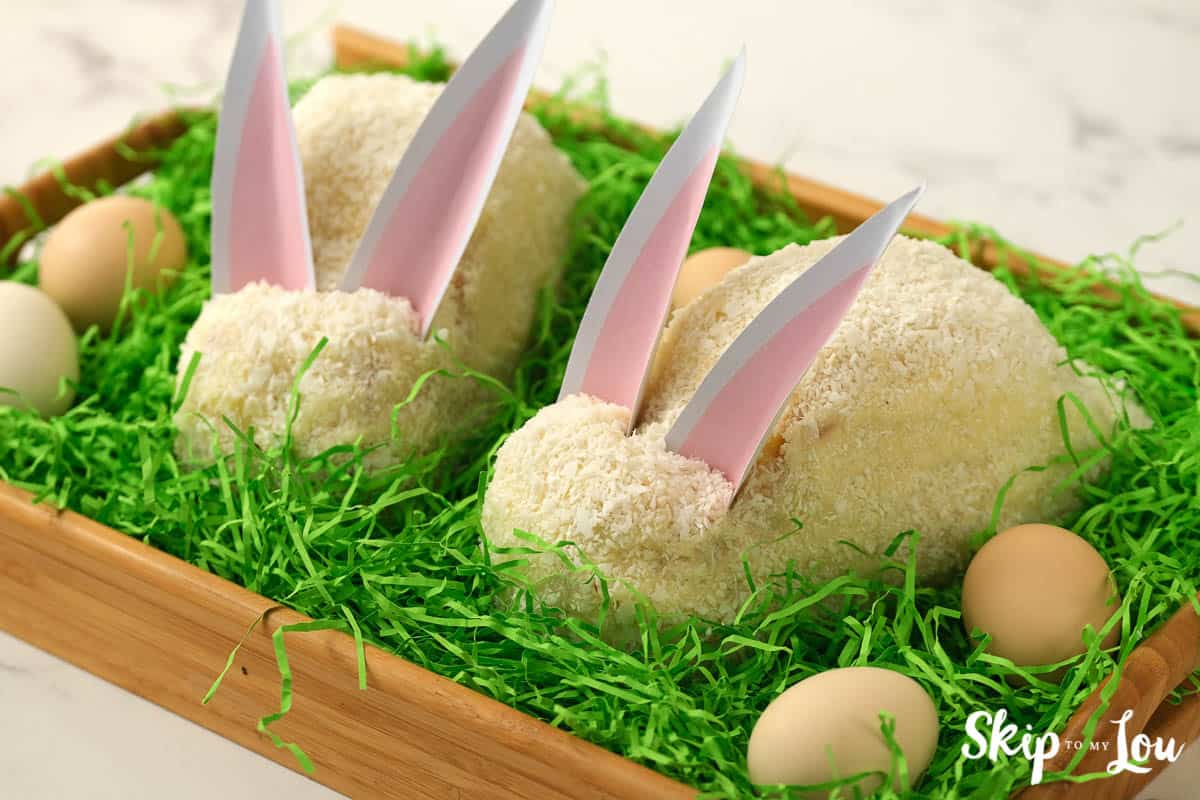
Hop into Easter with the cutest dessert that doubles as decor—Sitting Bunny Cakes! These charming bunny-shaped cakes are made from just one cake mix and two cans of store-bought frosting, making them the easiest Easter dessert you’ll ever make. Whether you’re hosting a brunch, planning an Easter egg hunt, or simply want a sweet treat to celebrate the season, these bunny cakes are a festive and fun addition to your holiday table. With our free printable bunny ears and simple step-by-step instructions, you’ll be whipping up these adorable bunny cakes in no time. Perfect for kids and grown-ups alike!
Related: Here are 2 more delicious cake recipes to try. Lemon Bundt cake and Pumpkin Cinnamon Roll Skillet cake (gluten-free) will not disappoint!
For the Easter Bunny Cake Recipe You Will Need
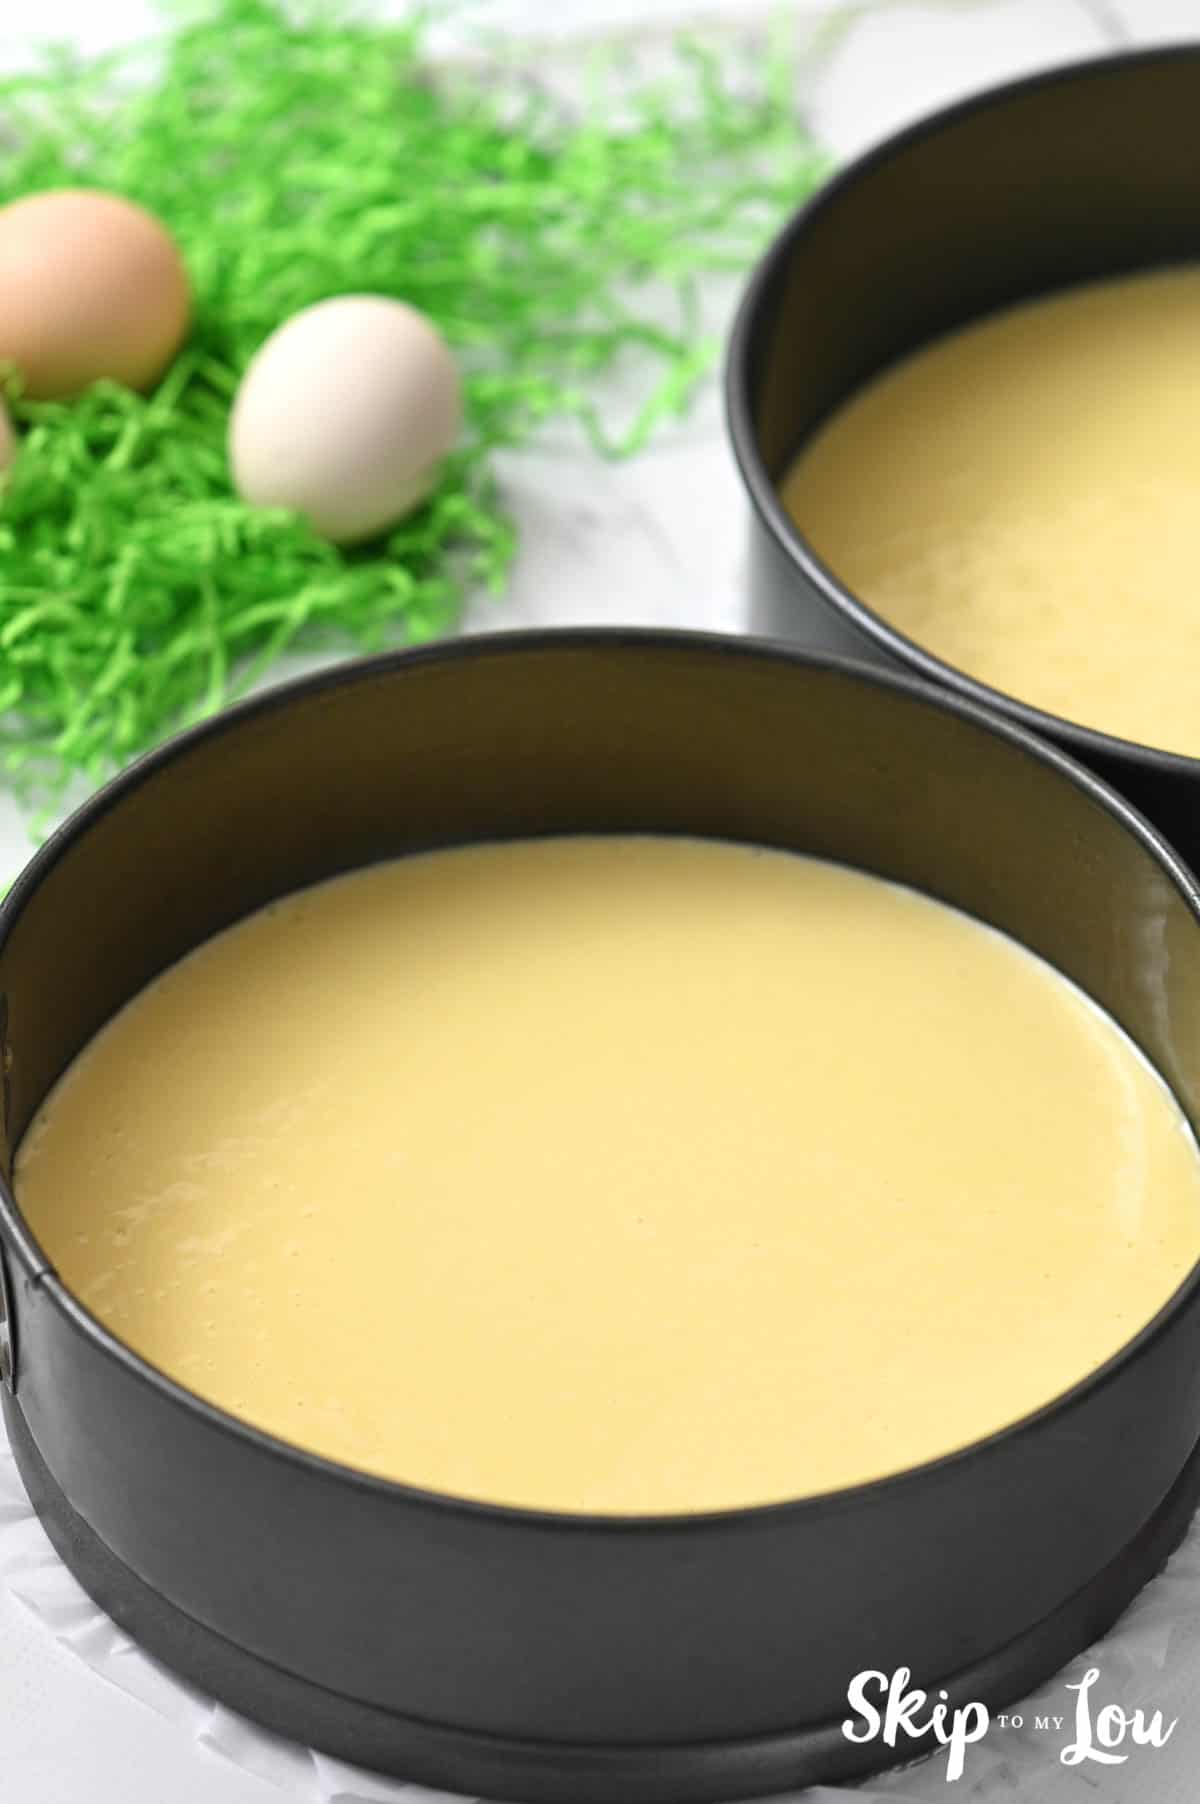
Just round up 2 round cake pans, a serrated knife, and a large serving tray and the following simple ingredients and you’ll be ready to bake!
- Your favorite recipe or box mix
- Your favorite frosting
- Coconut (optional)
How to Make a Sitting Bunny Cake
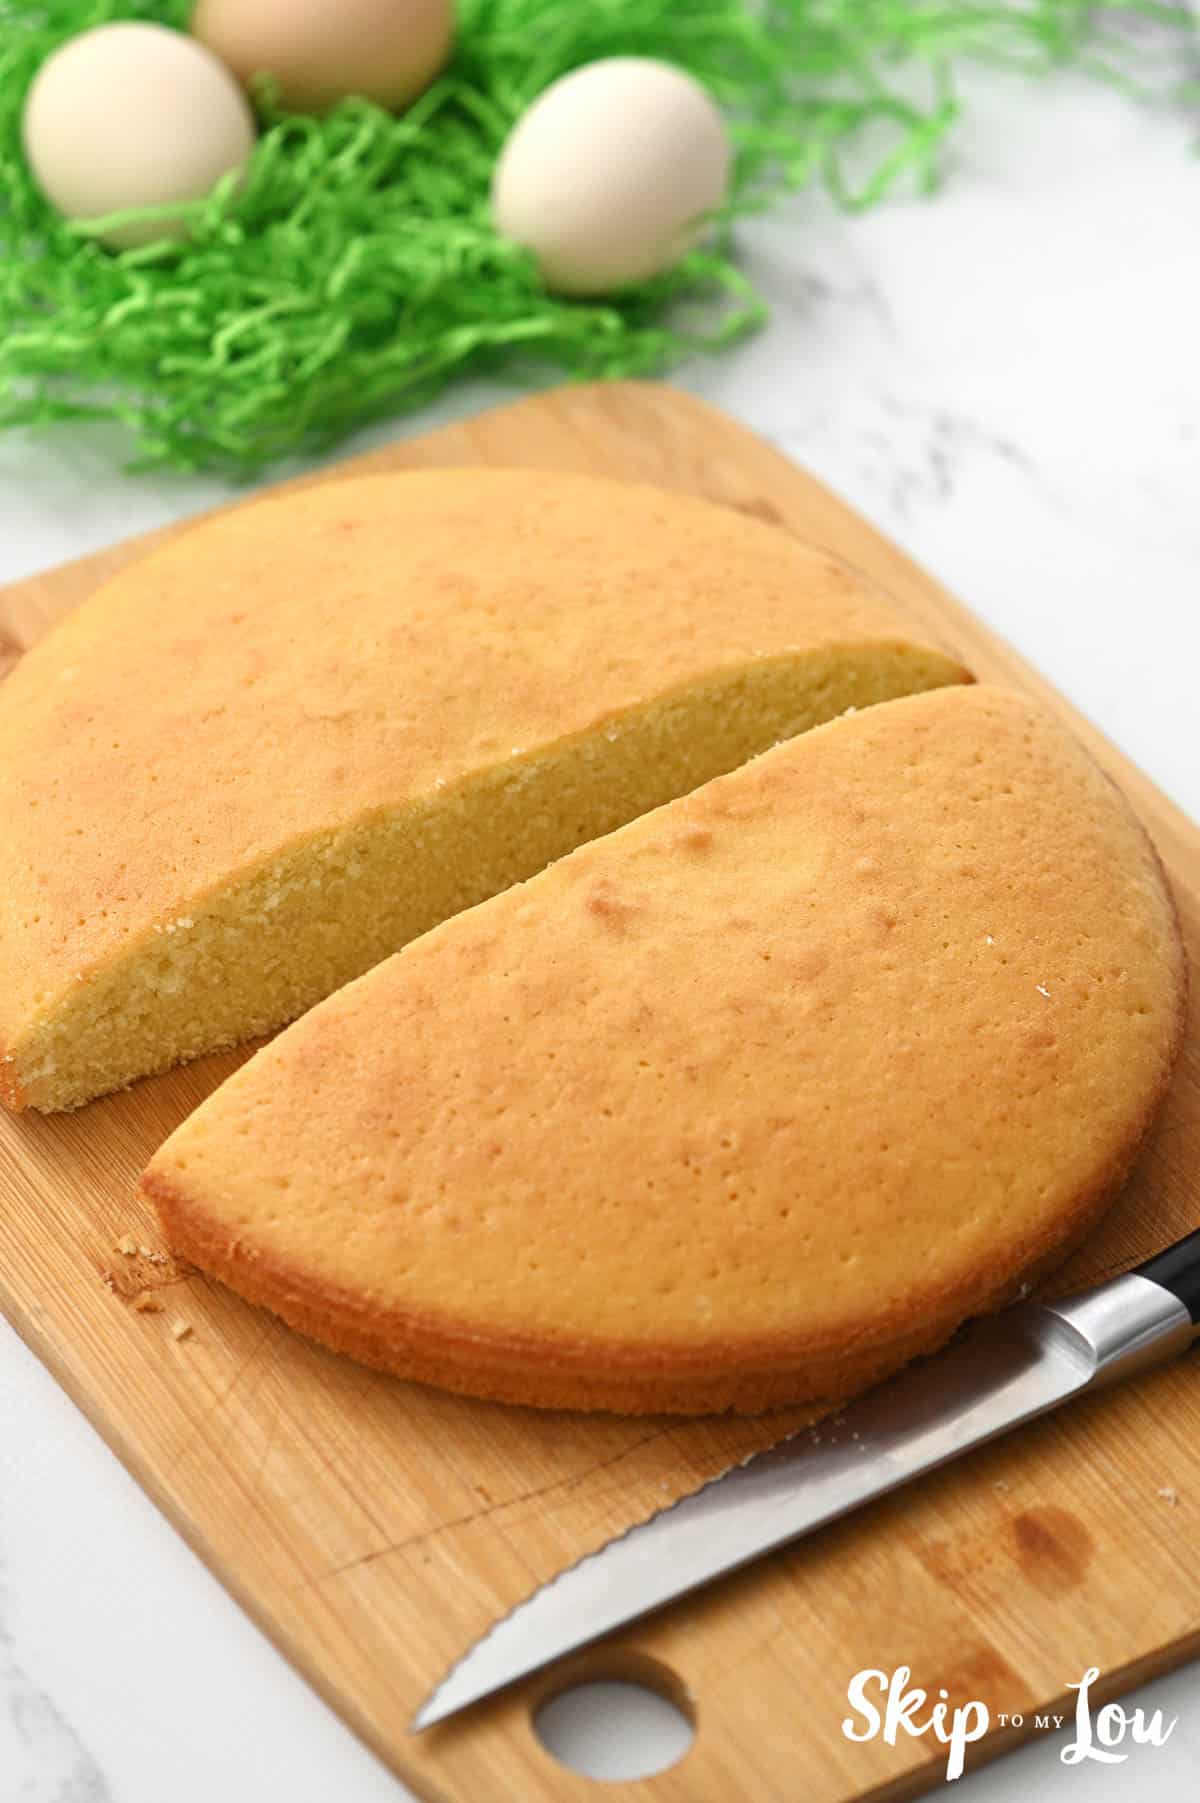
Step 1
After baking the cake, slice it in half and turn it over.
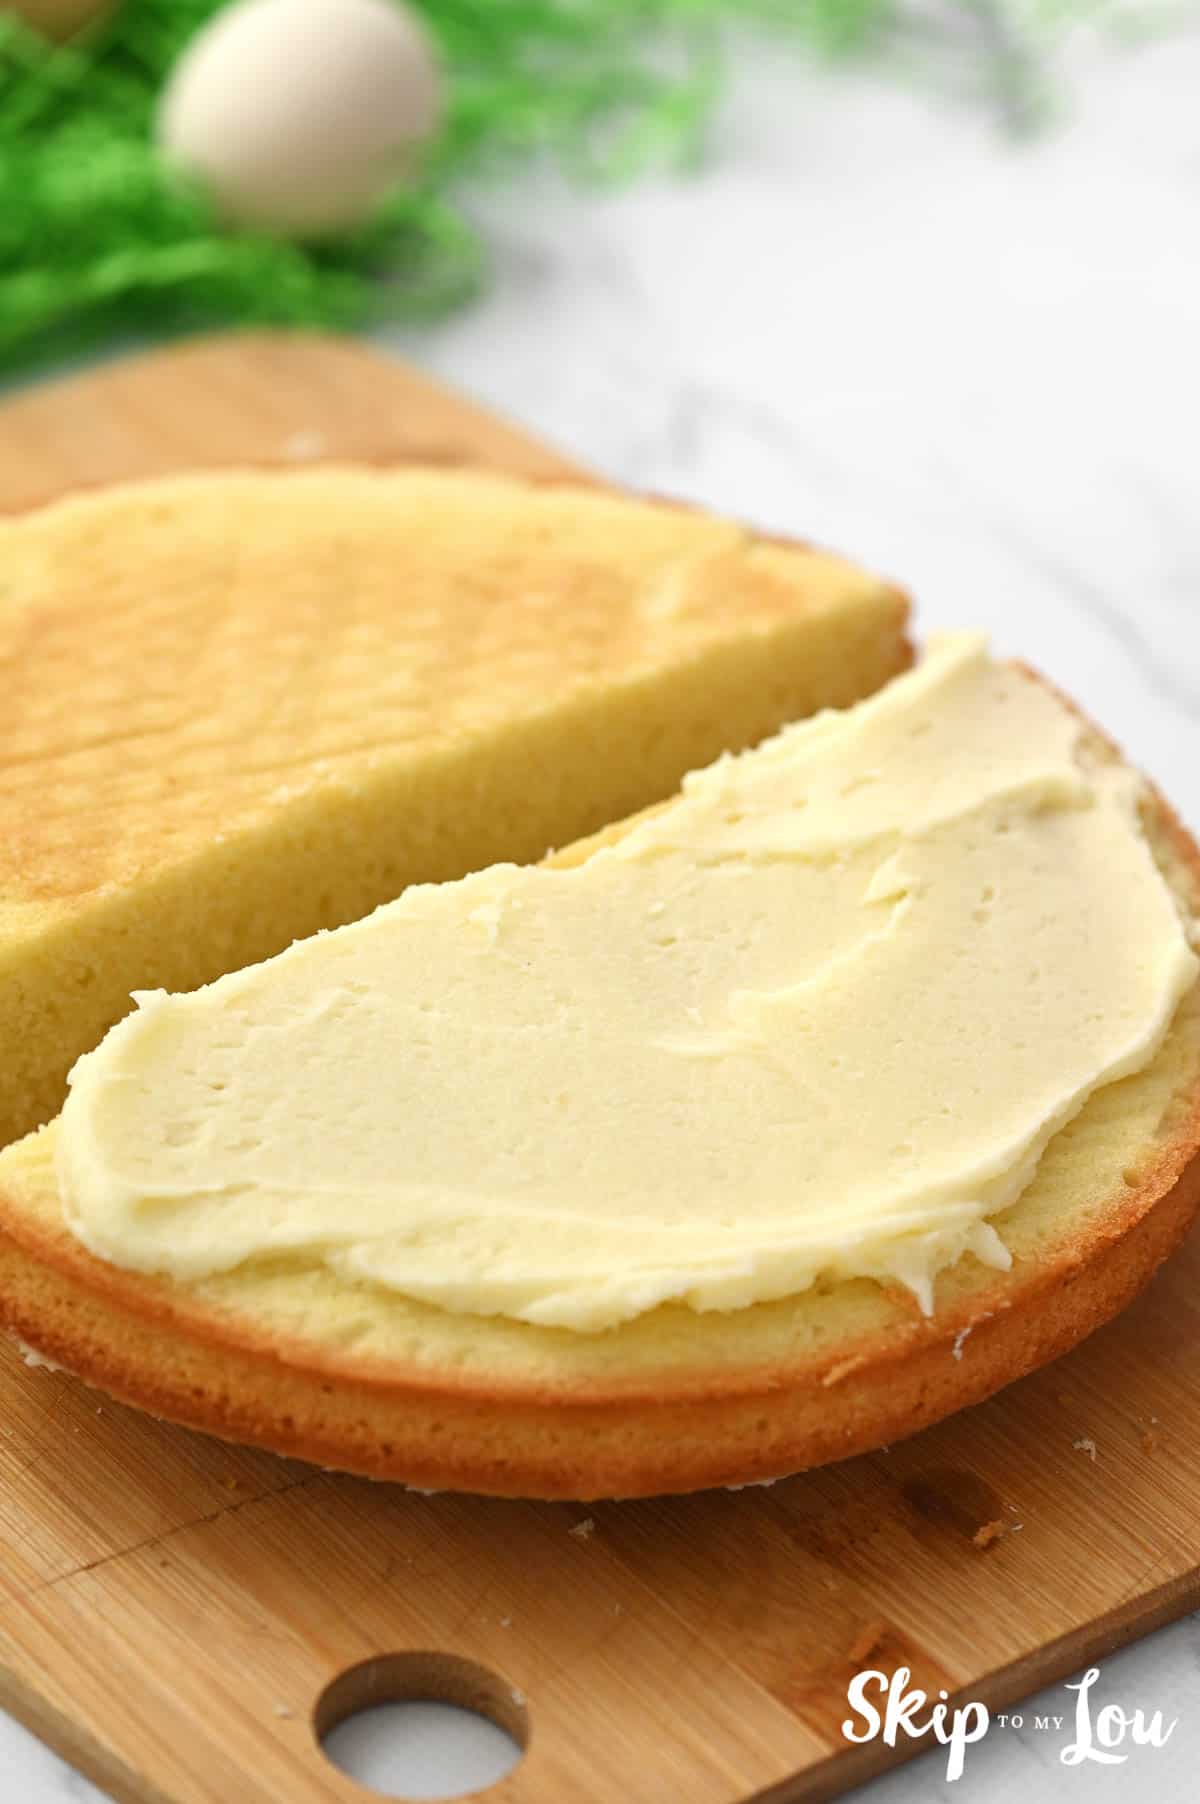
Step 2
Now that the cake is turned over, add your vanilla or favorite frosting on one of the sides of the cake.
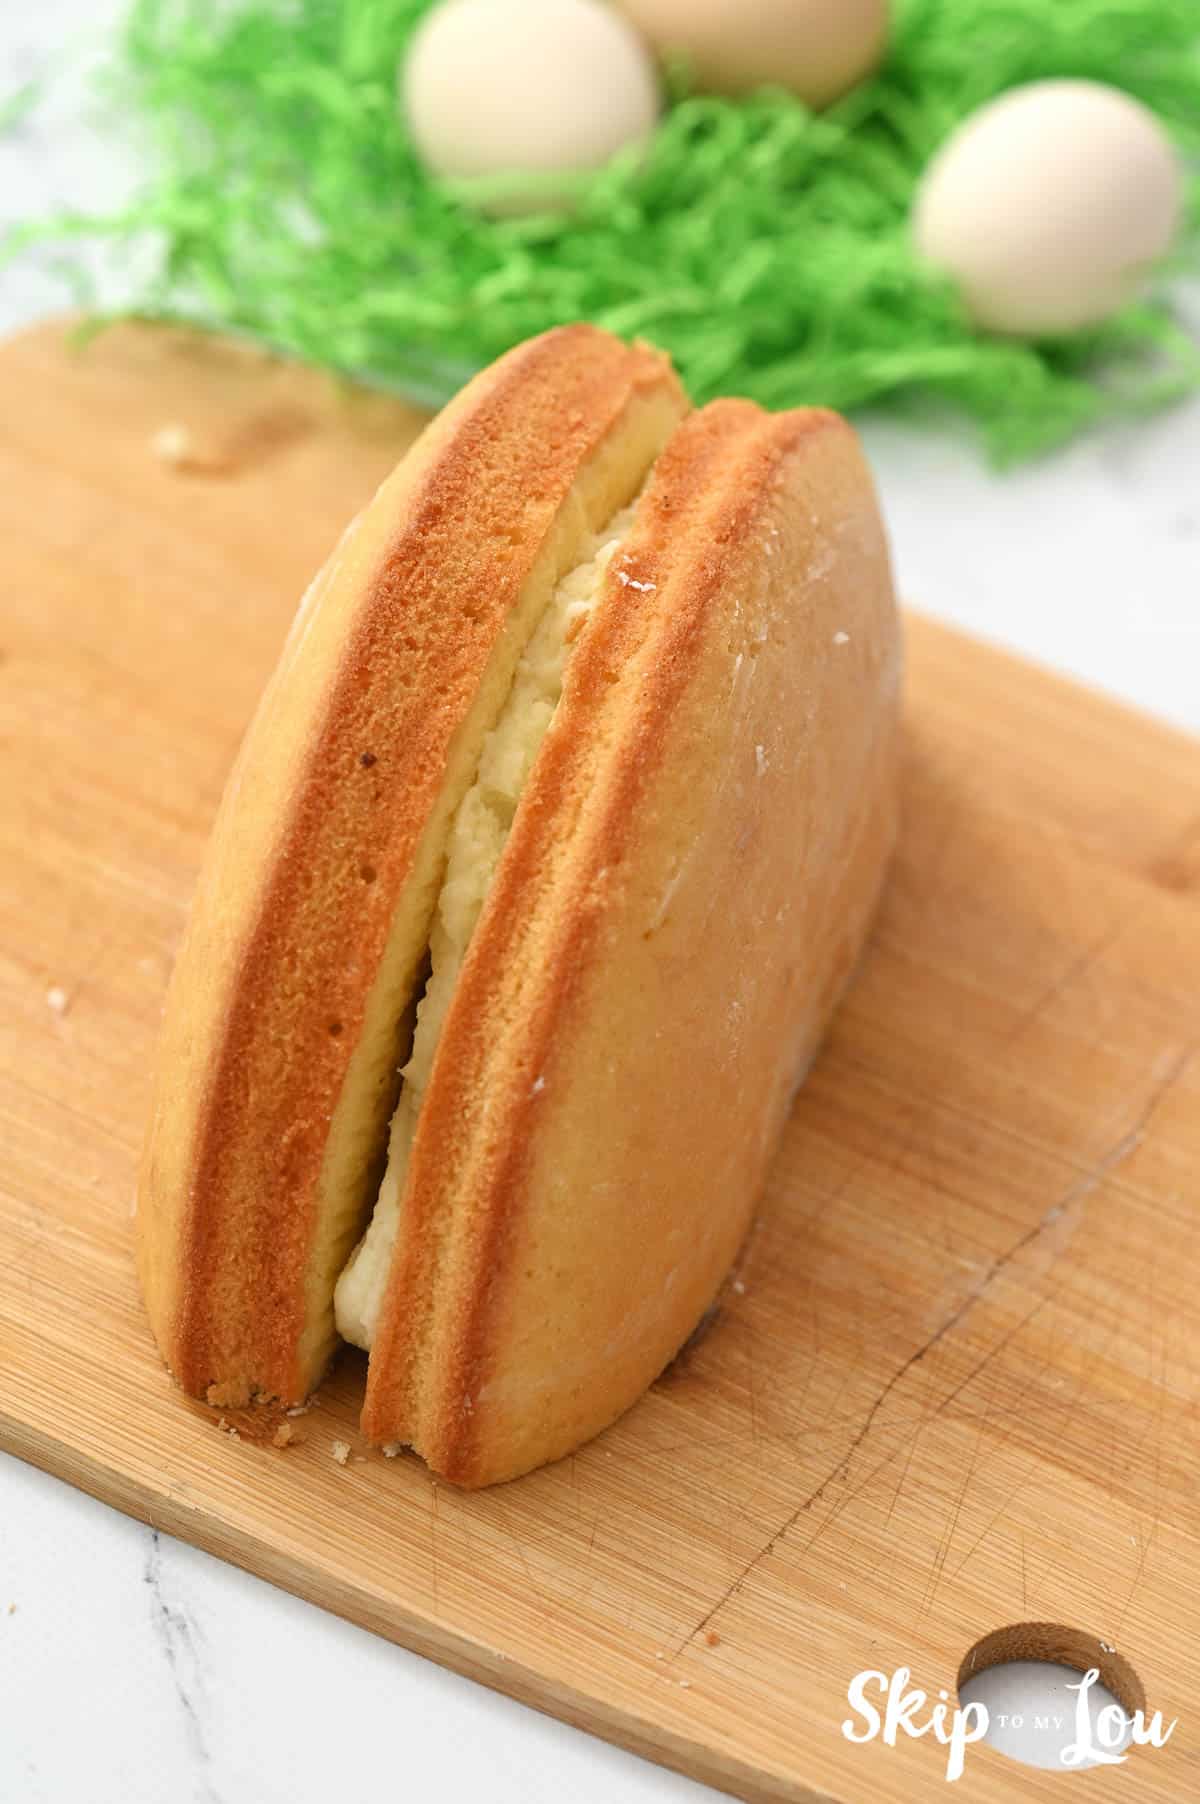
Step 3
Make the two halves meet with the frosting in the middle of the two.
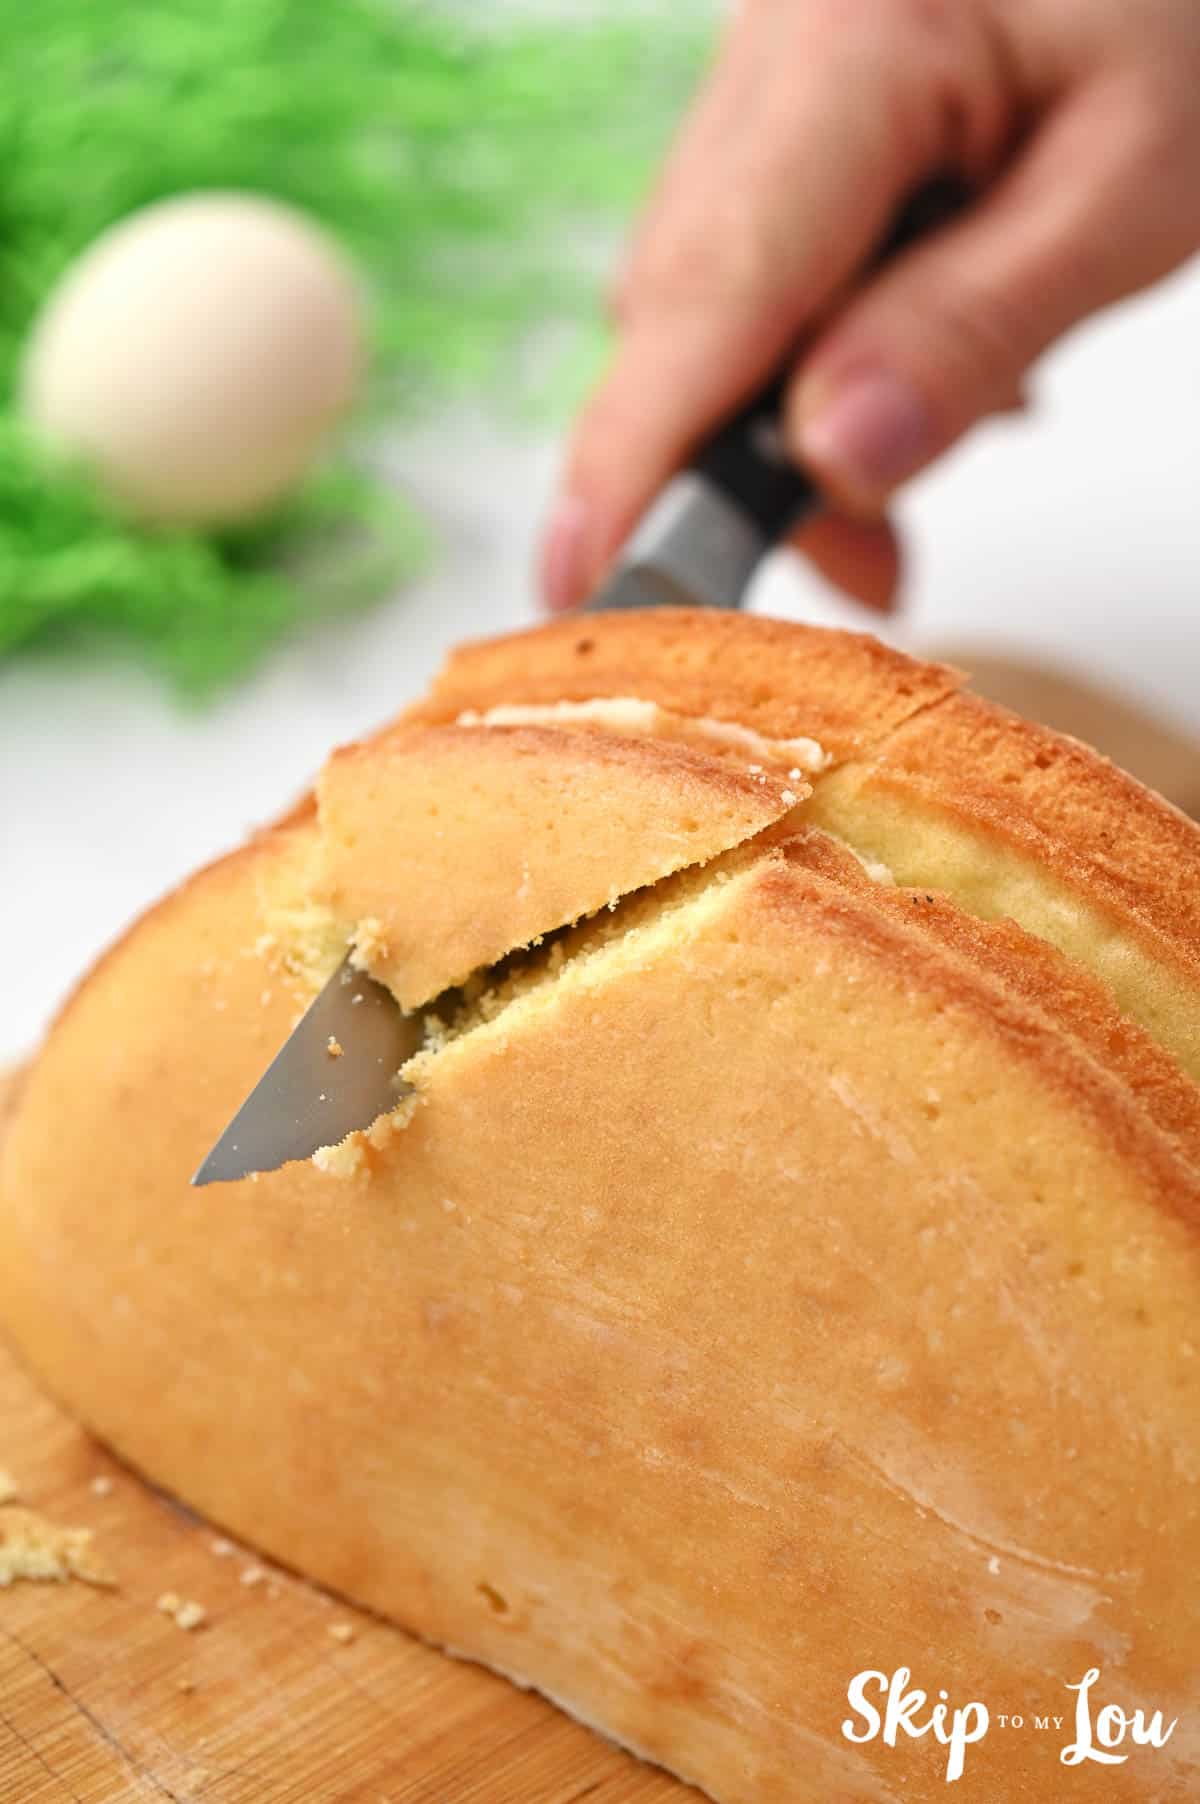
Step 4
Using a serrated knife, cut off a cake triangle to give the shape of a sitting bunny.
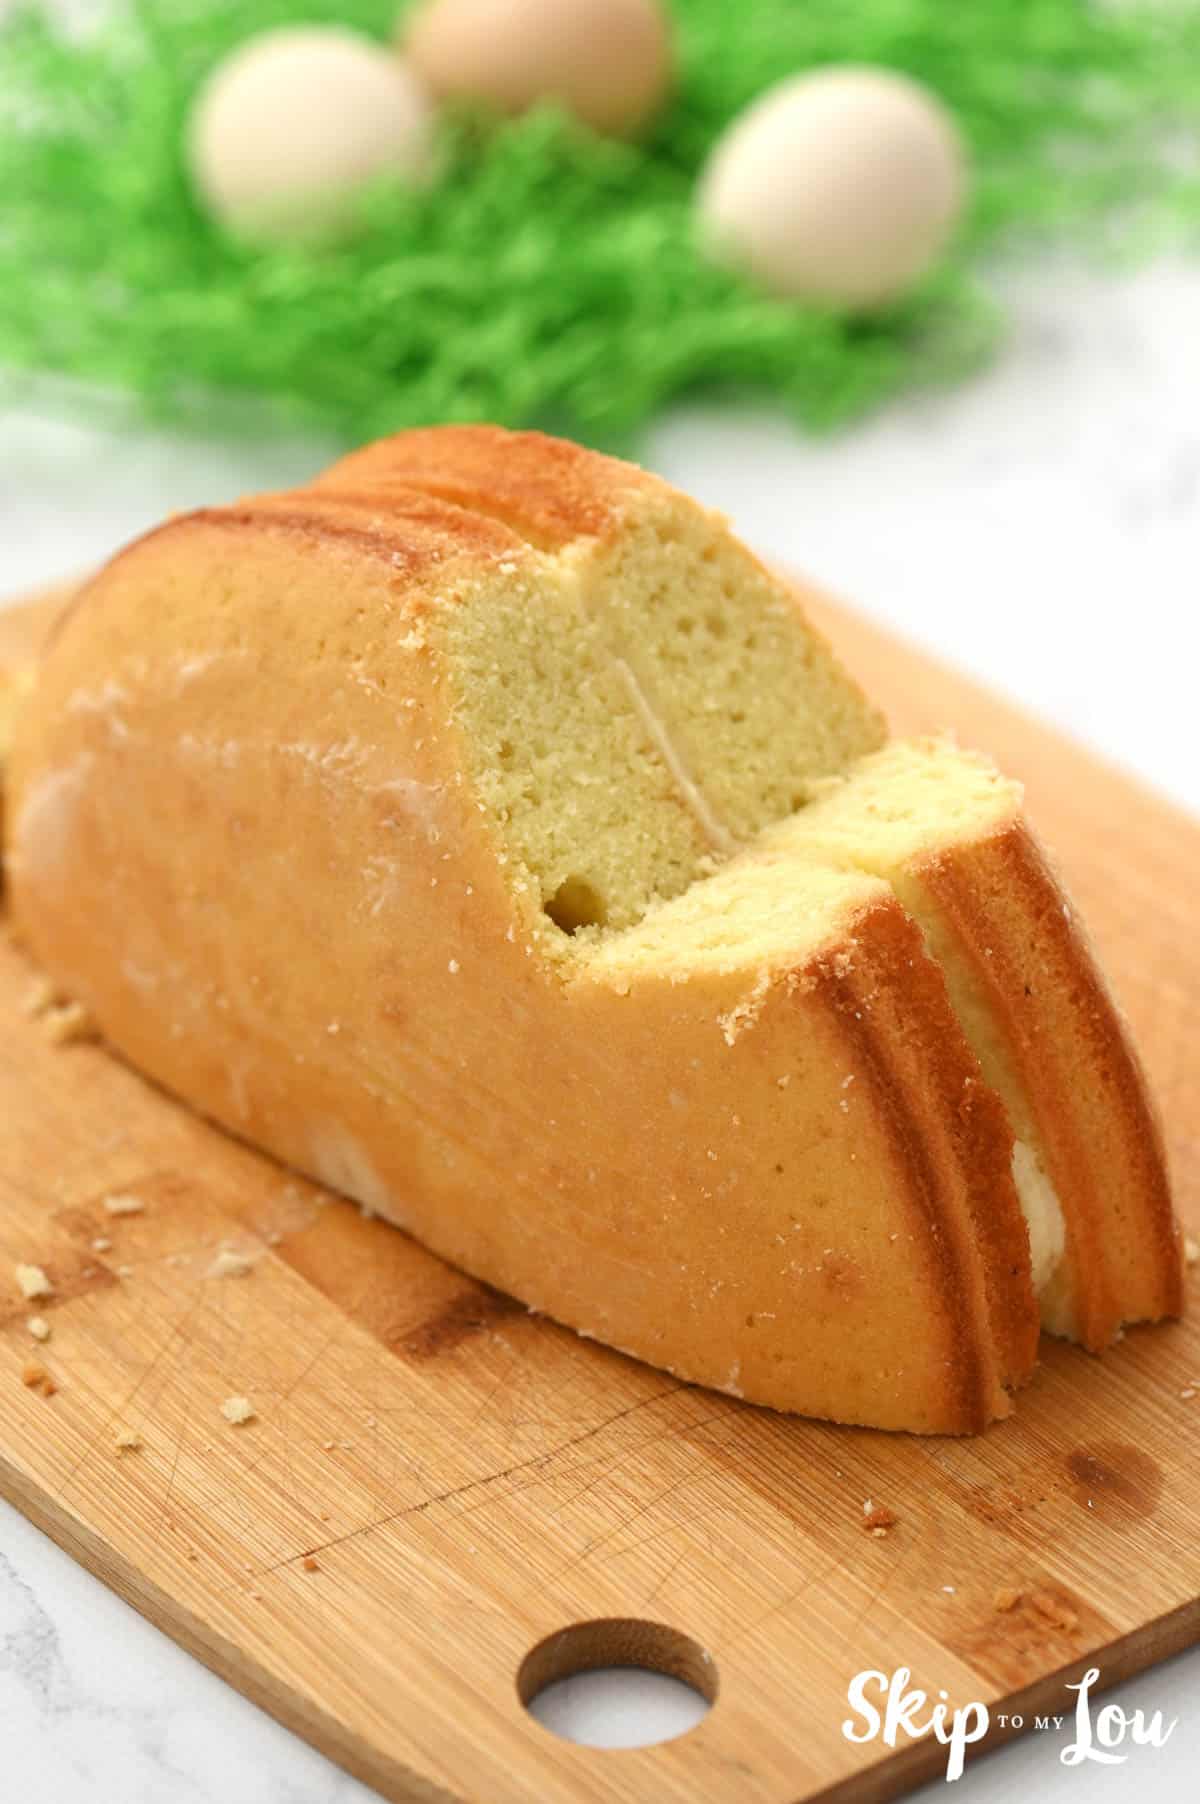
Step 5
Remove the triangle.
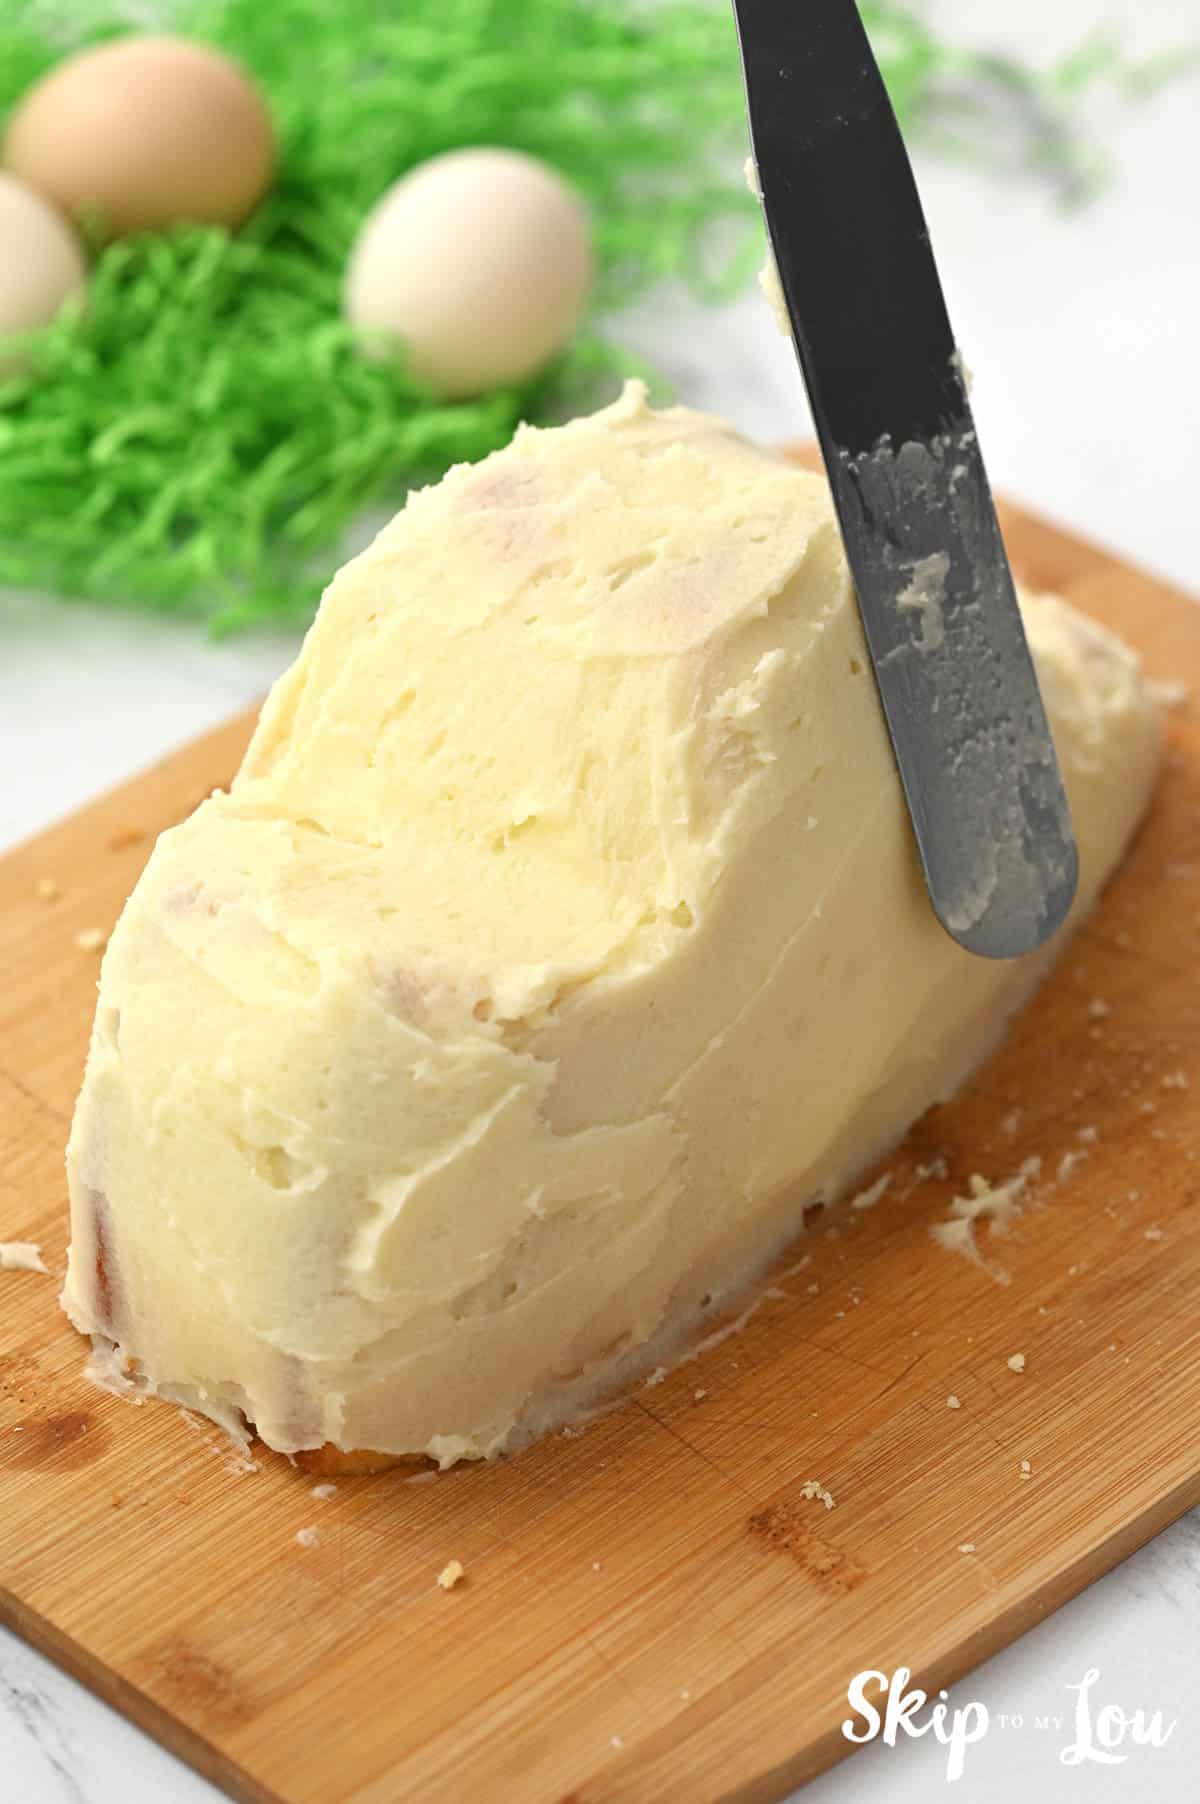
Step 6
Cover the rest of the cake in frosting using a frosting knife.
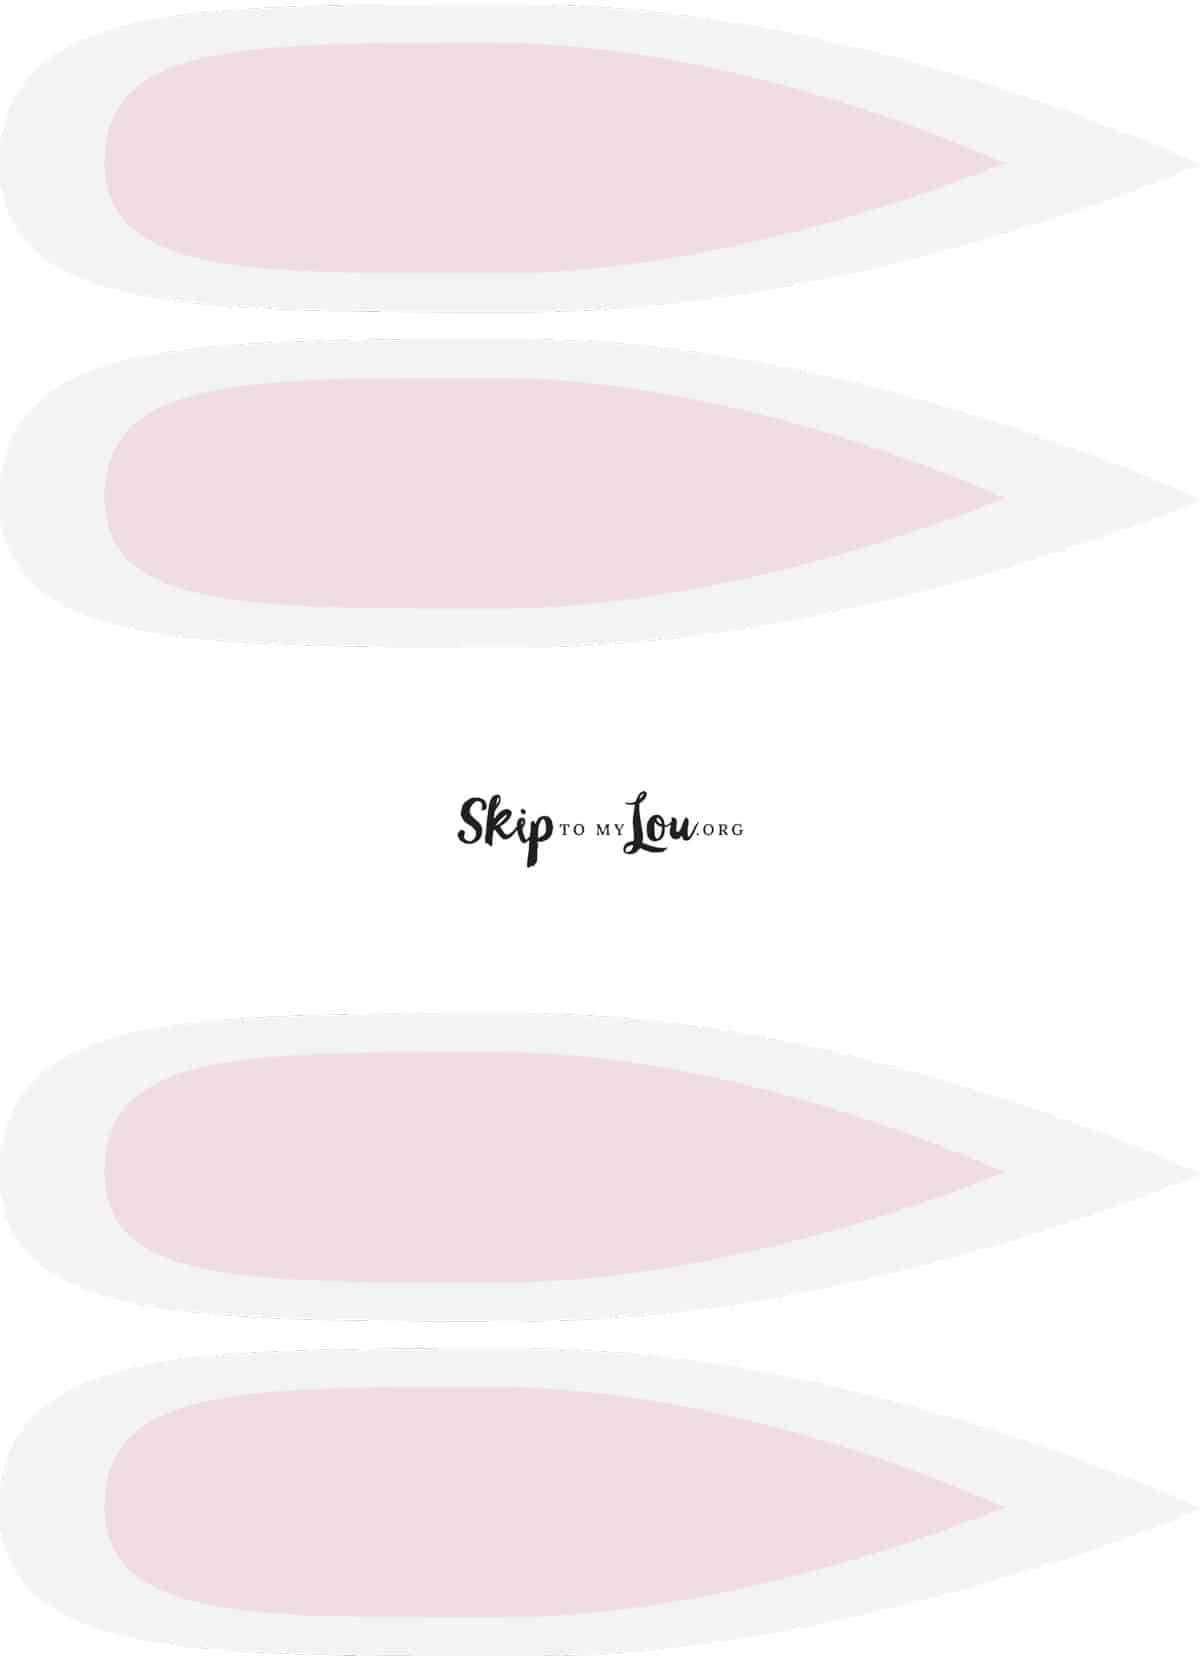
Step 7
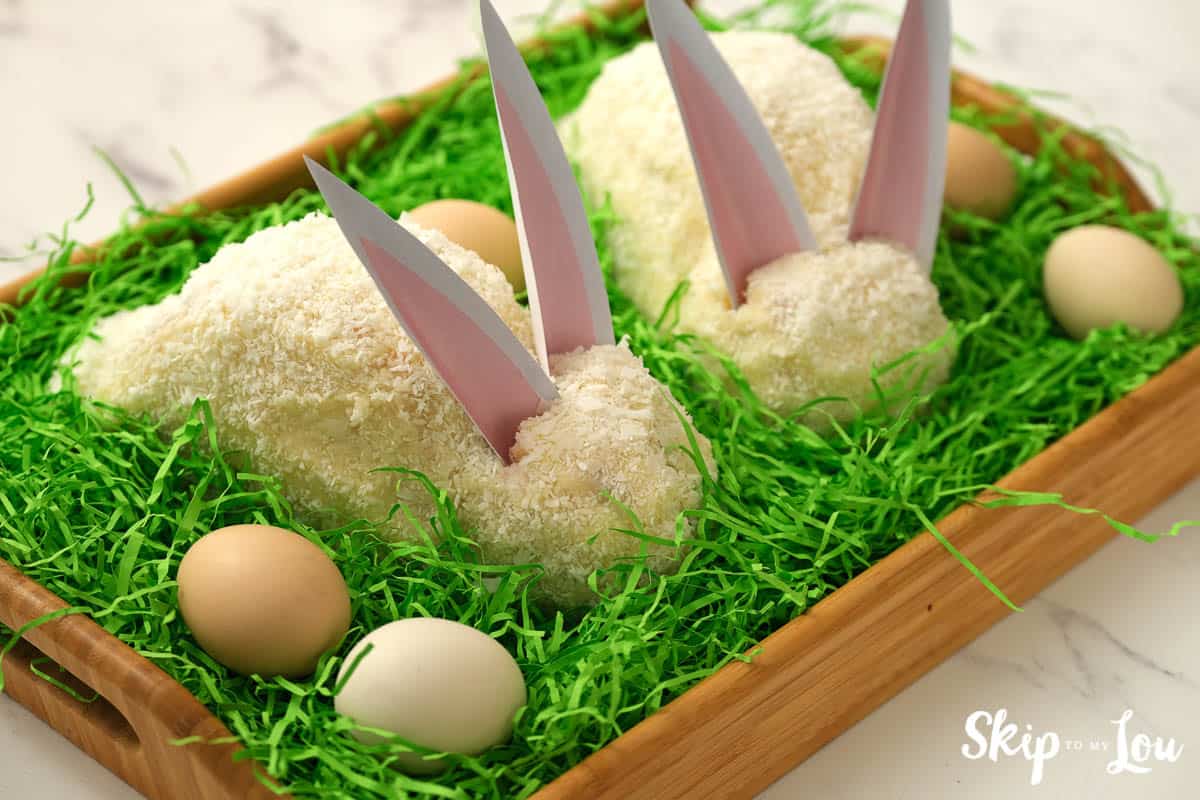
Print the bunny ears, cut them, and place them on the cake!
Place your cake in a tray decorated with Easter items, and you’re all ready to impress your guests!
Additions and Substitutions
No green Easter grass for the serving tray? You can tint coconut green with a few drops of green food coloring. Measure out a cup of shredded coconut, dump it in a bowl, add 2 drops to start with and mix well. Add one drop more at a time until you like the shade of green. Repeat with another cup of coconut until there is enough “grass” to cover your serving tray.
Want to add whiskers, eyes, and a nose to your bunnies? Black licorice strings can be cut and inserted for whiskers. Pink jelly beans can be added for eyes, and black jelly beans can be added for a nose.
Instead of real eggs on the serving platter, you can sprinkle Easter candy on the platter.
Before You Hop Away
Looking to make your Easter dinner extra memorable? From adorable bunny-shaped breads to interactive games and fun basket ideas, these Easter dinner ideas will bring smiles to every guest—big and small. Add a little creativity to your celebration with these festive and family-friendly touches!
- Bunny Rolls – These adorable bunny-shaped dinner rolls are not only cute but totally delicious. A must-have addition to any Easter table!
- Left Right Easter Passing Game – Add laughter and excitement to your Easter gathering with this playful gift exchange game. Follow the story as the Easter Bunny’s friends help save the day!
- Easter Bunny Scavenger Hunt – Bring the whole family together with this easy-to-set-up scavenger hunt! It’s a fun way to get kids moving and giggling as they search for hidden treasures.
- Free Bunny Basket Template – Here’s a sweet and simple idea for Easter table favors! Use this free printable template to create adorable bunny baskets from a sheet of paper—perfect for filling with treats and adding a handmade touch to each place setting.
I can’t wait to hear how your Easter Bunny cake turned out! Please leave a comment below.
I would love to keep you fully stocked with creative ideas, yummy recipes, fun crafts, and loads of free printables. Subscribe to Skip to my Lou to get new ideas delivered to your inbox. Follow me on Facebook, Pinterest, Twitter, and Instagram for all my latest updates.