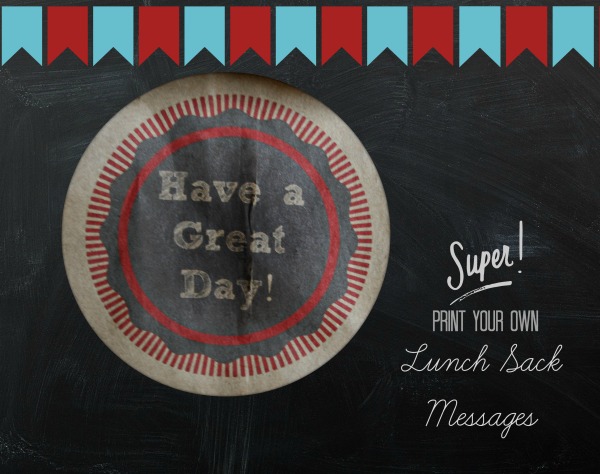
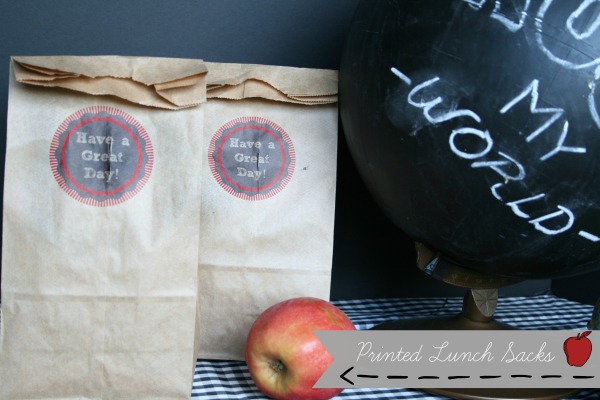
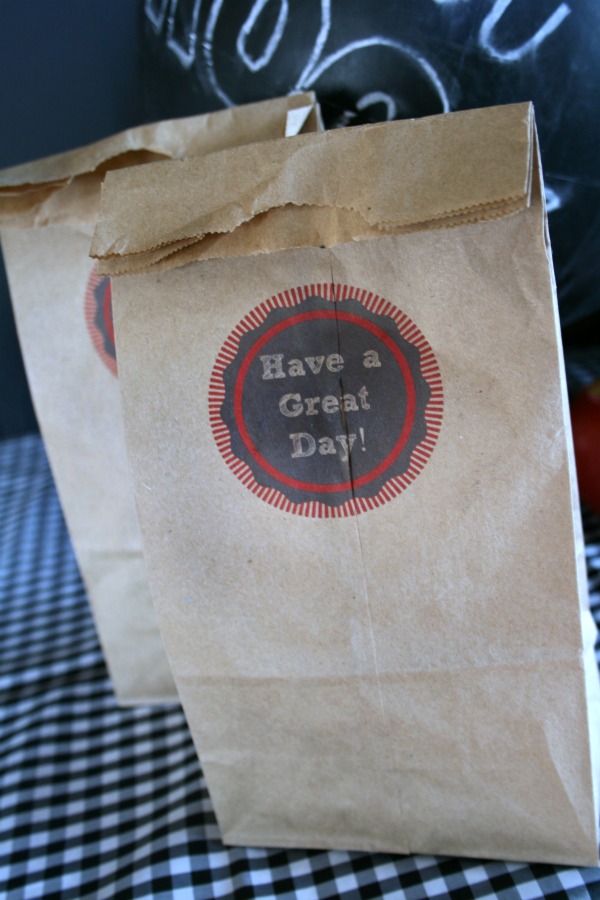
I’m so happy to be hanging out on Skip To My Lou again sharing my Back to School Printed Lunch Sacks.
Back to School…….we either love it or hate it. Thank goodness we have 4 more weeks here in the Pacific NW before we the school schedules takes over our lives, but that doesn’t mean we aren’t prepping a little here or there. The homework station is shaping up and we’re going through clothing.
When my son was little, I loved finding creative ways to make him feel special while he was away from me during the day. Sending little tokens or notes in their lunch is one way and it’s pretty easy, but every now and then you just want to shake it up a bit.
My son normally carried one of those thermal lunch bags, so I’d pack his wrapped sandwich in a decorated or printed lunch sack and place it inside the thermal. I didn’t always do it, so it was a fun surprise when he would open up his lunch bag to see a fun printed lunch sack. I don’t think I could get away with it now that he’s going to be a freshmen.
Maybe I should print up inspirational messages, or “make good choices”? I think he’d die of embarrassment.
How to Print on Lunch Sacks
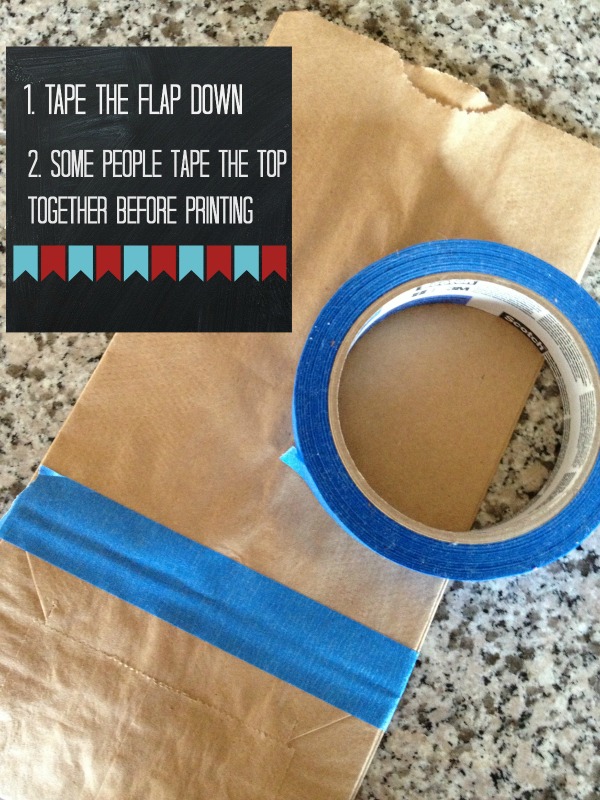
I designed my design using PicMonkey. Once designed, I saved it to my computer. Using Word, I opened my design and sized accordingly. I also adjusted the document size to 5×7. 
If all else fails…….stamp a design or draw! The sentiment is the same.


Now how fun is this?! Thanks so much for sharing!